RevLimiter Custom HVAC Panel + RS Products Classic A/C Trim Ring + Fan Knob + Sliders
Ever since I've updated the gauge cluster with some custom made ones from RevLimiter, I've wanted to continue that theme with the HVAC panel as well. The OEM HVAC panel didn't really "fit" with the gauge cluster. When I initially got my custom gauges made, I could have also bought the HVAC together but I decided to hold off on it...and I'm glad I did. Adam had recently announced that his gauges and HVAC panels are now being made from a different material. Quote :
"Gen3 gauges are laser cut from aerospace polymer and digitally screen printed to create a dial face that exceeds OEM quality. Using spot color printing, the gauges feature extremely vivid red zones and translucent black warning light areas. They’re also extremely tough and can be cleaned with water or chemicals."
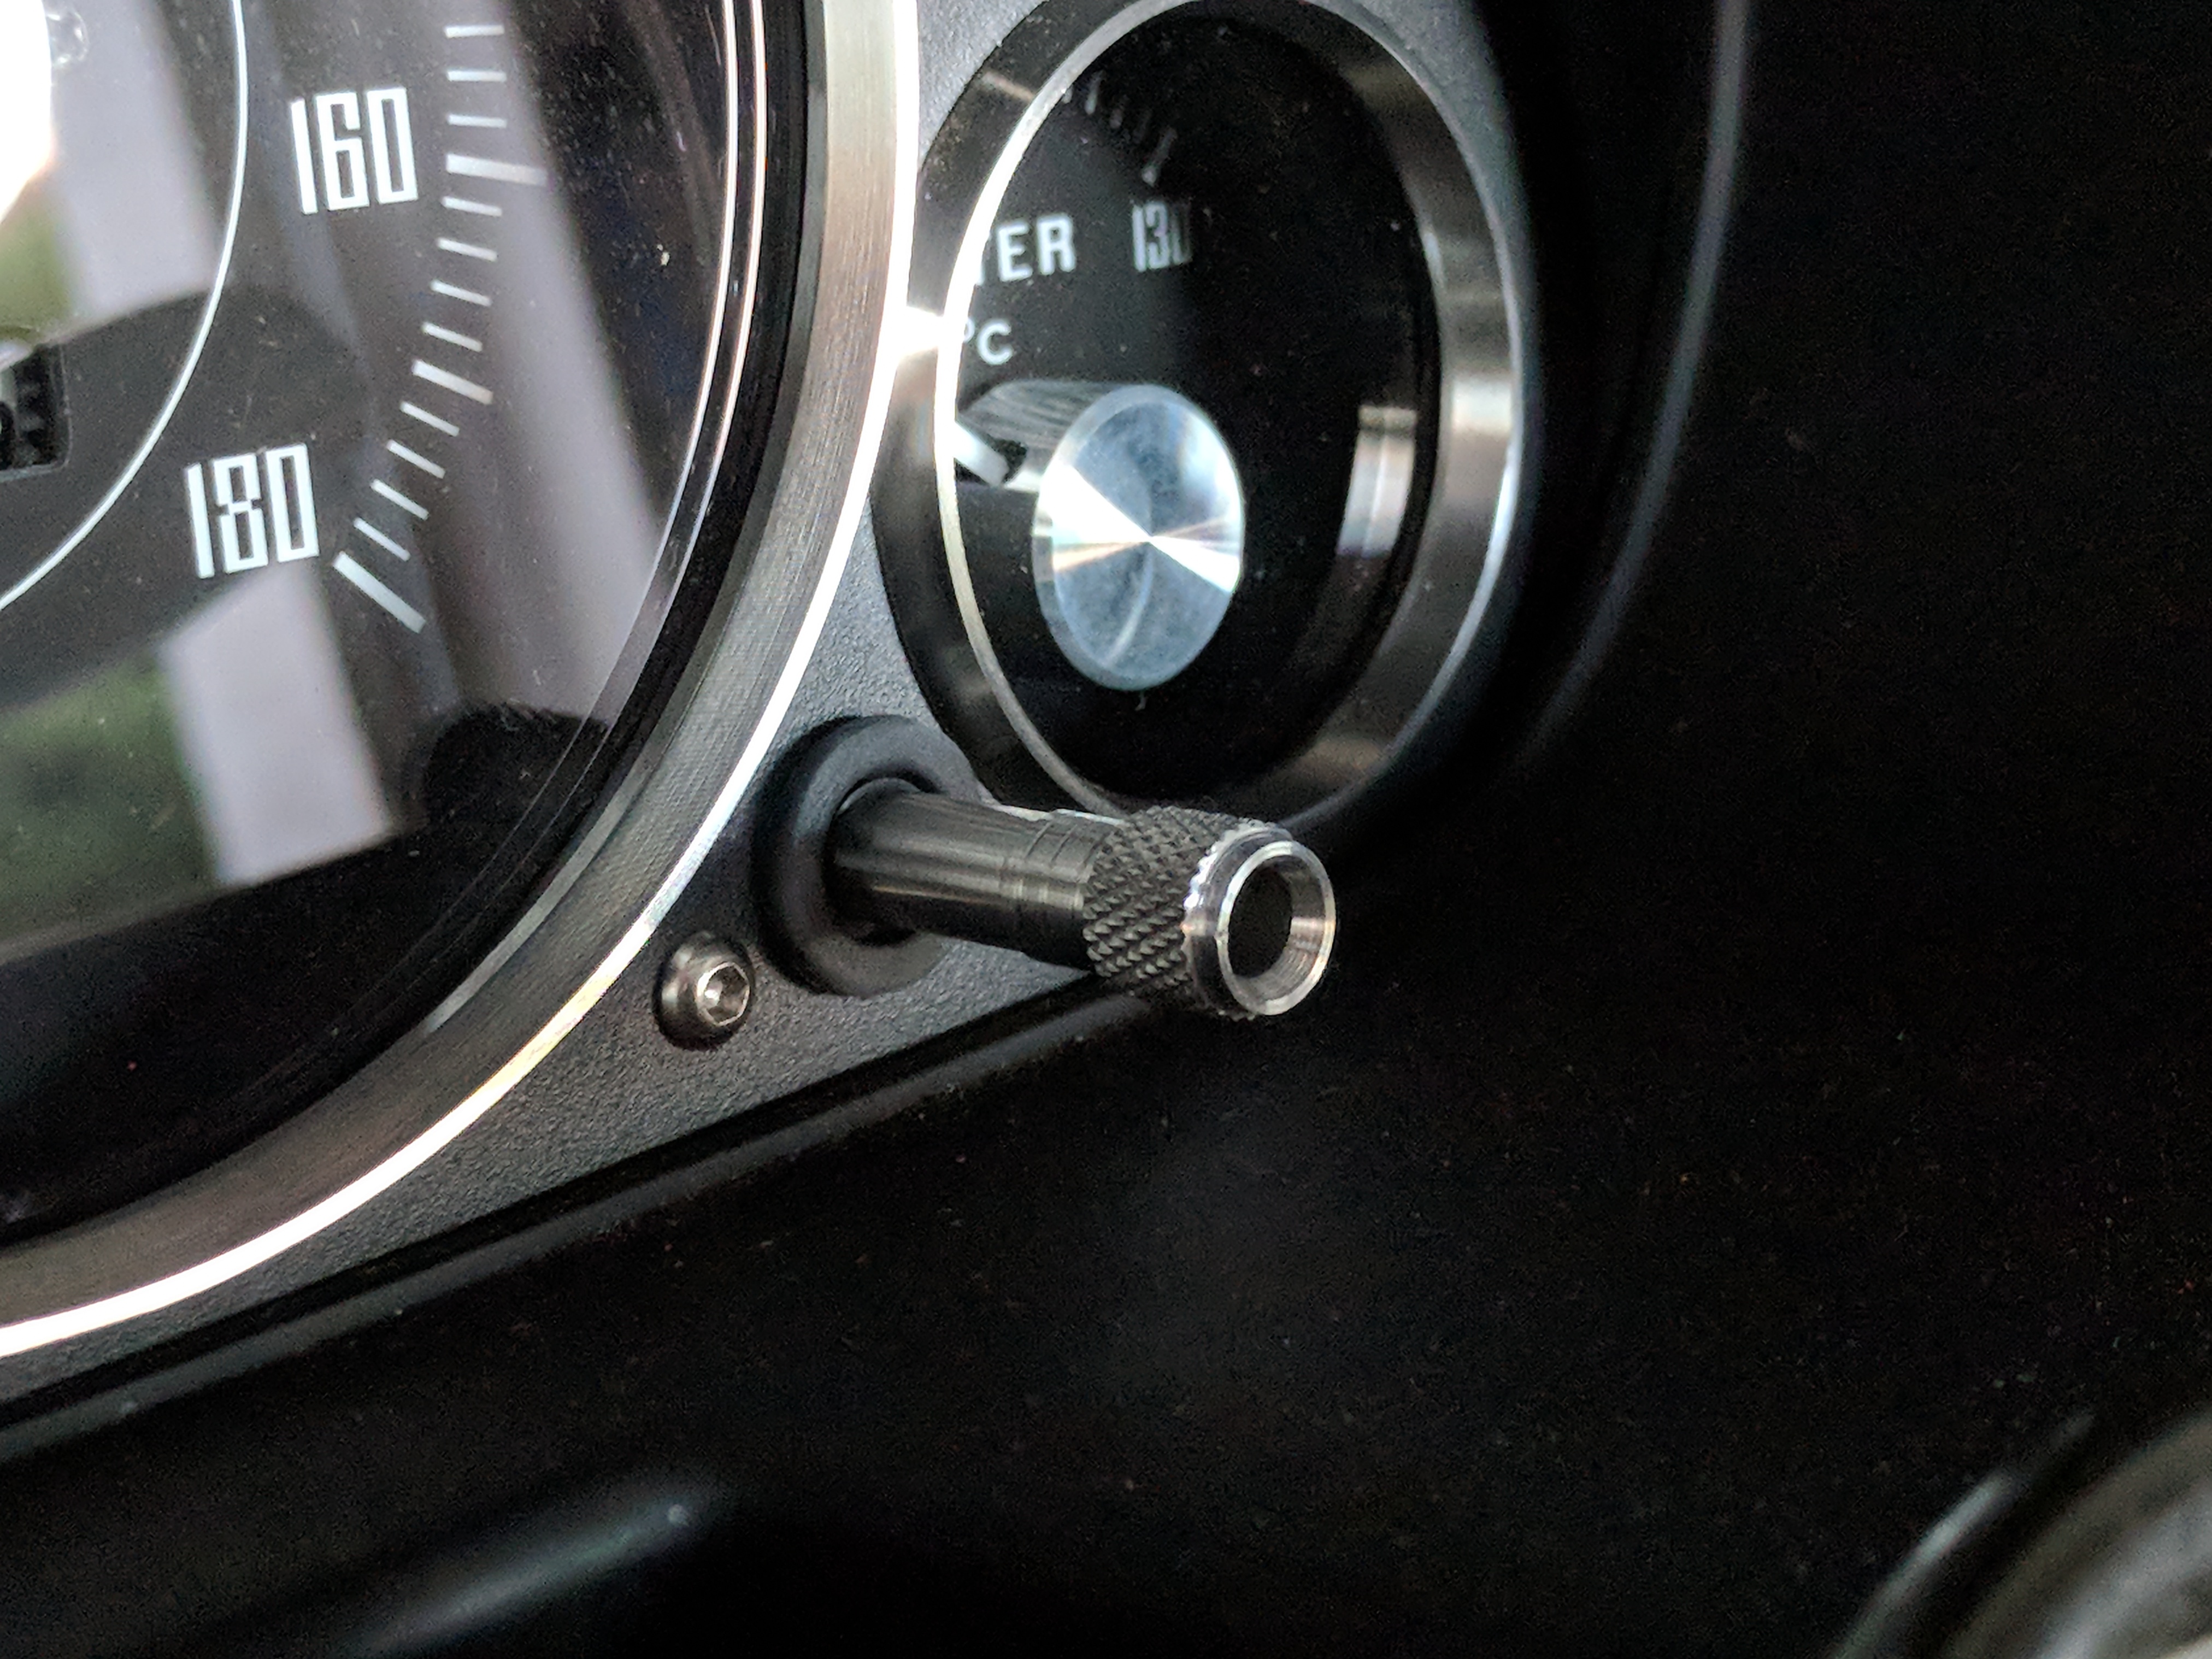
To put it in other words, the new Gen3 gauges and HVAC panels are OEM textured semi-gloss surface and the colours "pop" more than the old Gen2 material, which was more a matte surface and the colours weren't as vivid. I'm contemplating whether I should get my gauge faces re-done in the new material as it would be brighter, but given that they're not exactly cheap with shipping and my that my current ones do the job perfectly well, I feel like that that money could be better spent elsewhere. I decided that I wanted the HVAC panel to match my gauge faces with the text and font being kept consistent. I opted for the "Version Stirling" and made a few custom changes including the numbers on the dial to replicate the numbers as shown on my gauge face.
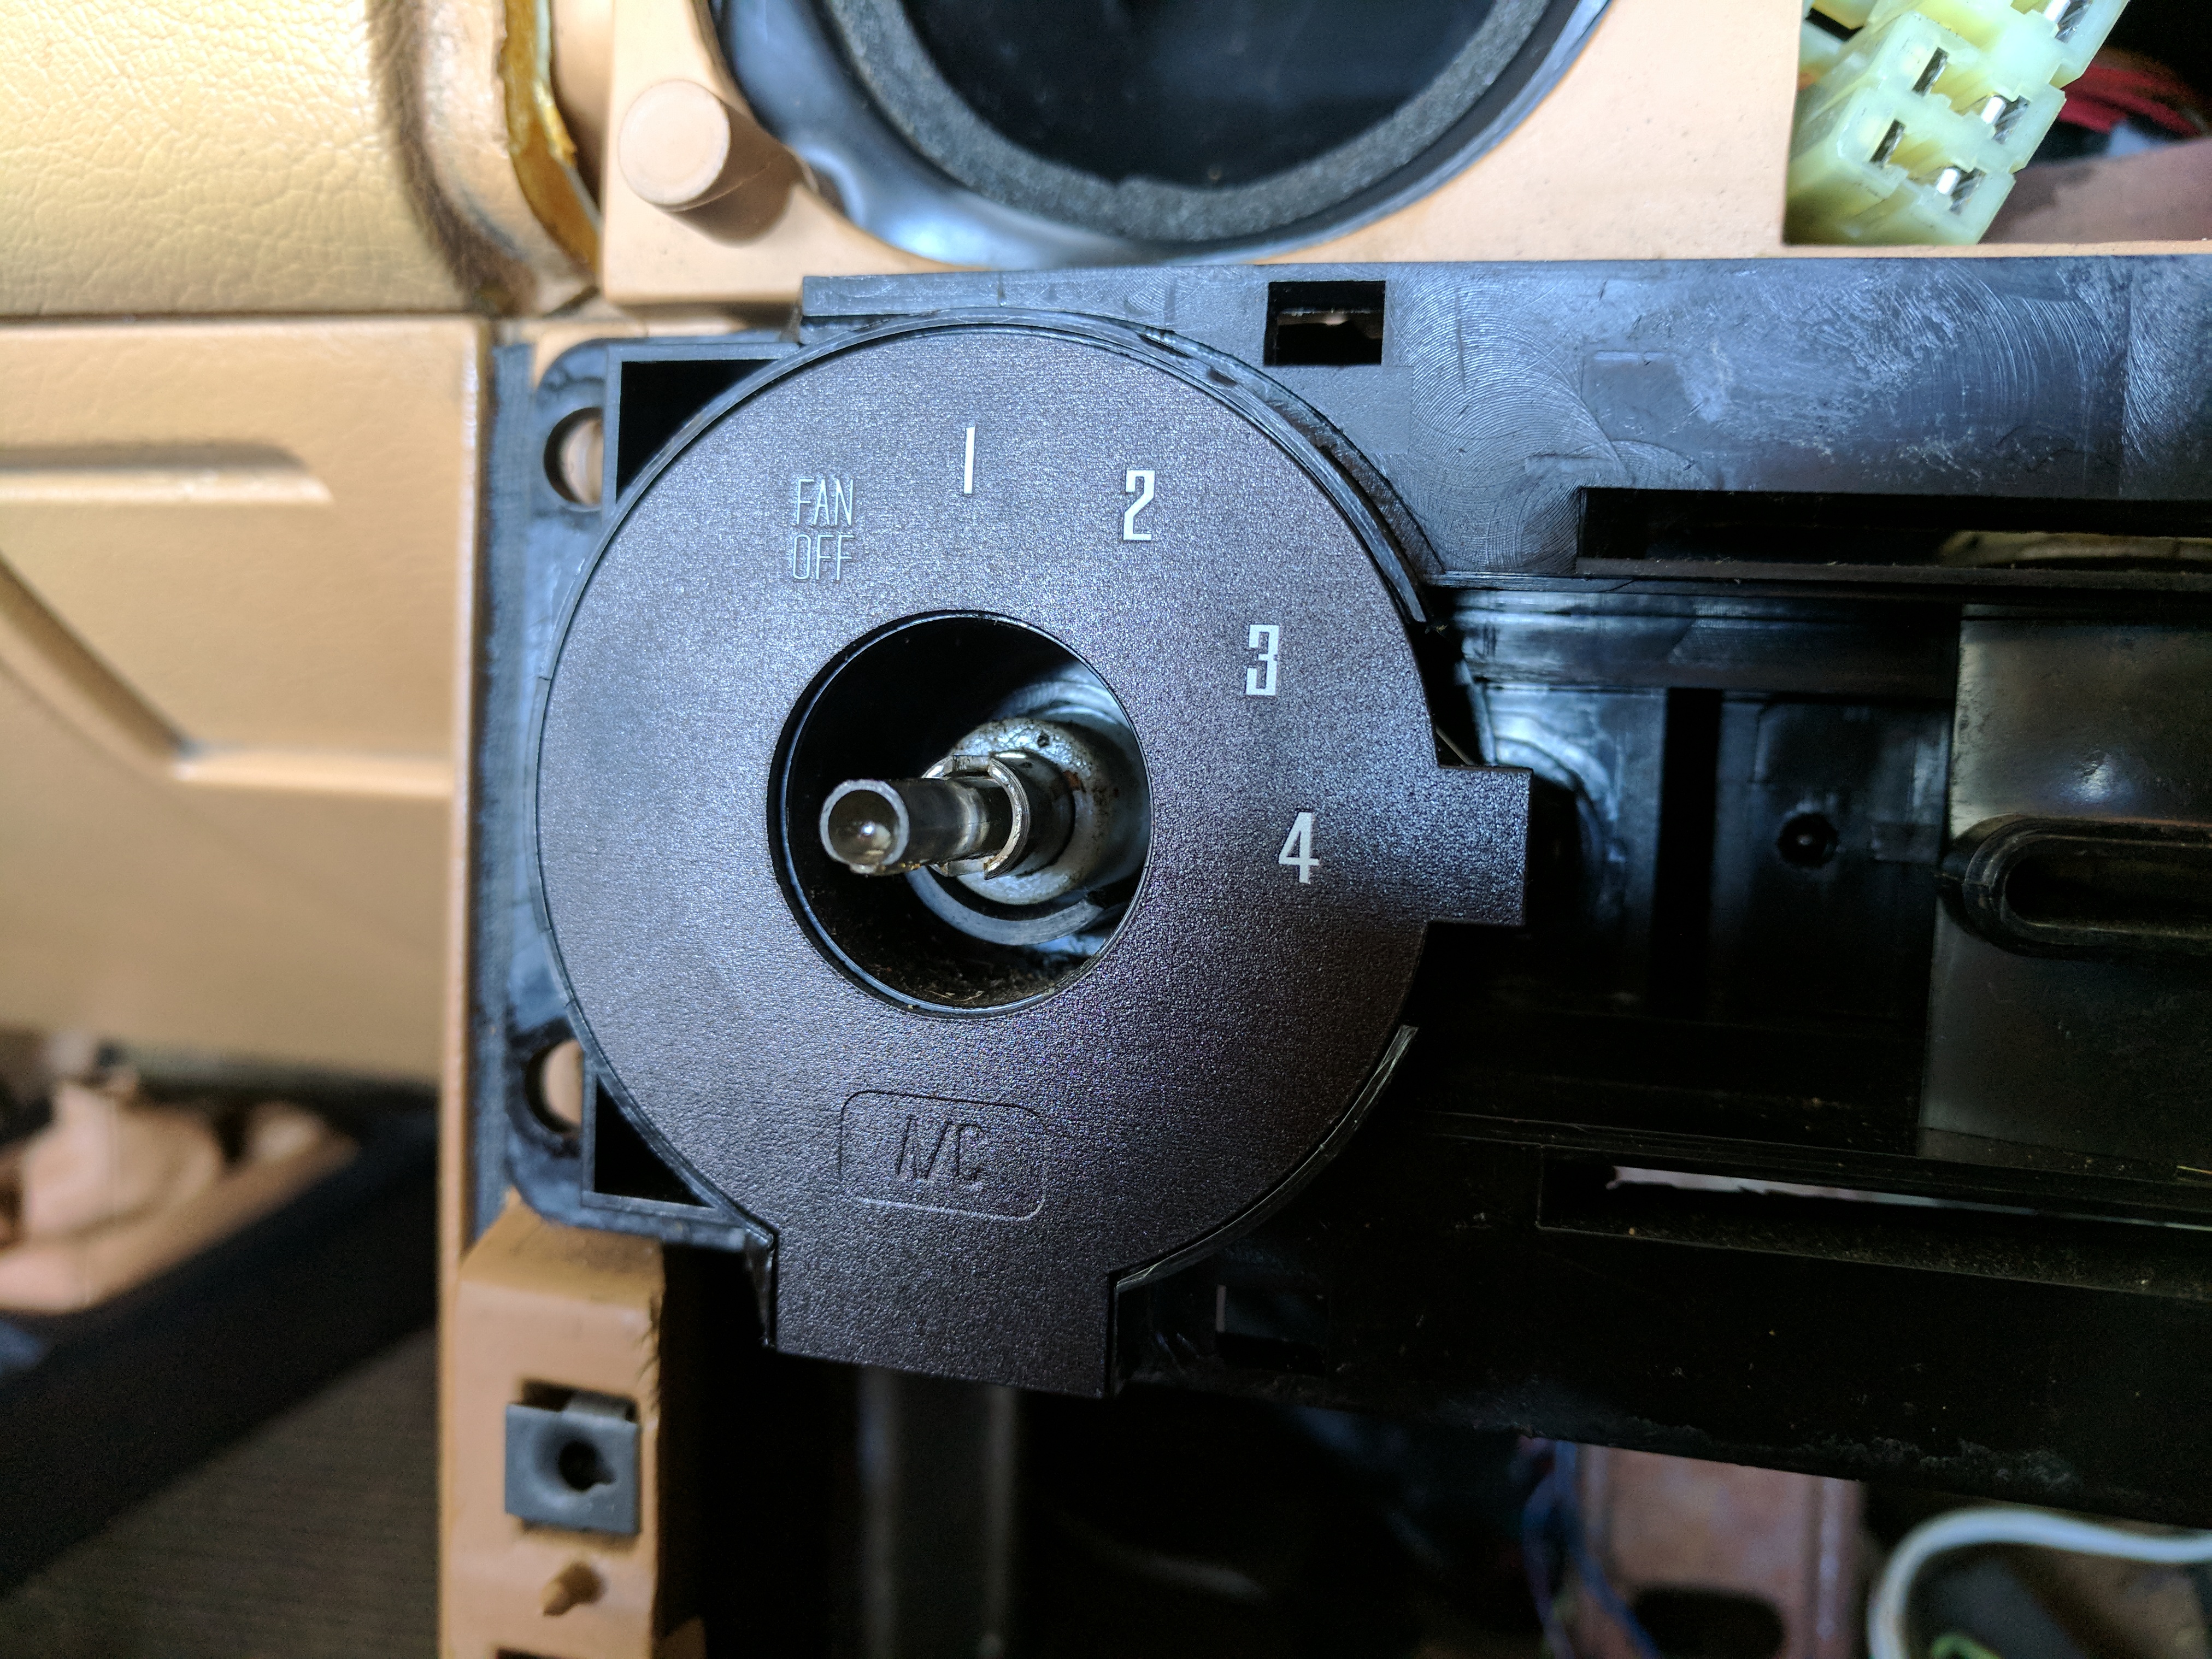
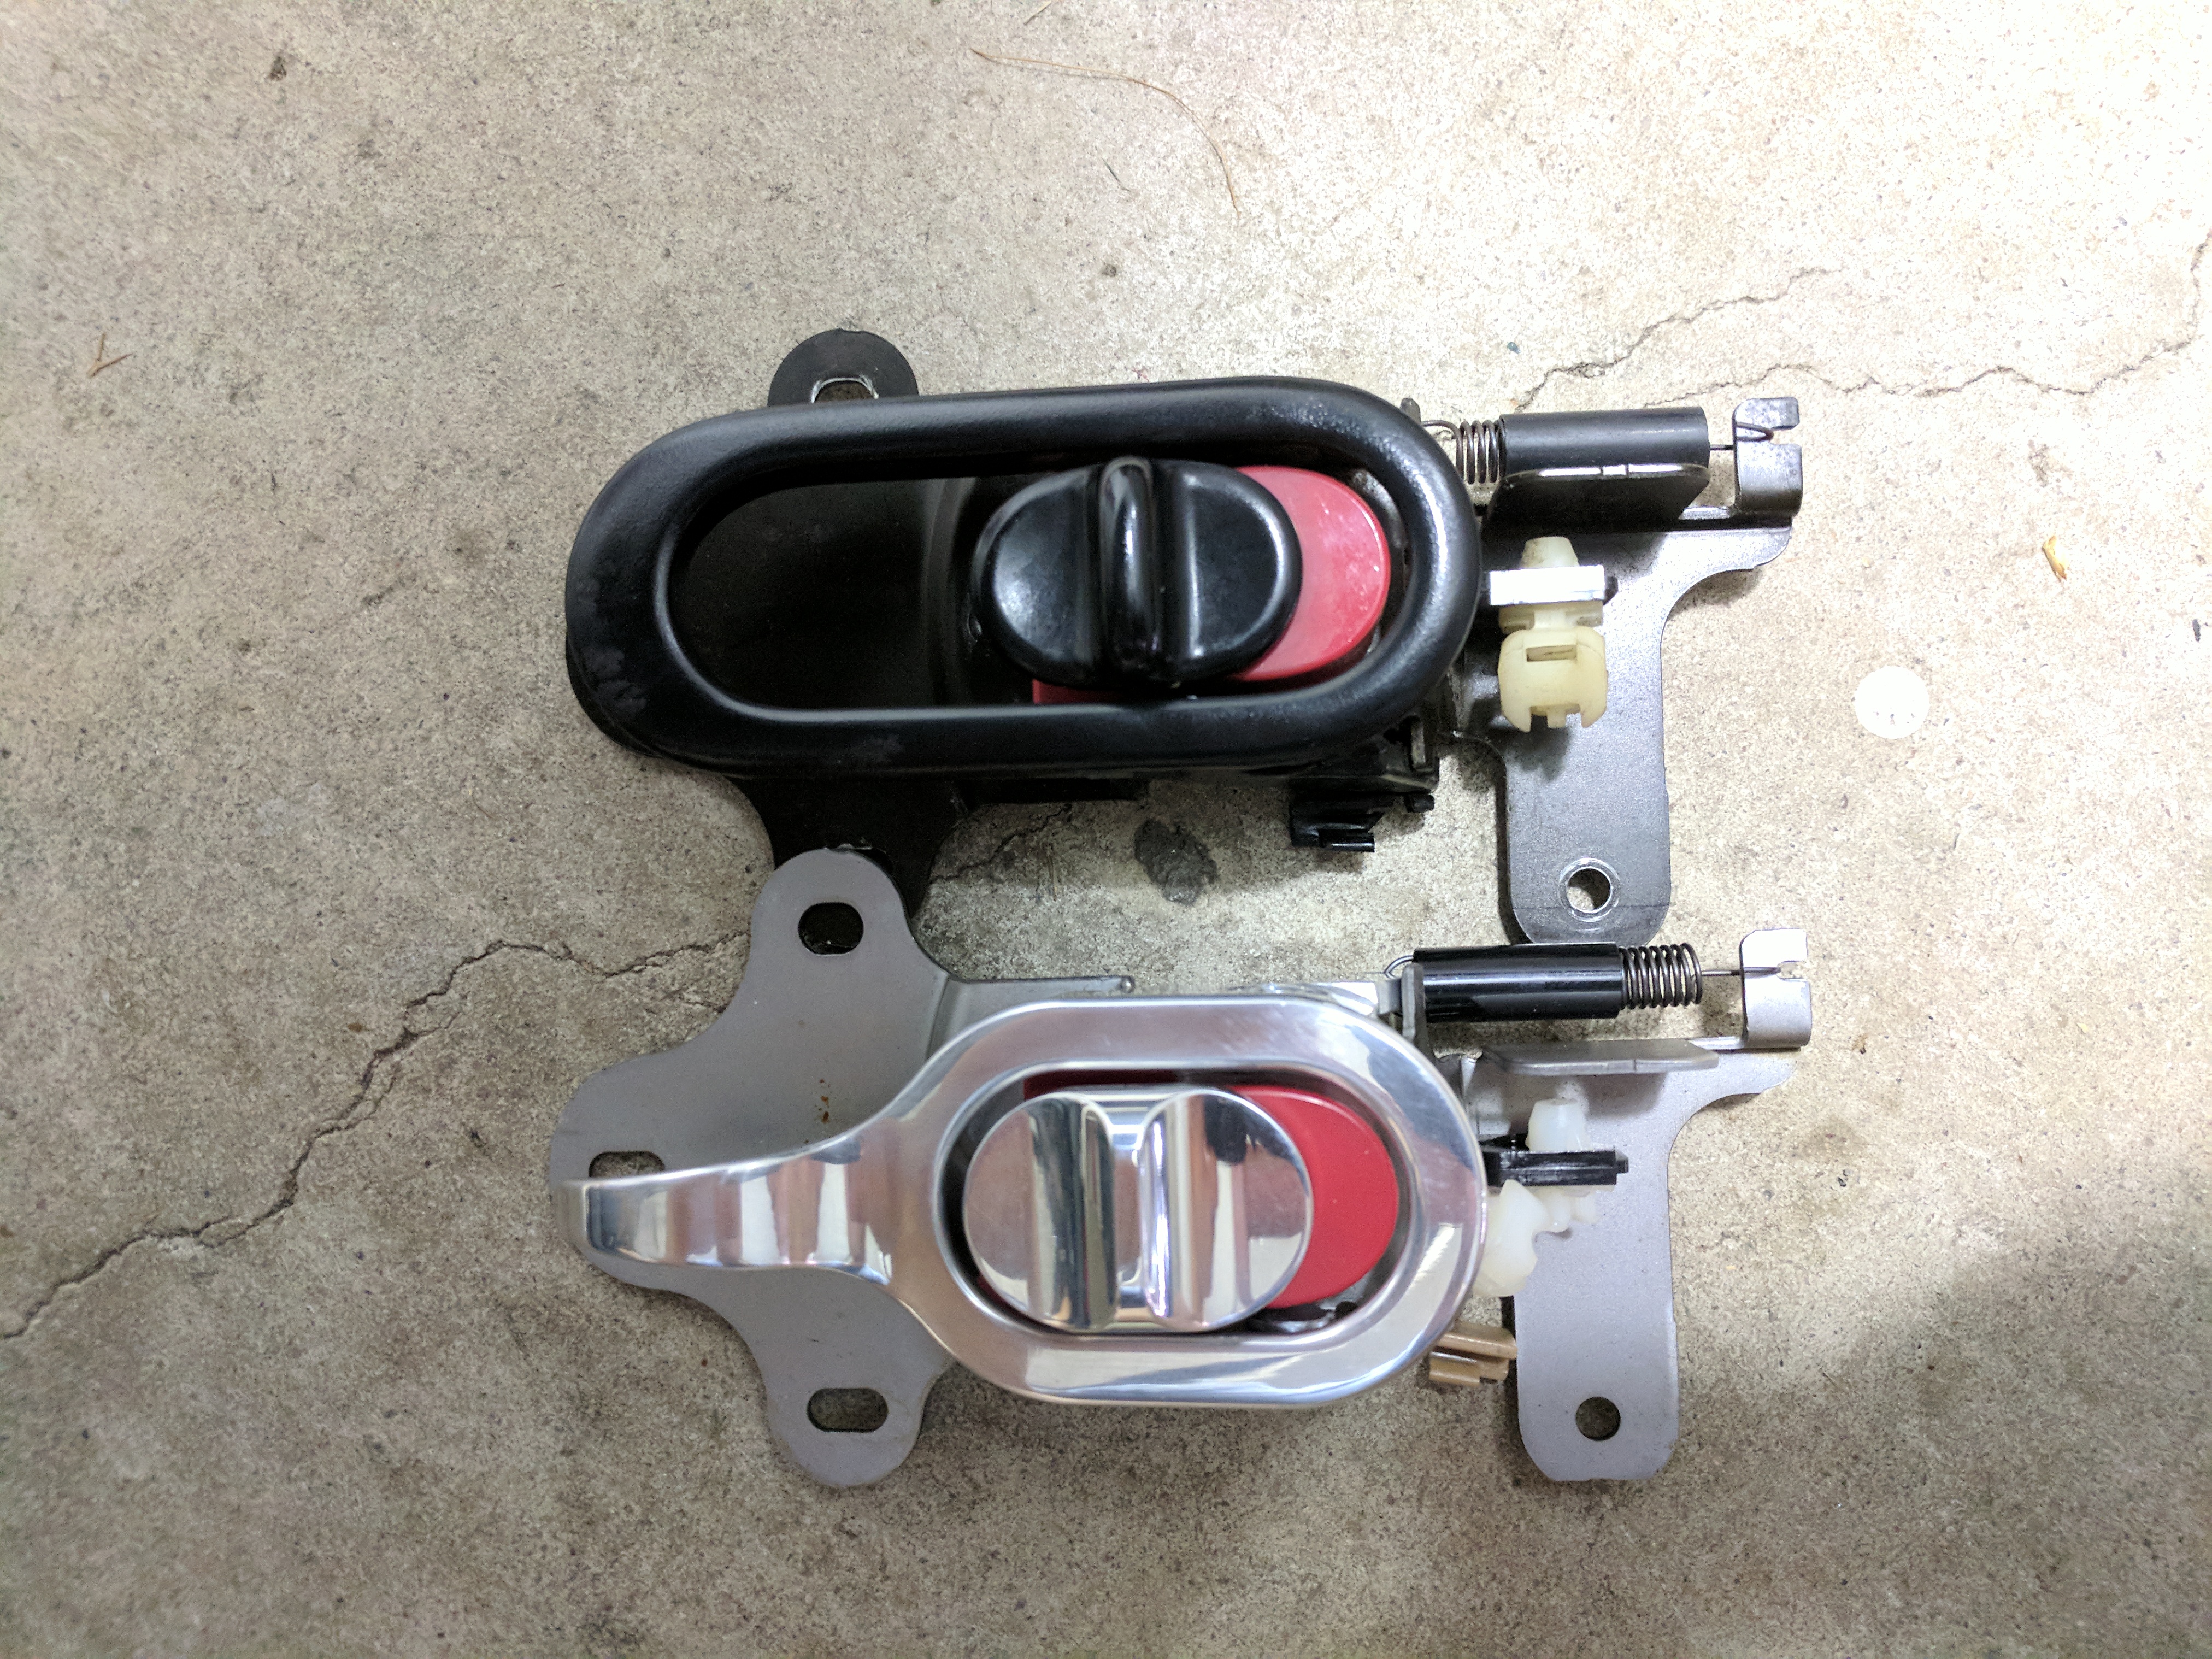
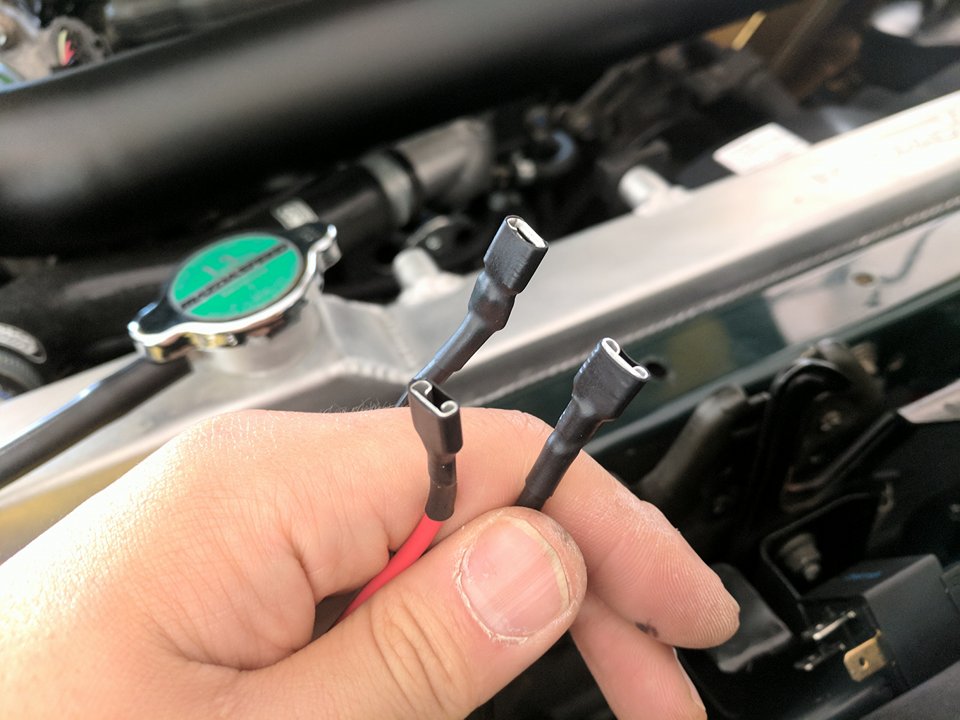
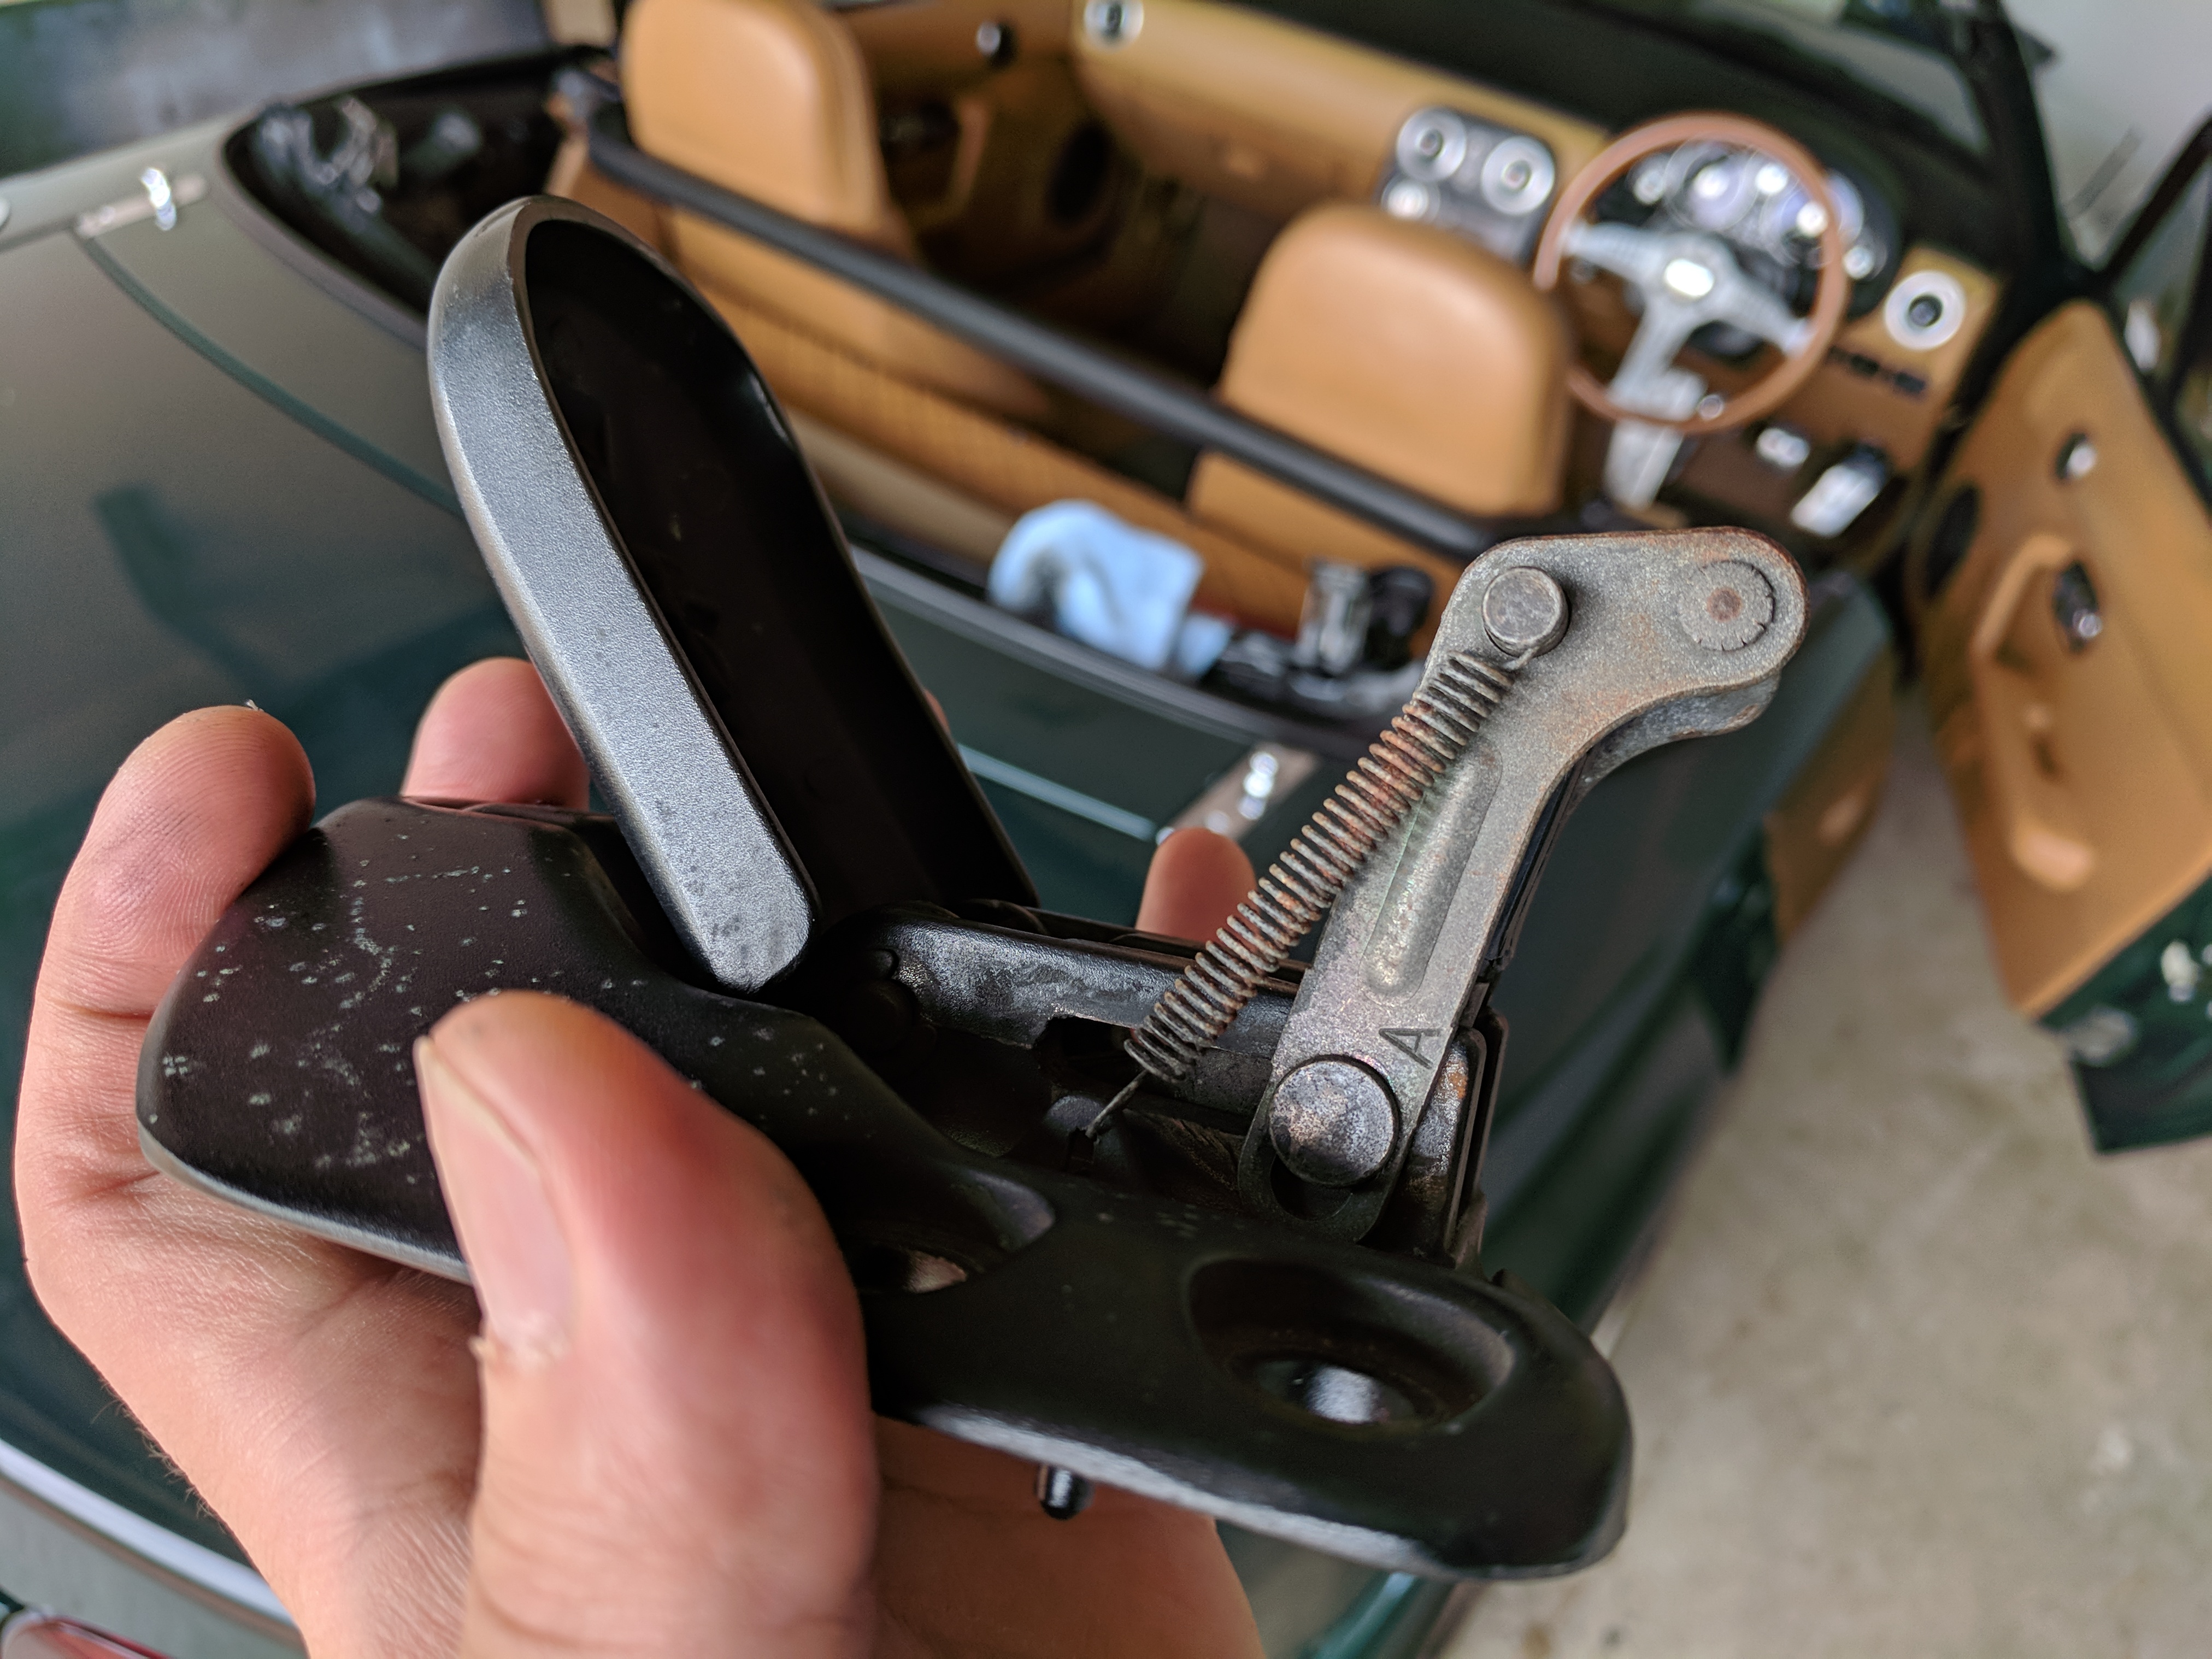
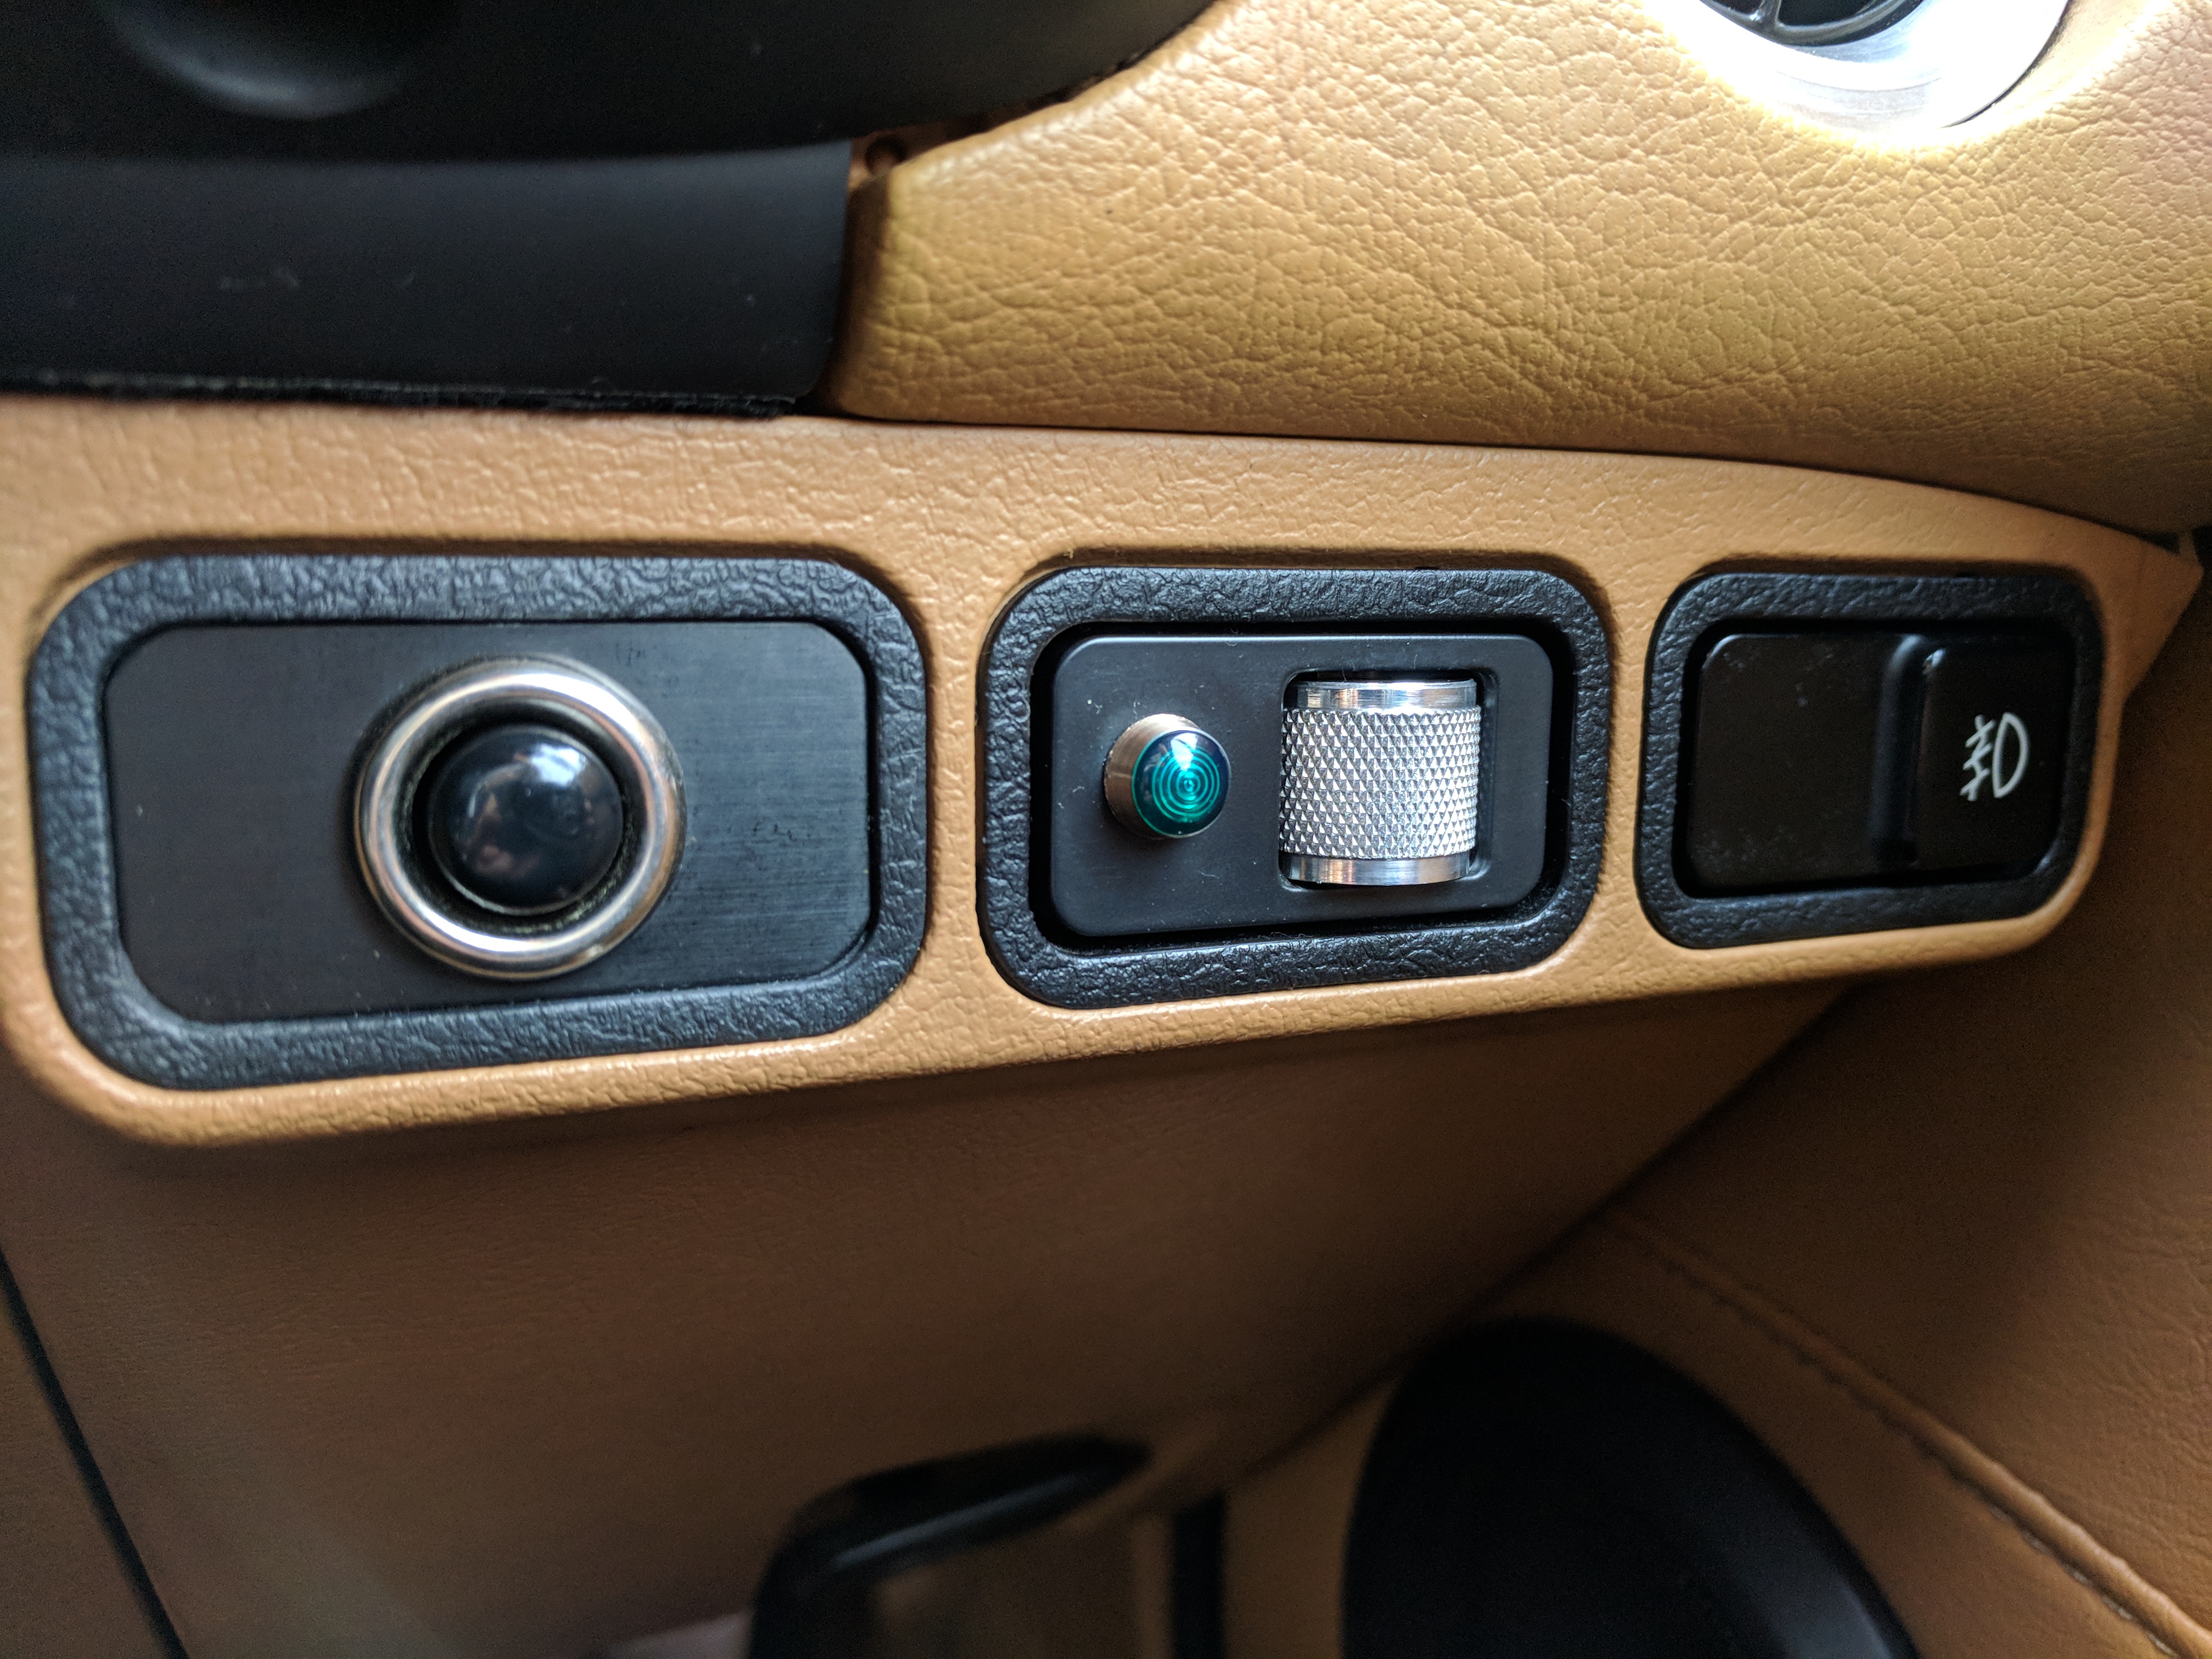
My car never came with A/C so it never came with the A/C button from factory. But, when I pulled off the OEM fan selector knob to be able to remove my HVAC panel, I discovered that the module which allows A/C was also in my car but it's just that it's not hooked up to anything since there was no A/C. It was a pleasant surprise as I do plan on installing a complete A/C system in the near future together with the NB heater core upgrade and this was one less thing to worry about when trying to source the parts. I also had my HVAC panel made so that it includes the A/C indicator below the fan selector knob so that when it is activated and when I get around to installing the A/C, it will light up. This was just forward thinking. I also decided to install my RS Products A/C fan selector knob, slider buttons and fan trim ring.
The install was straight forward. Adam has a HVAC panel install guide on his site complete with illustrations which helped a lot. Overall, I'm very pleased with the result and I think it's really starting to take shape. Thanks again to Adam for making this for me.
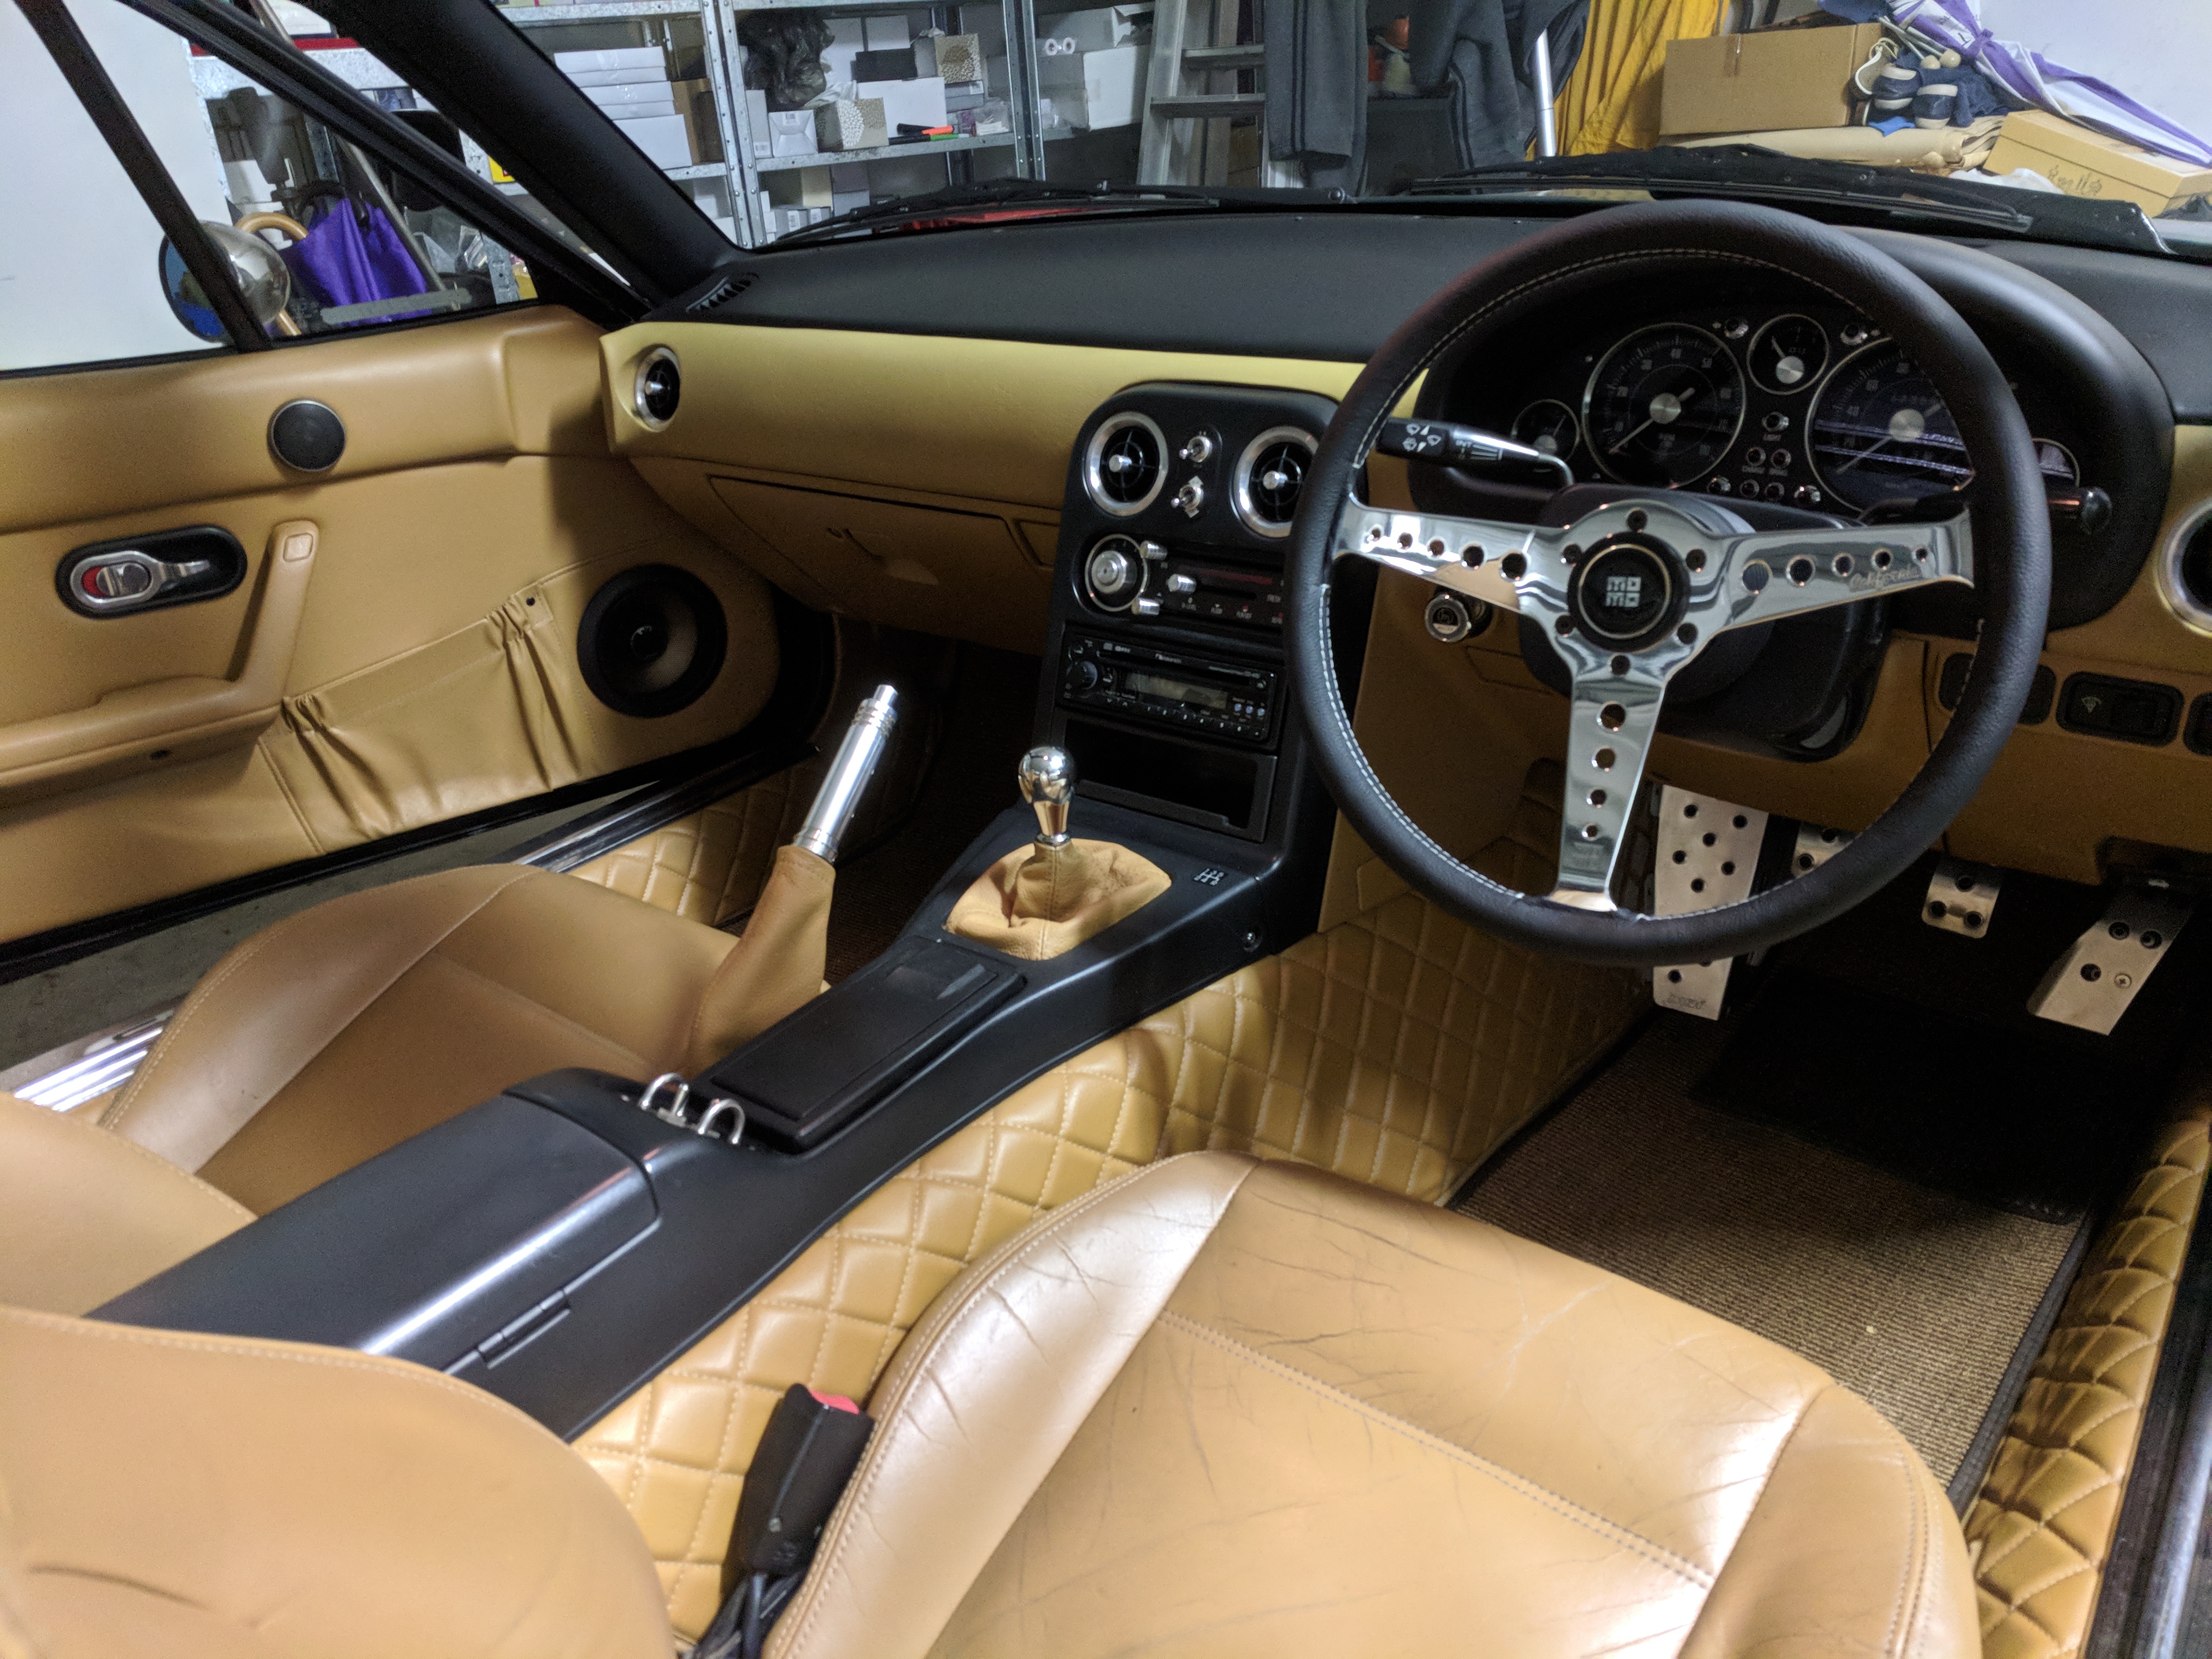
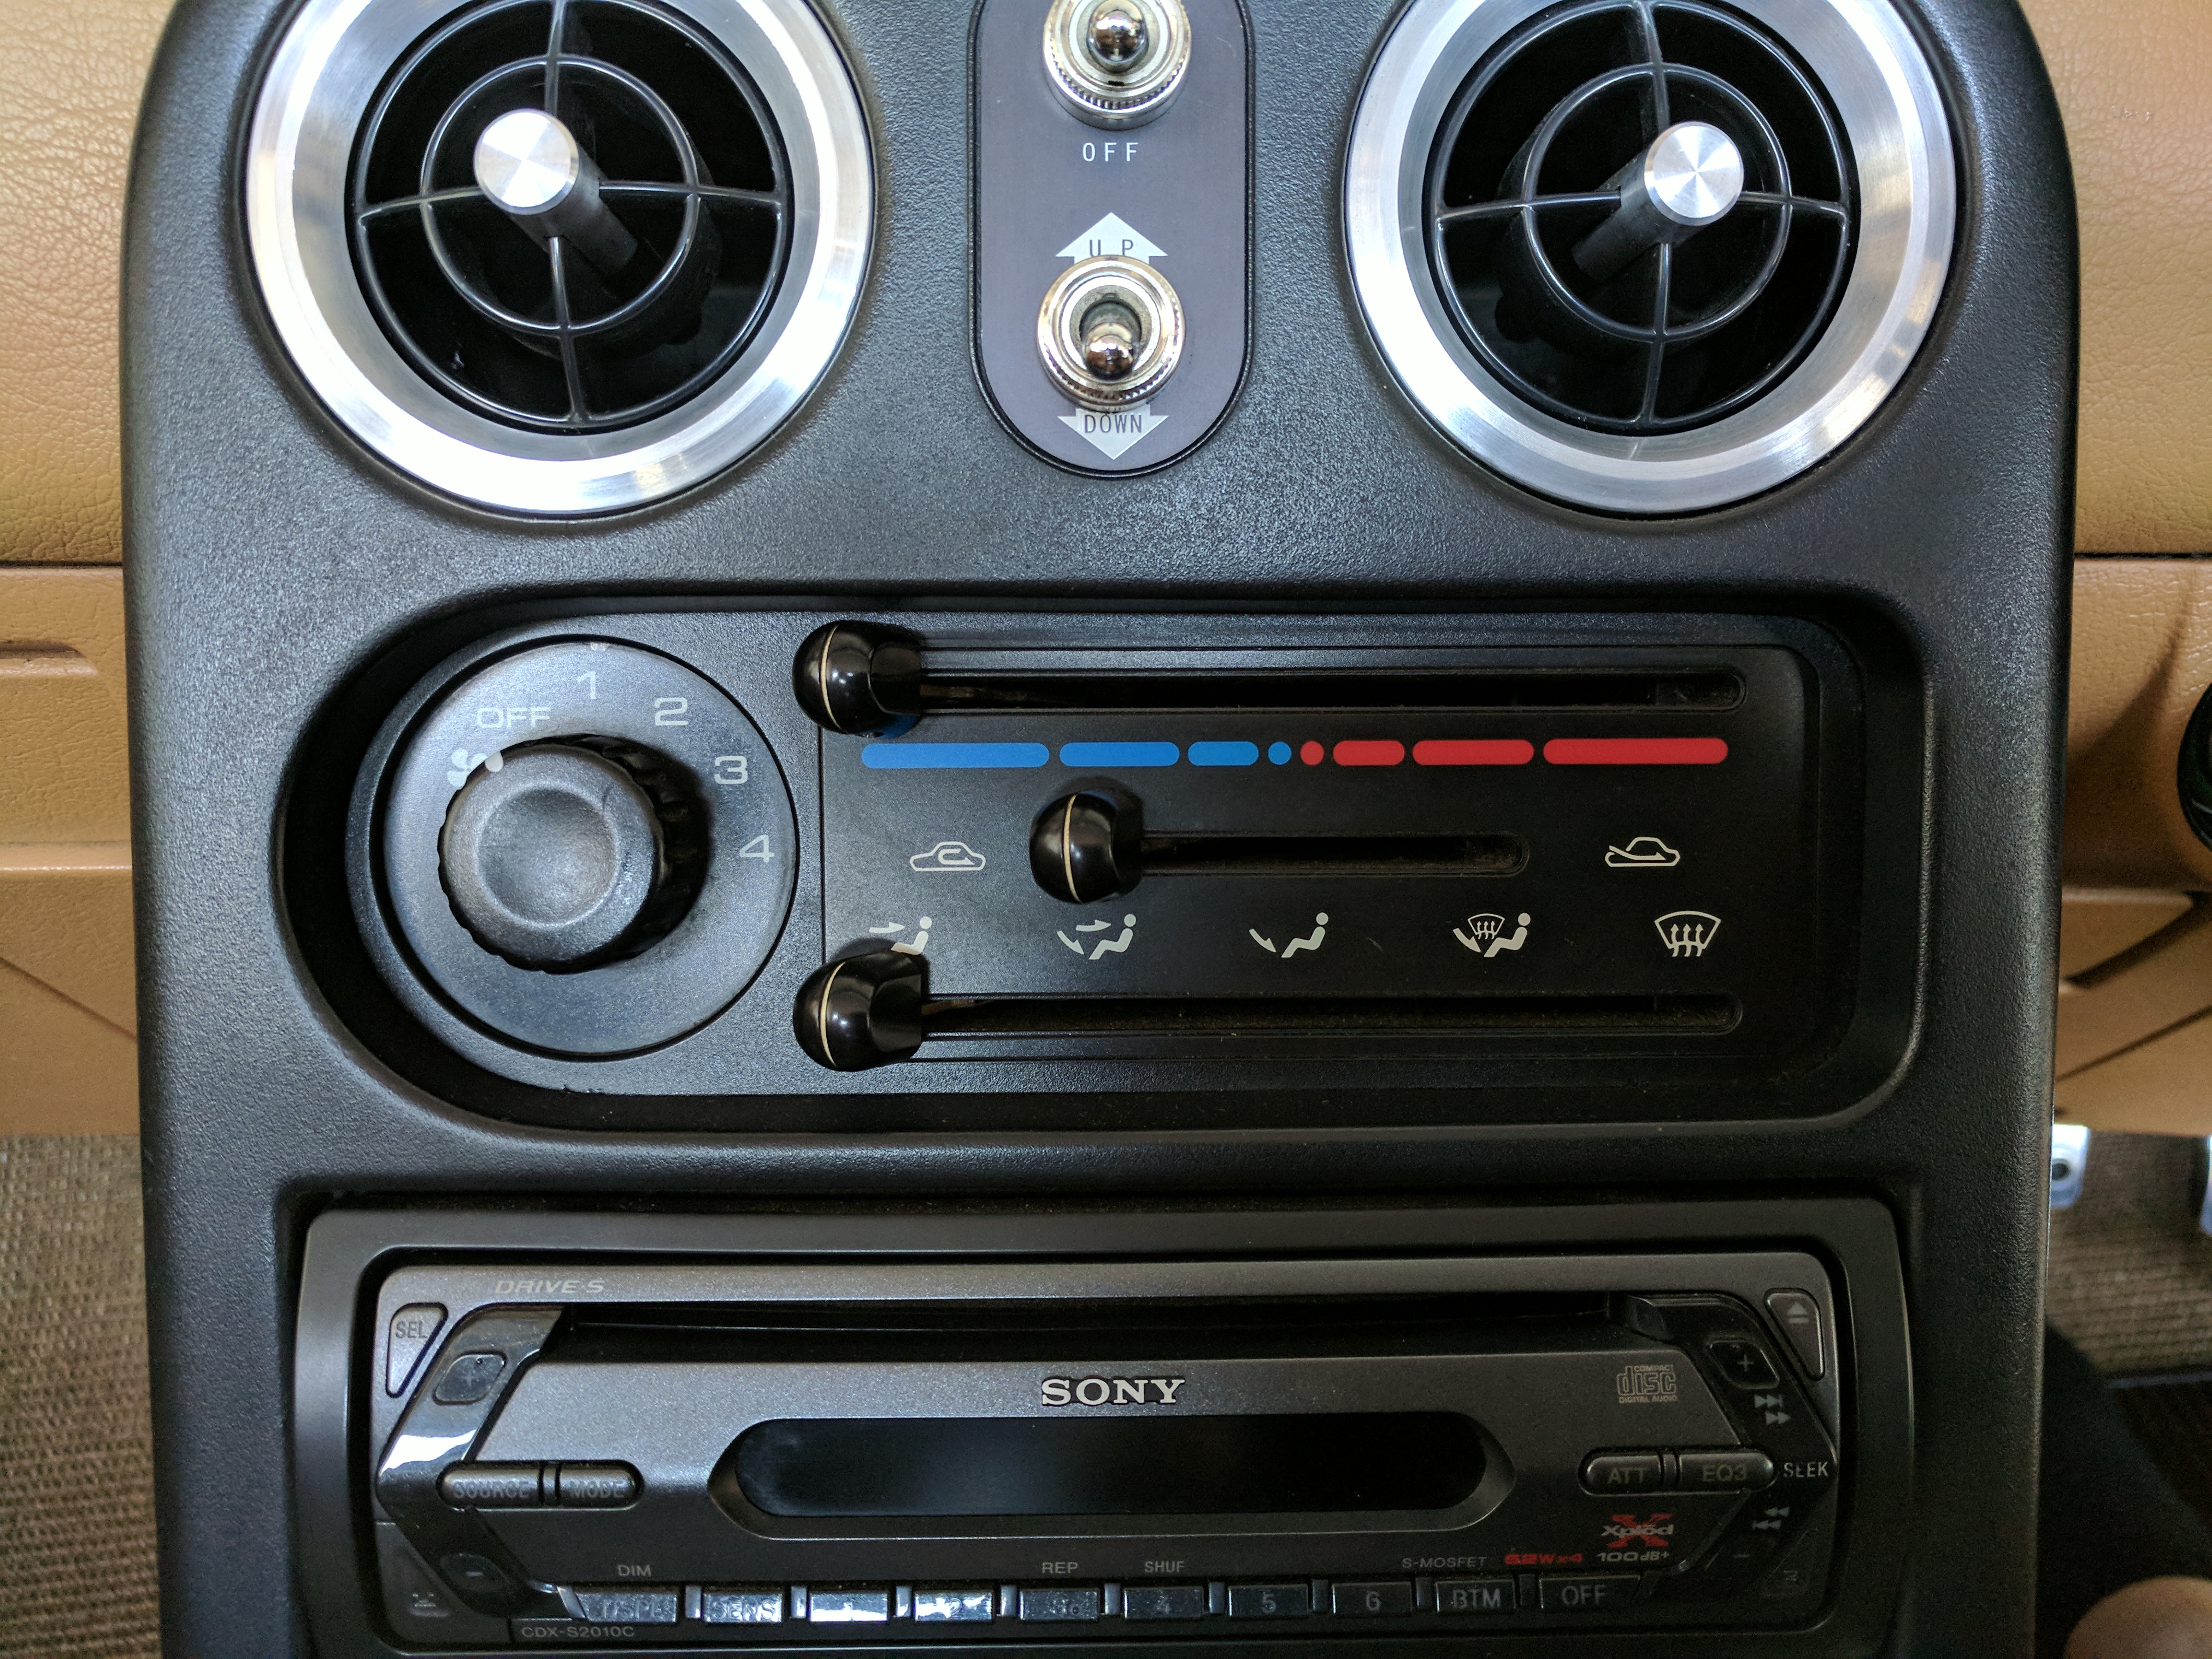
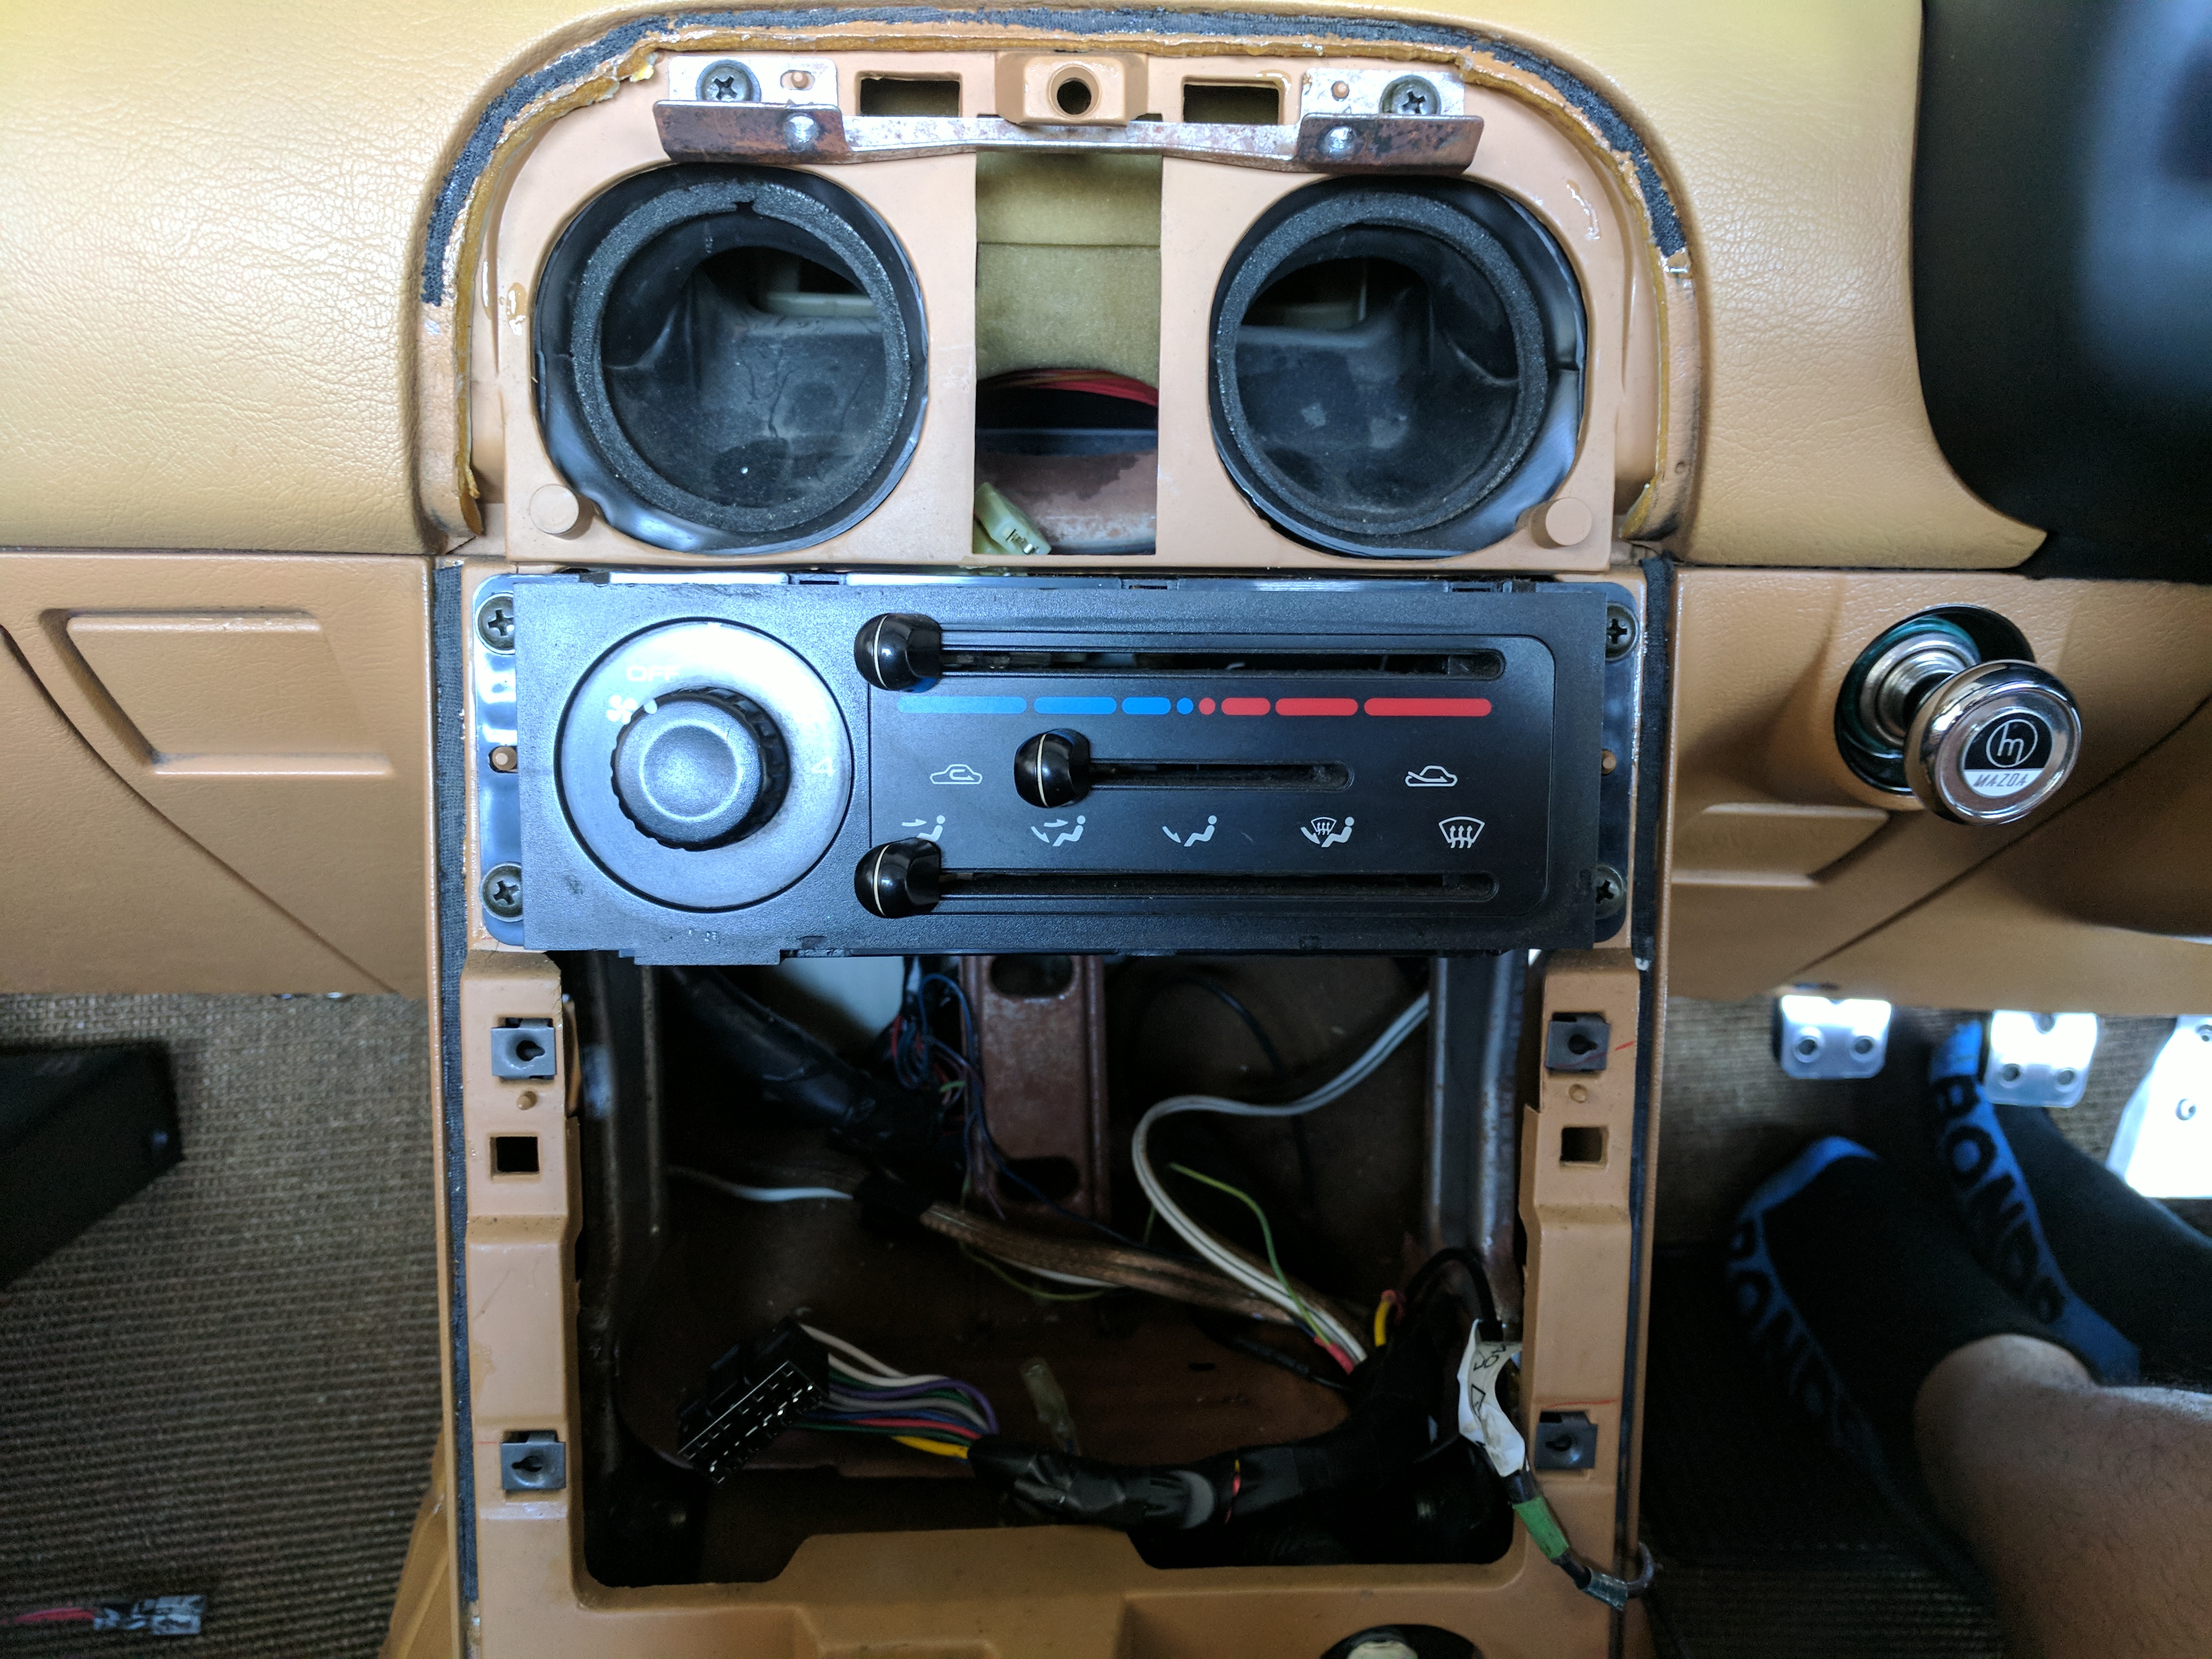
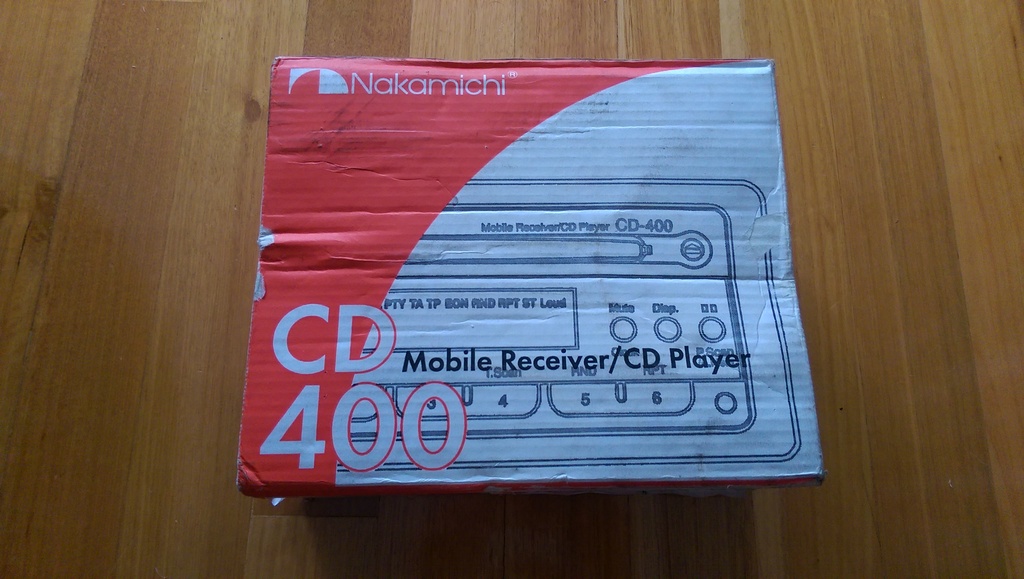
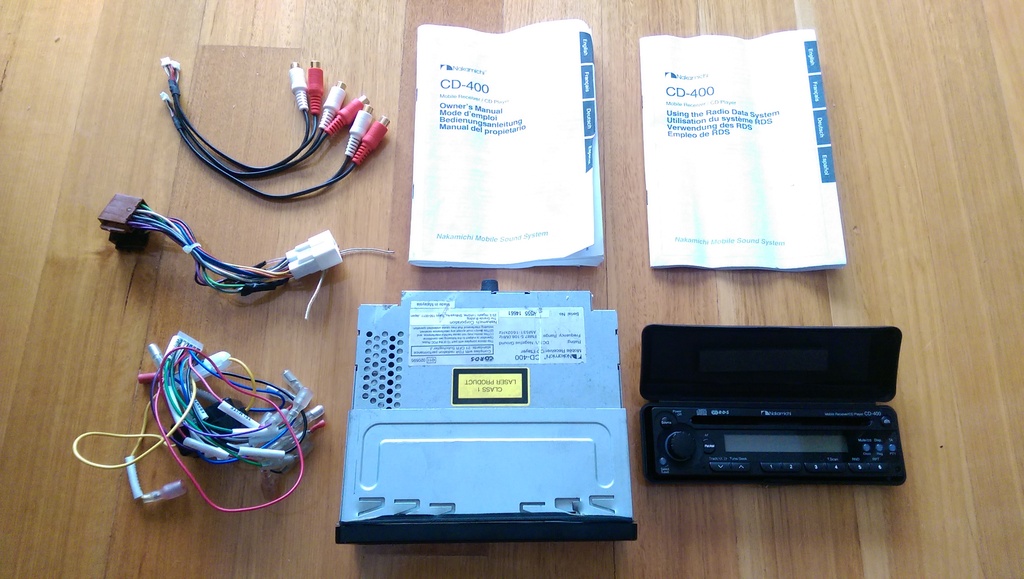
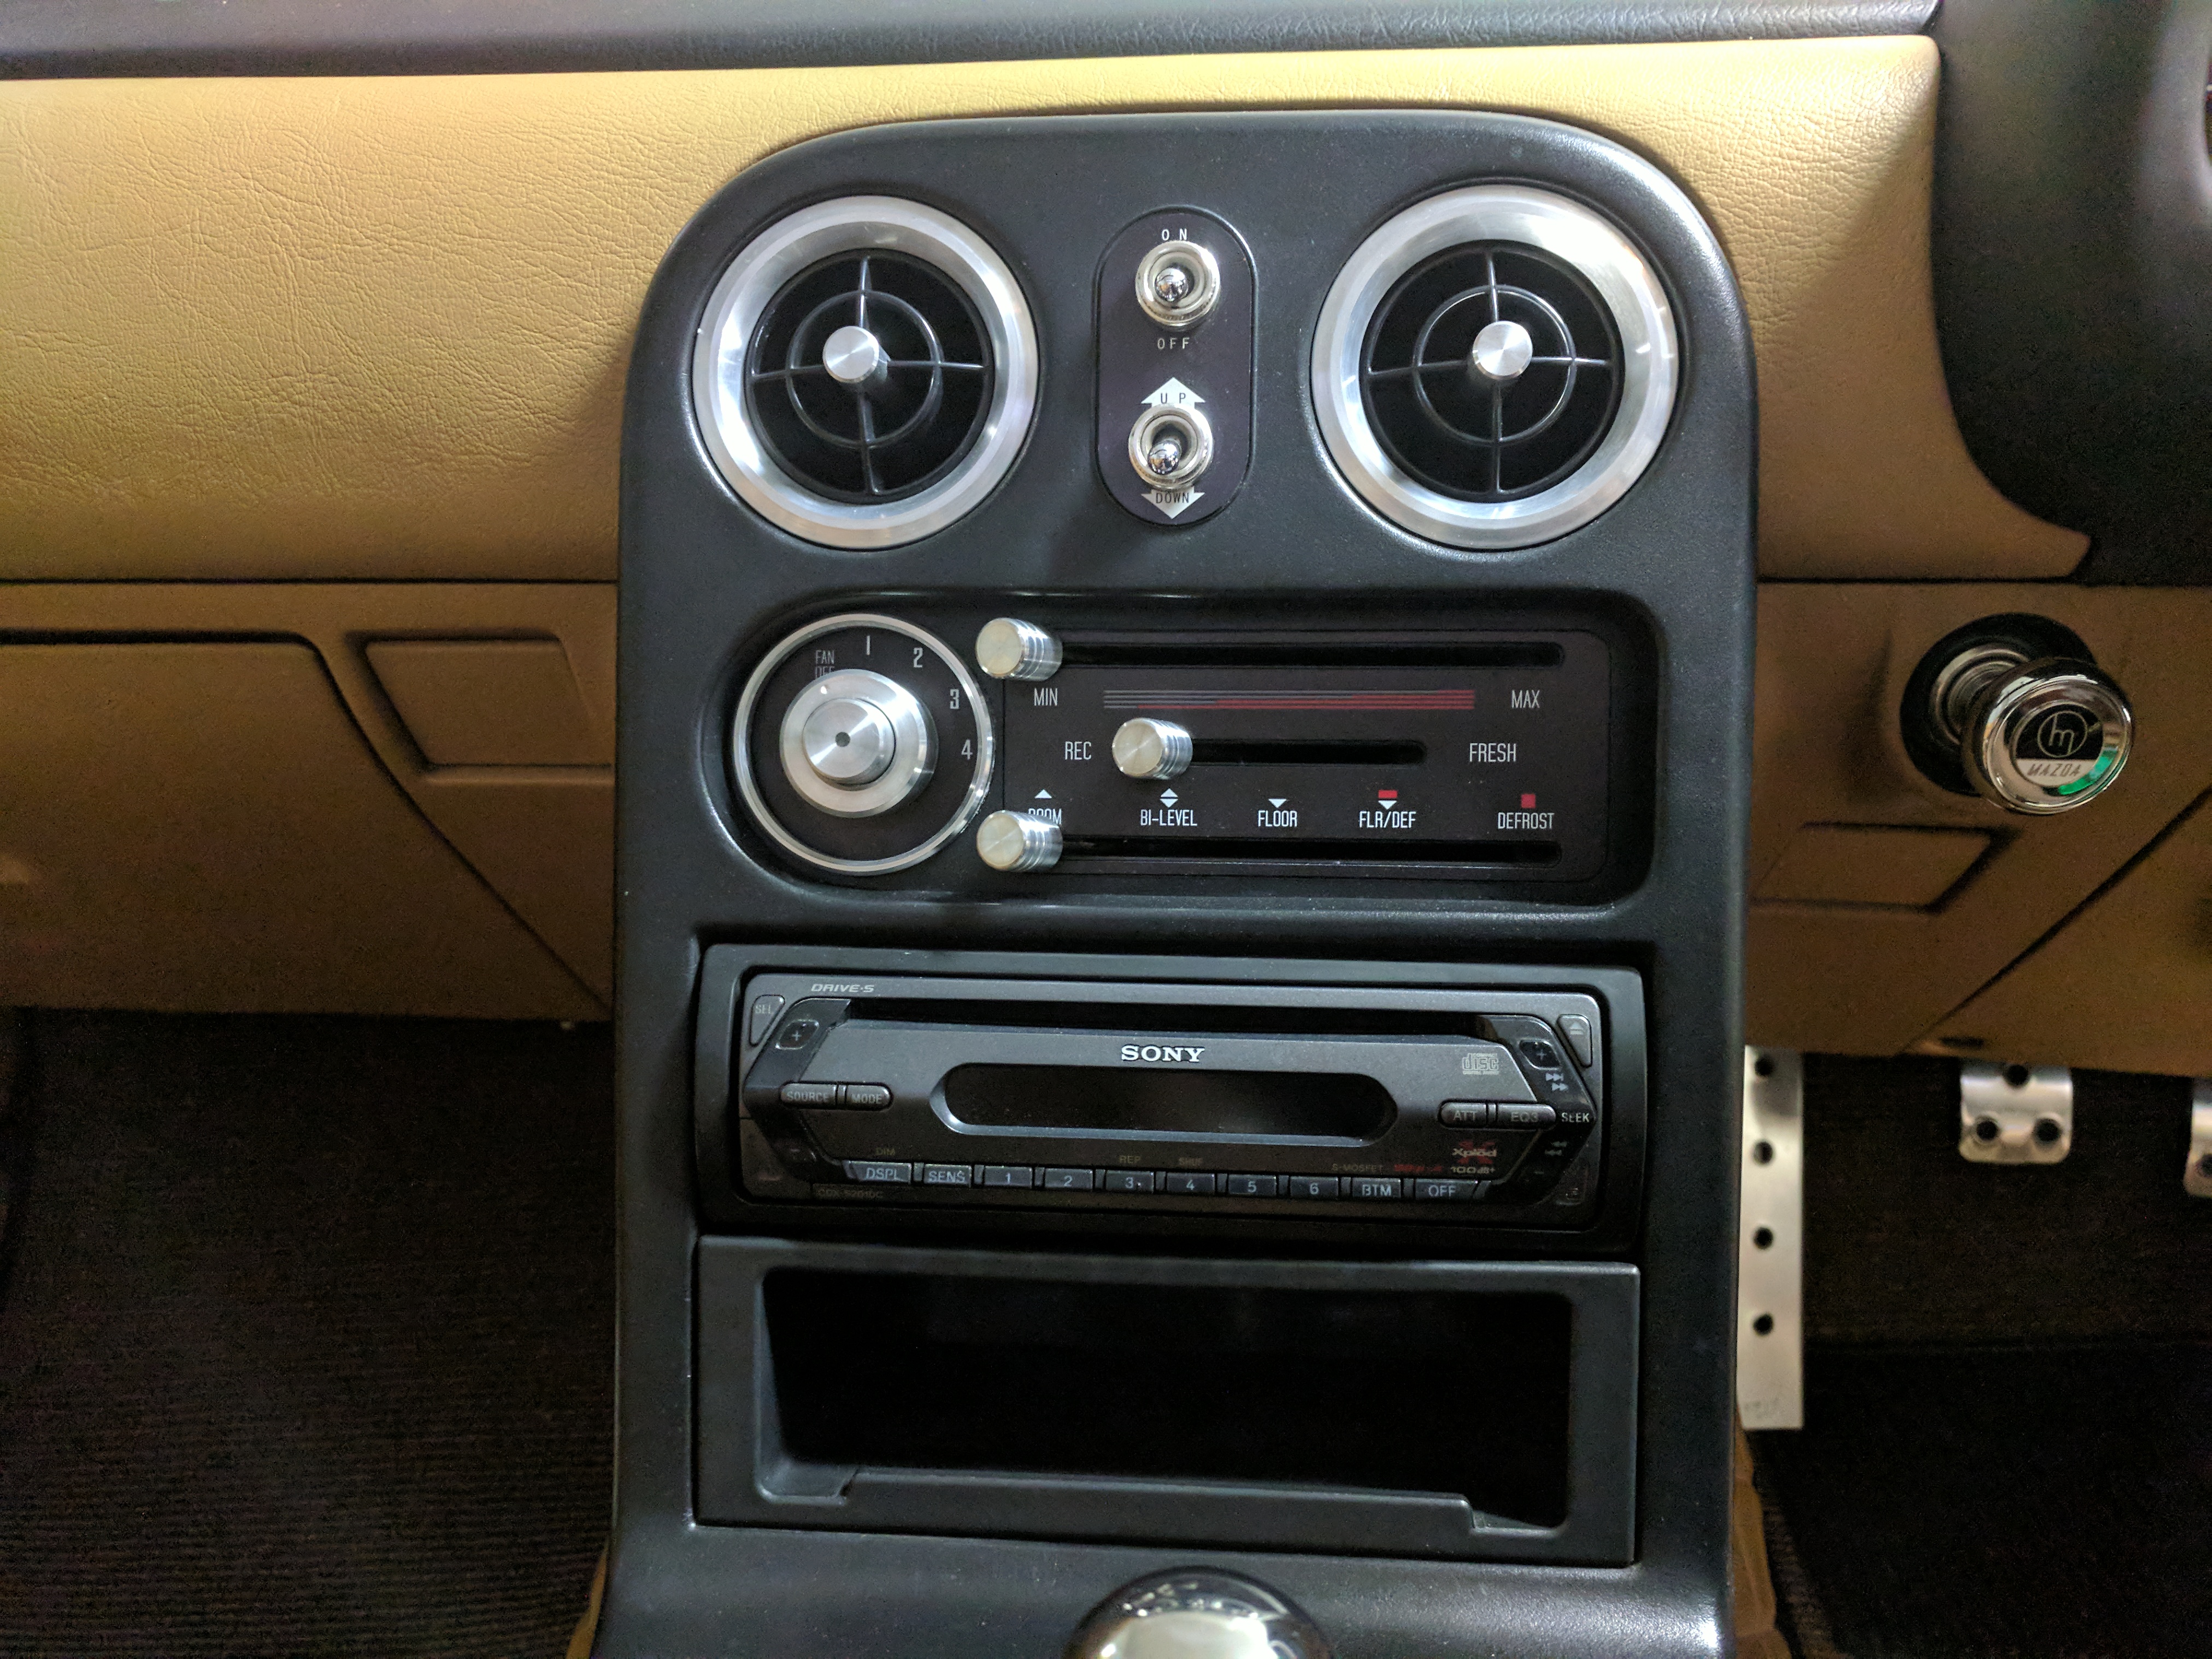
OEM HVAC panel. Really need to put in my Nakamichi headunit too...
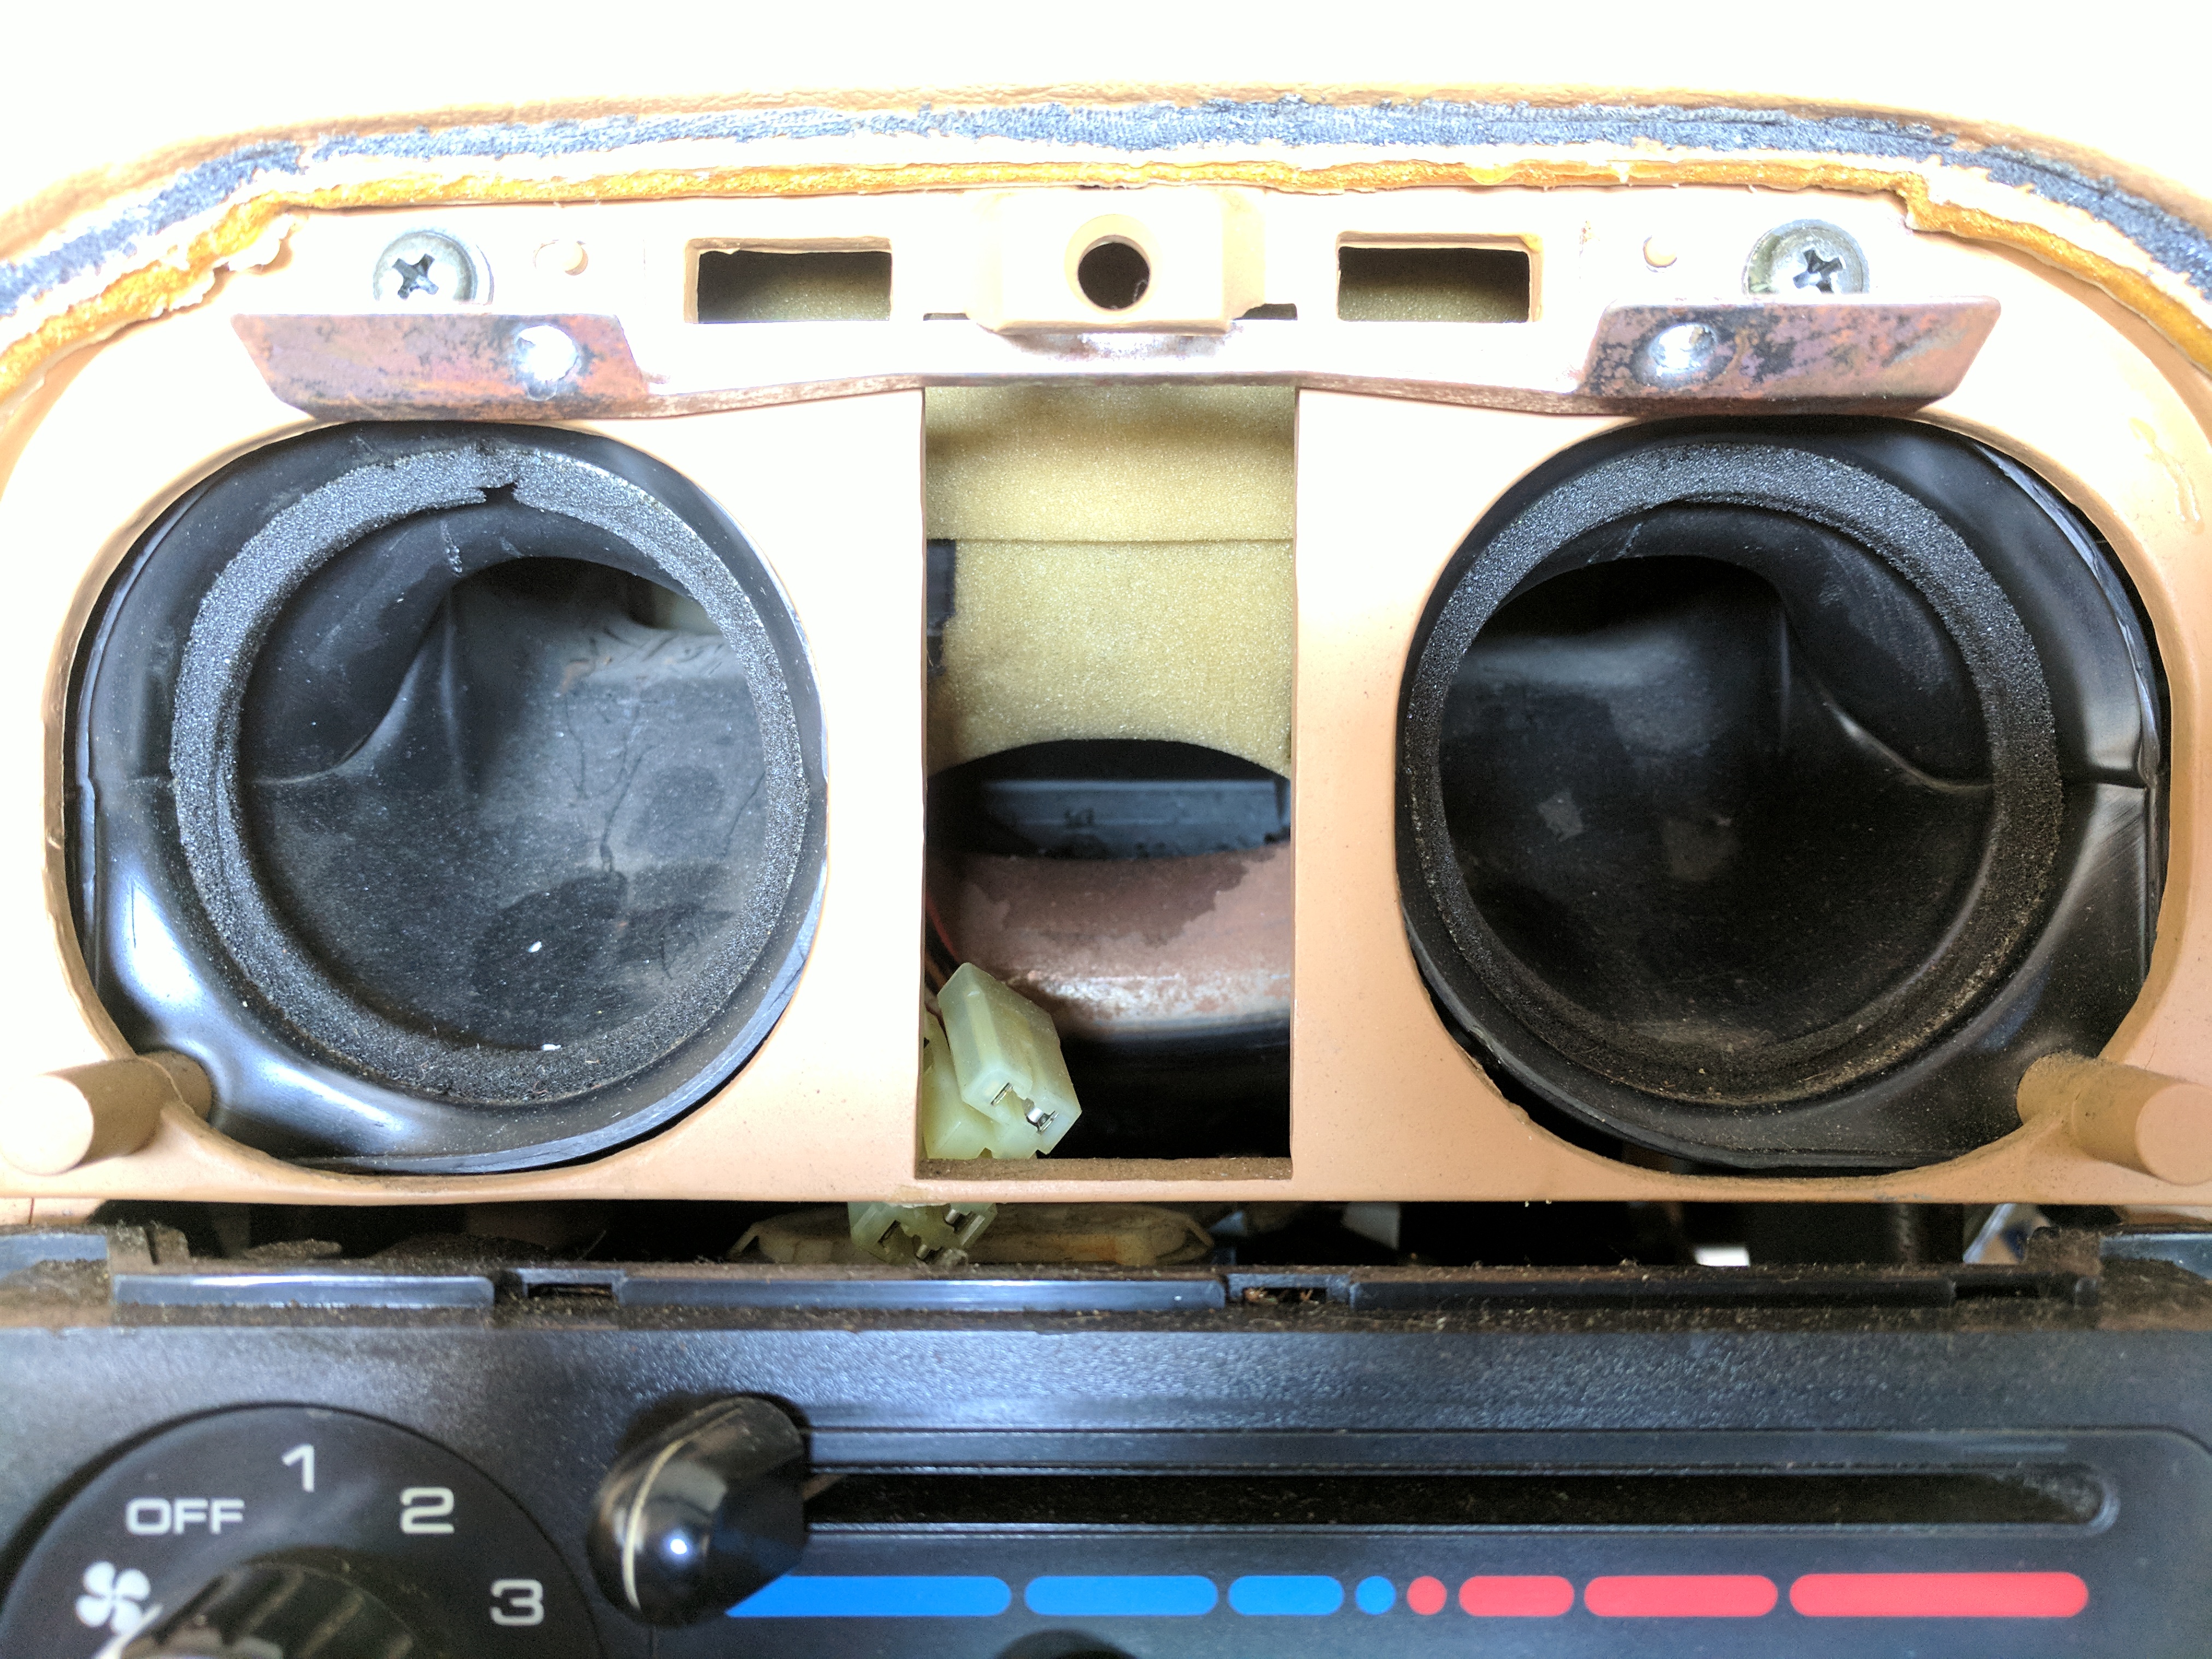
Eyeball vents and tombstone out.
The vents had a thin film of dust which needed cleaning.
Much better.

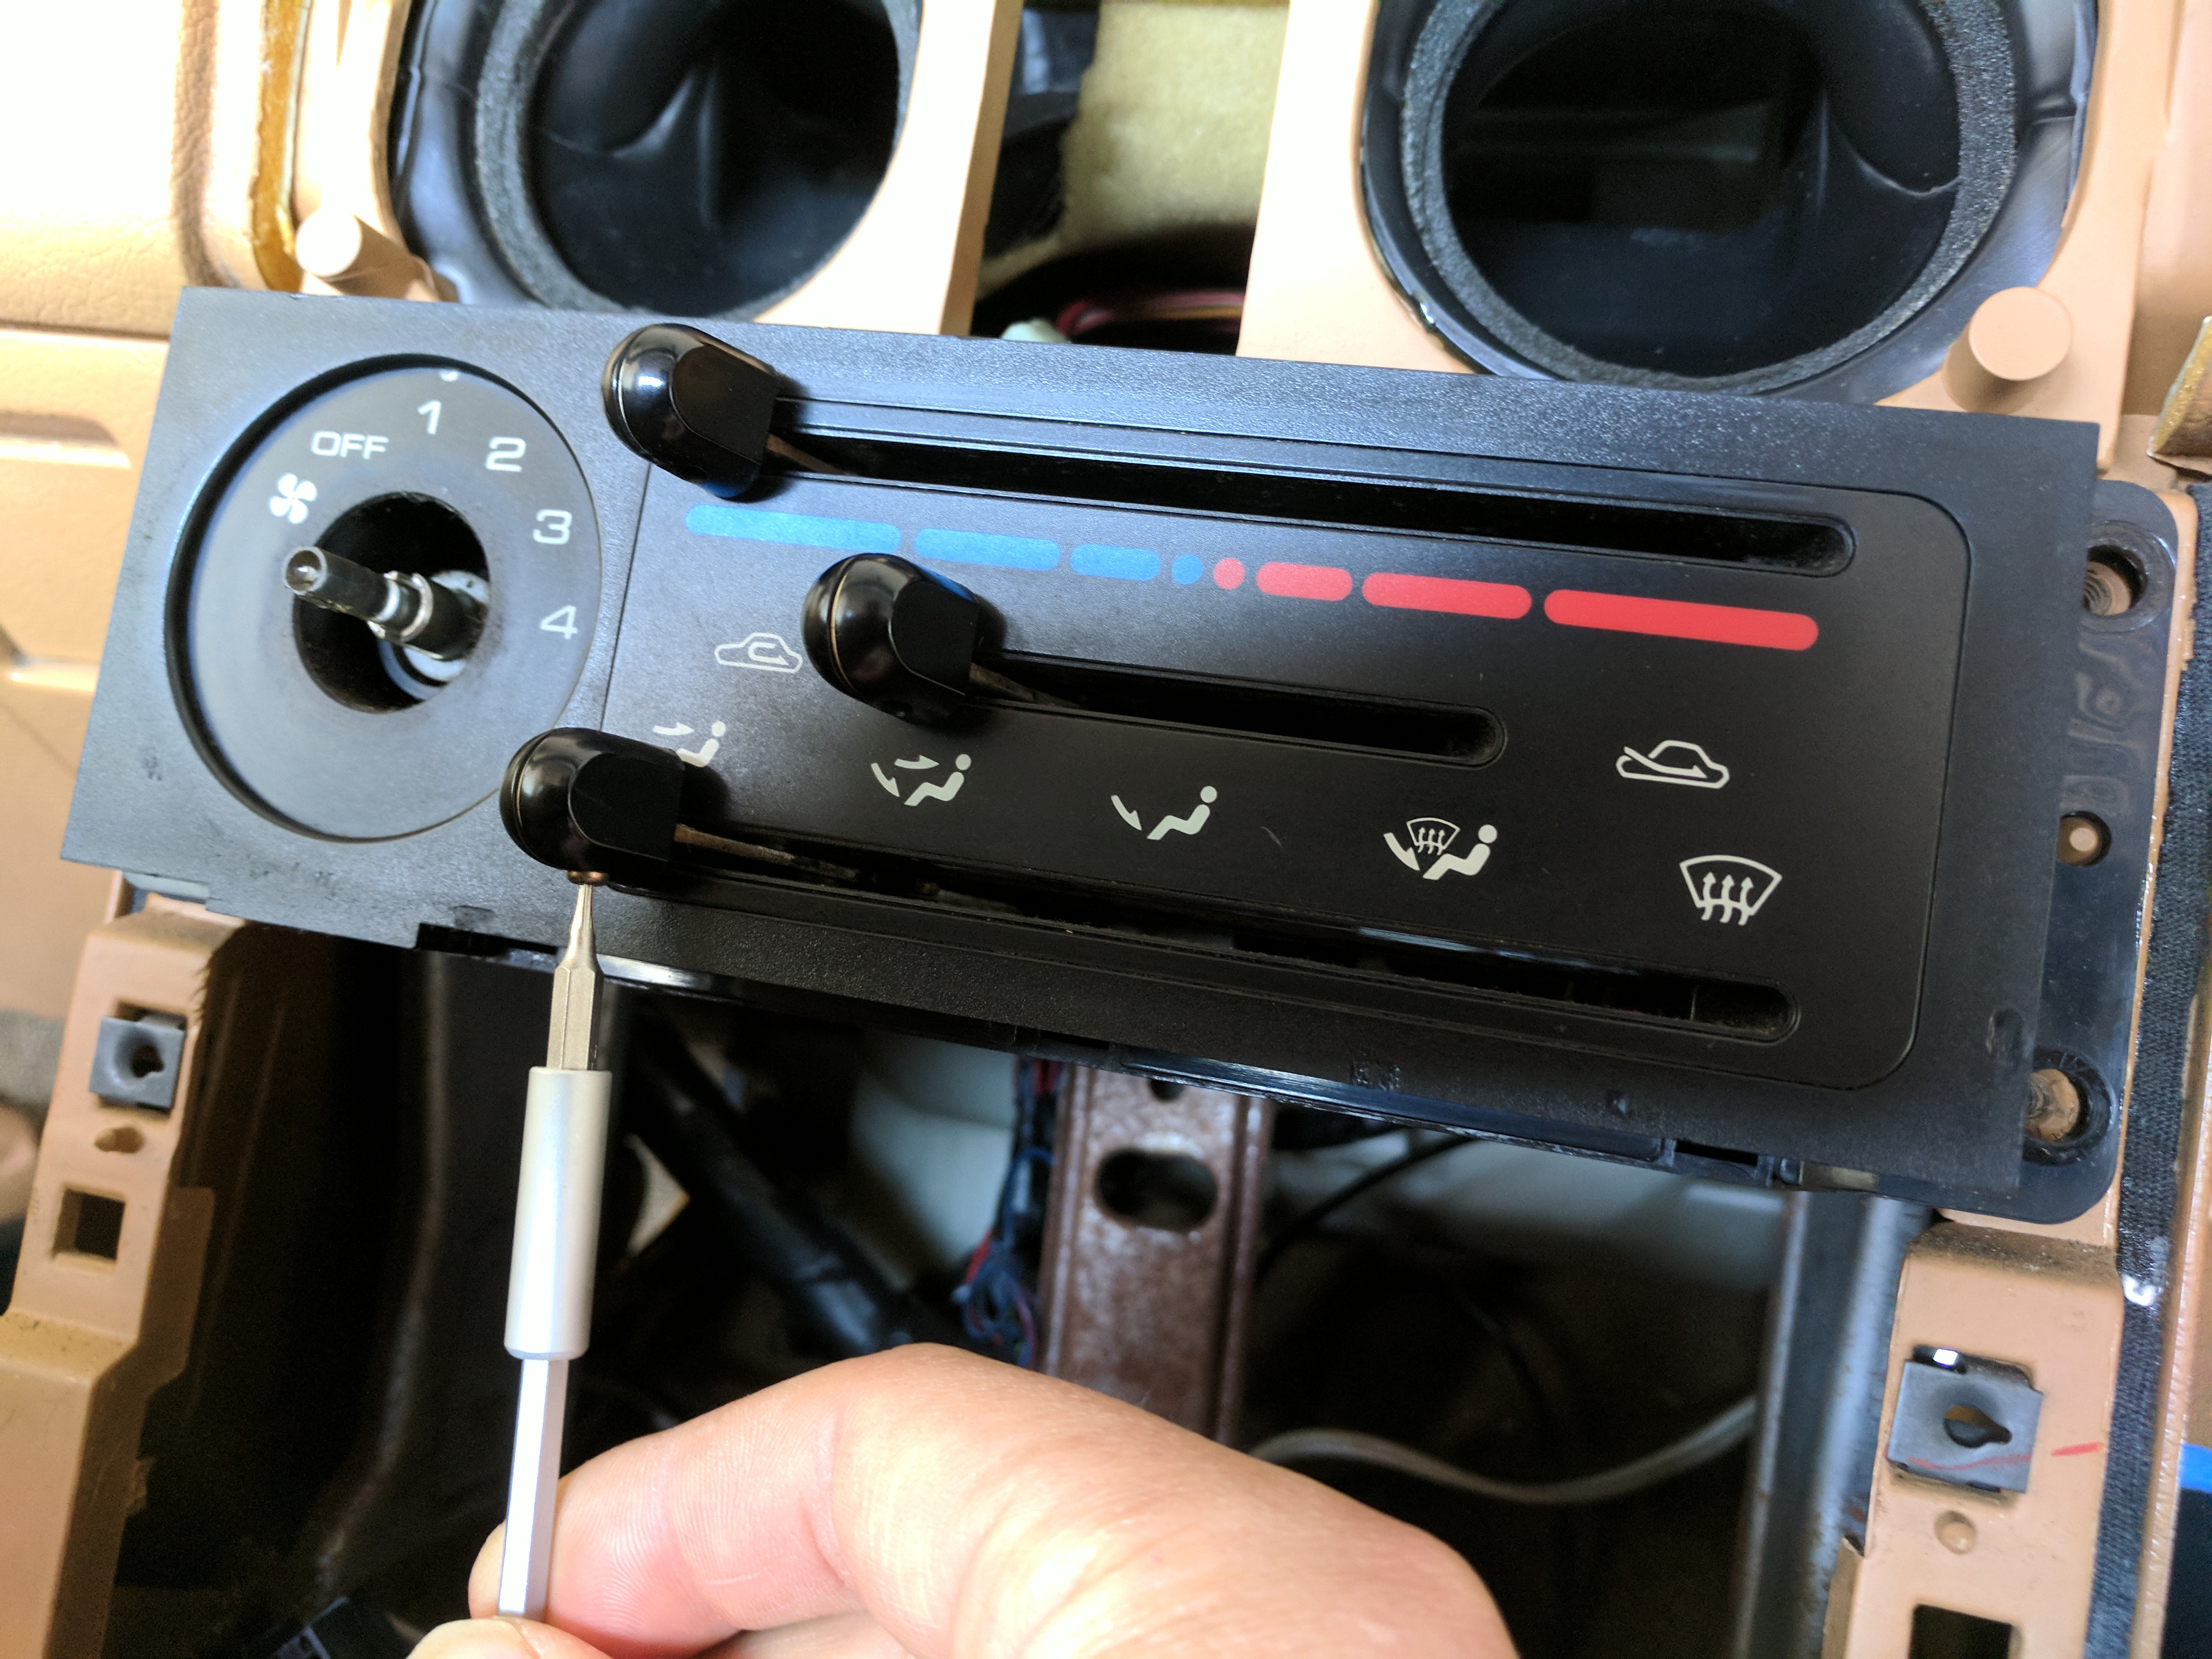
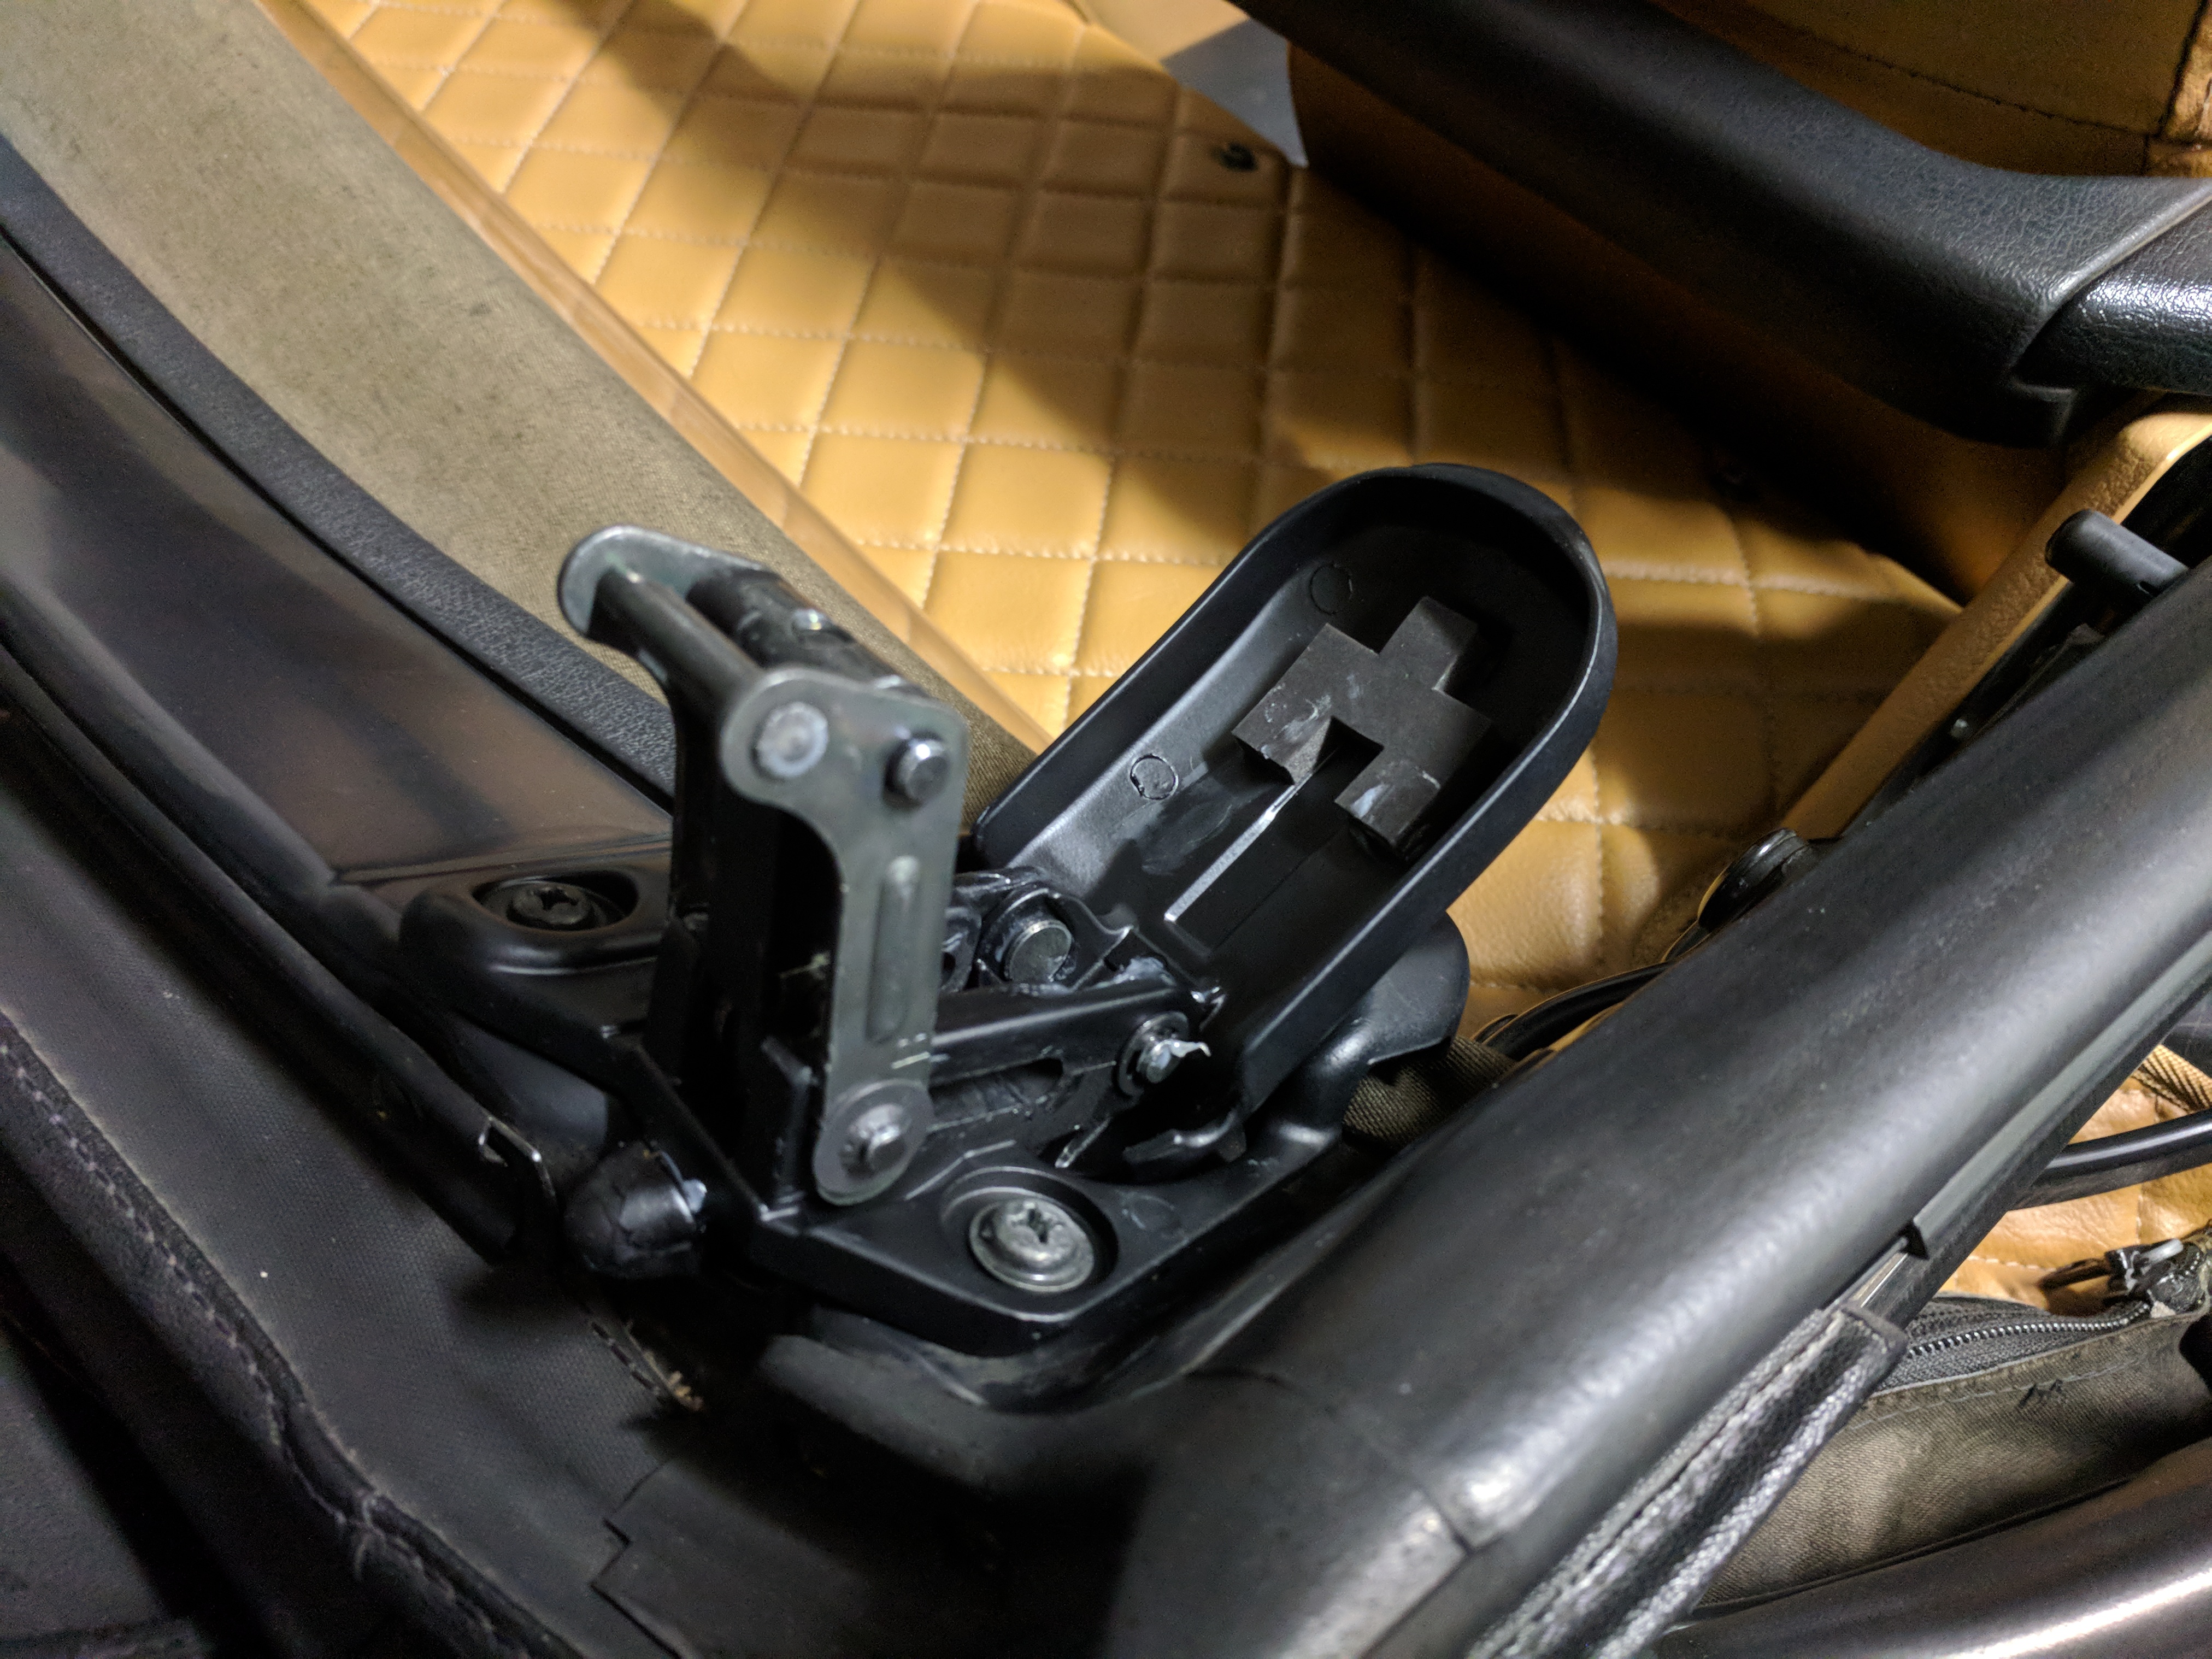
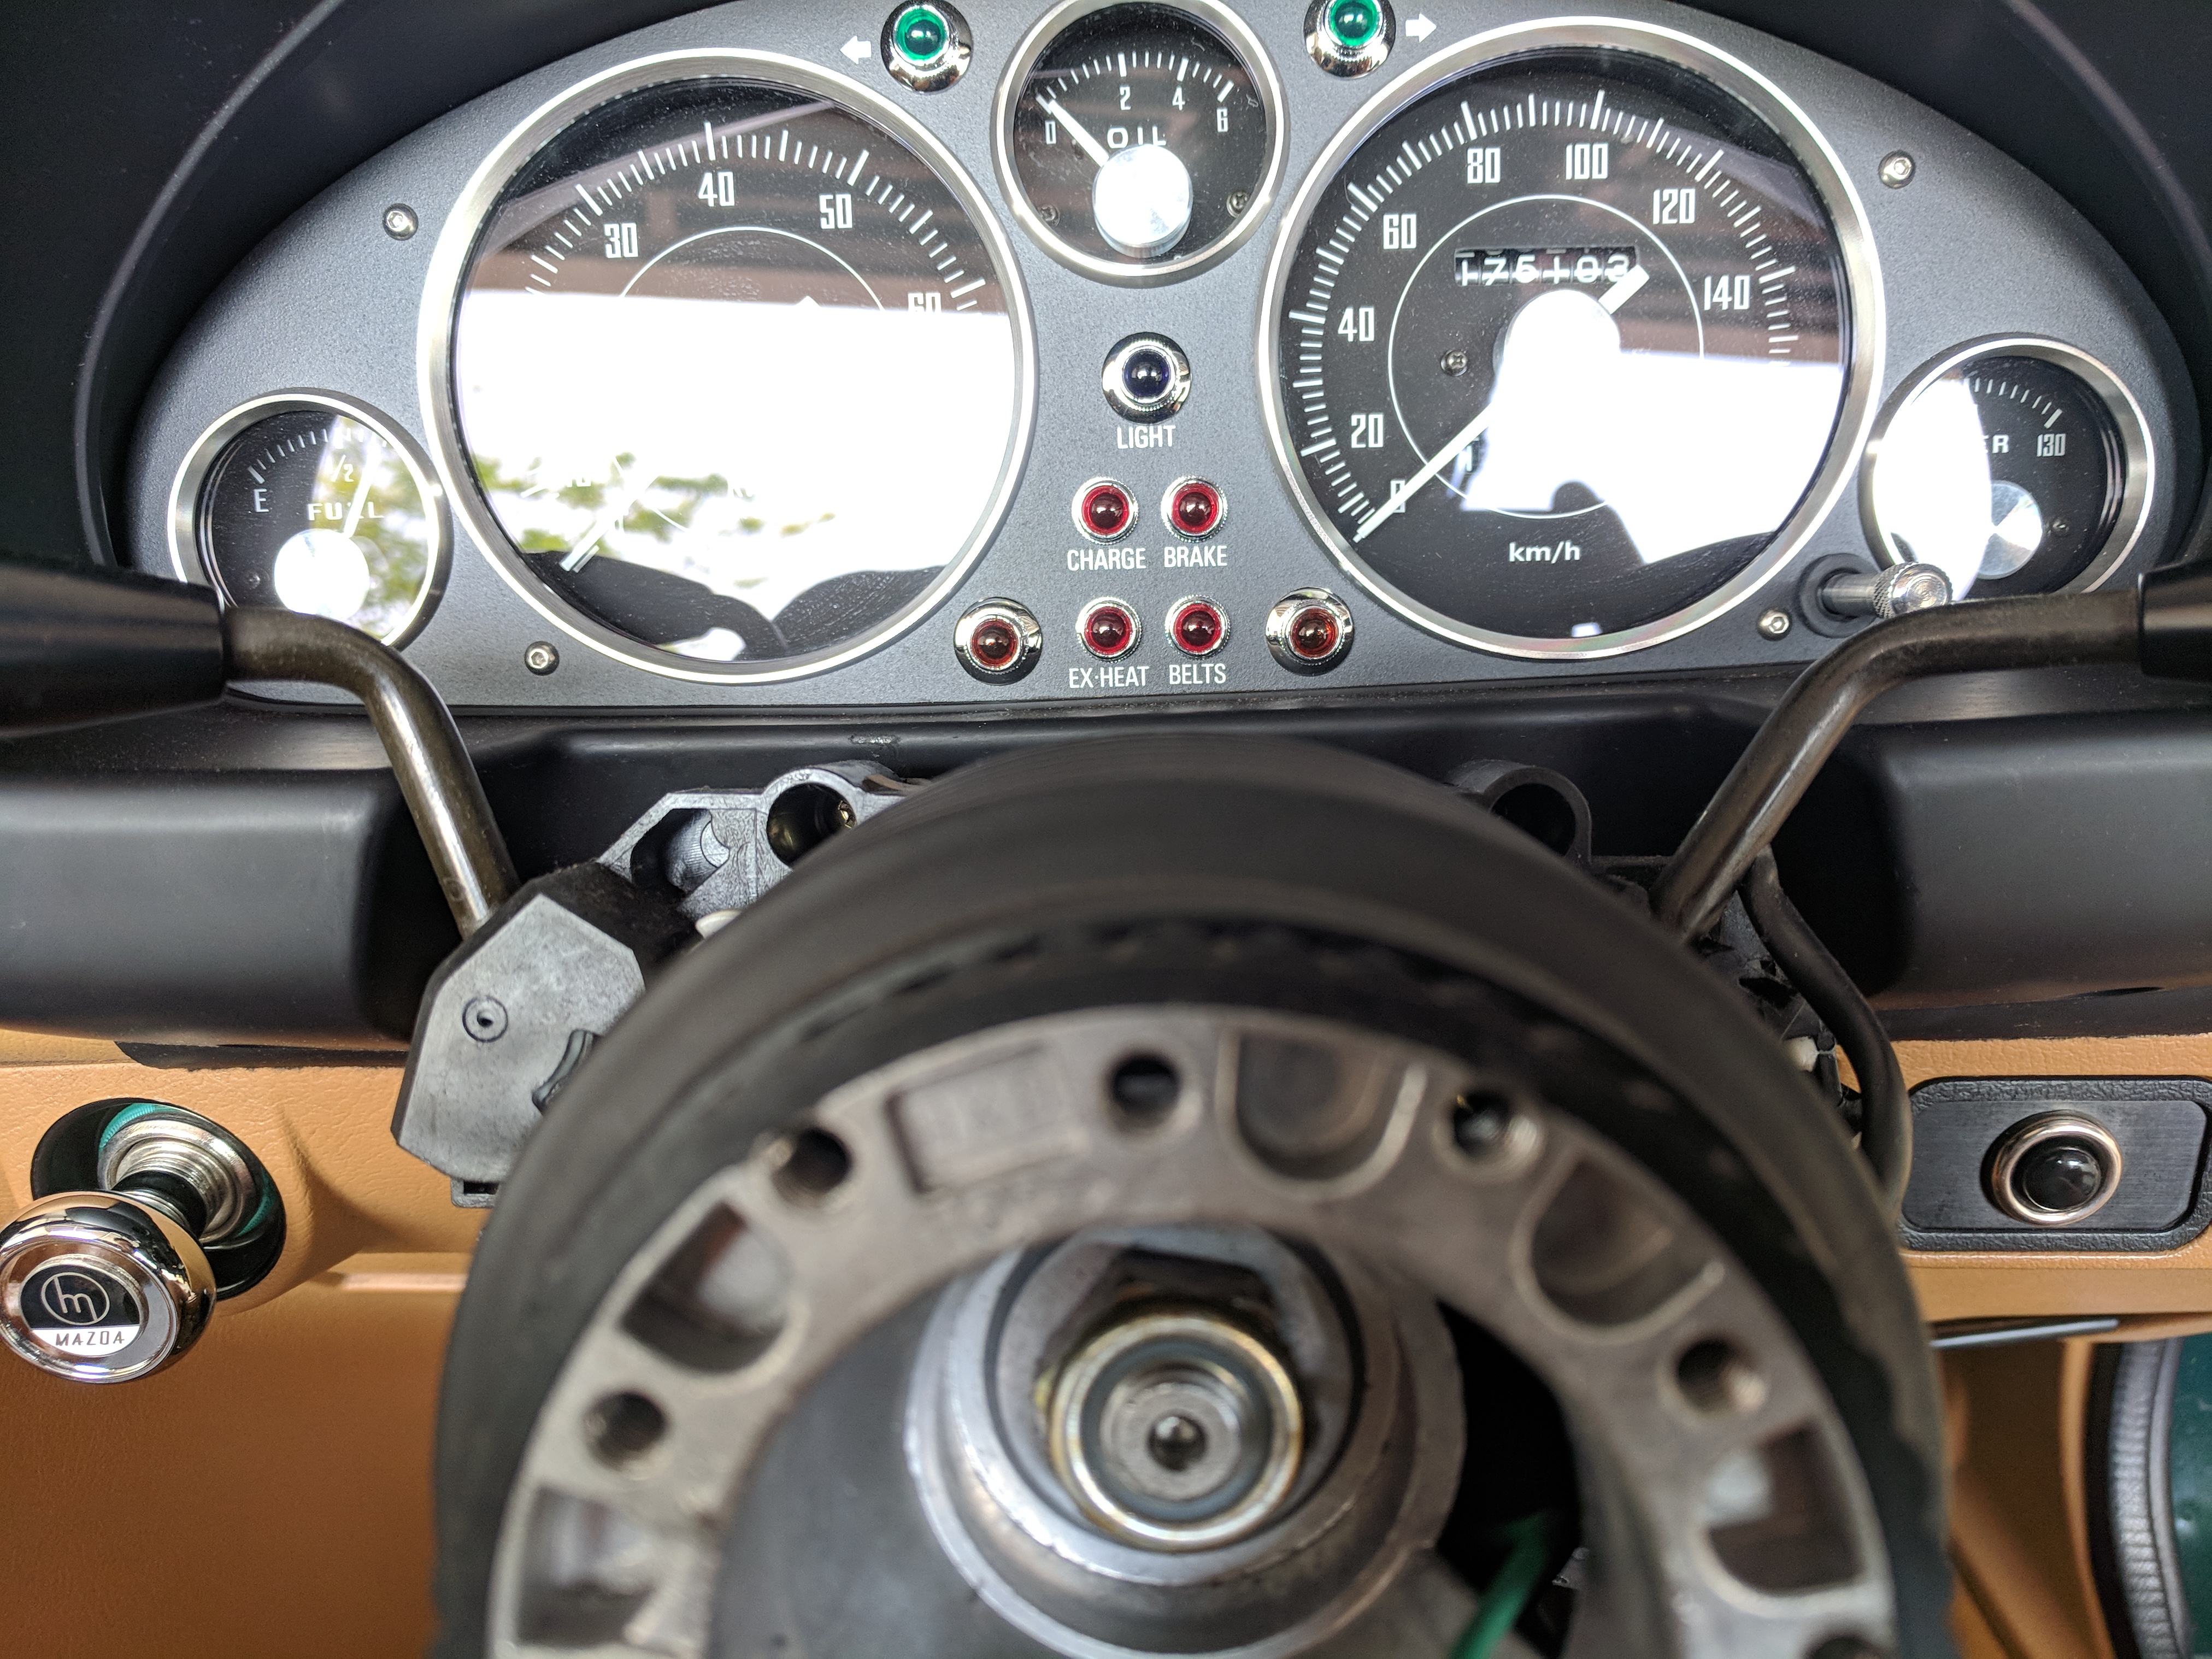
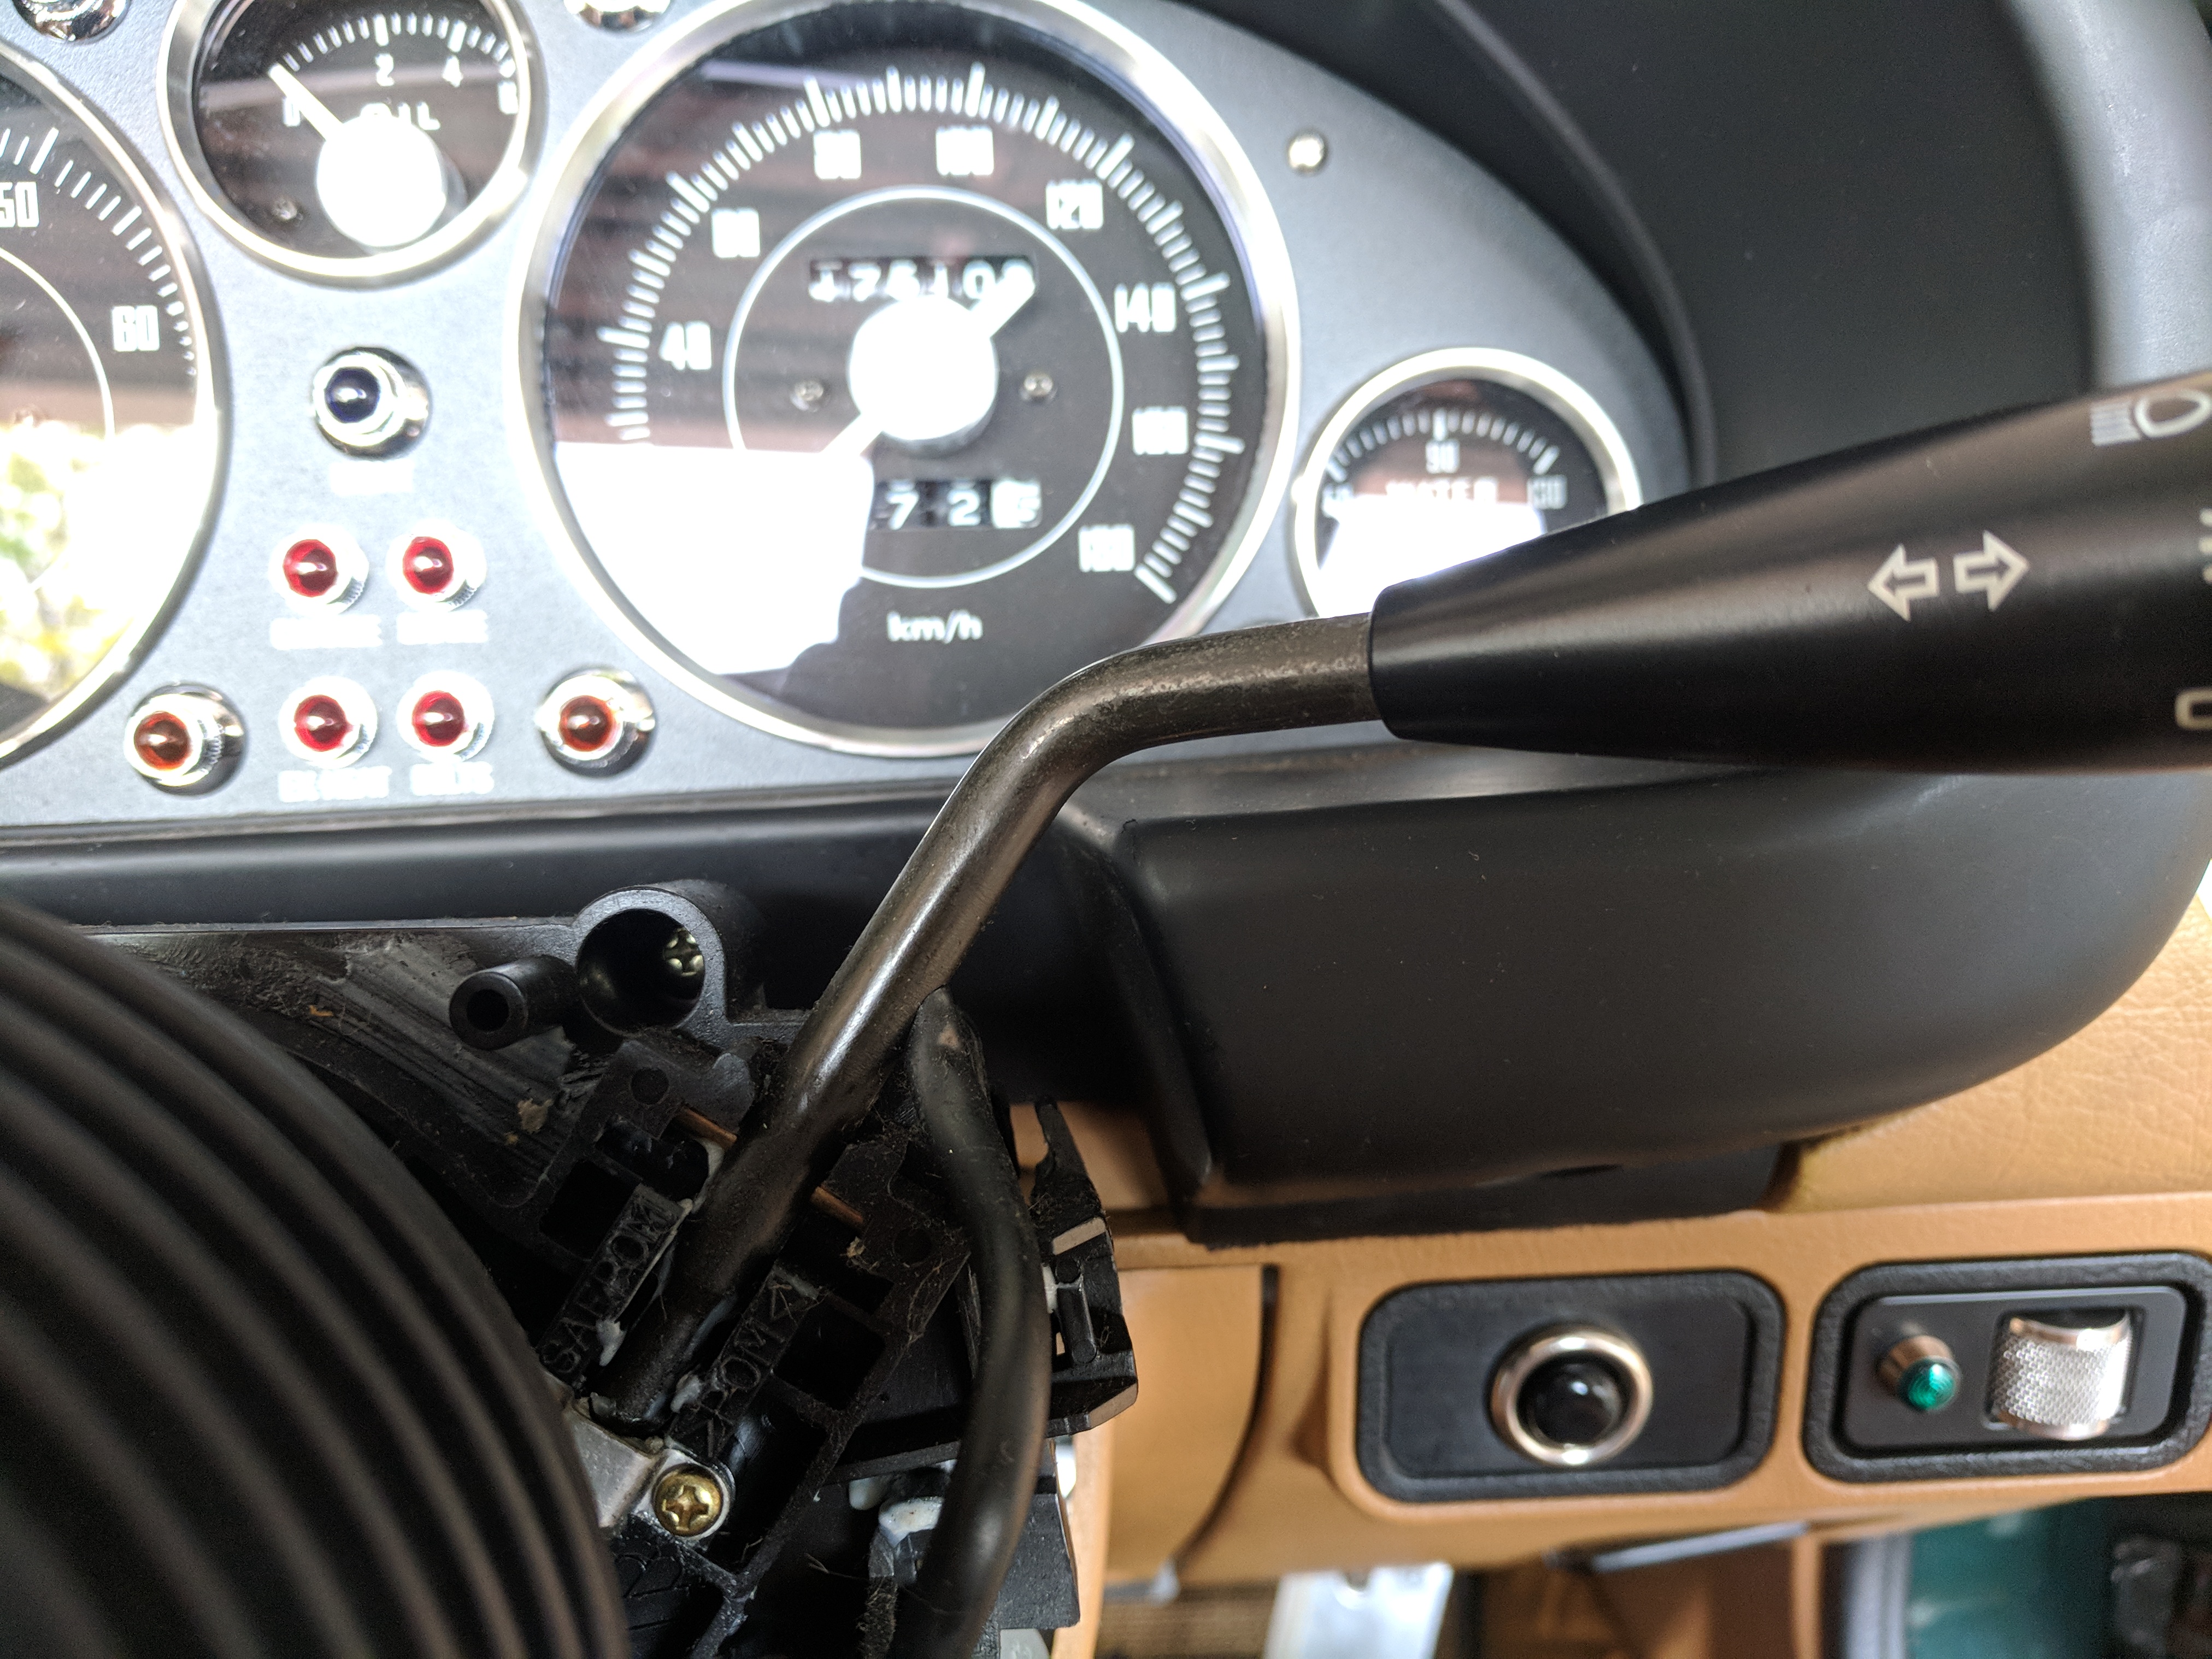
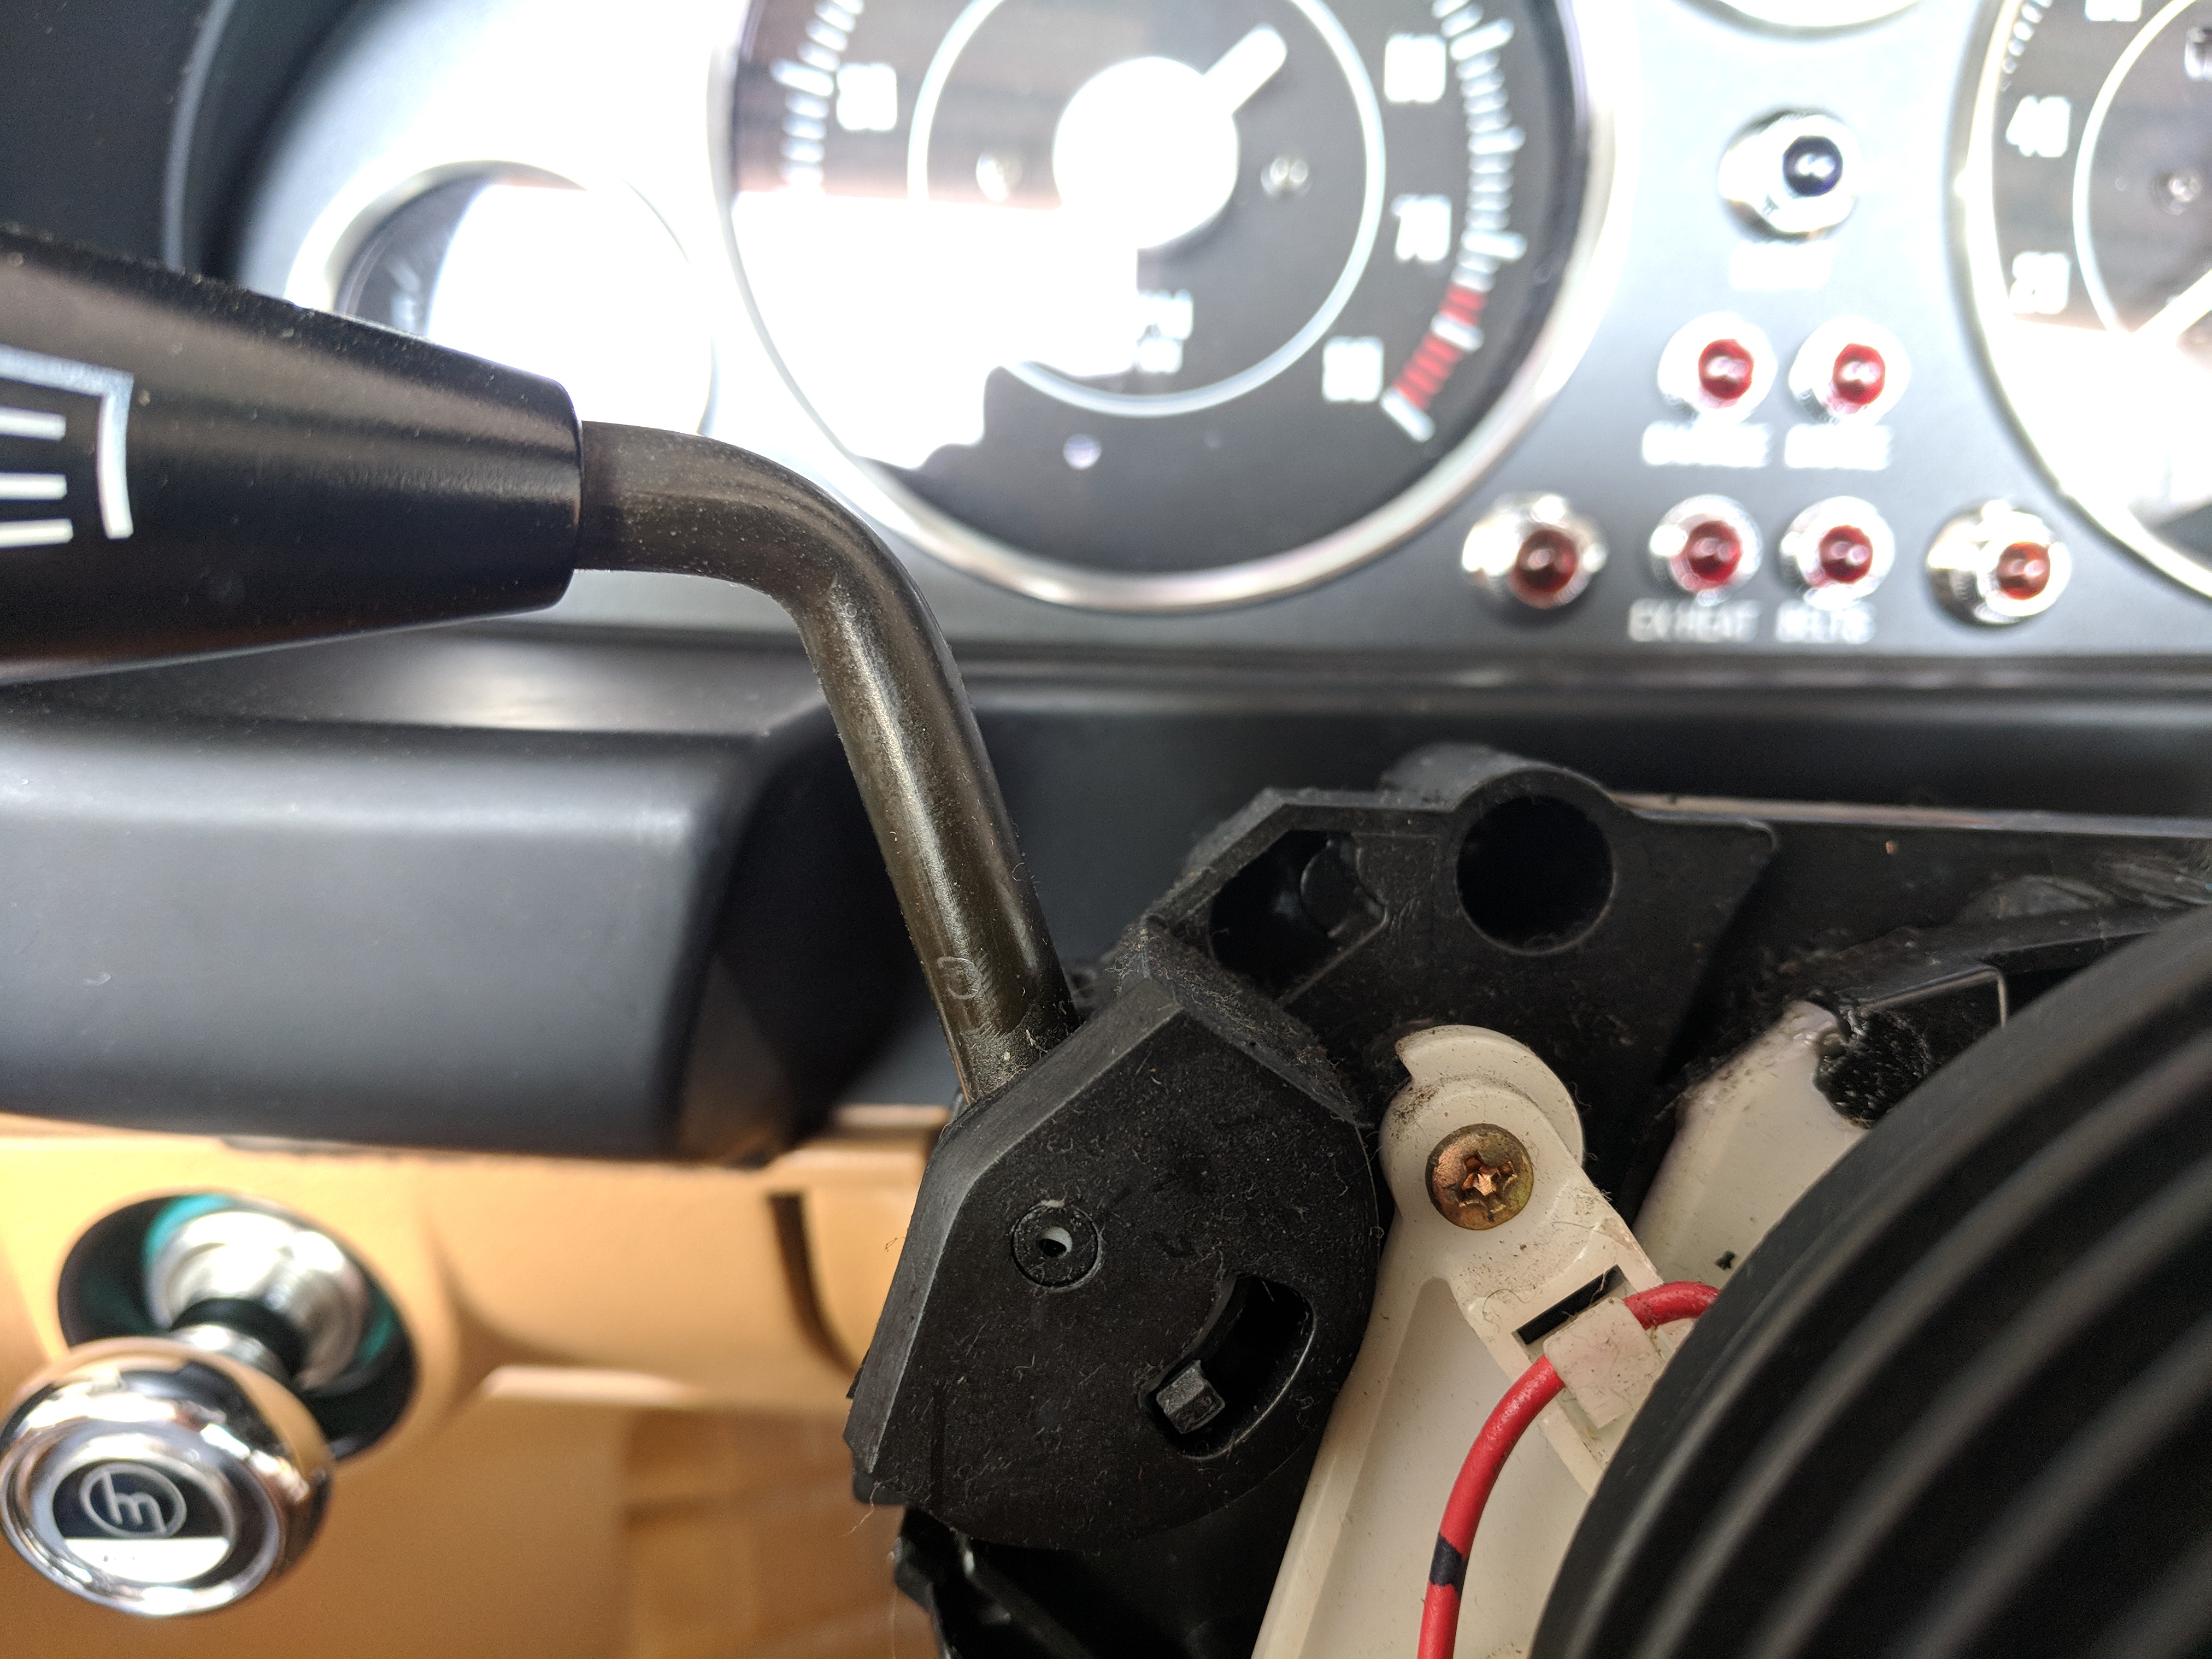
The slider buttons have a tiny little hex screw on the bottom, which need to be unscrewed before being able to take the HVAC panel off completely.
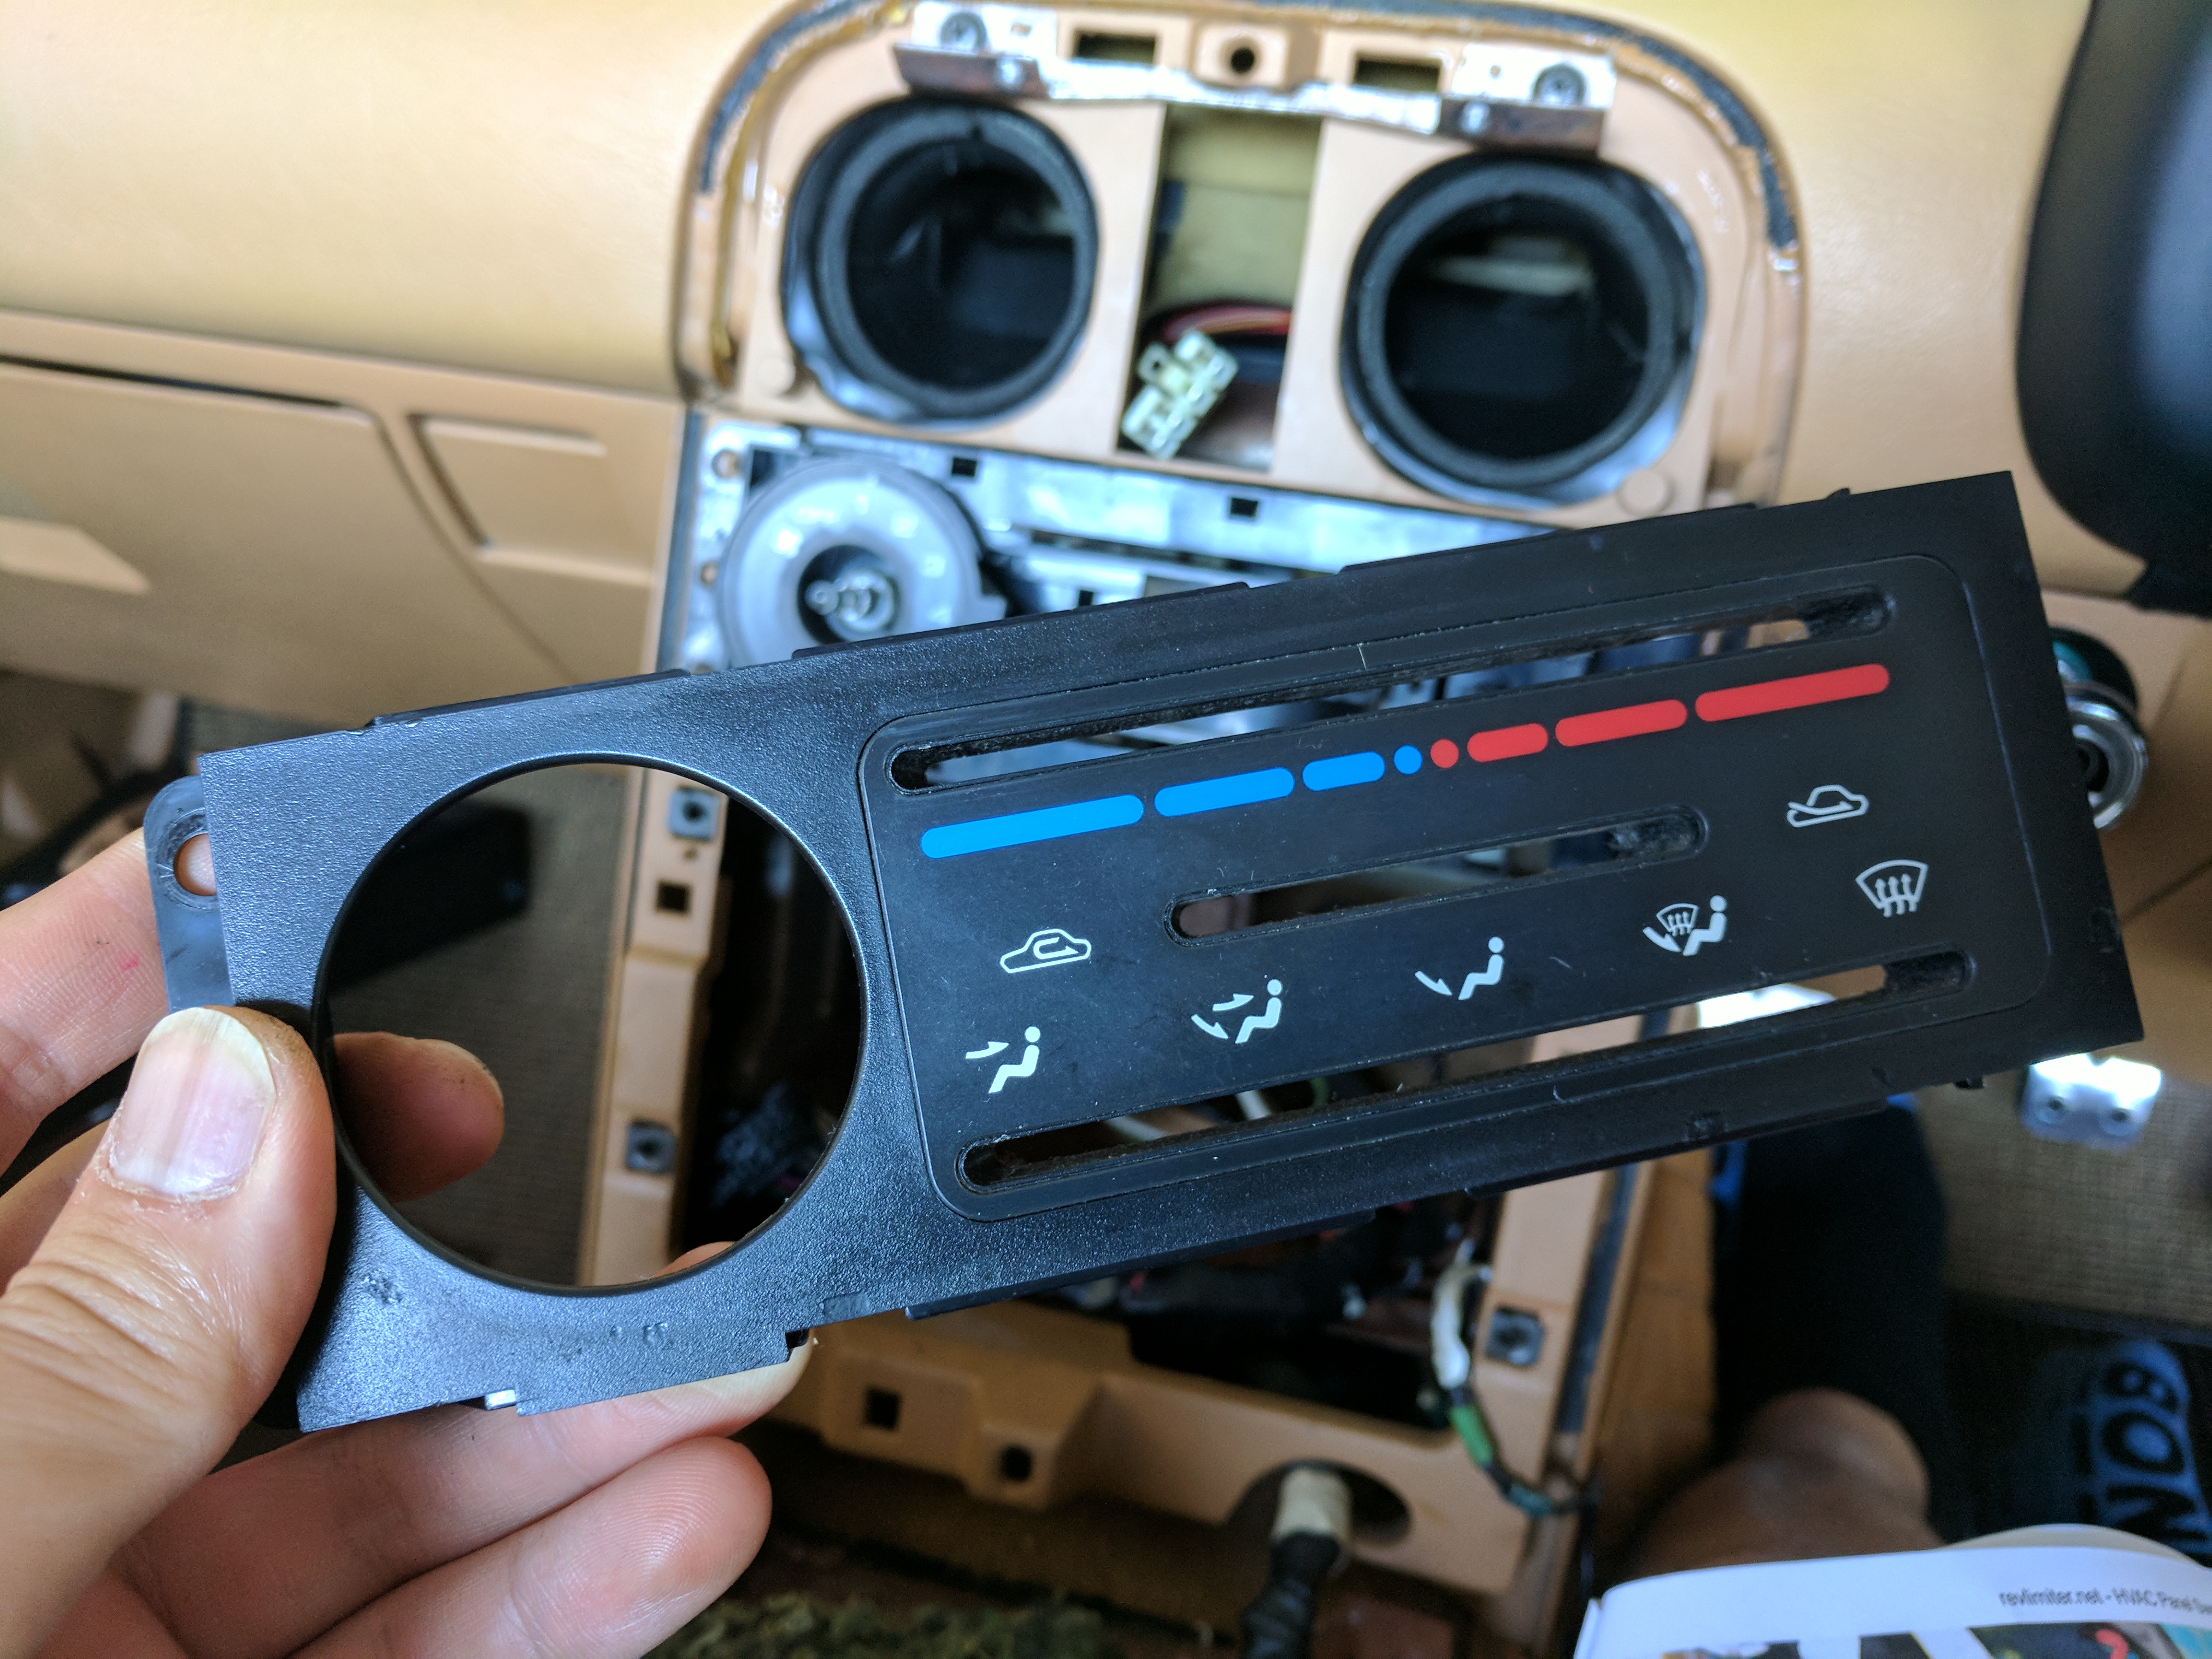
HVAC panel off.

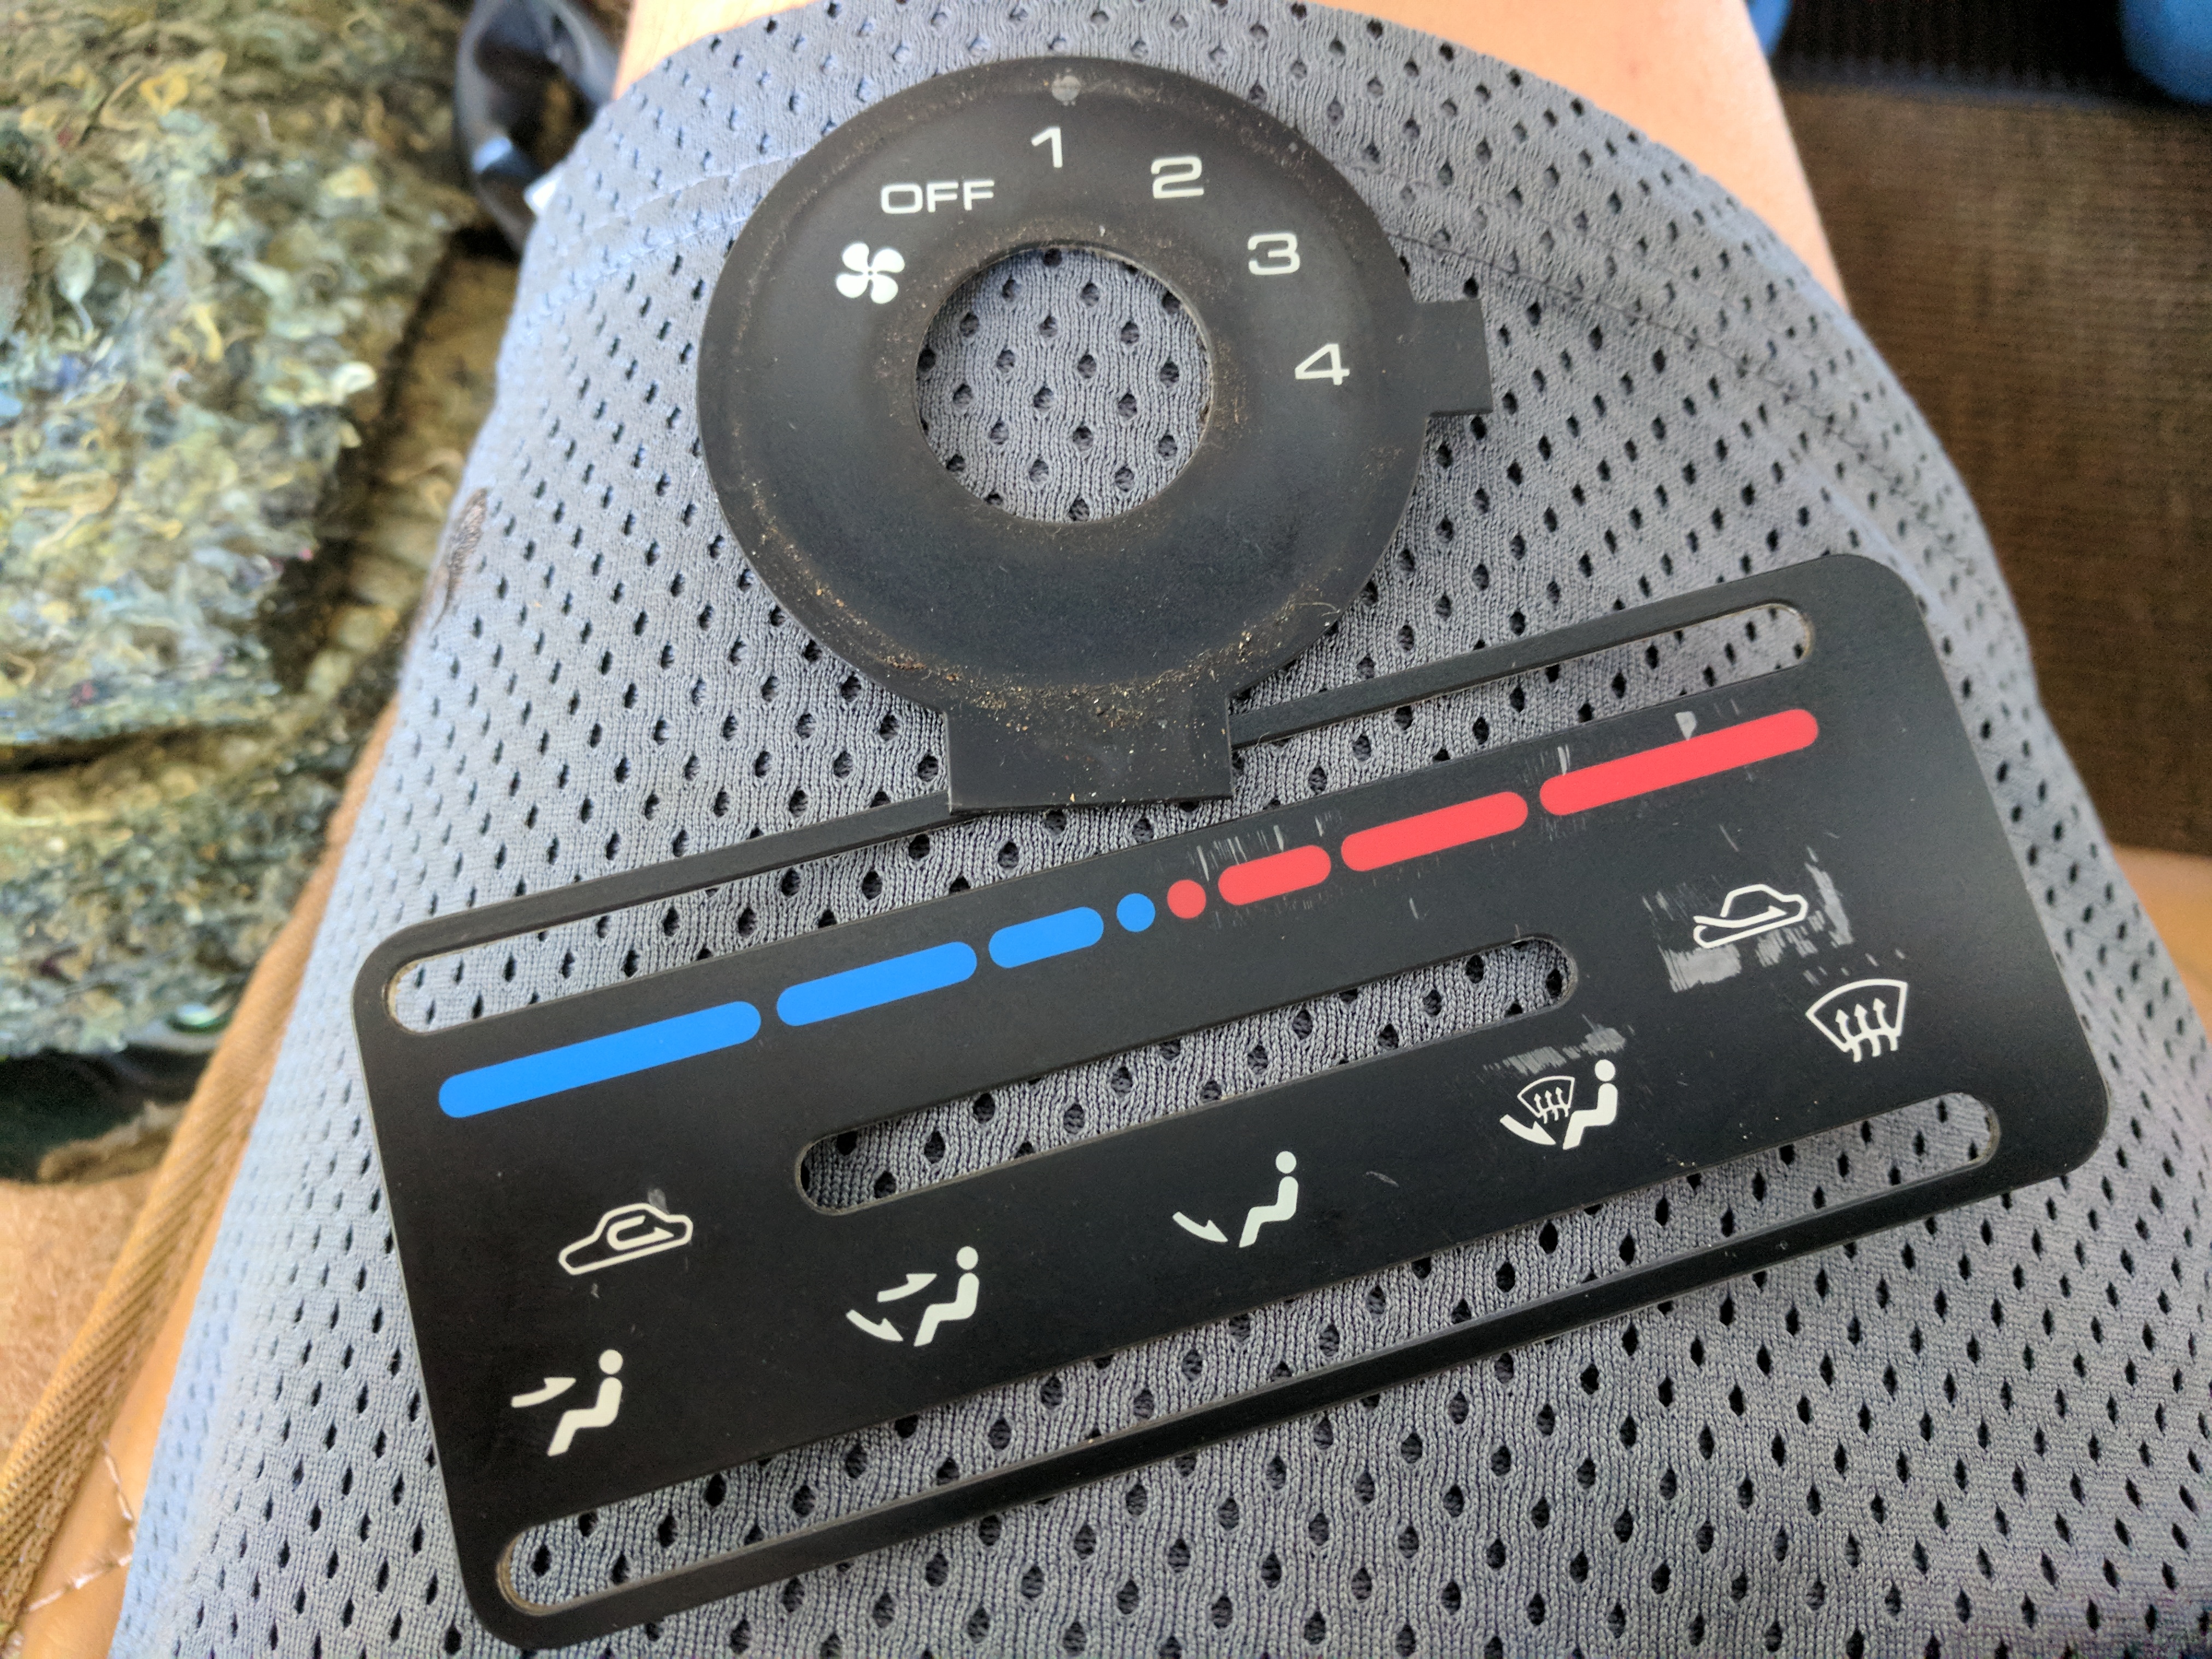
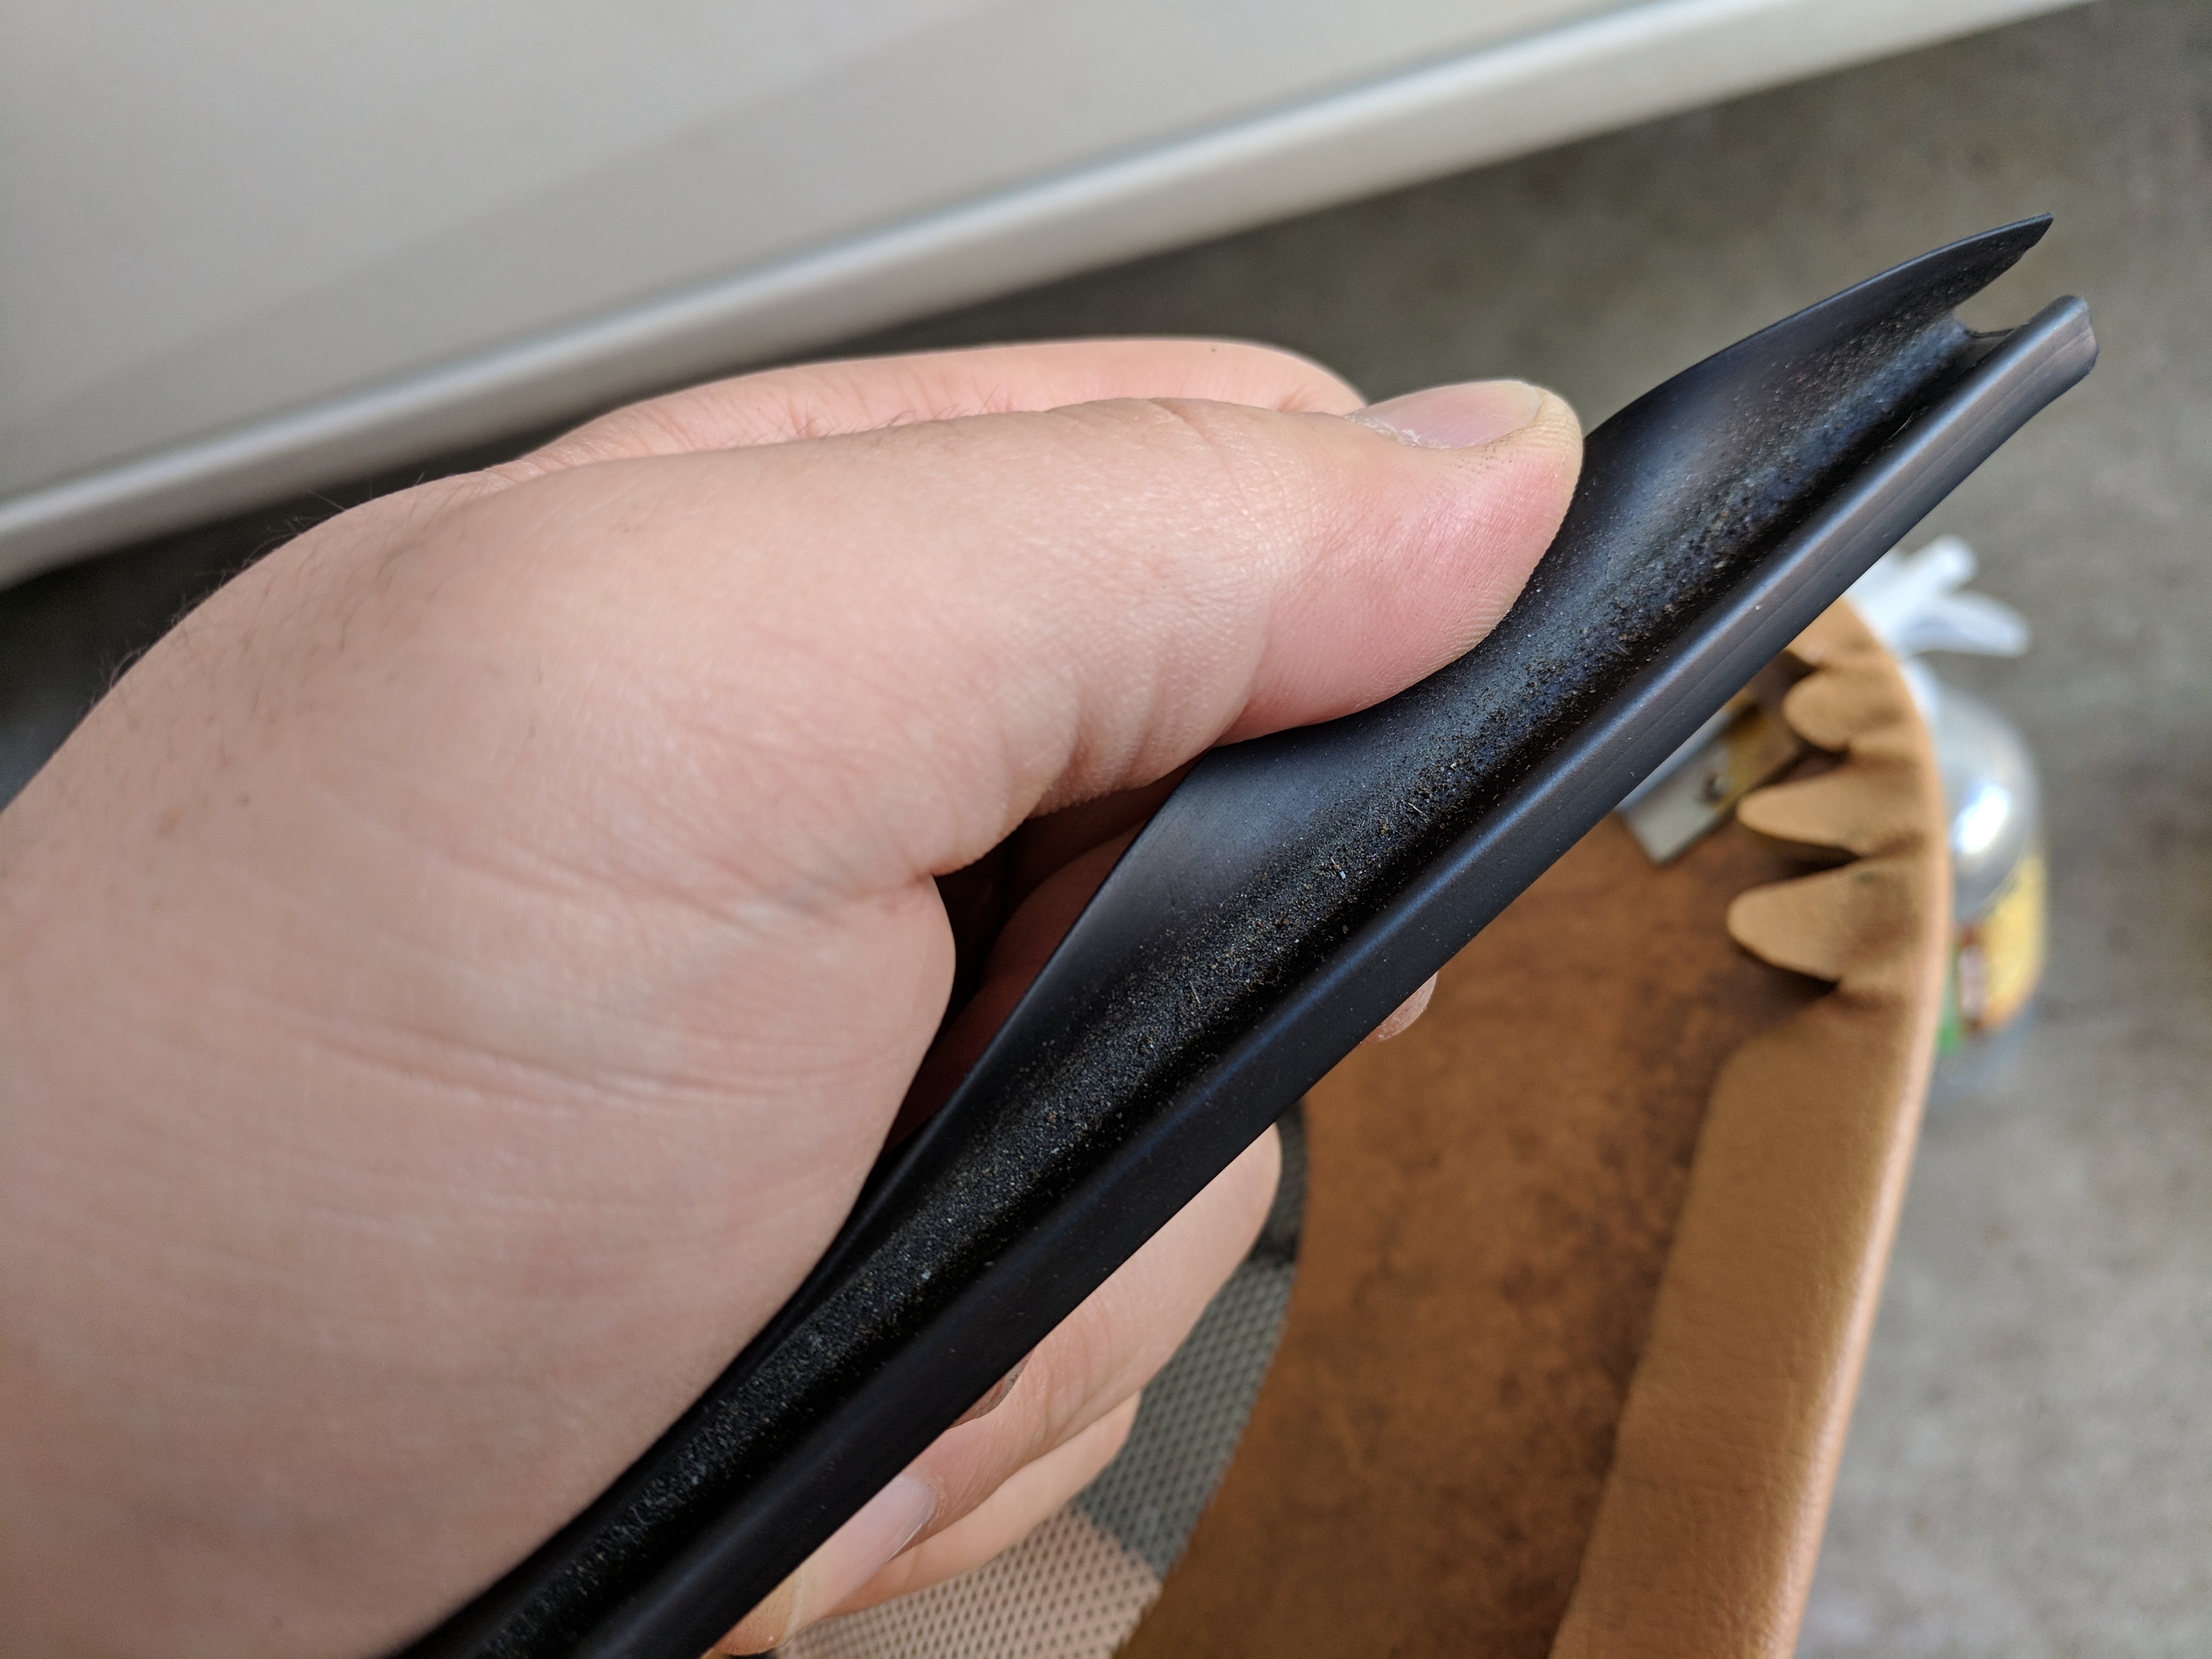
OEM HVAC panel that will be modified.
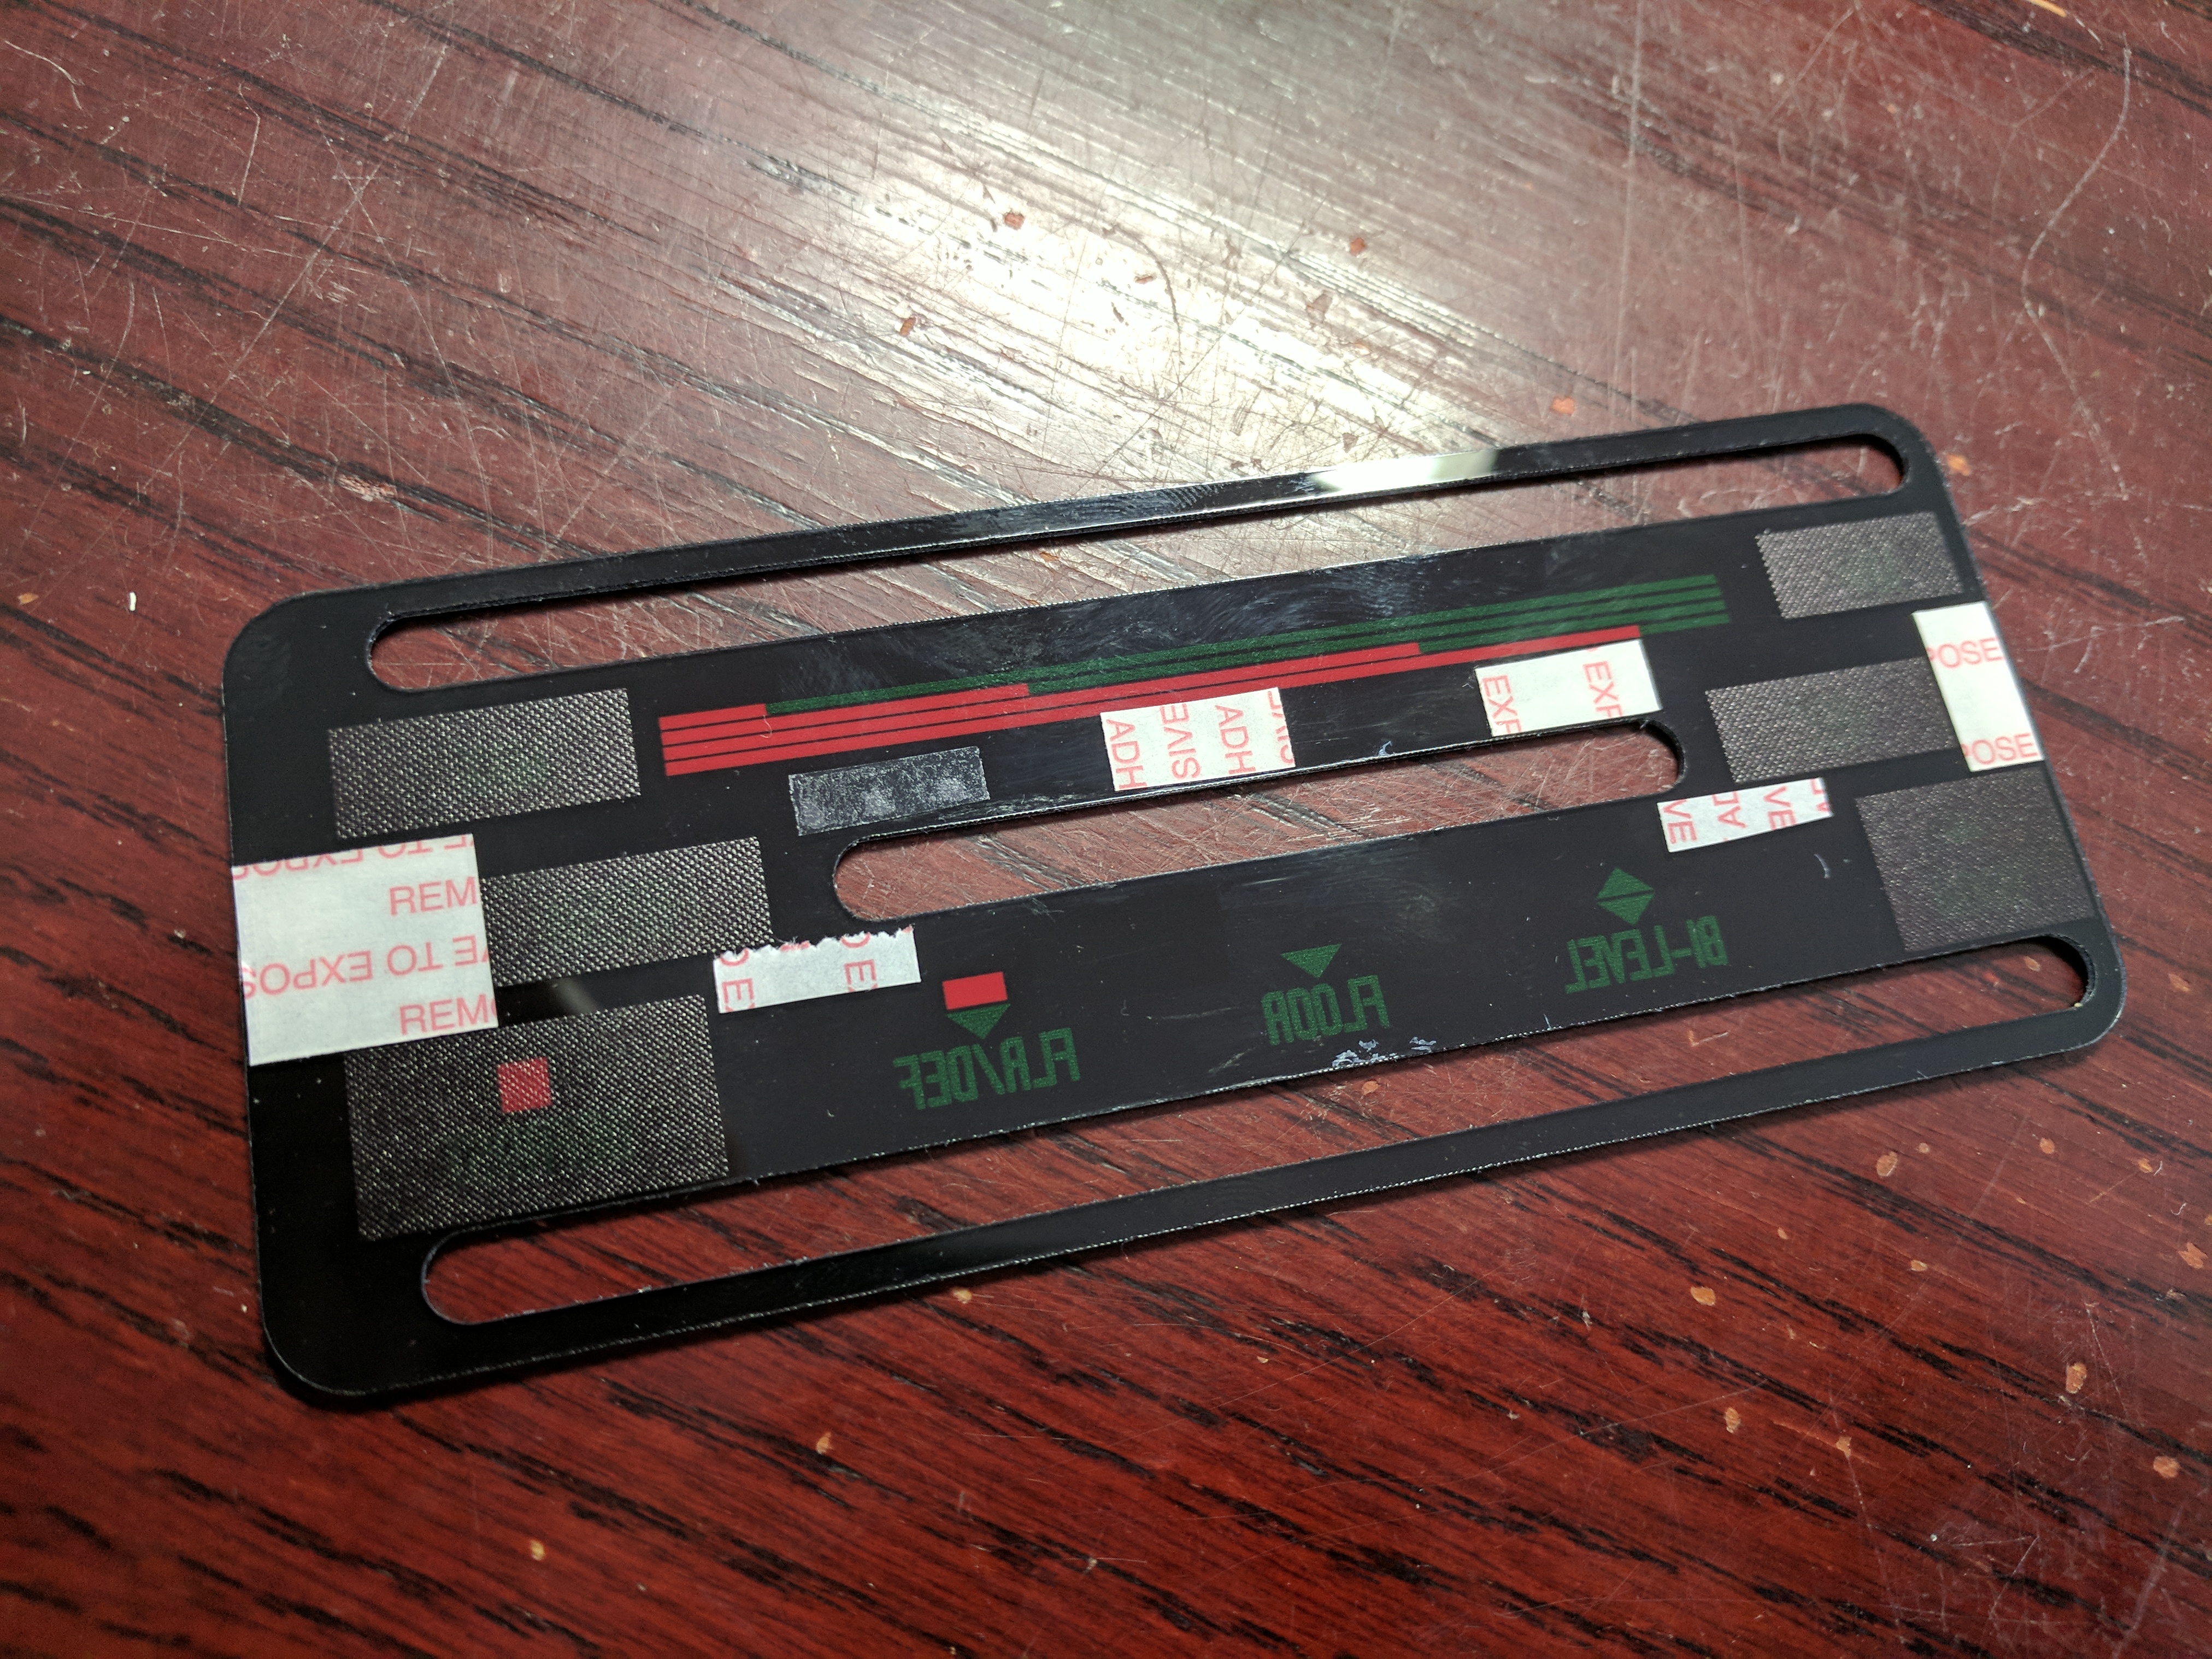
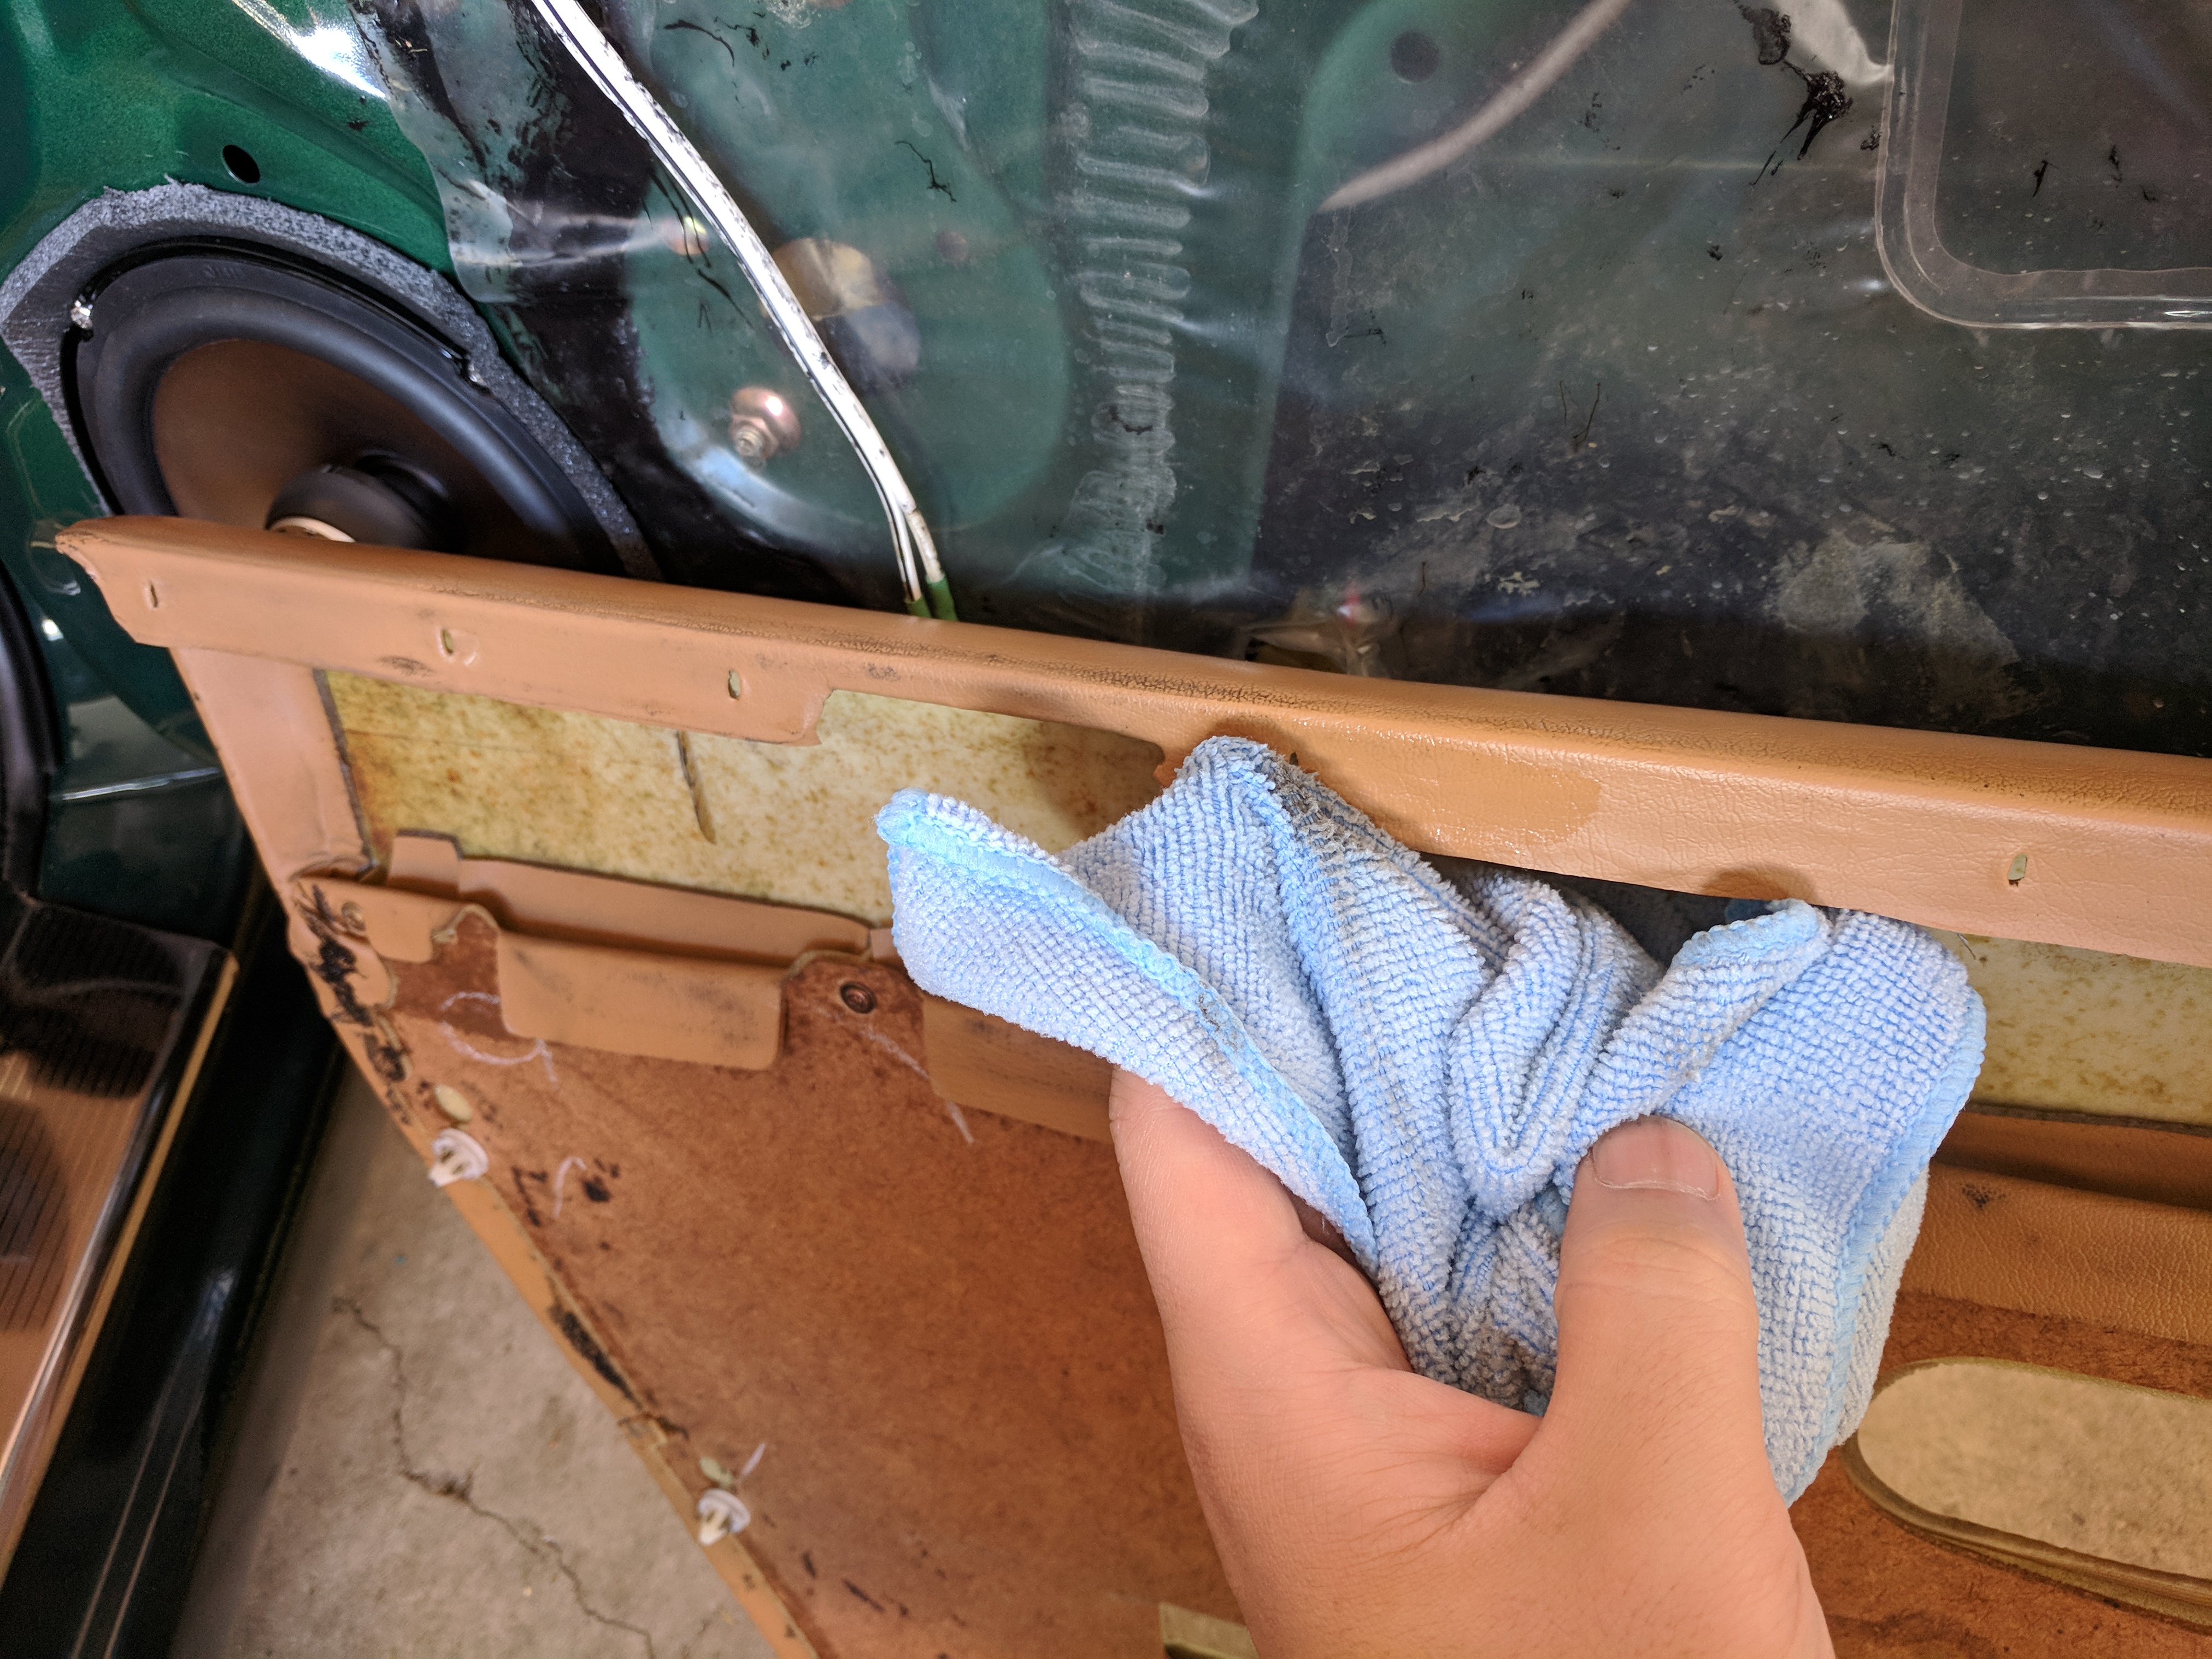
Nothing to it but to just peel back the old panel. I was lucky in that my panel was still pretty fresh and new and the majority of the glue stayed on the panel which is good because it will be re-used with the new panel by re-activating it with heat.

Old stuff gone. Lot of little bits of dirt and dust on there as you can see. The panel was given a good wipe down before the new stuff went on.
Ready for the new.

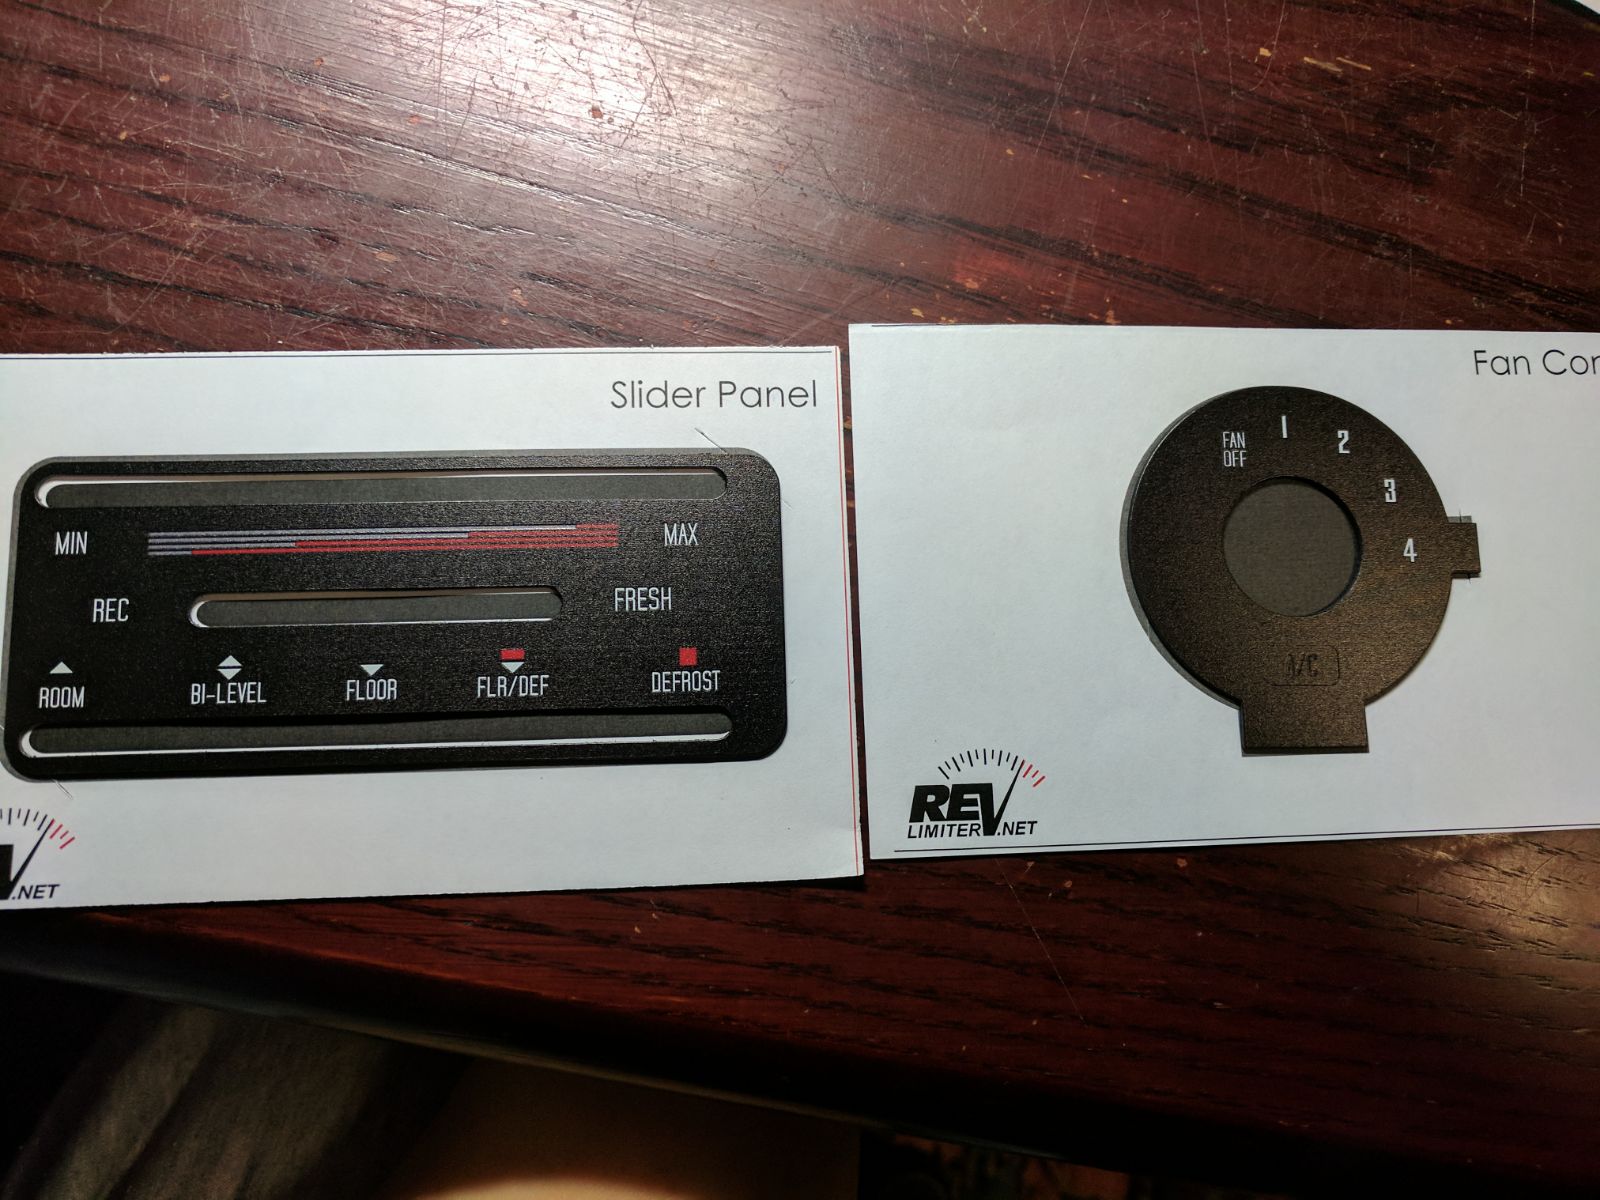
RevLimiter Version Stirling custom HVAC panel and fan selector. I customised the font and numbers to replicate my gauge cluster to keep it all consistent.
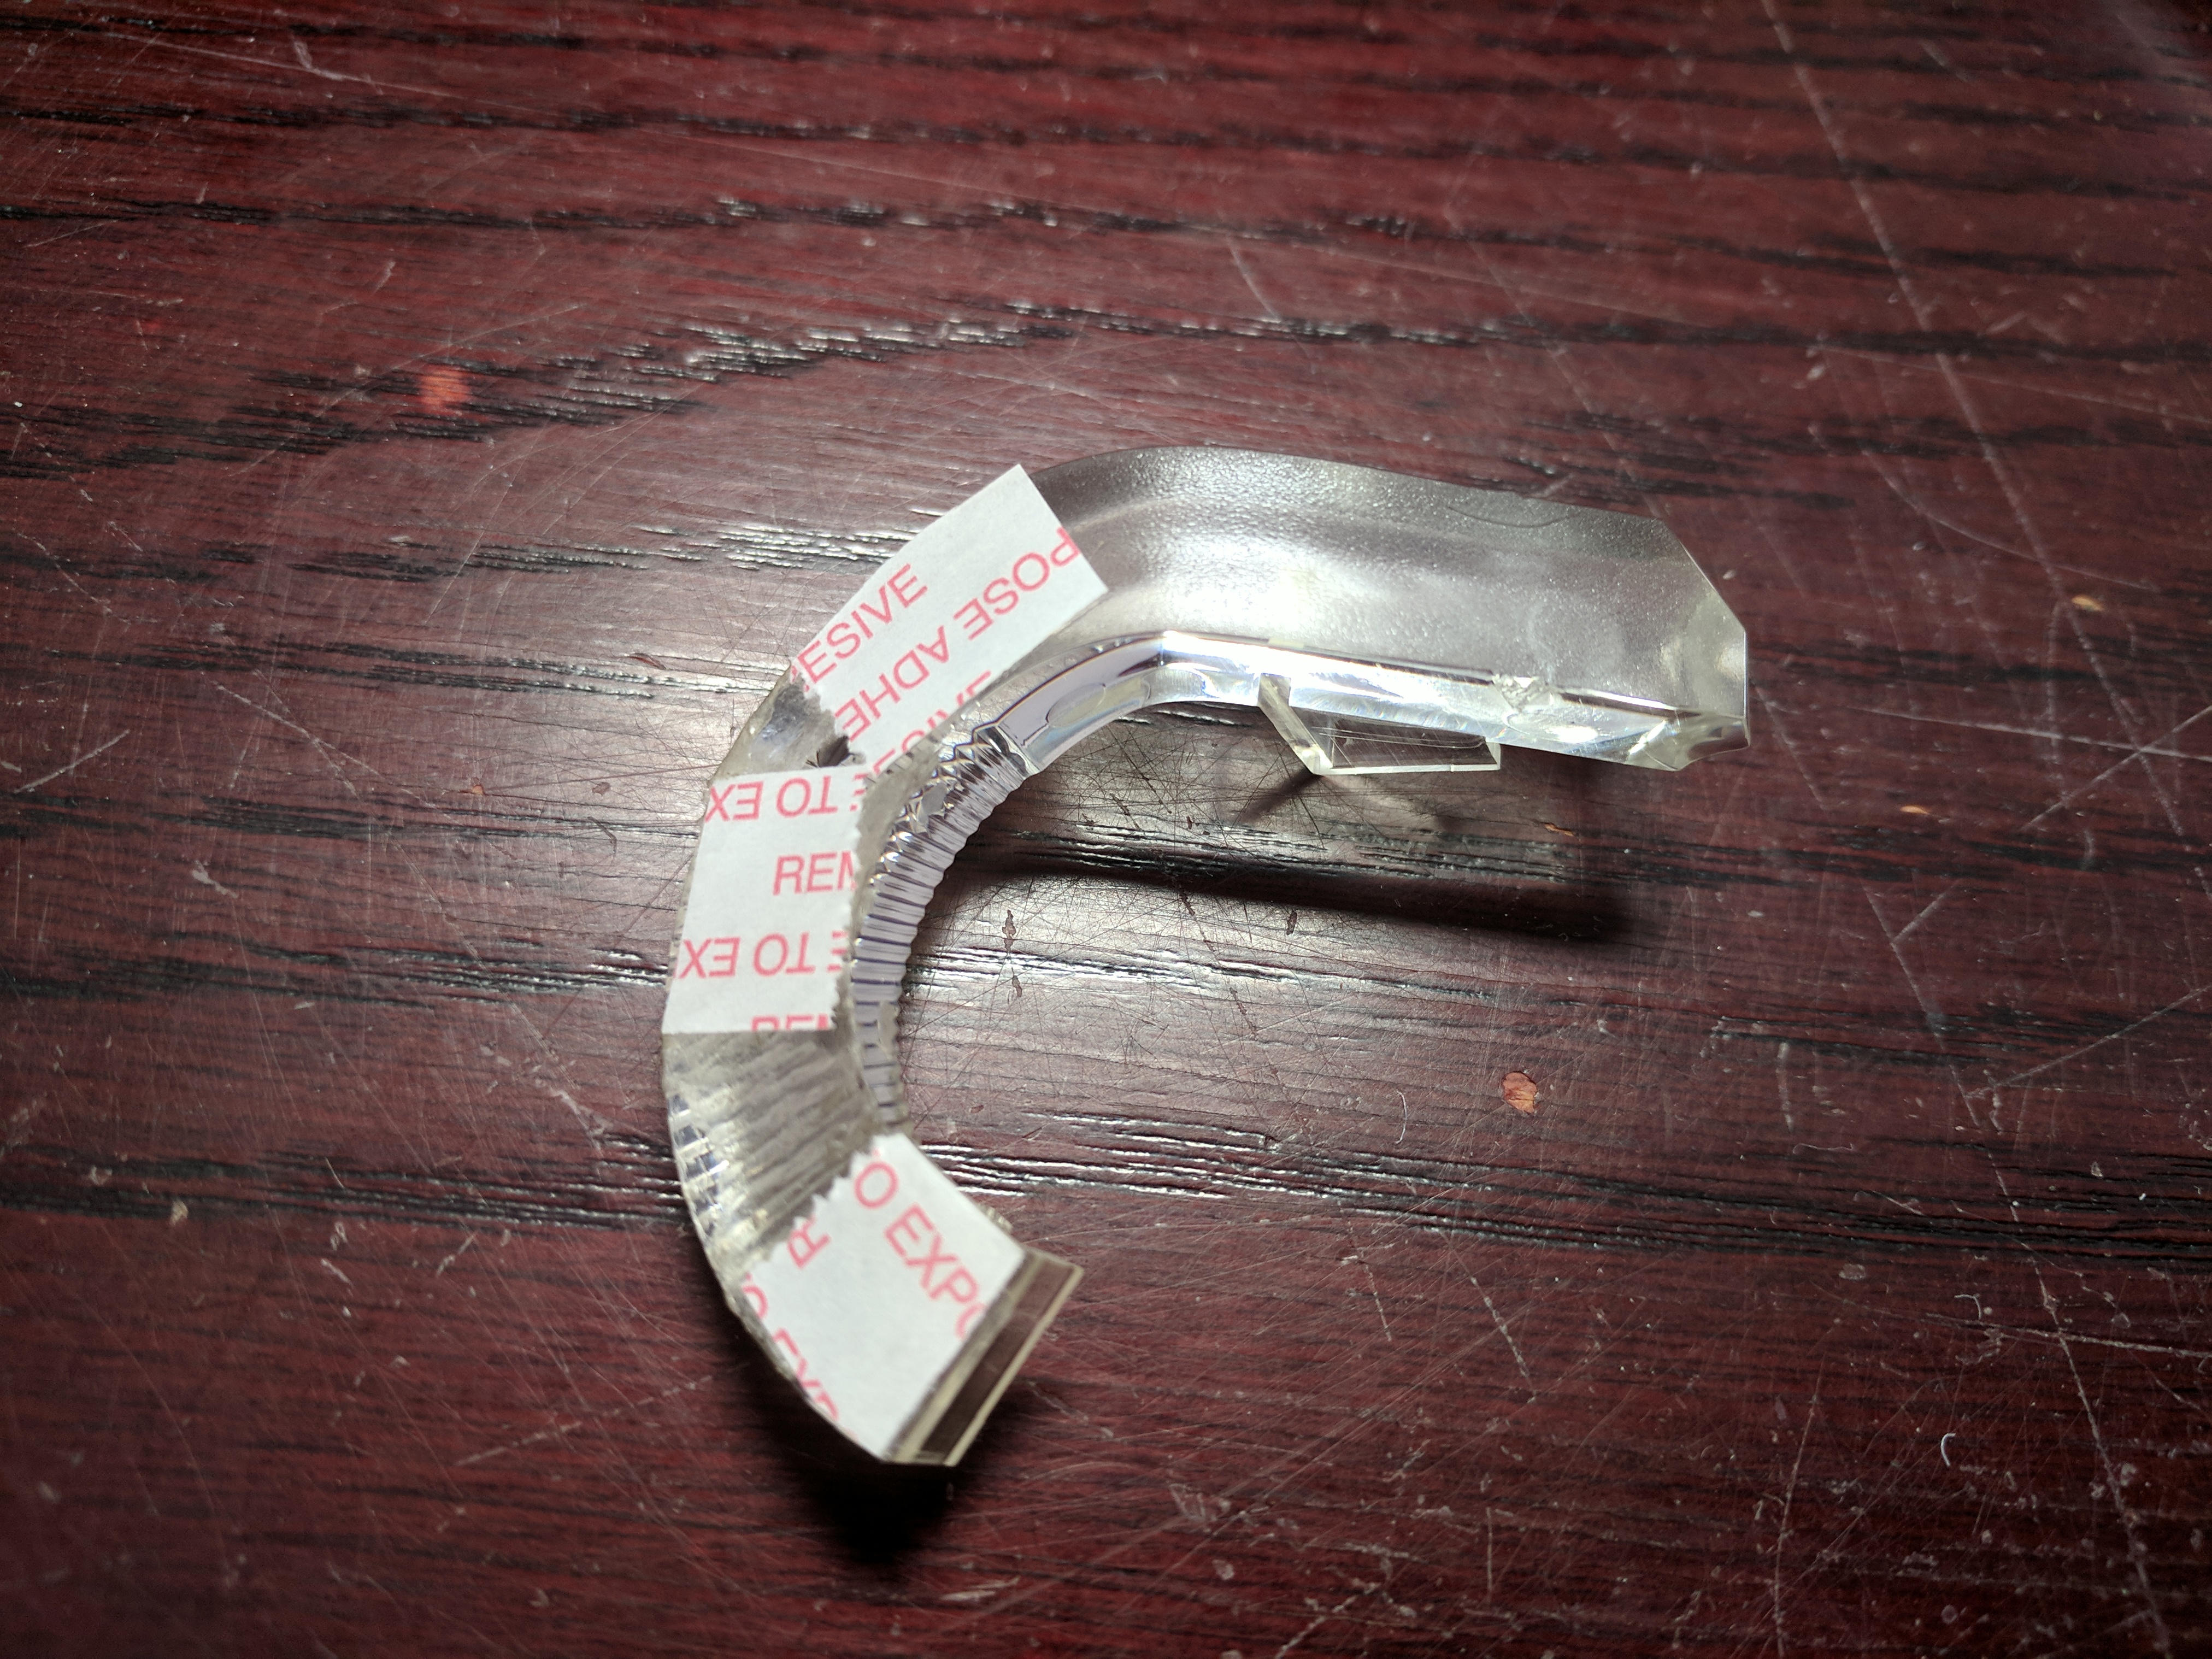
Double sided scotch tape was applied on the fan glass to make it adhere to the new fan selector insert.
Did this on the panel as well.
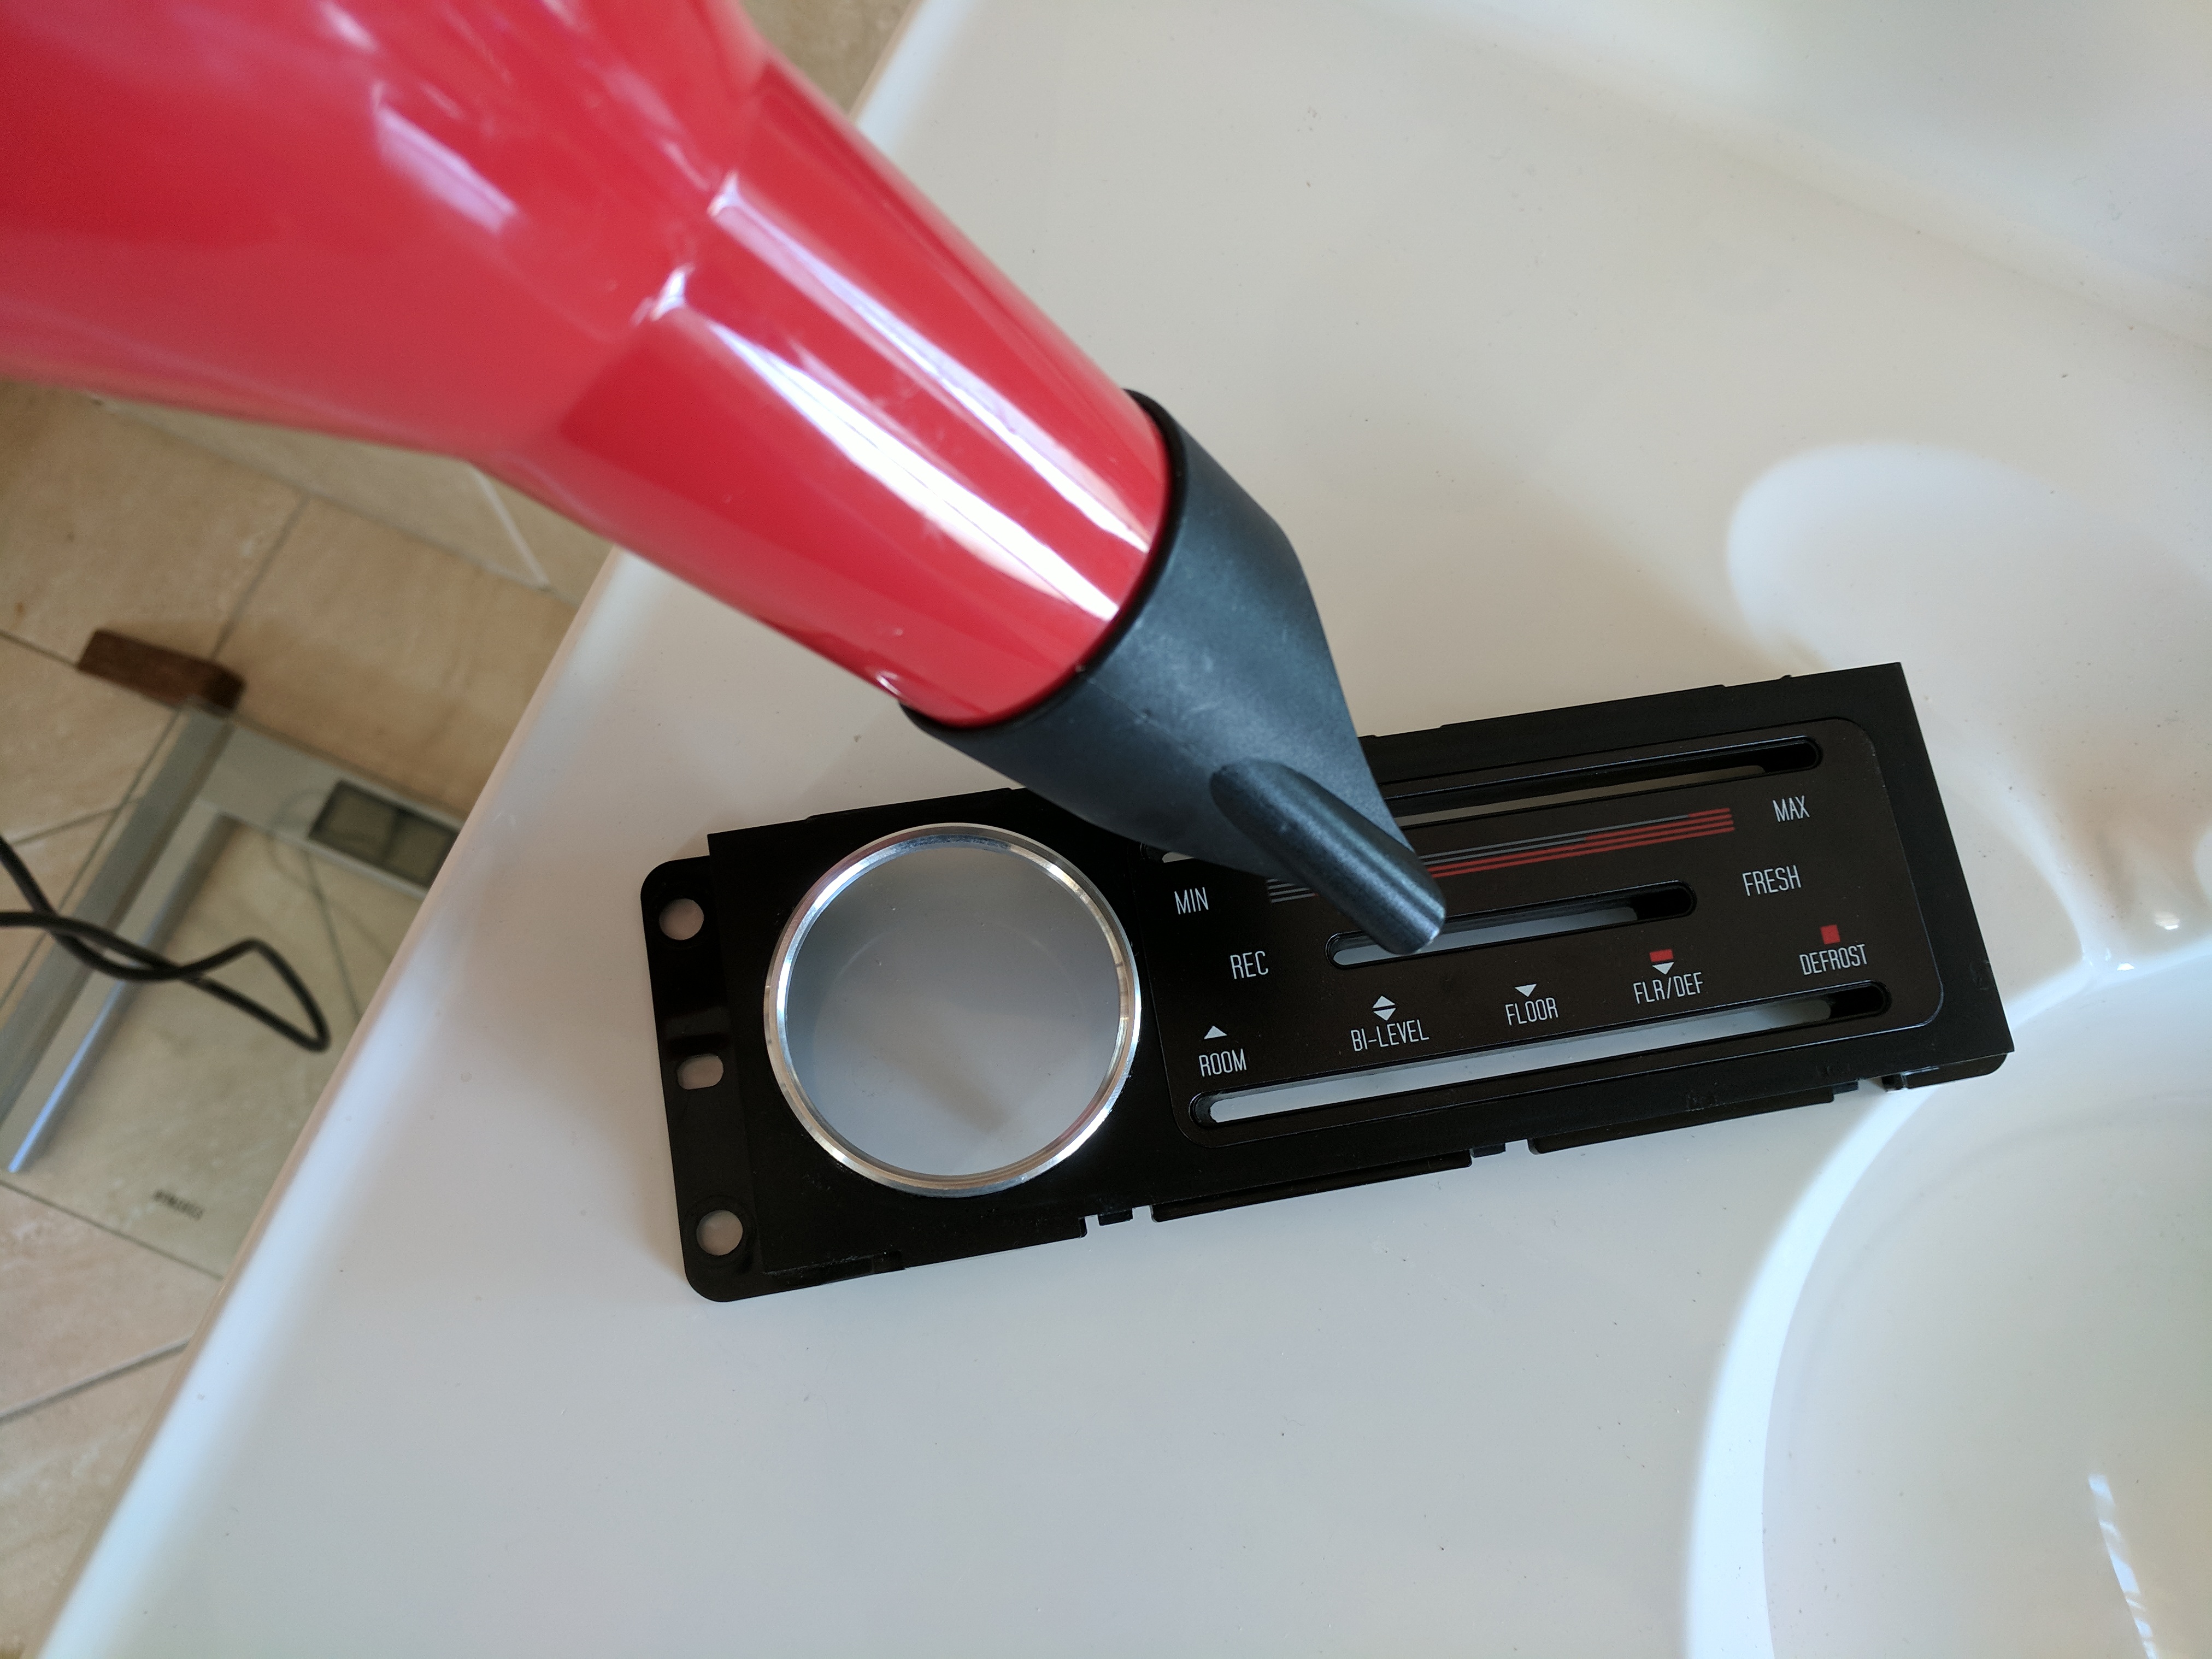
Placed the HVAC insert onto the panel and re-activated the glue with a hairdryer. I also added the RS Products fan selector trim ring.
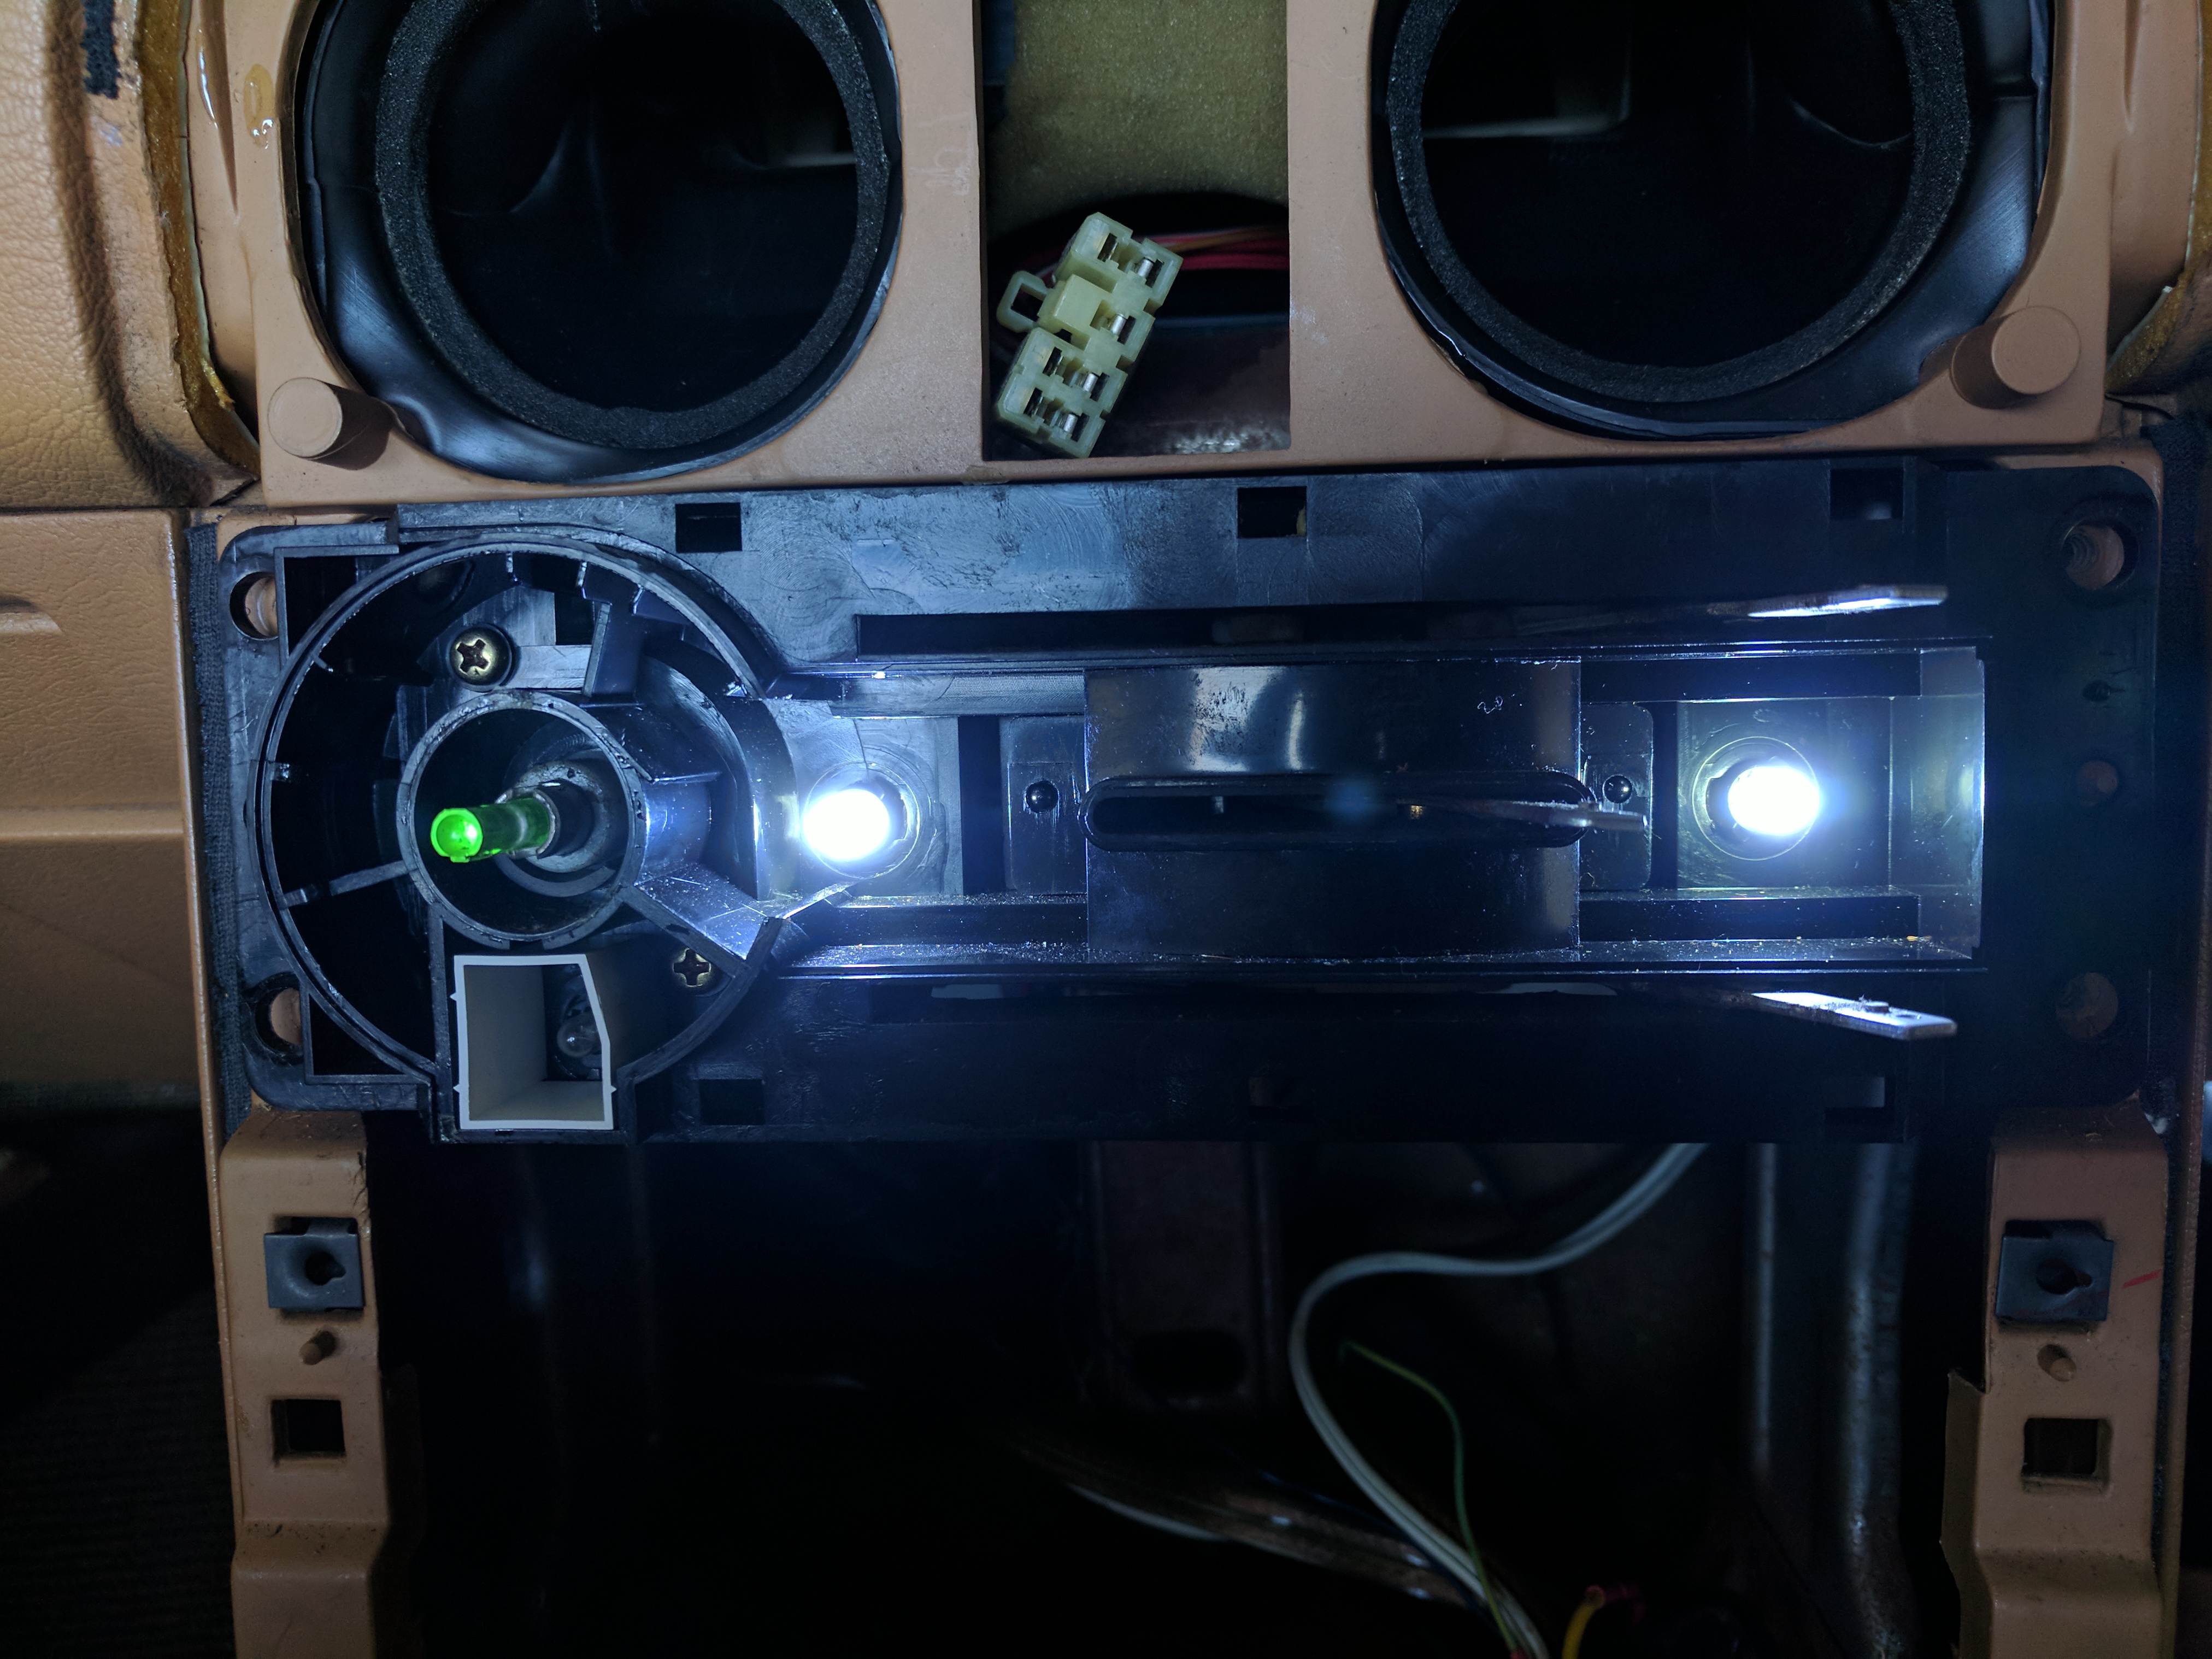
The old bulb which would be lighting up the panel was probably the same one from 21 years ago. I decided to update it with some T5 white LED's. This will make the panel illuminate brighter than stock.

Old VS New. Big difference.
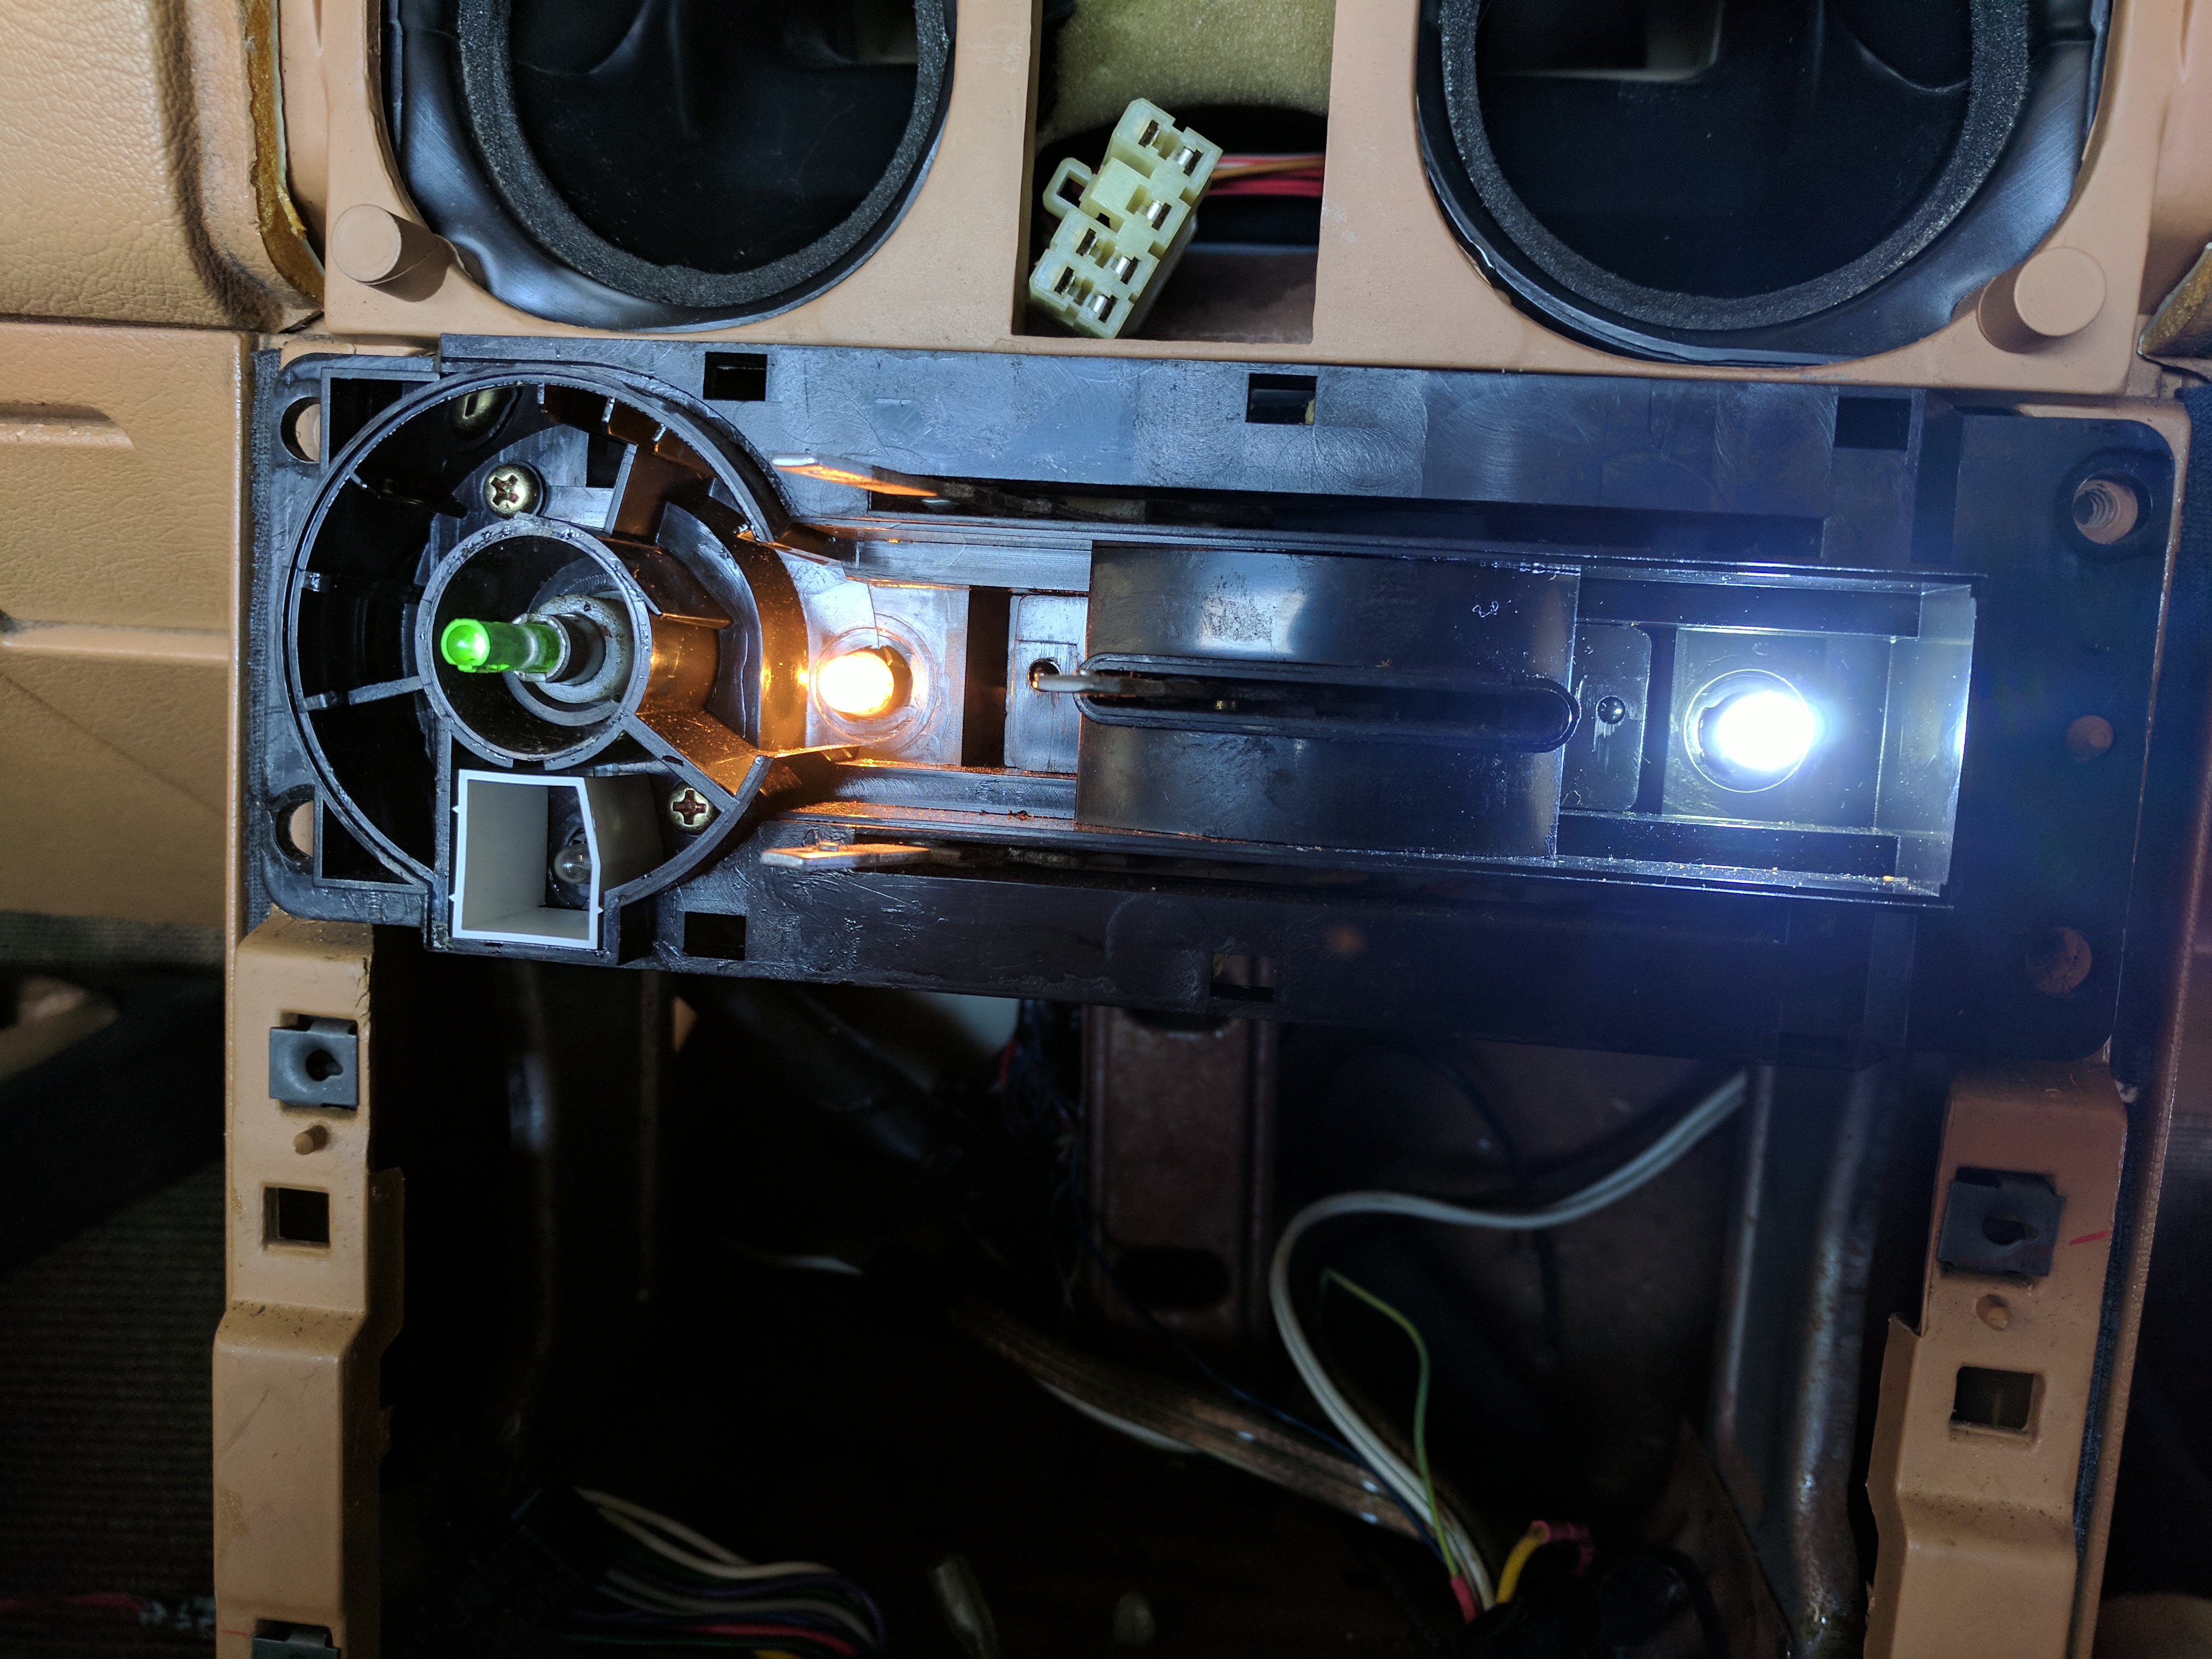
LED's installed.
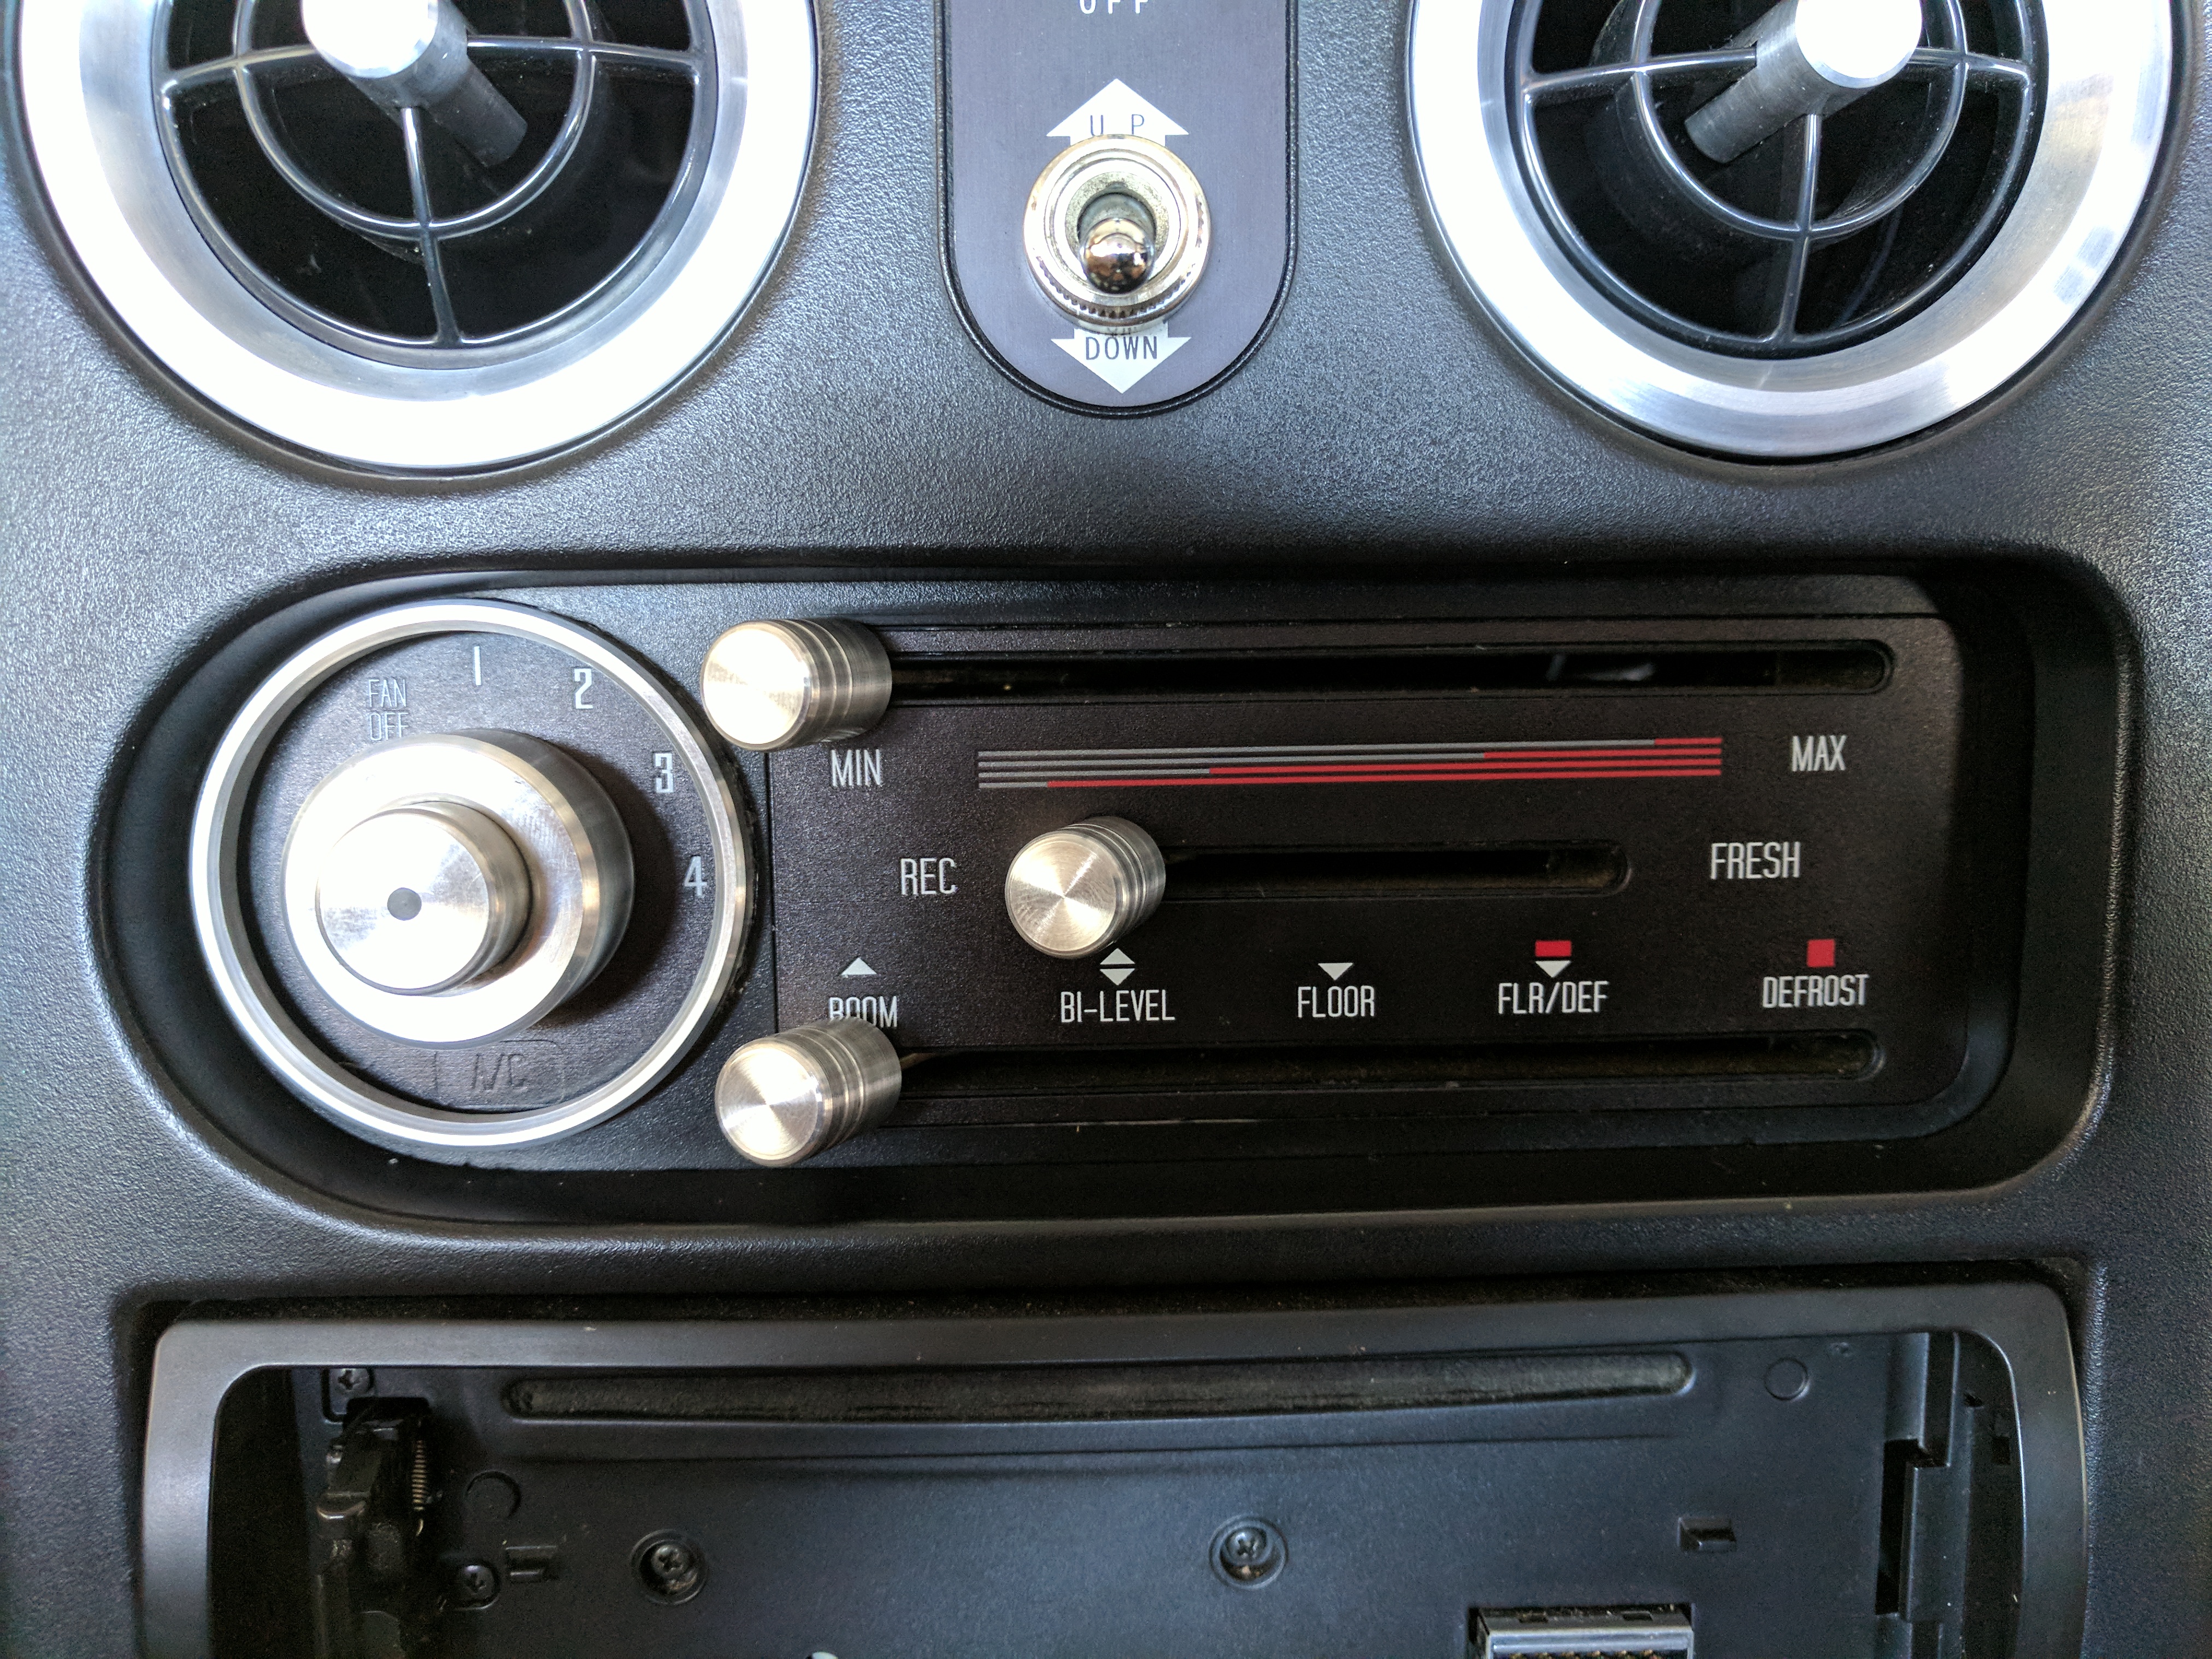
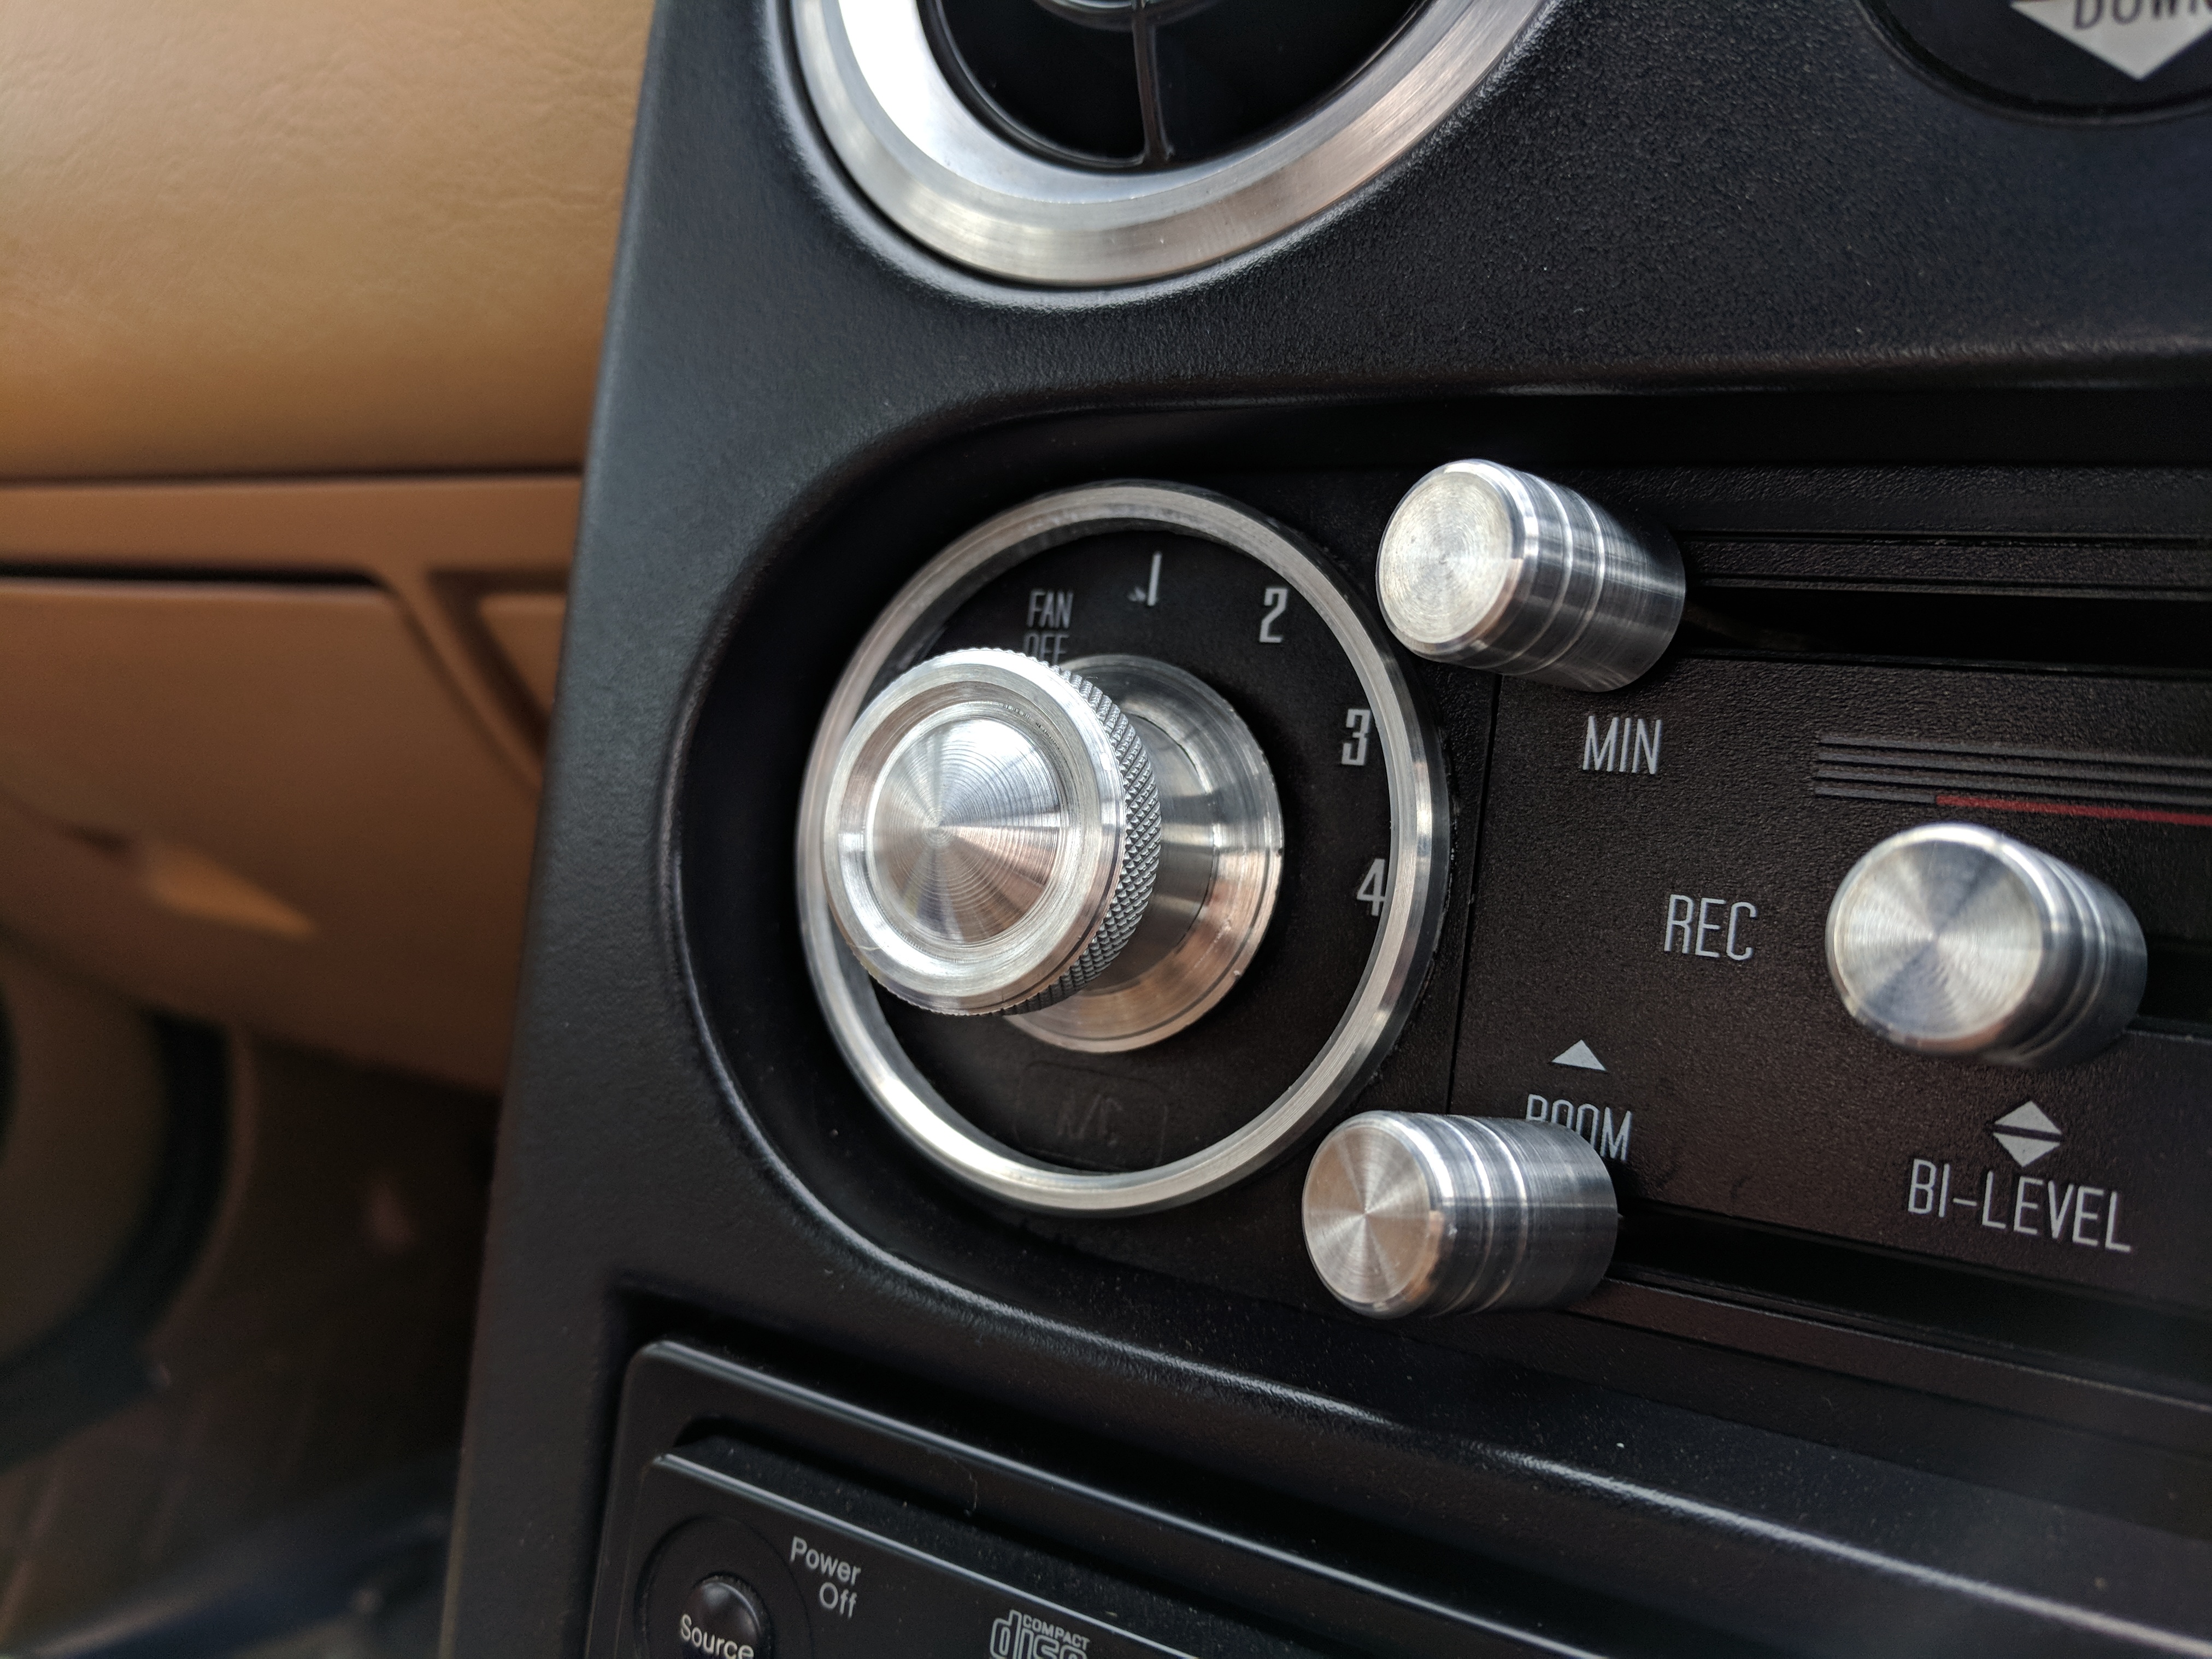
New fan selector insert attached. Notice the A/C indicator on the bottom. It is blacked out but it will light up when activated and when I get my A/C installed.
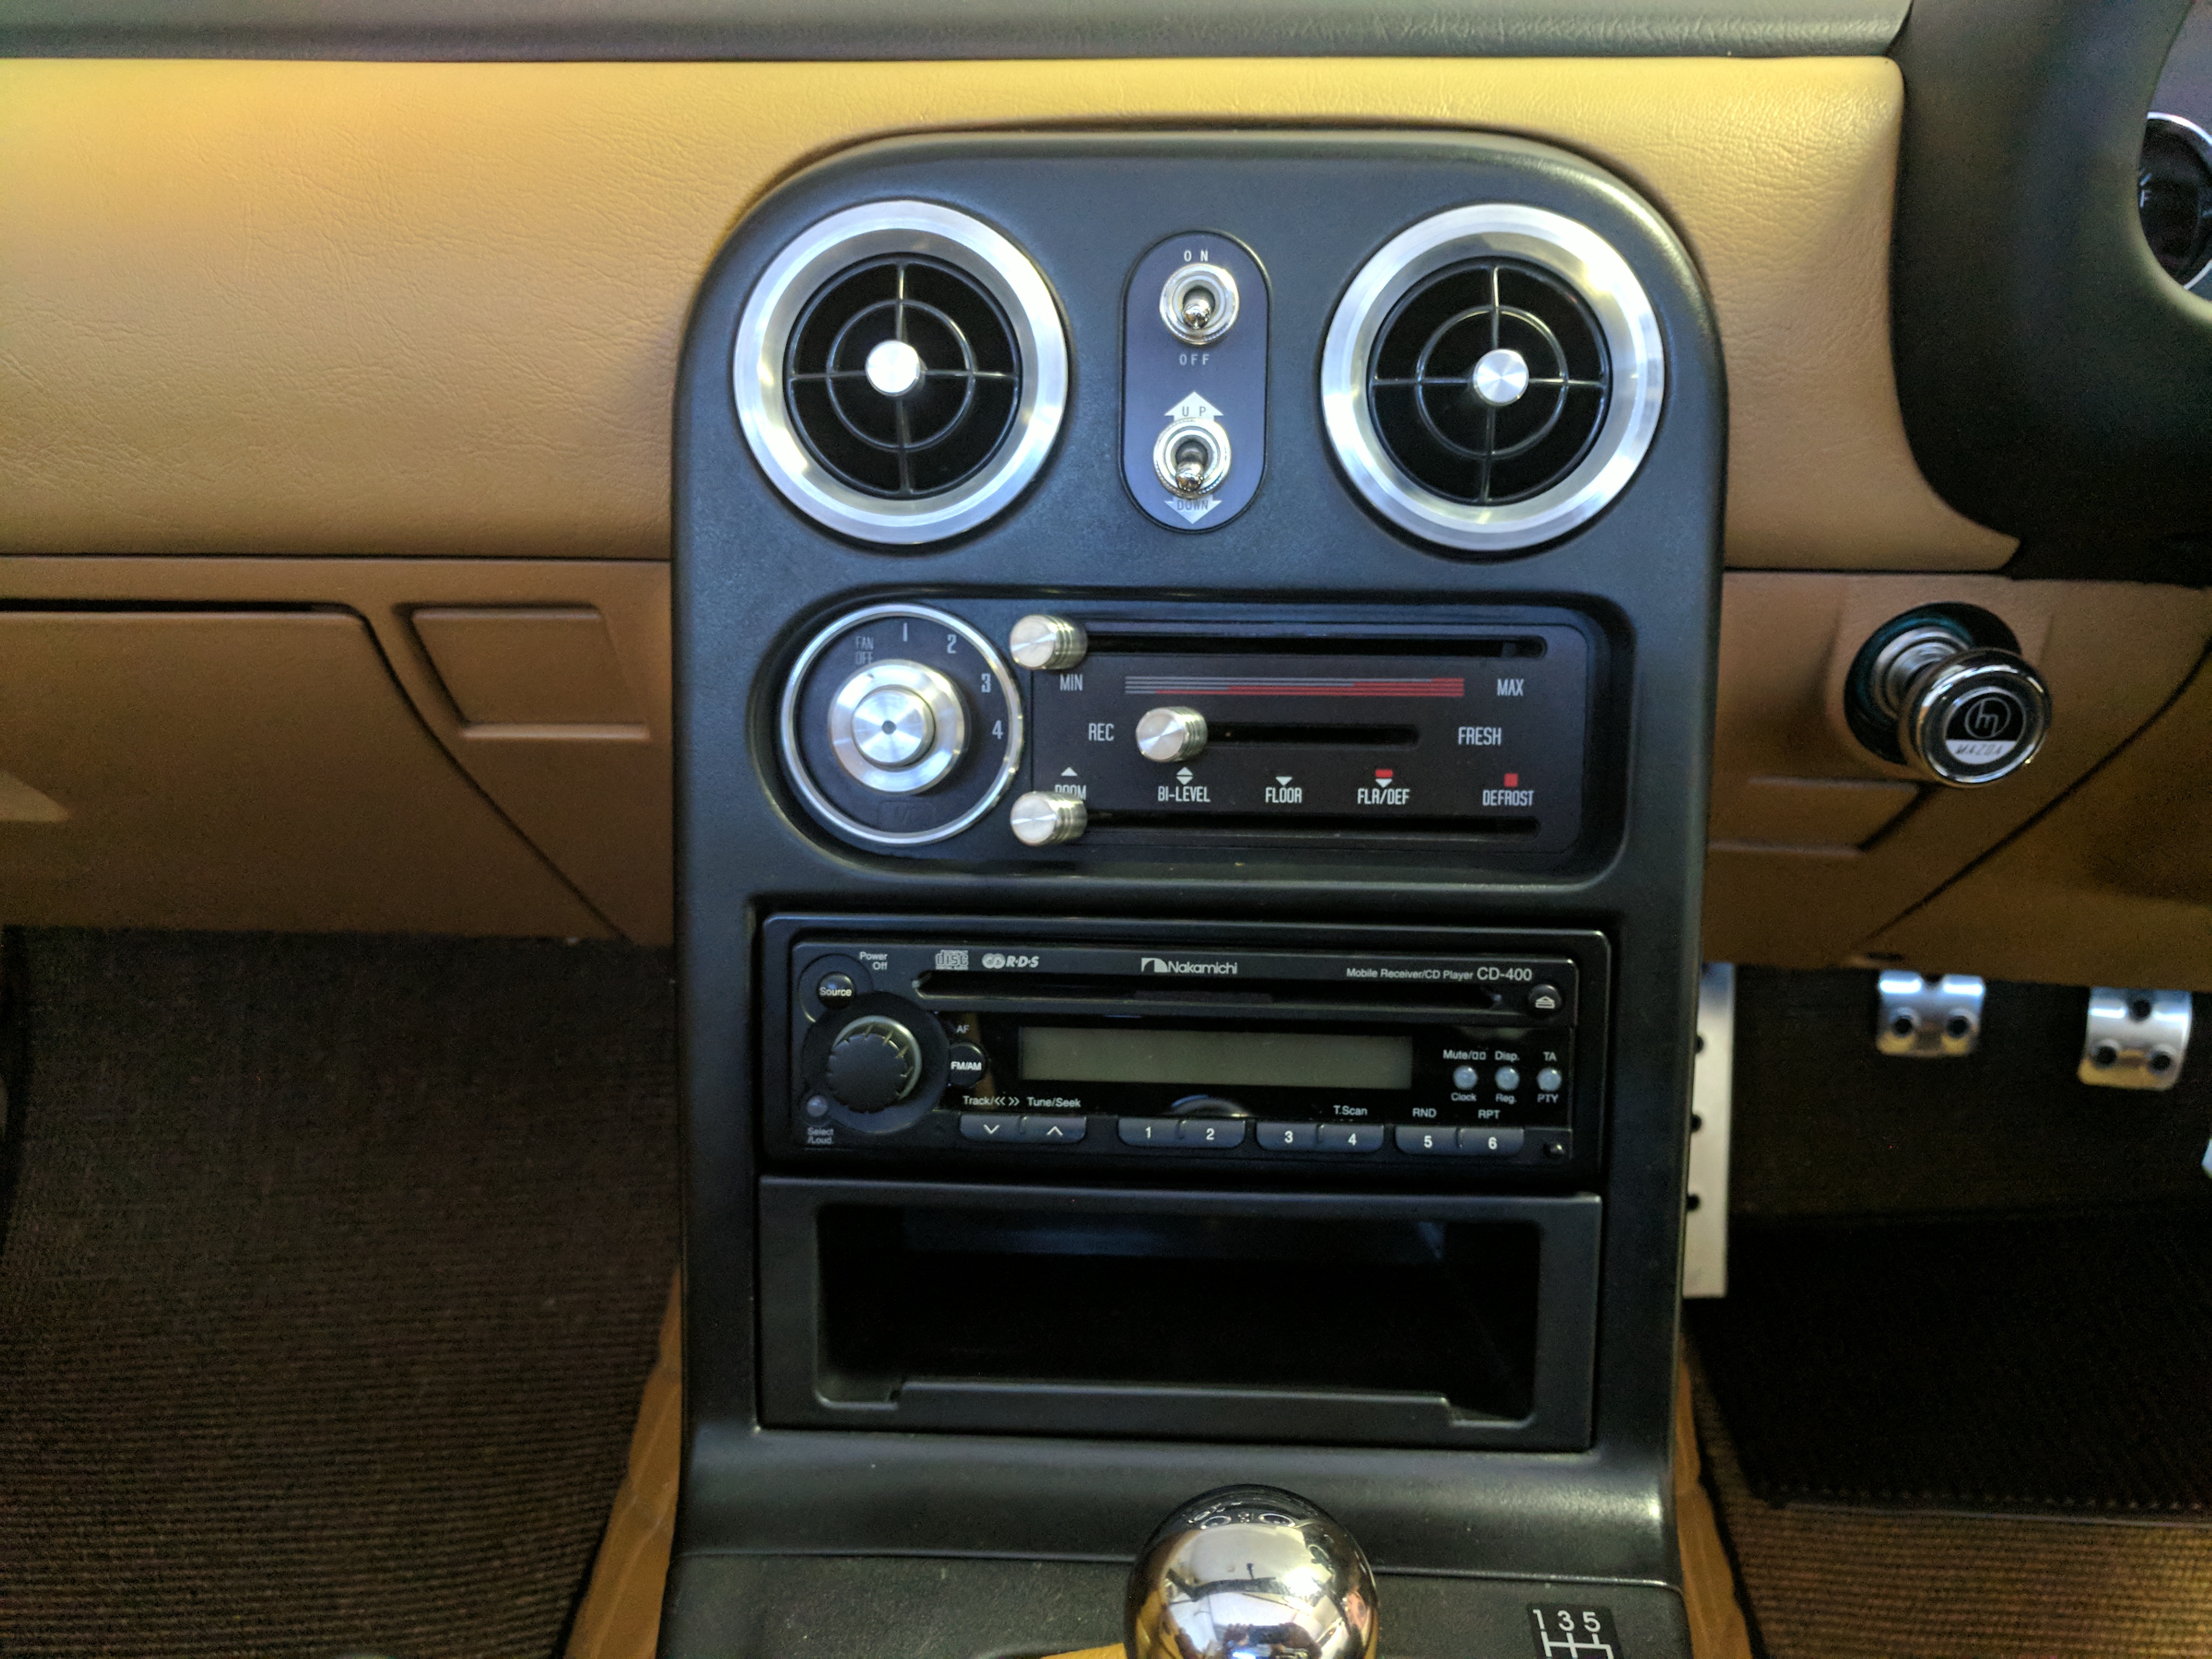
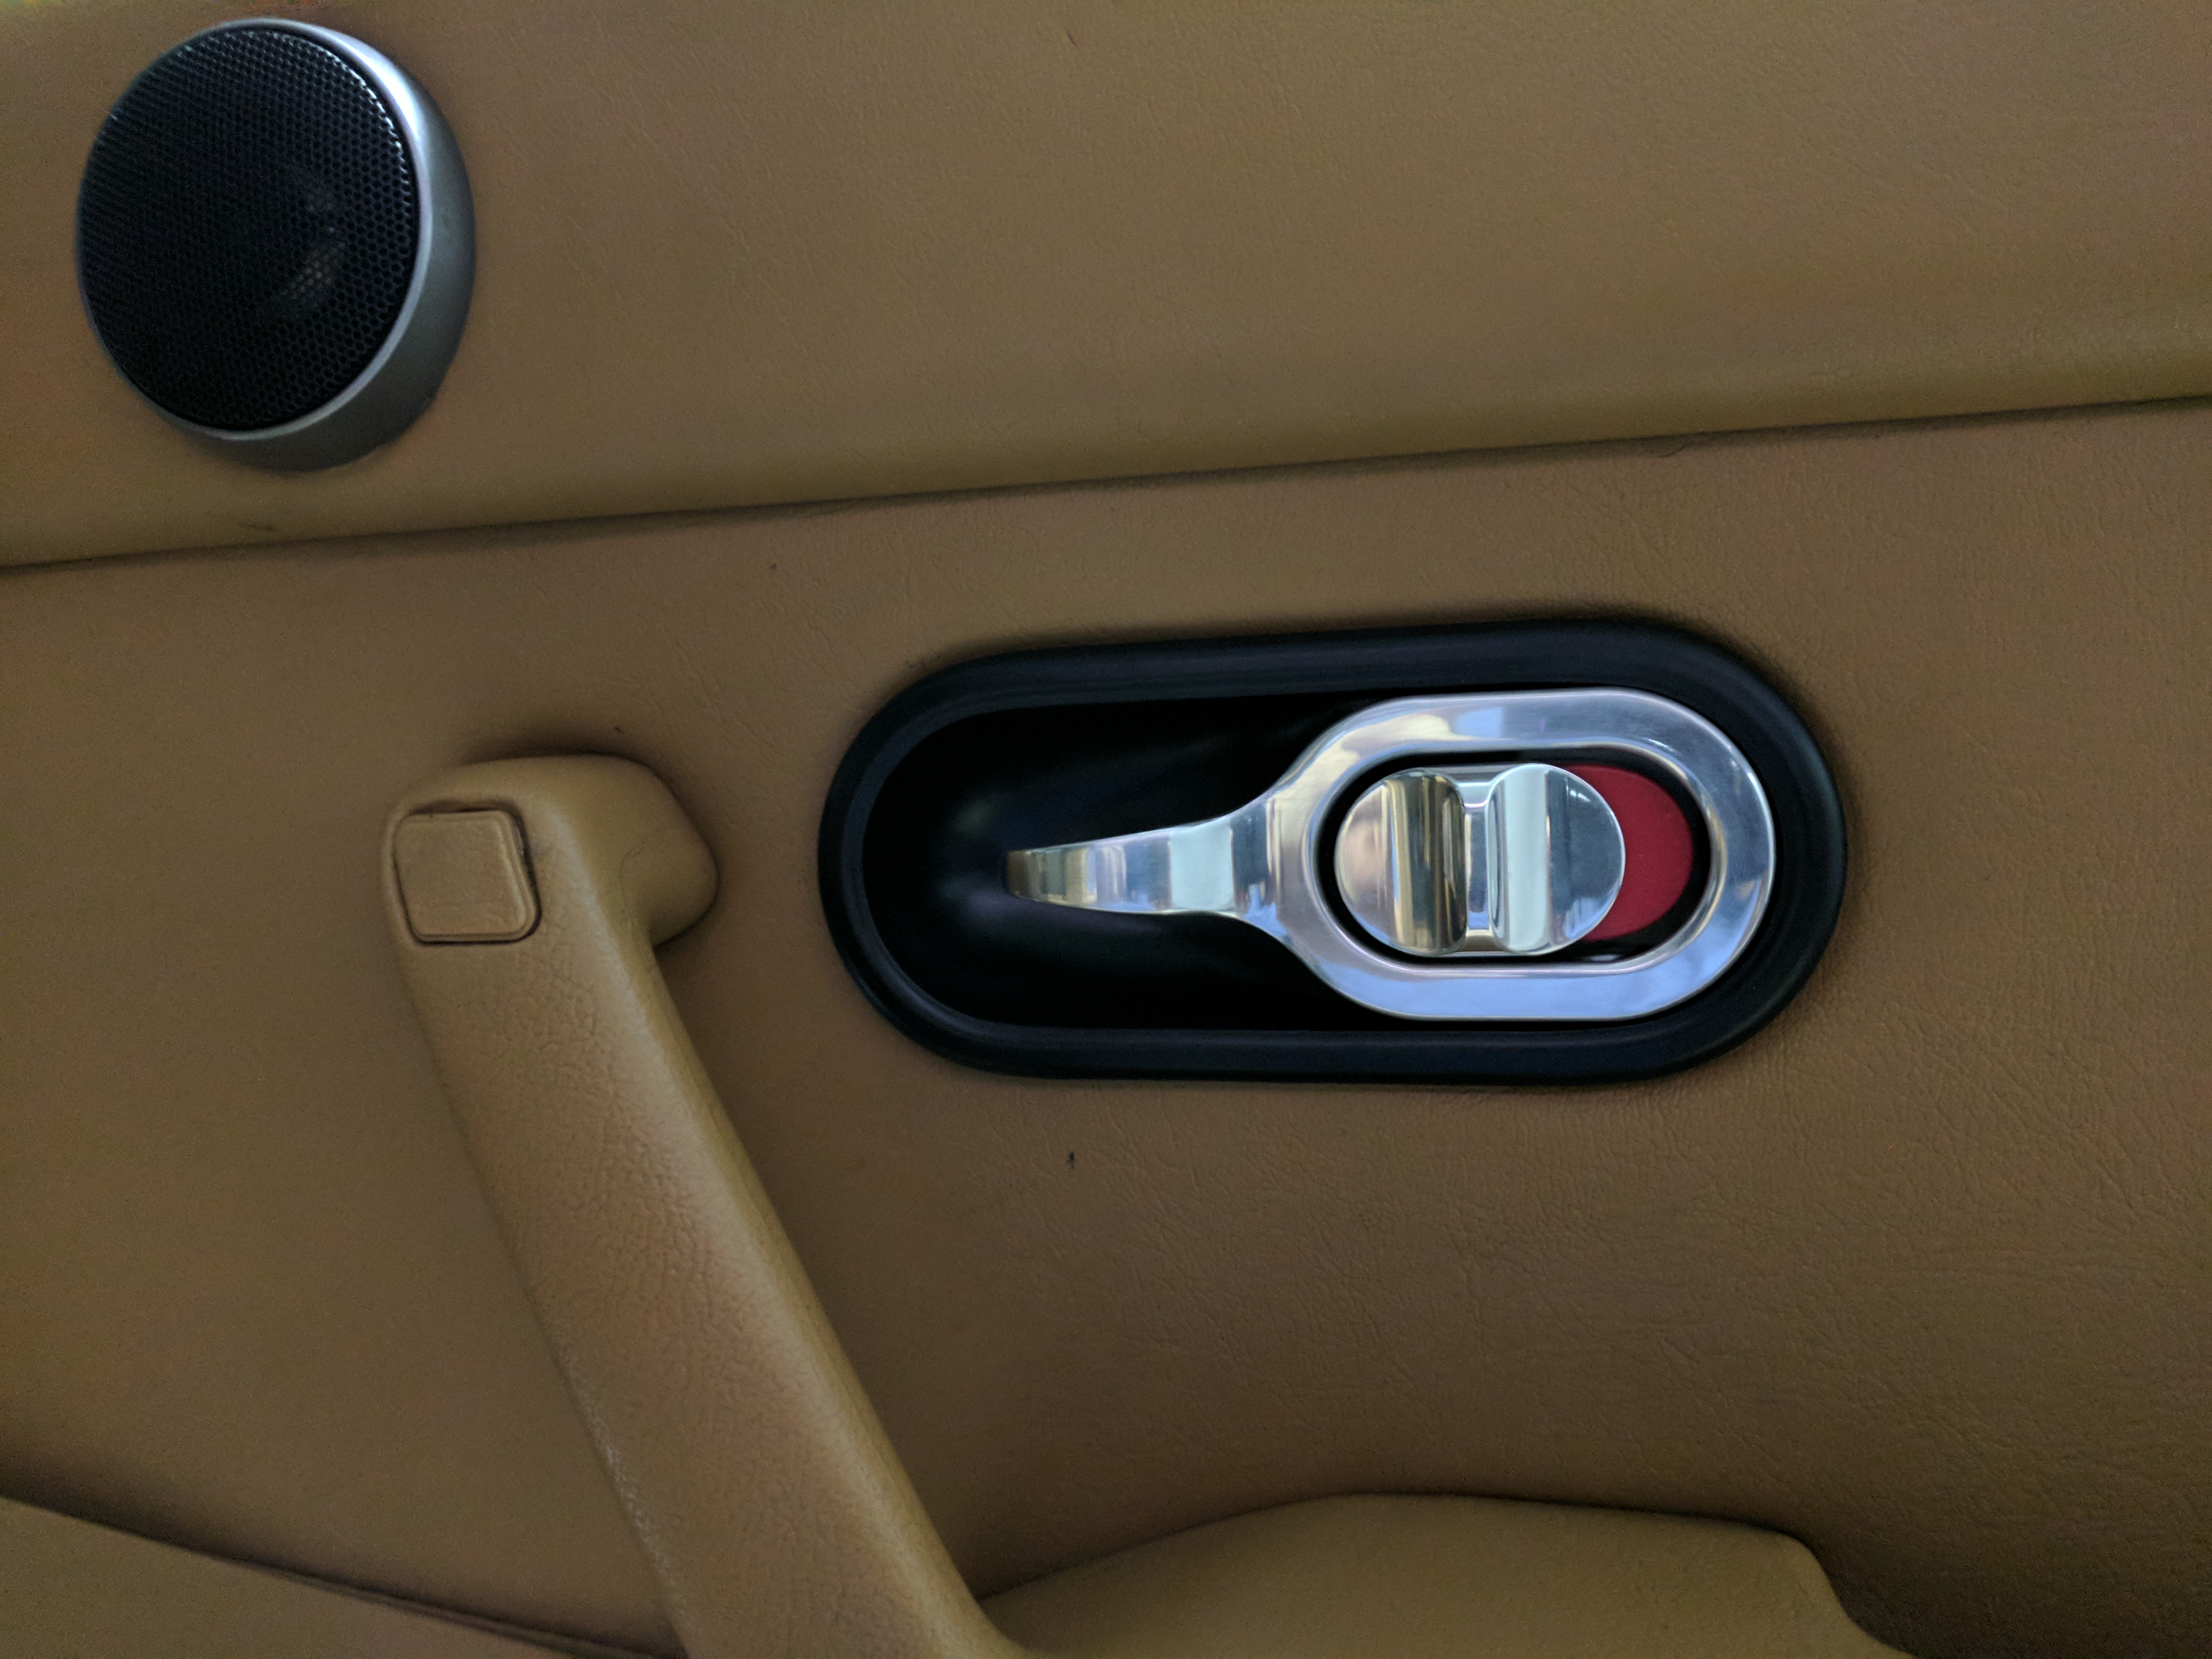
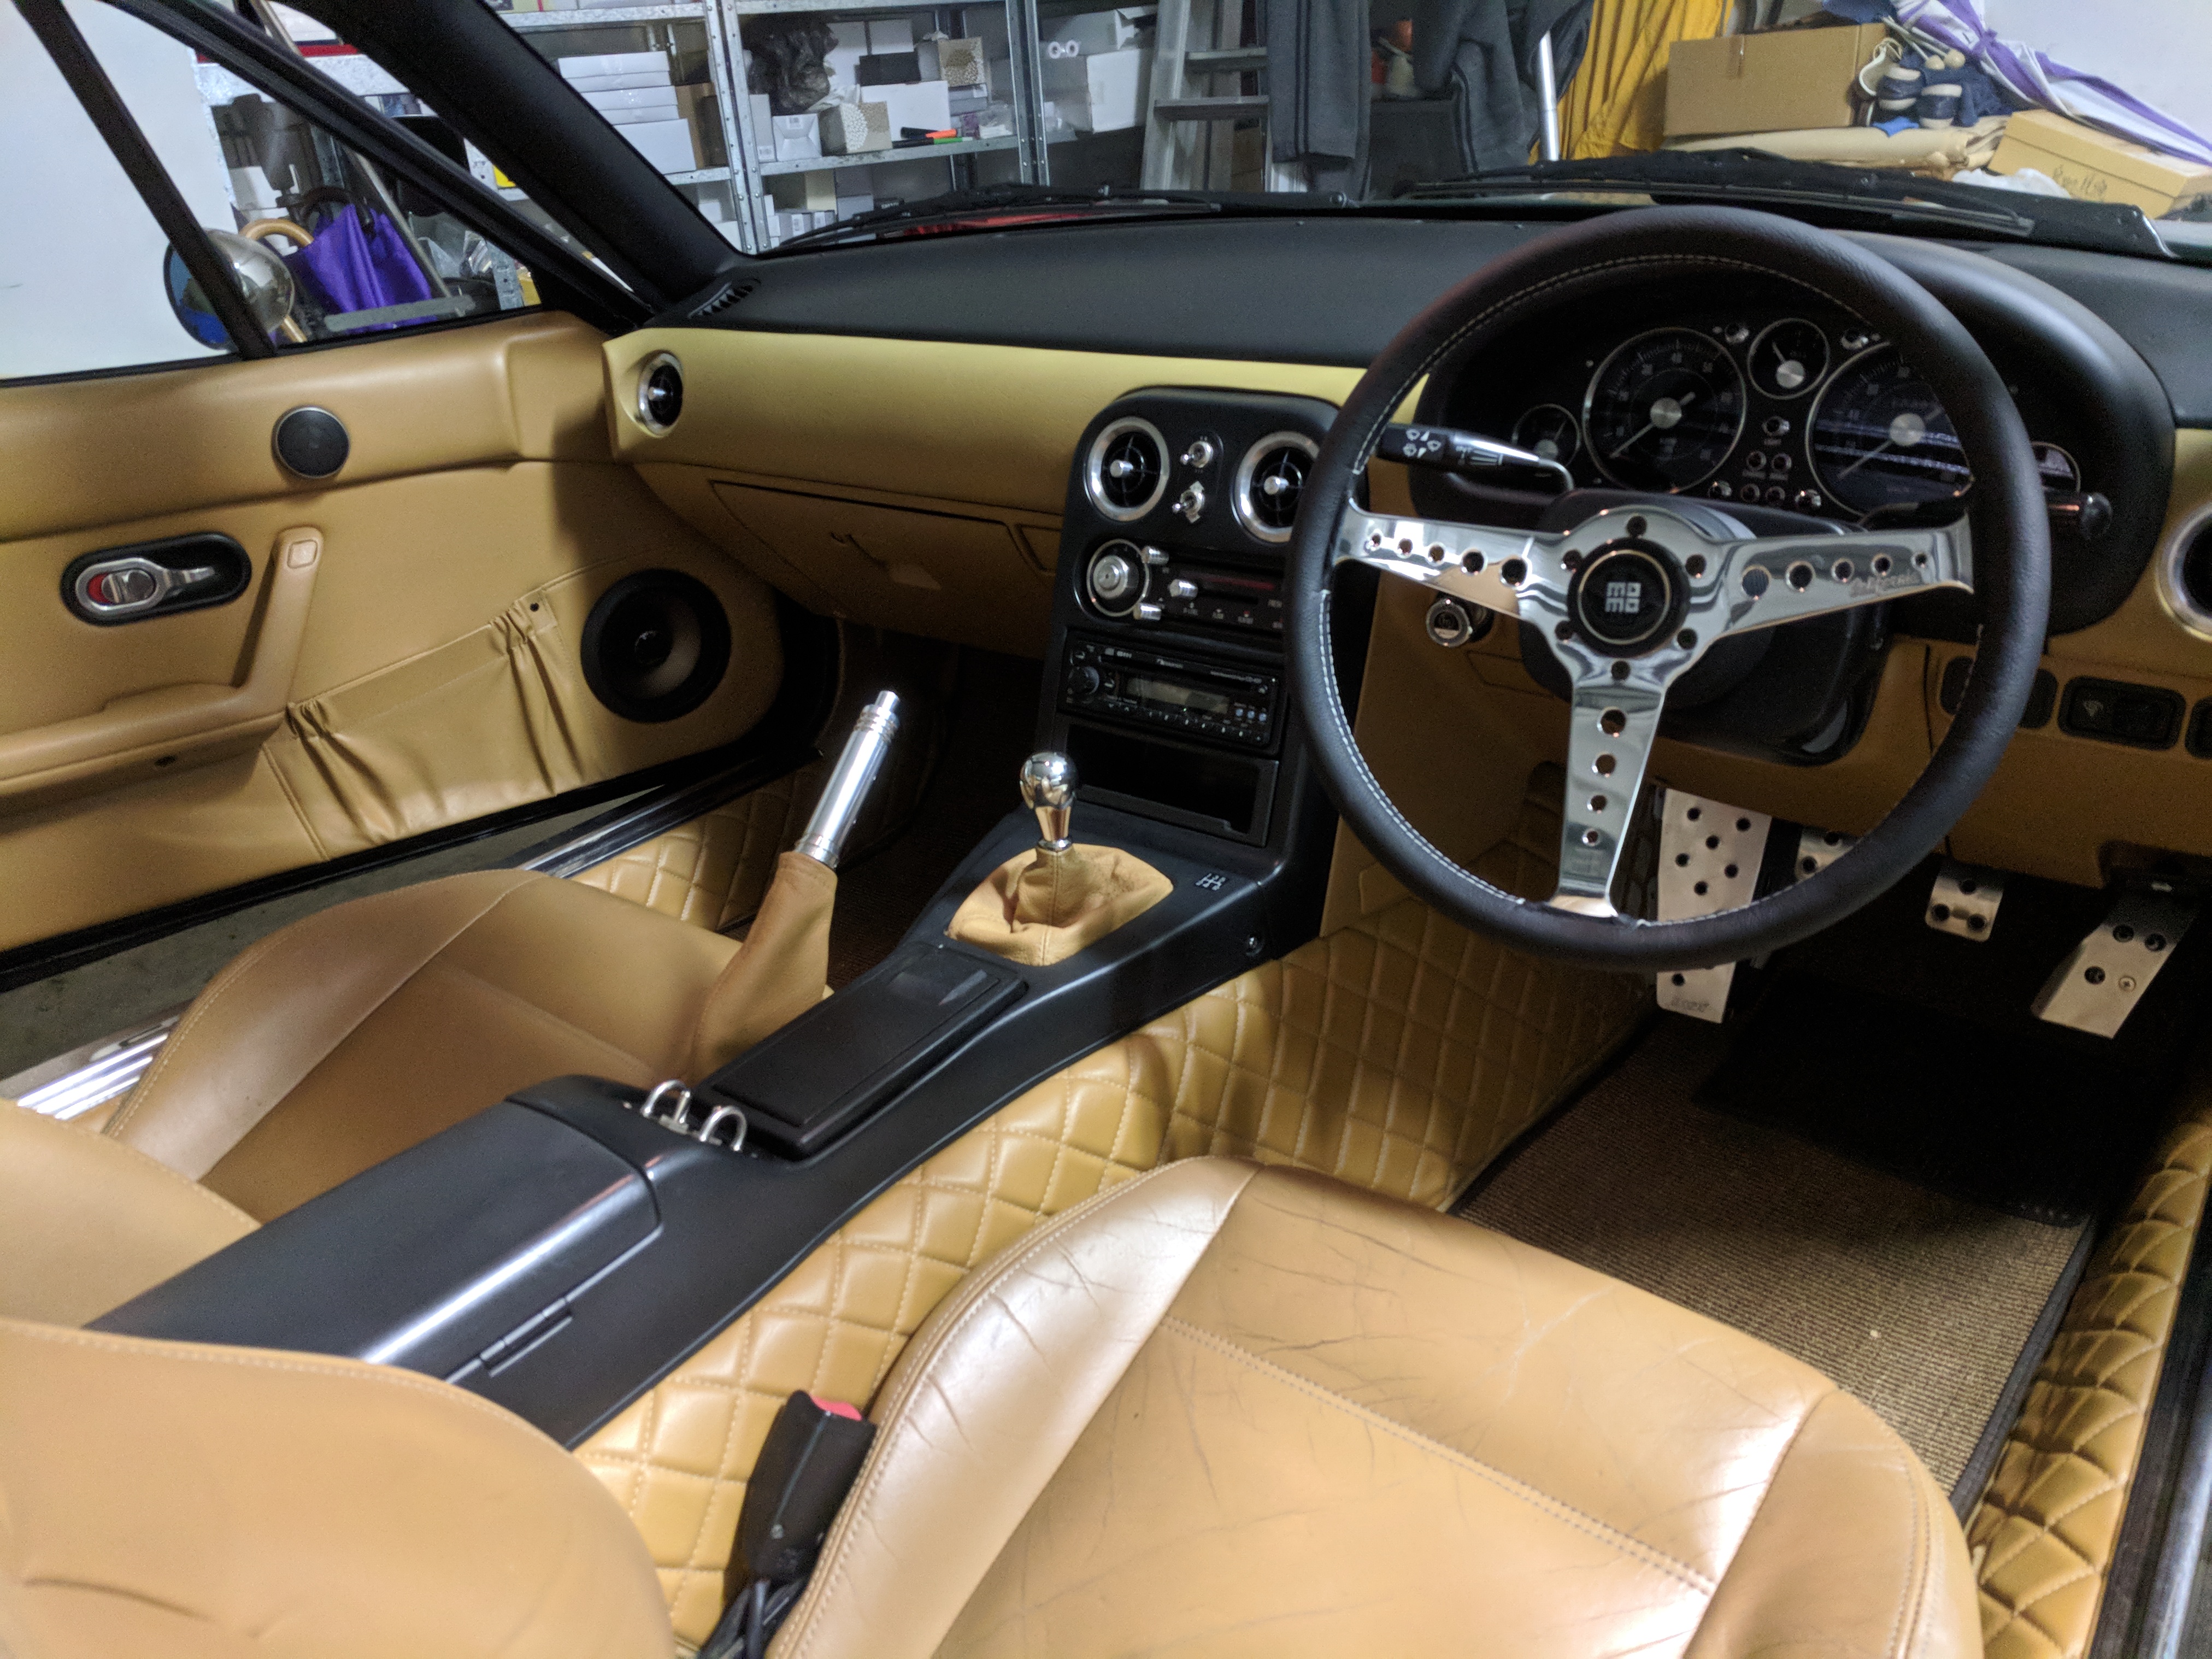
Result.
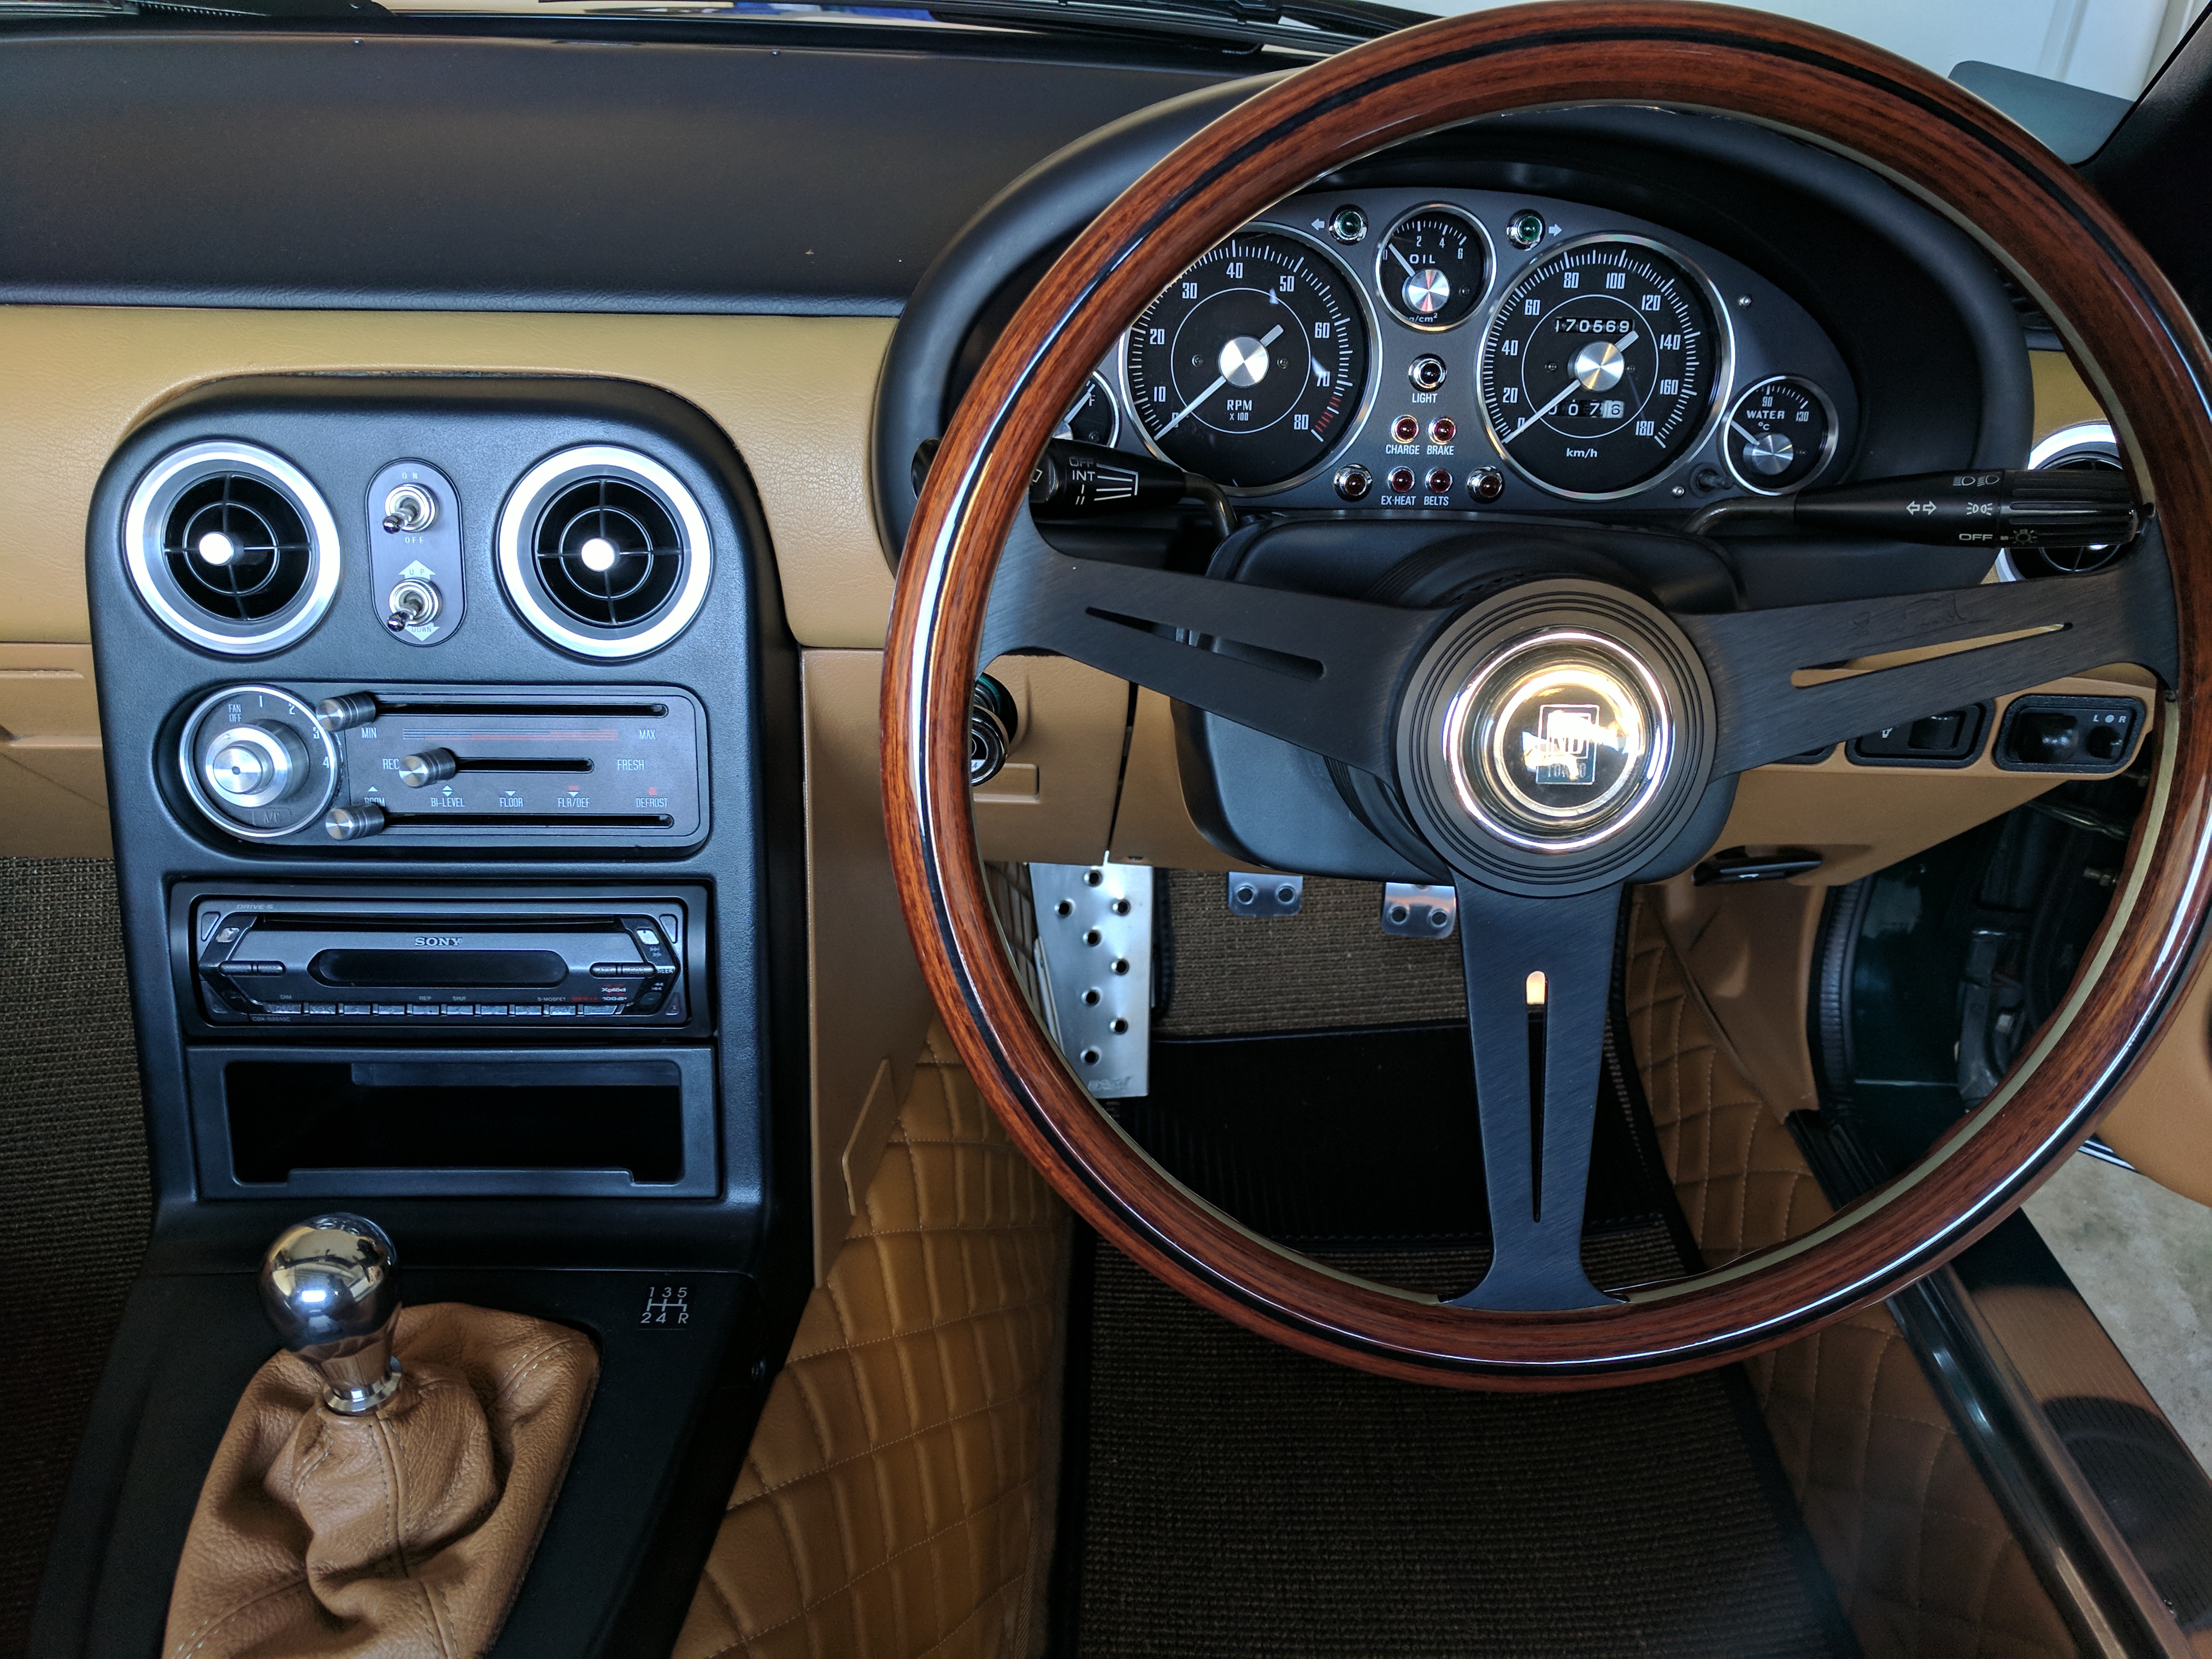
Slowly coming together. That headunit really needs to go. It's next on the list of things to replace.
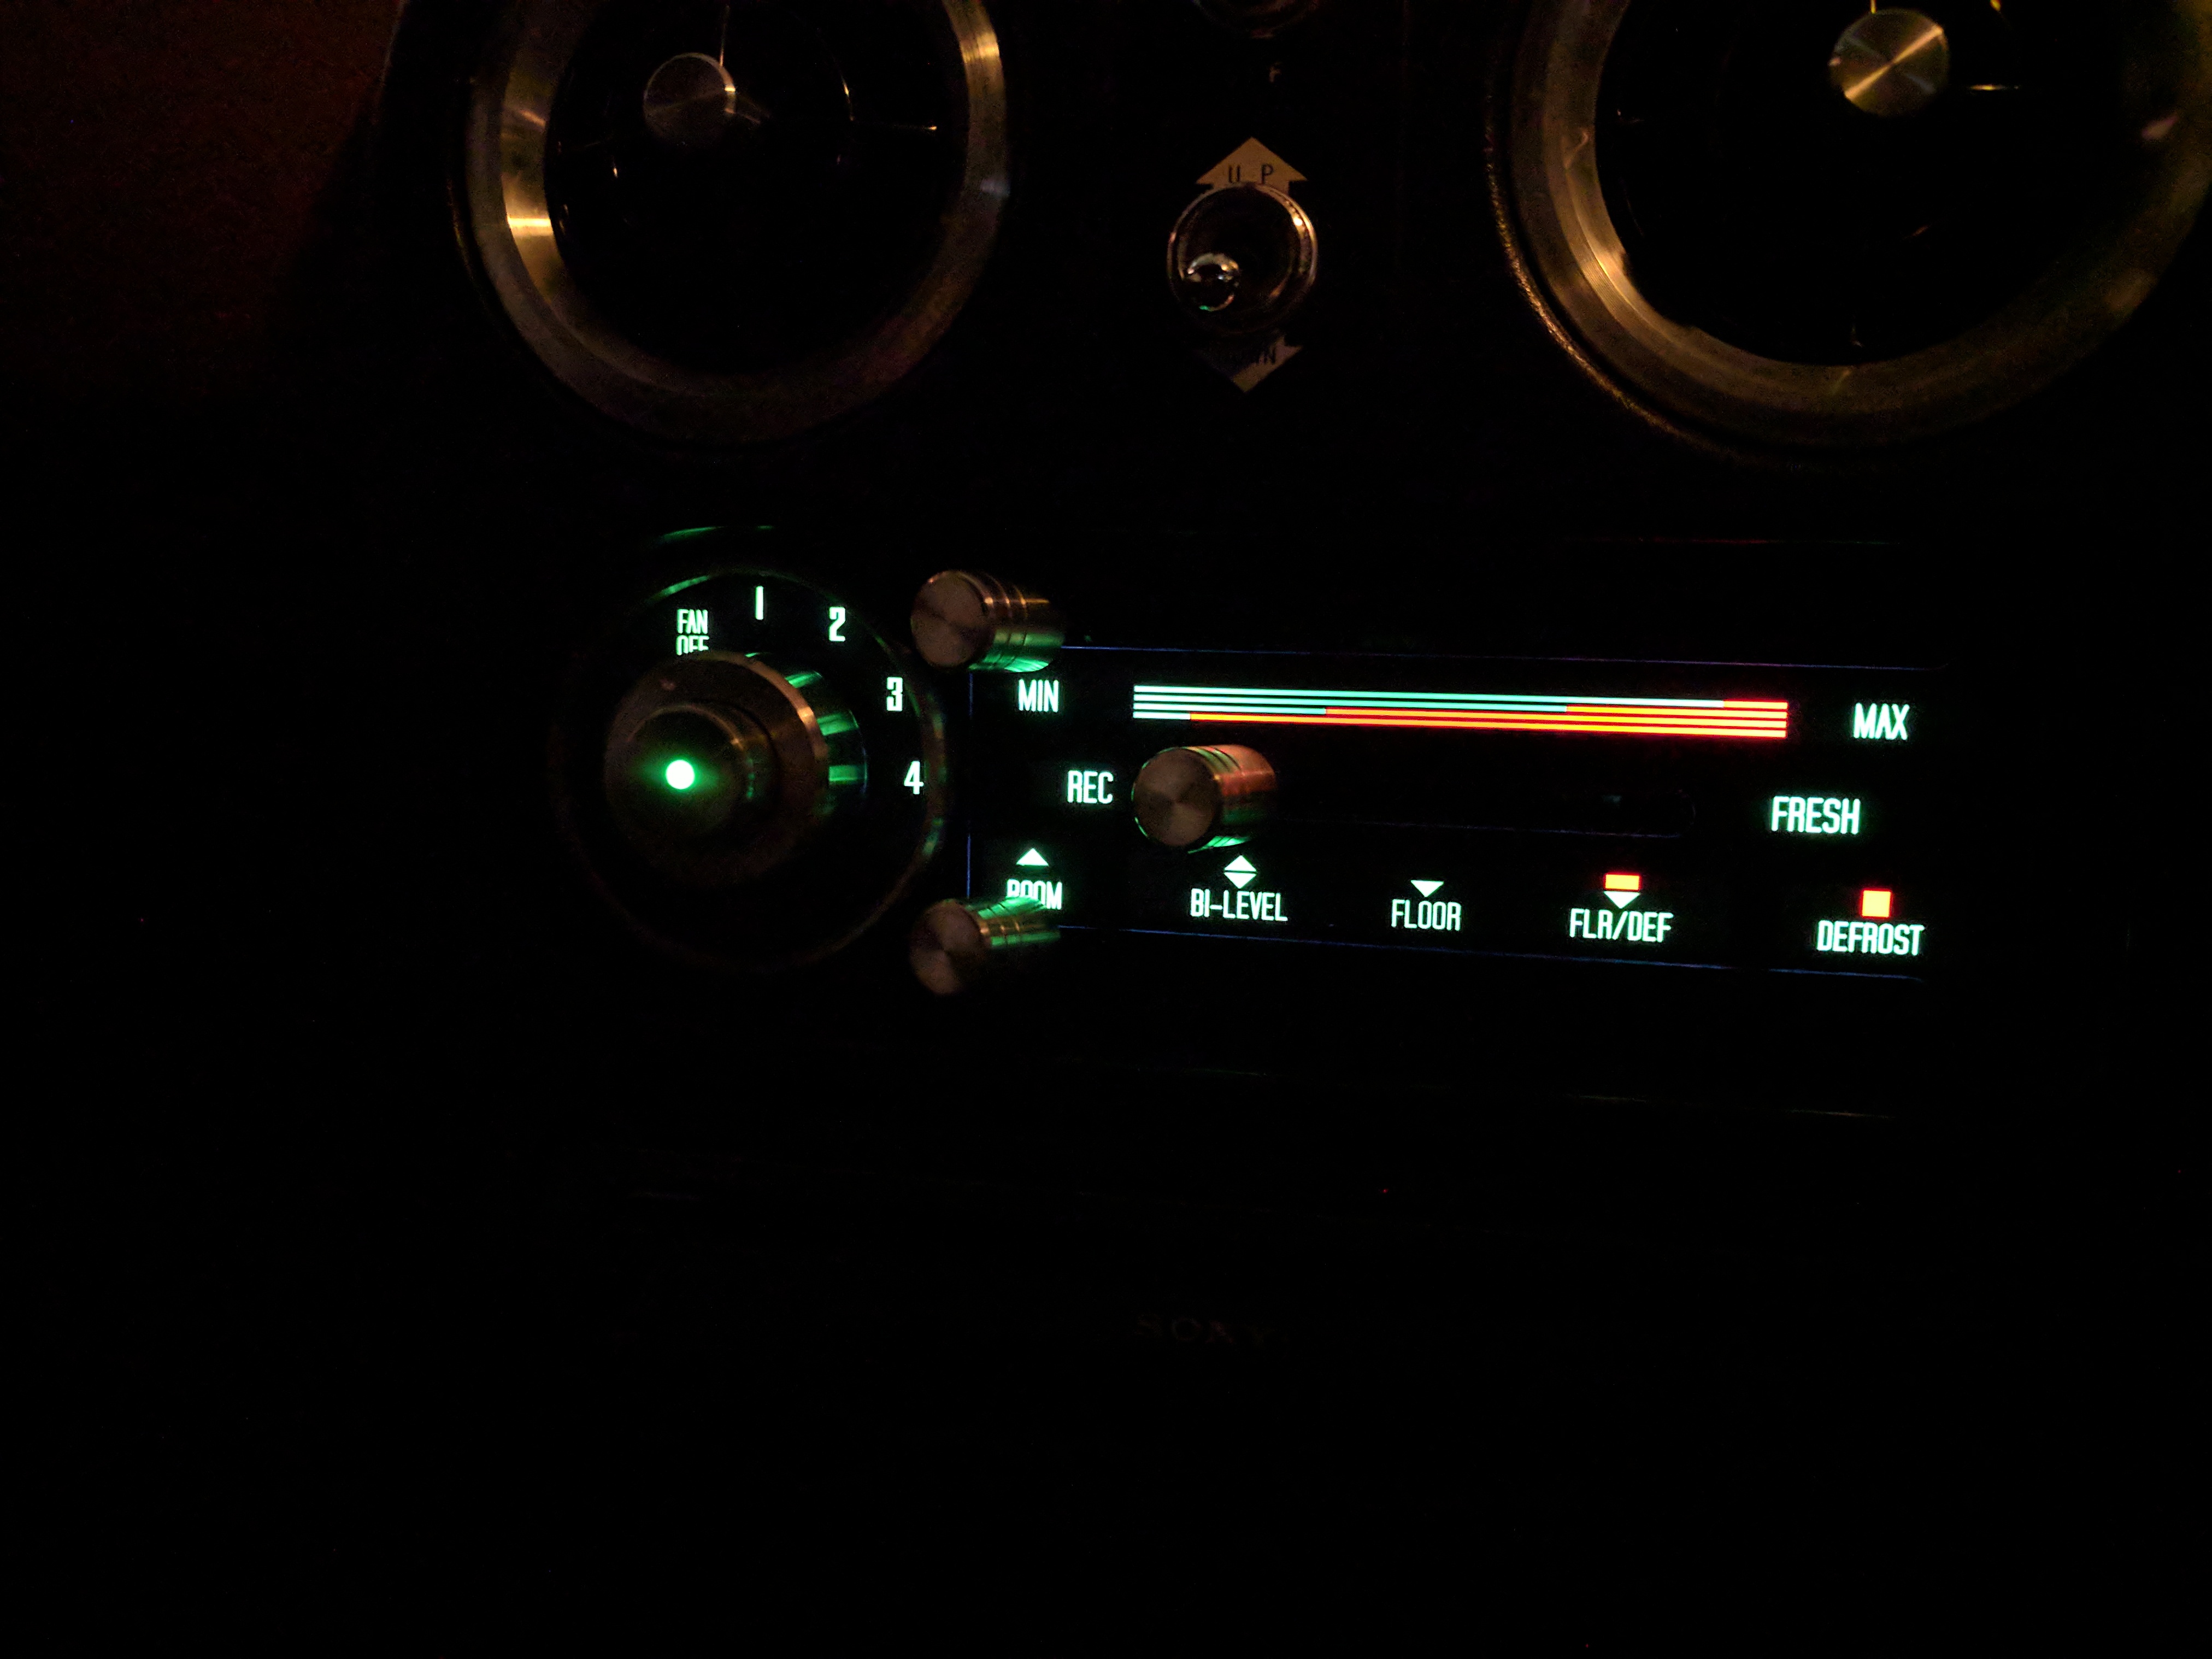
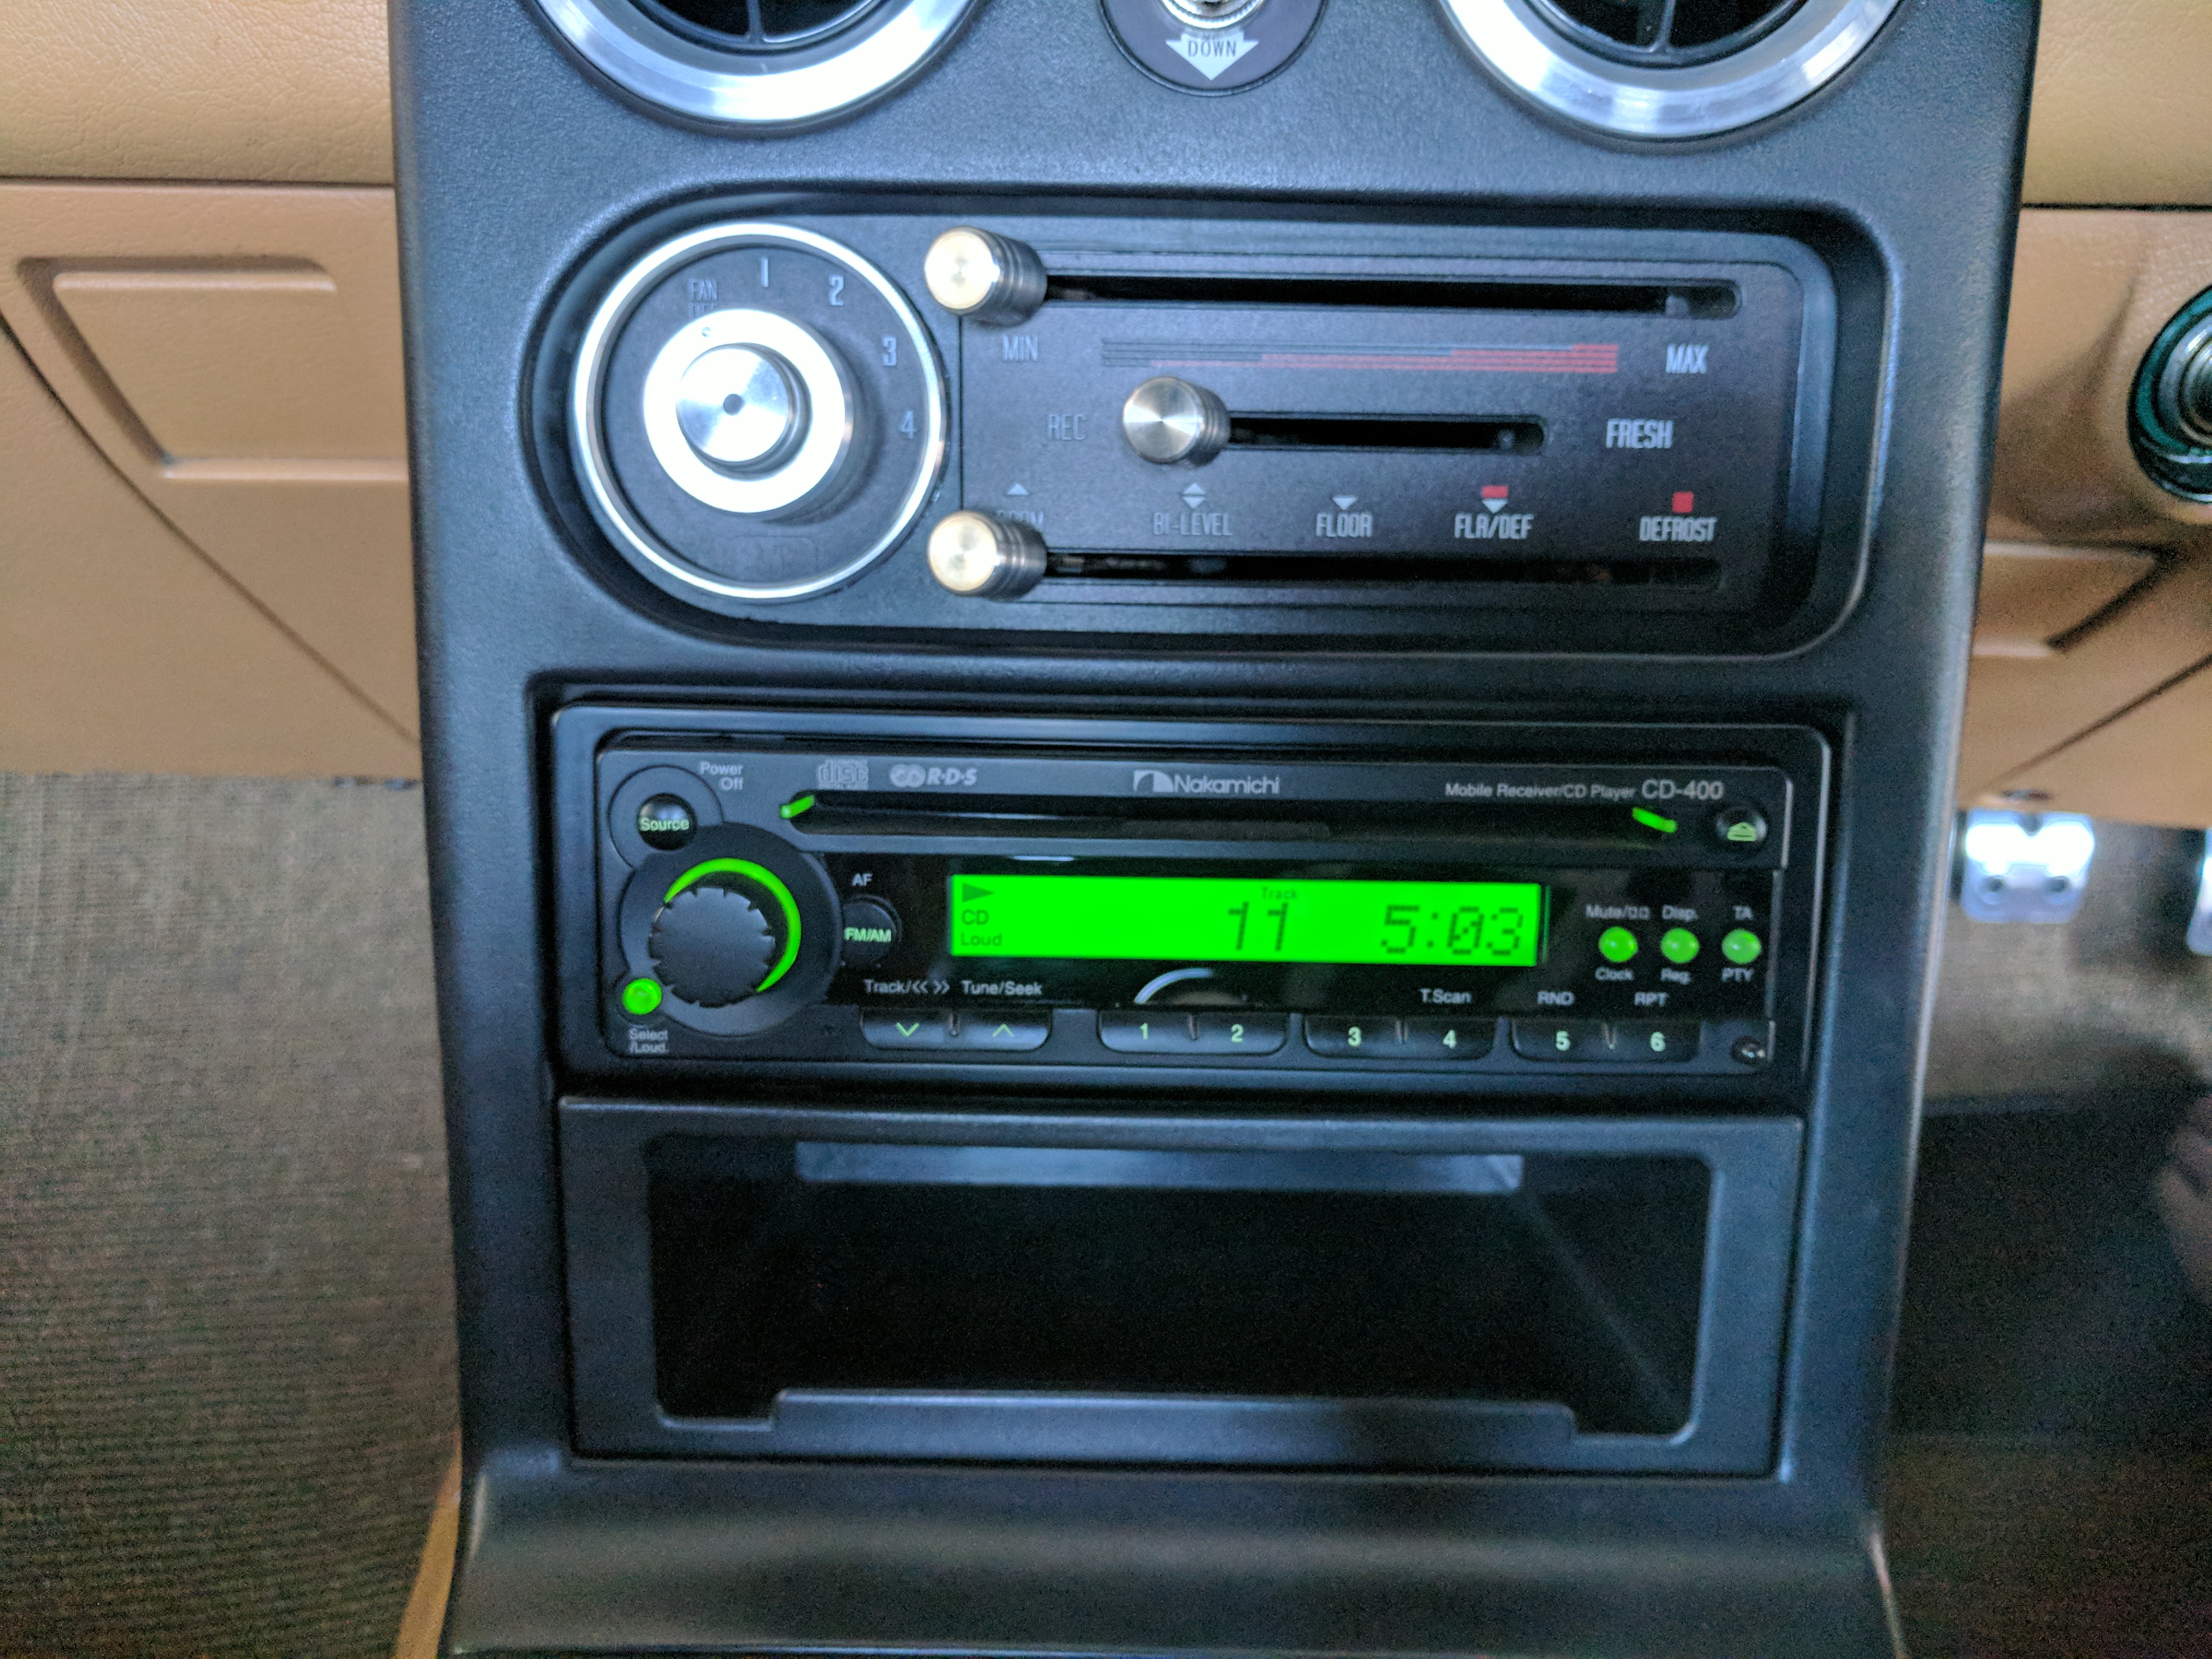
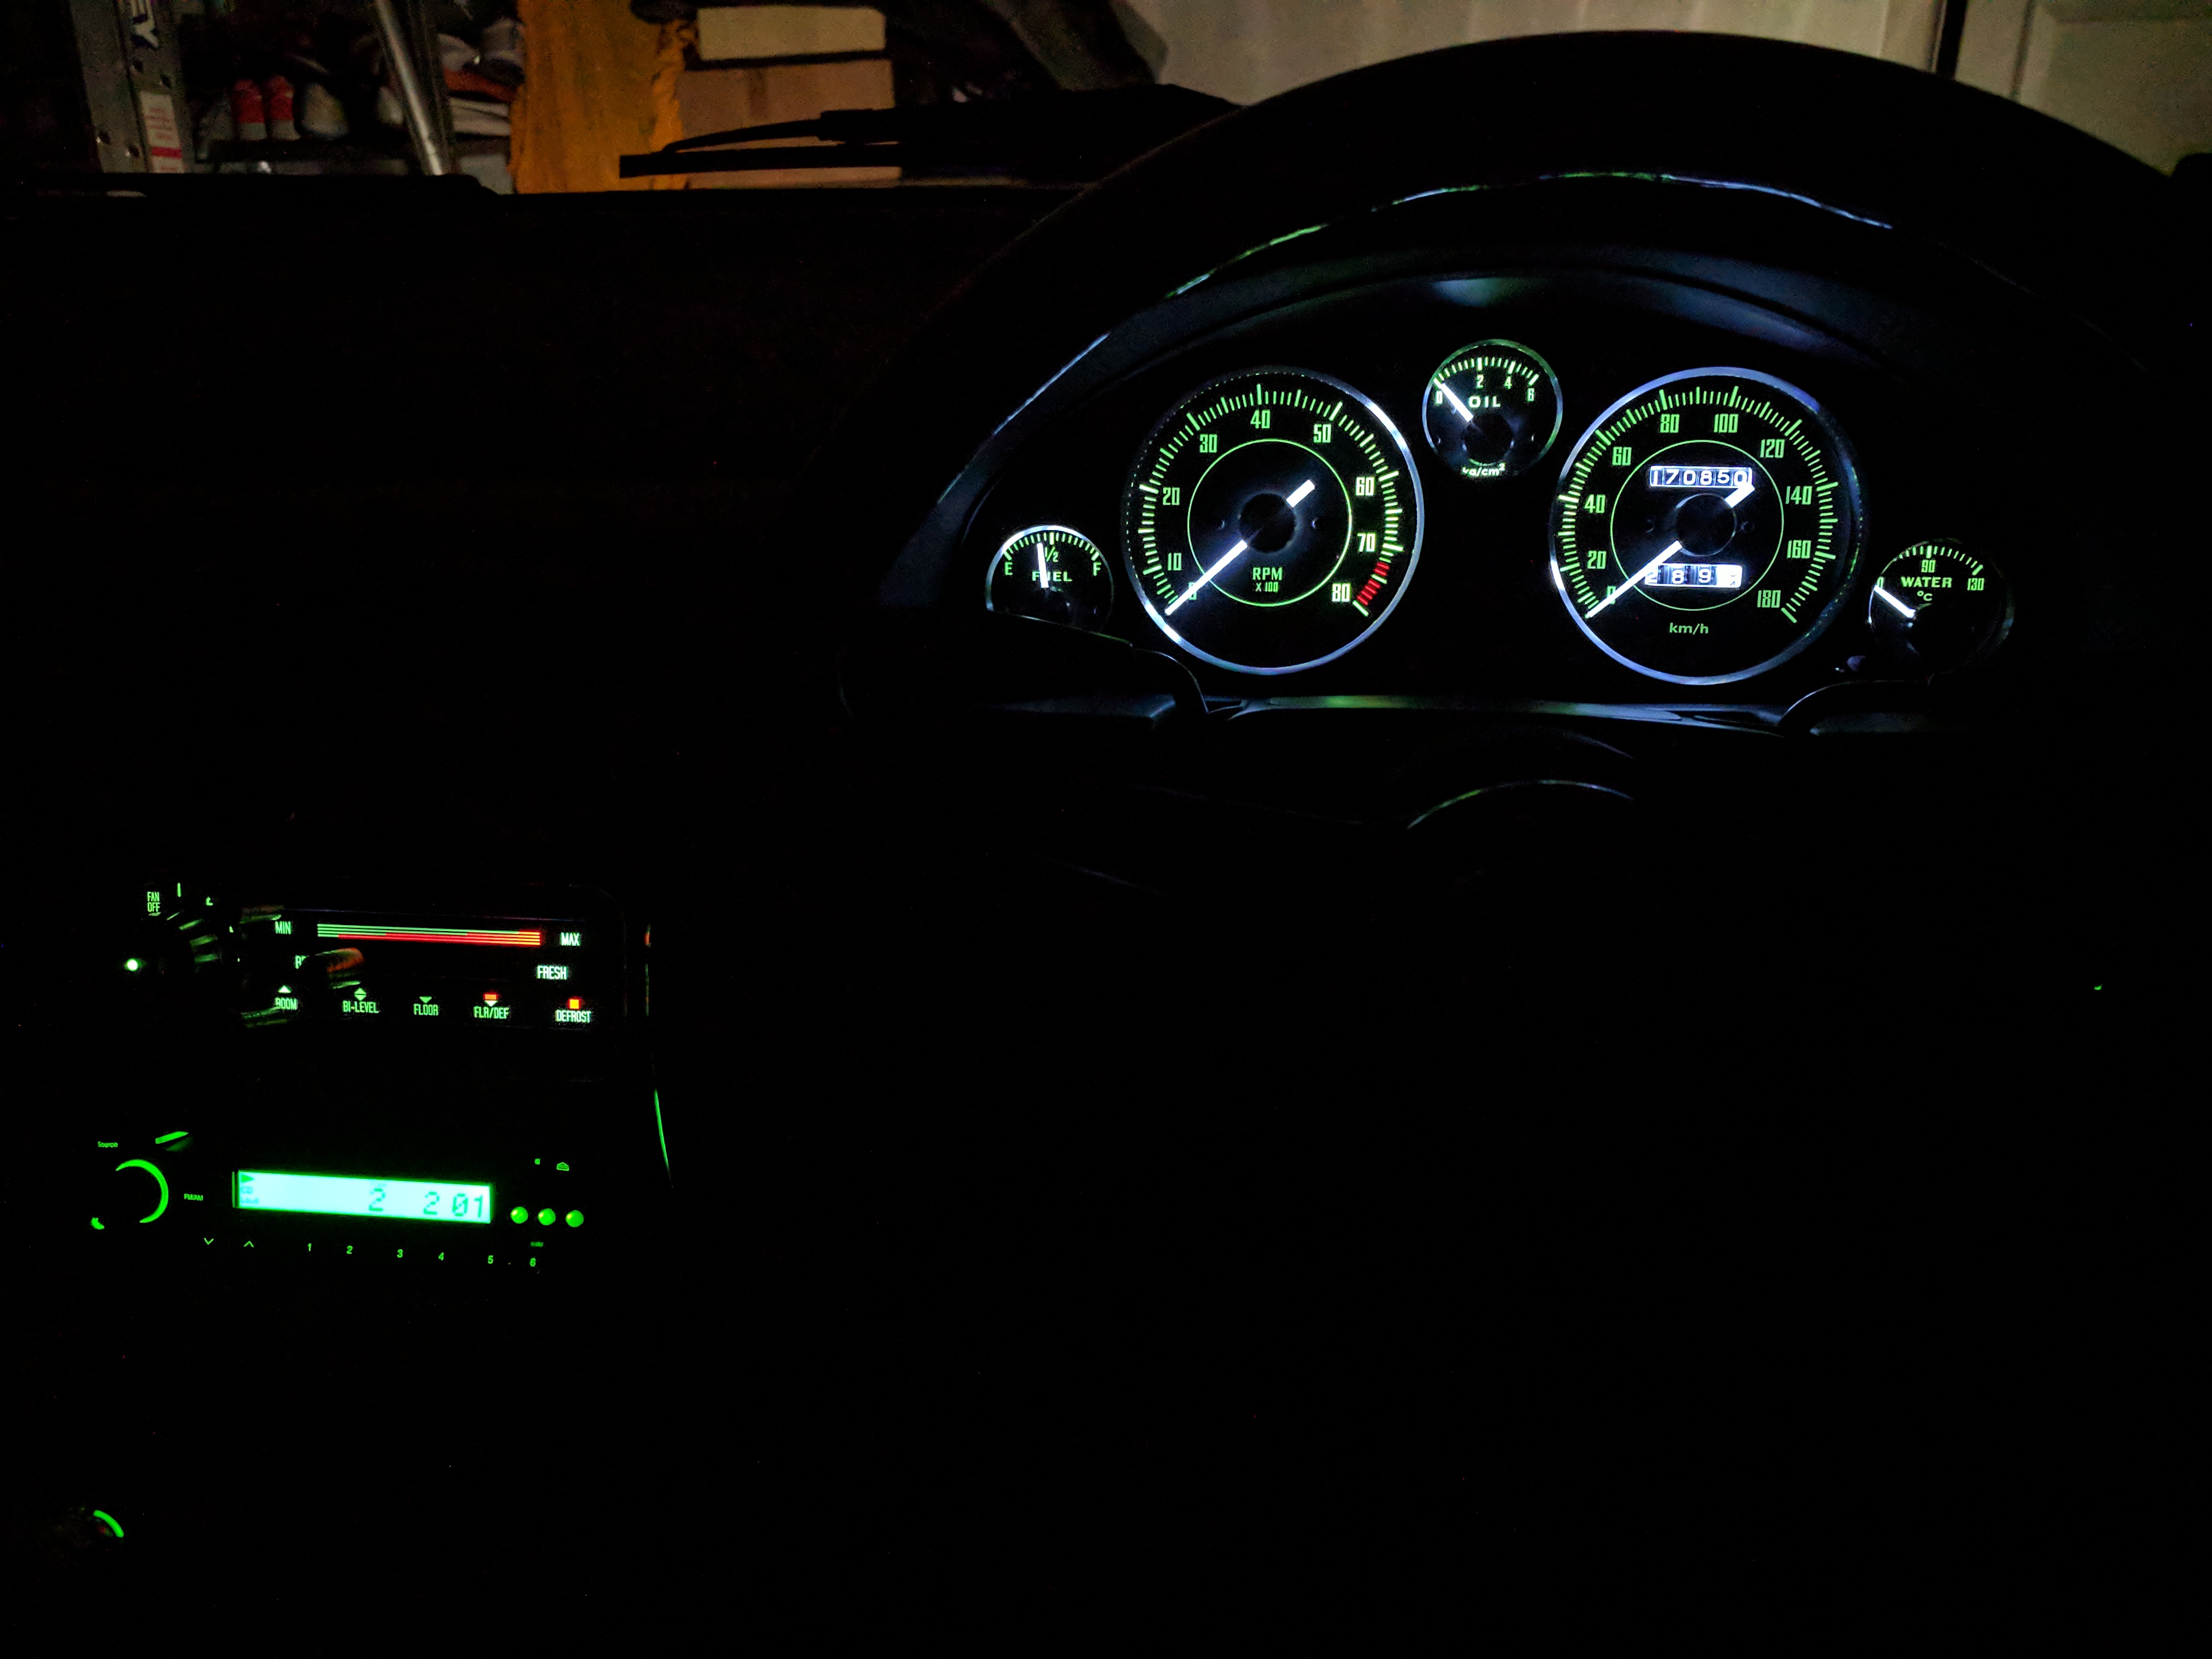
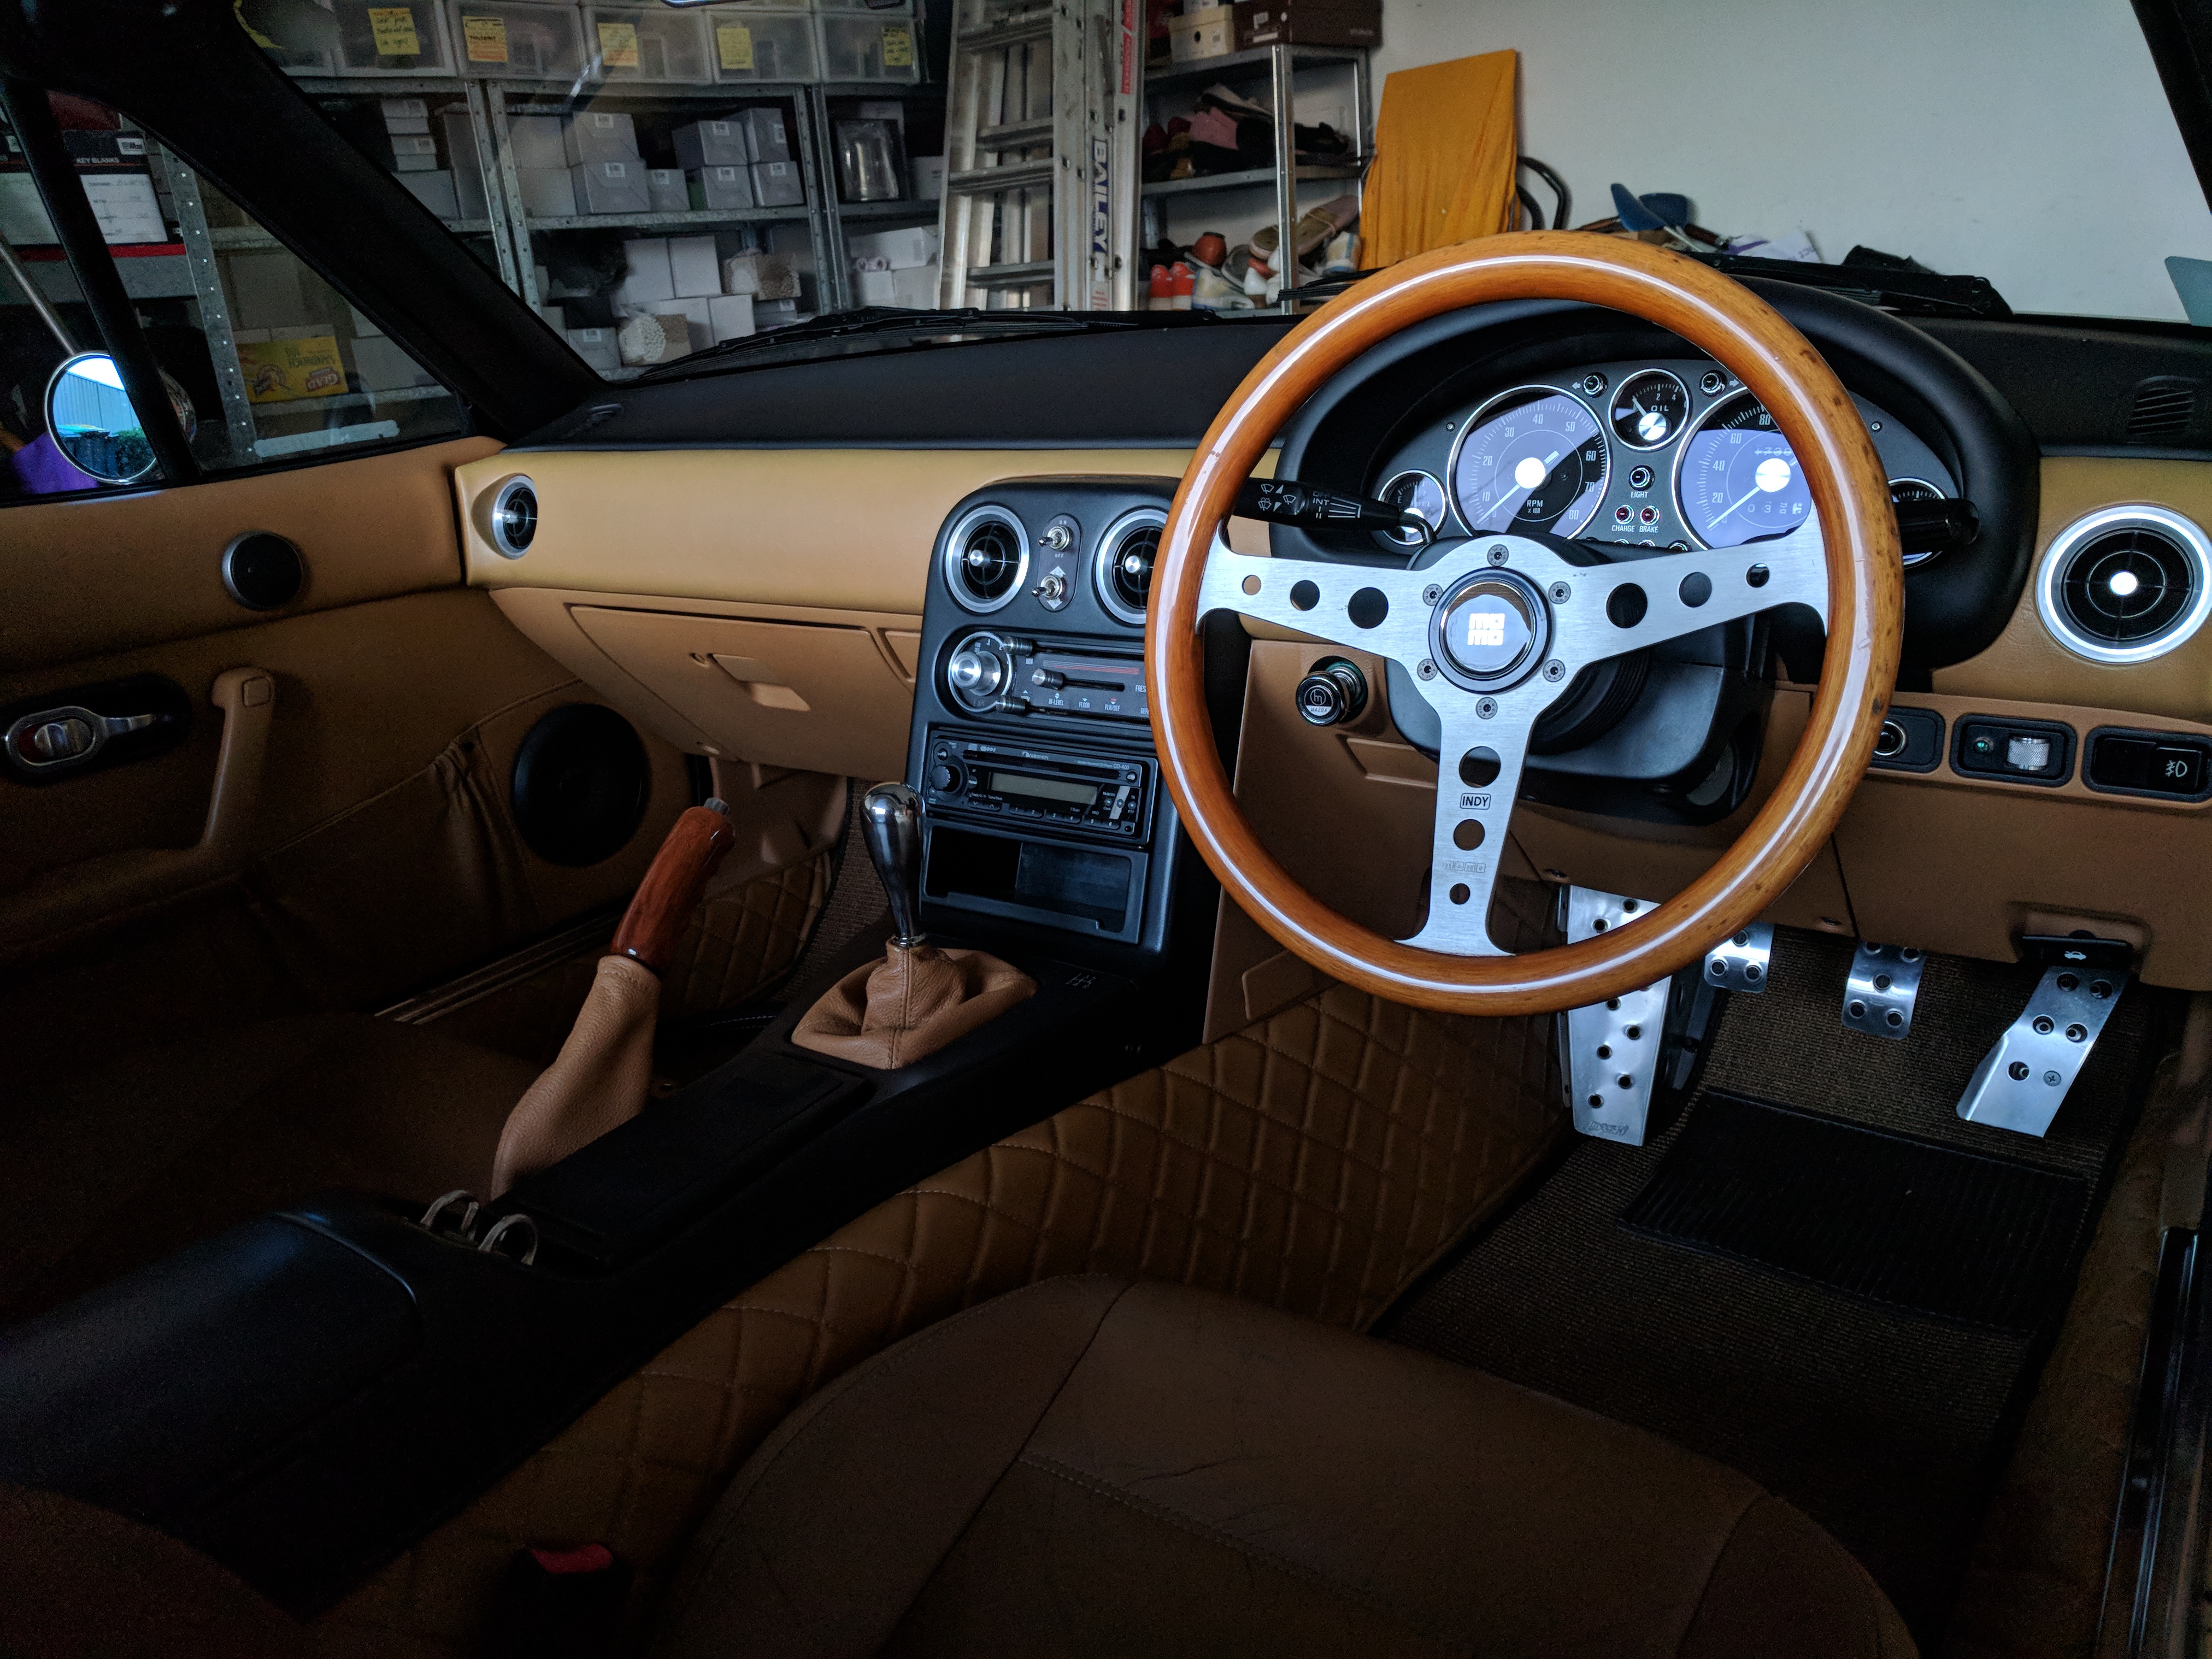
Lit up.
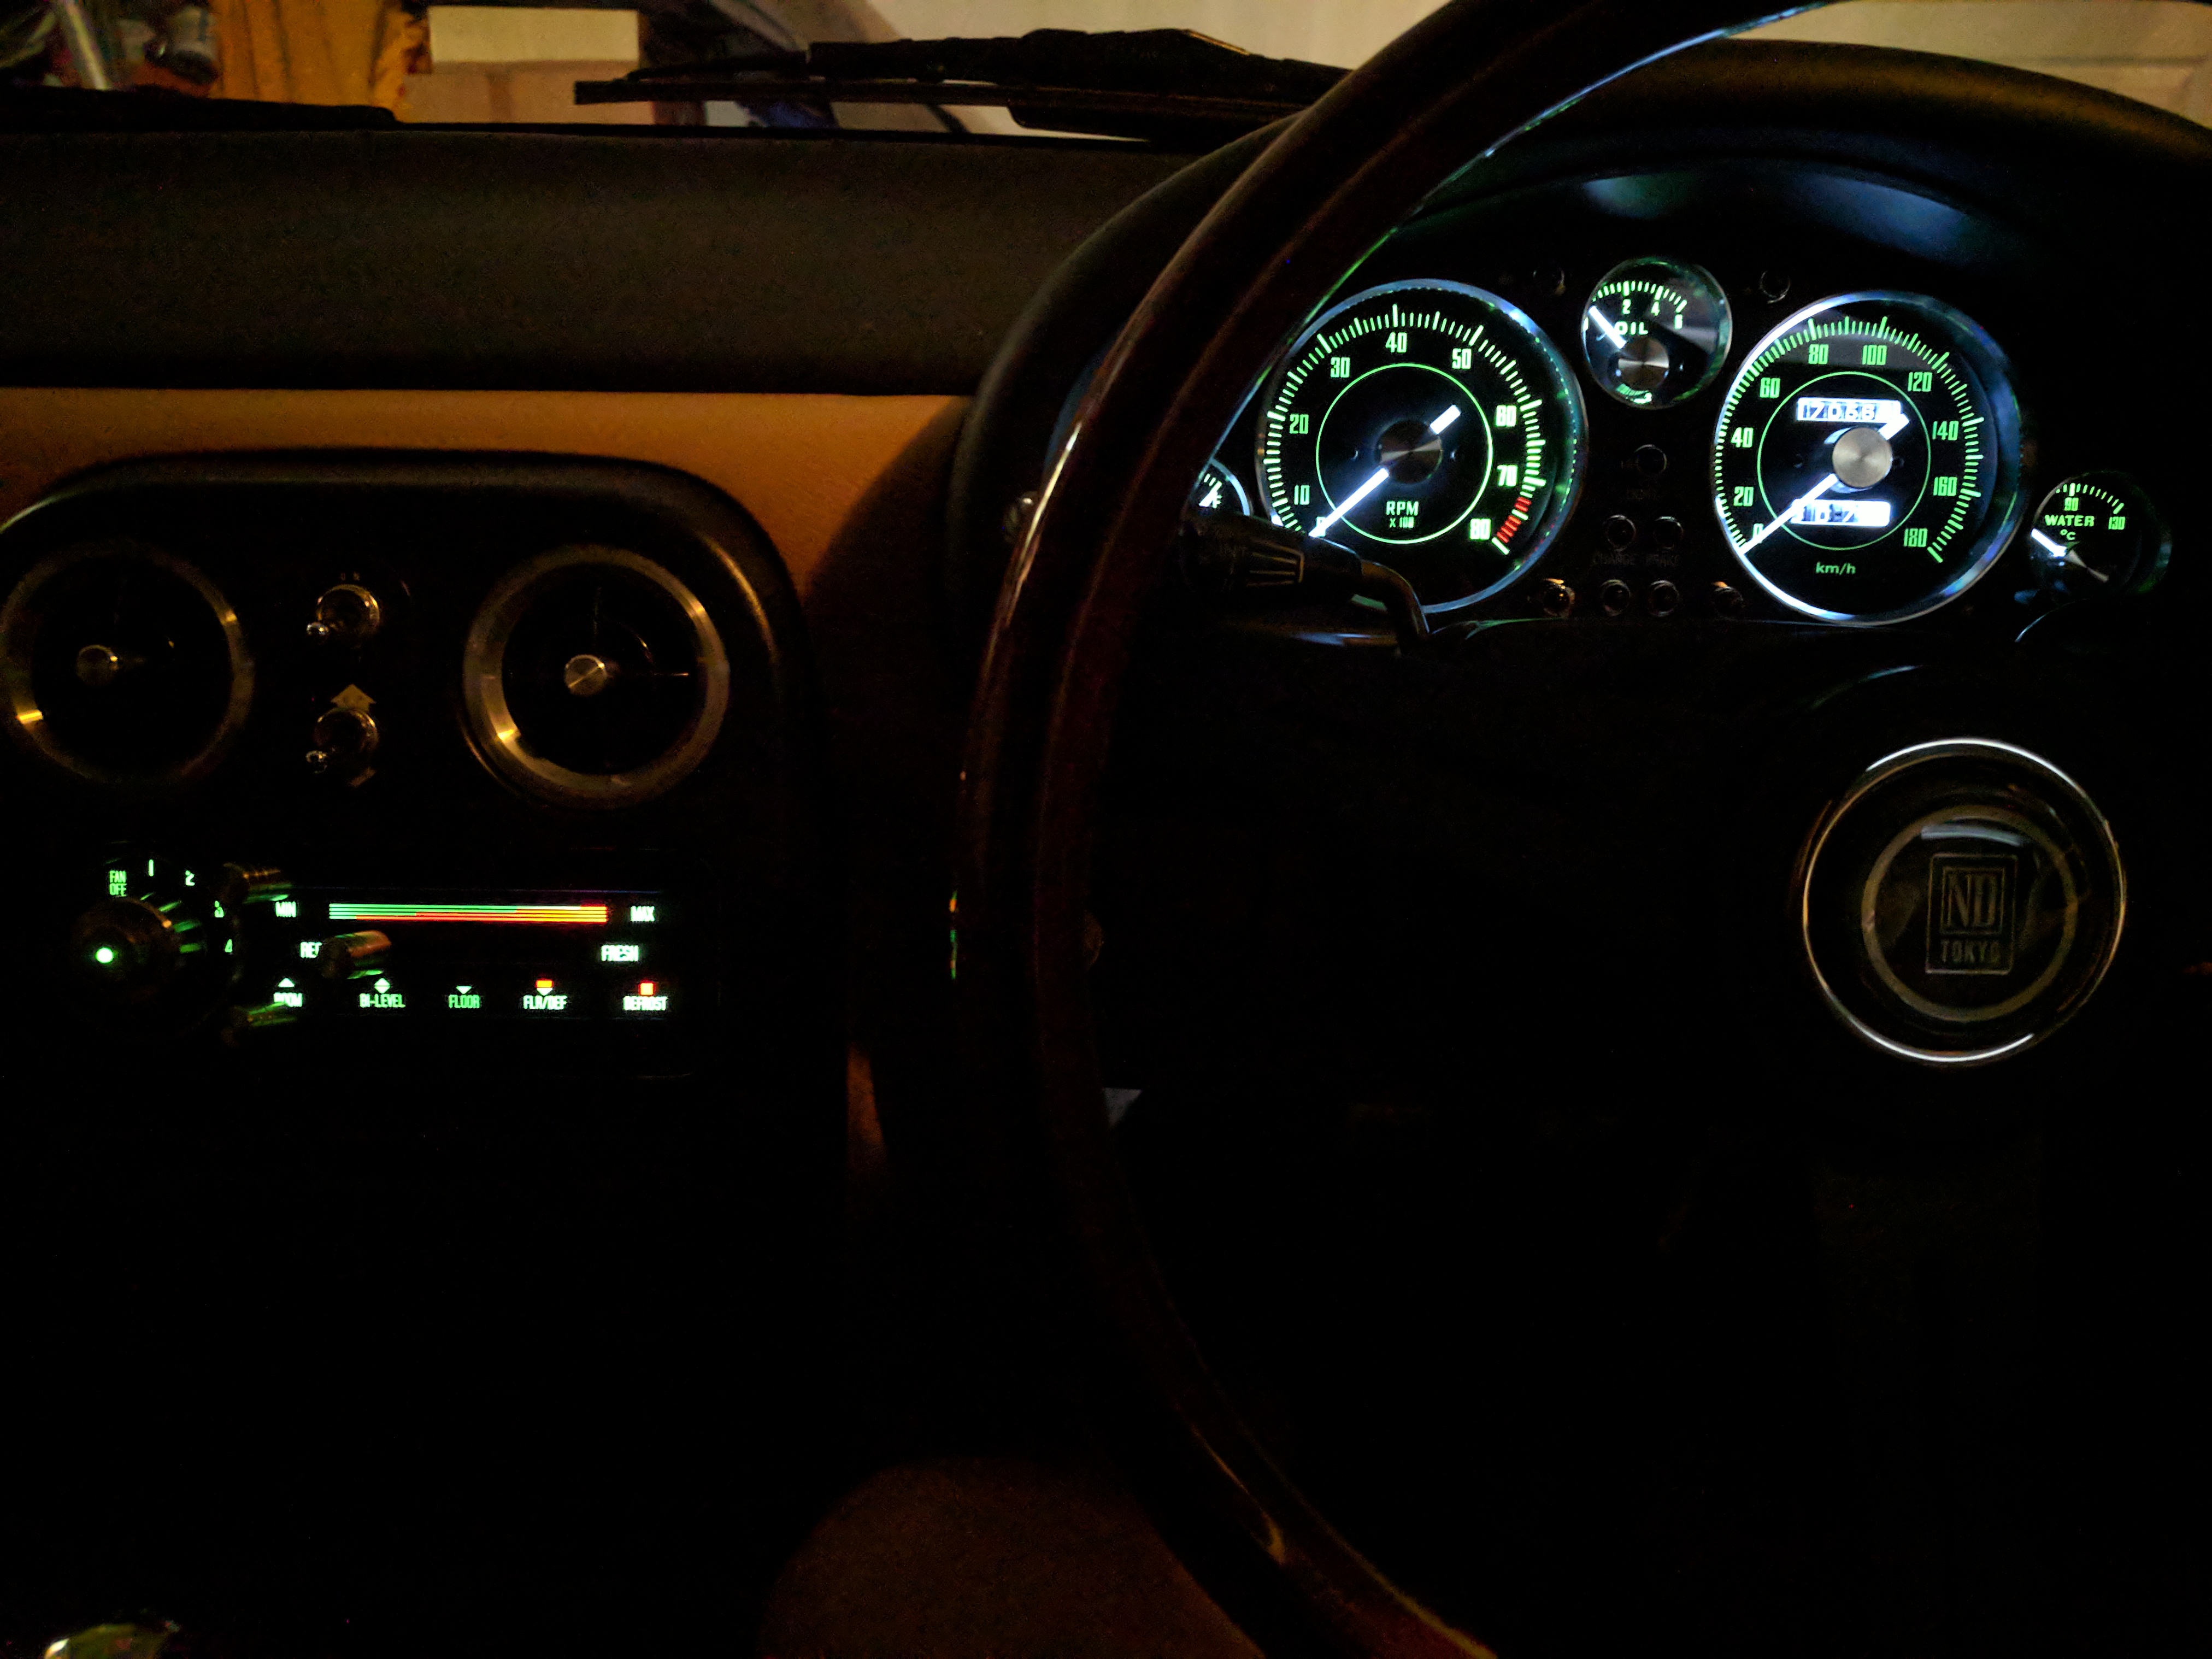
Success!


 [/url]