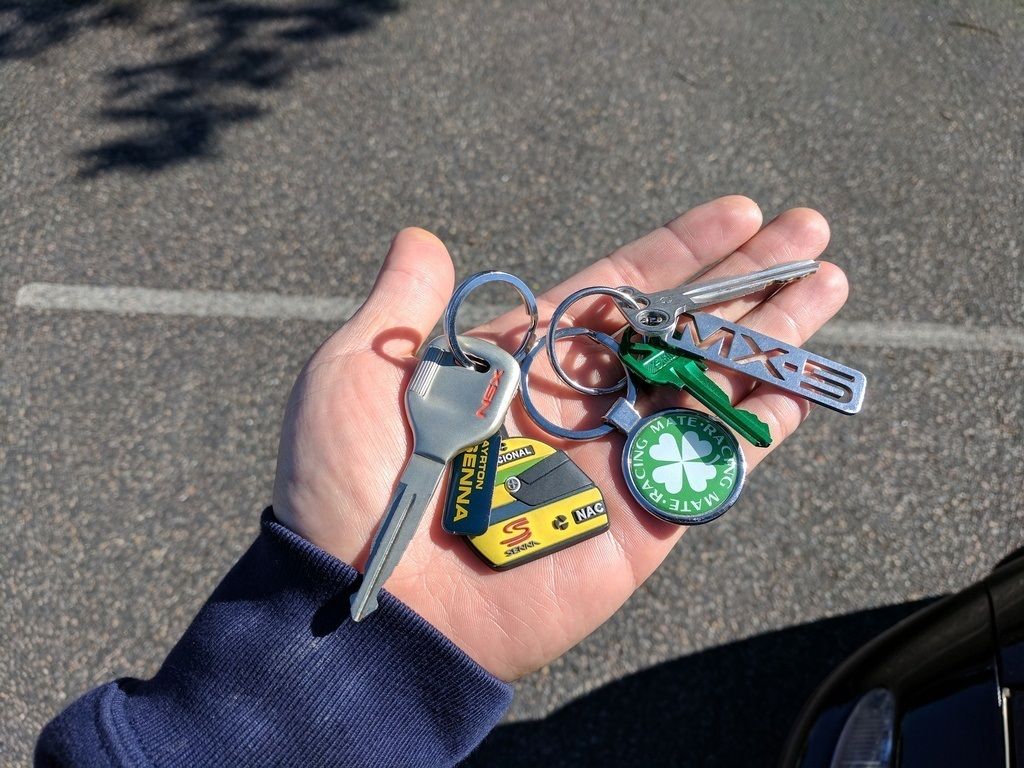
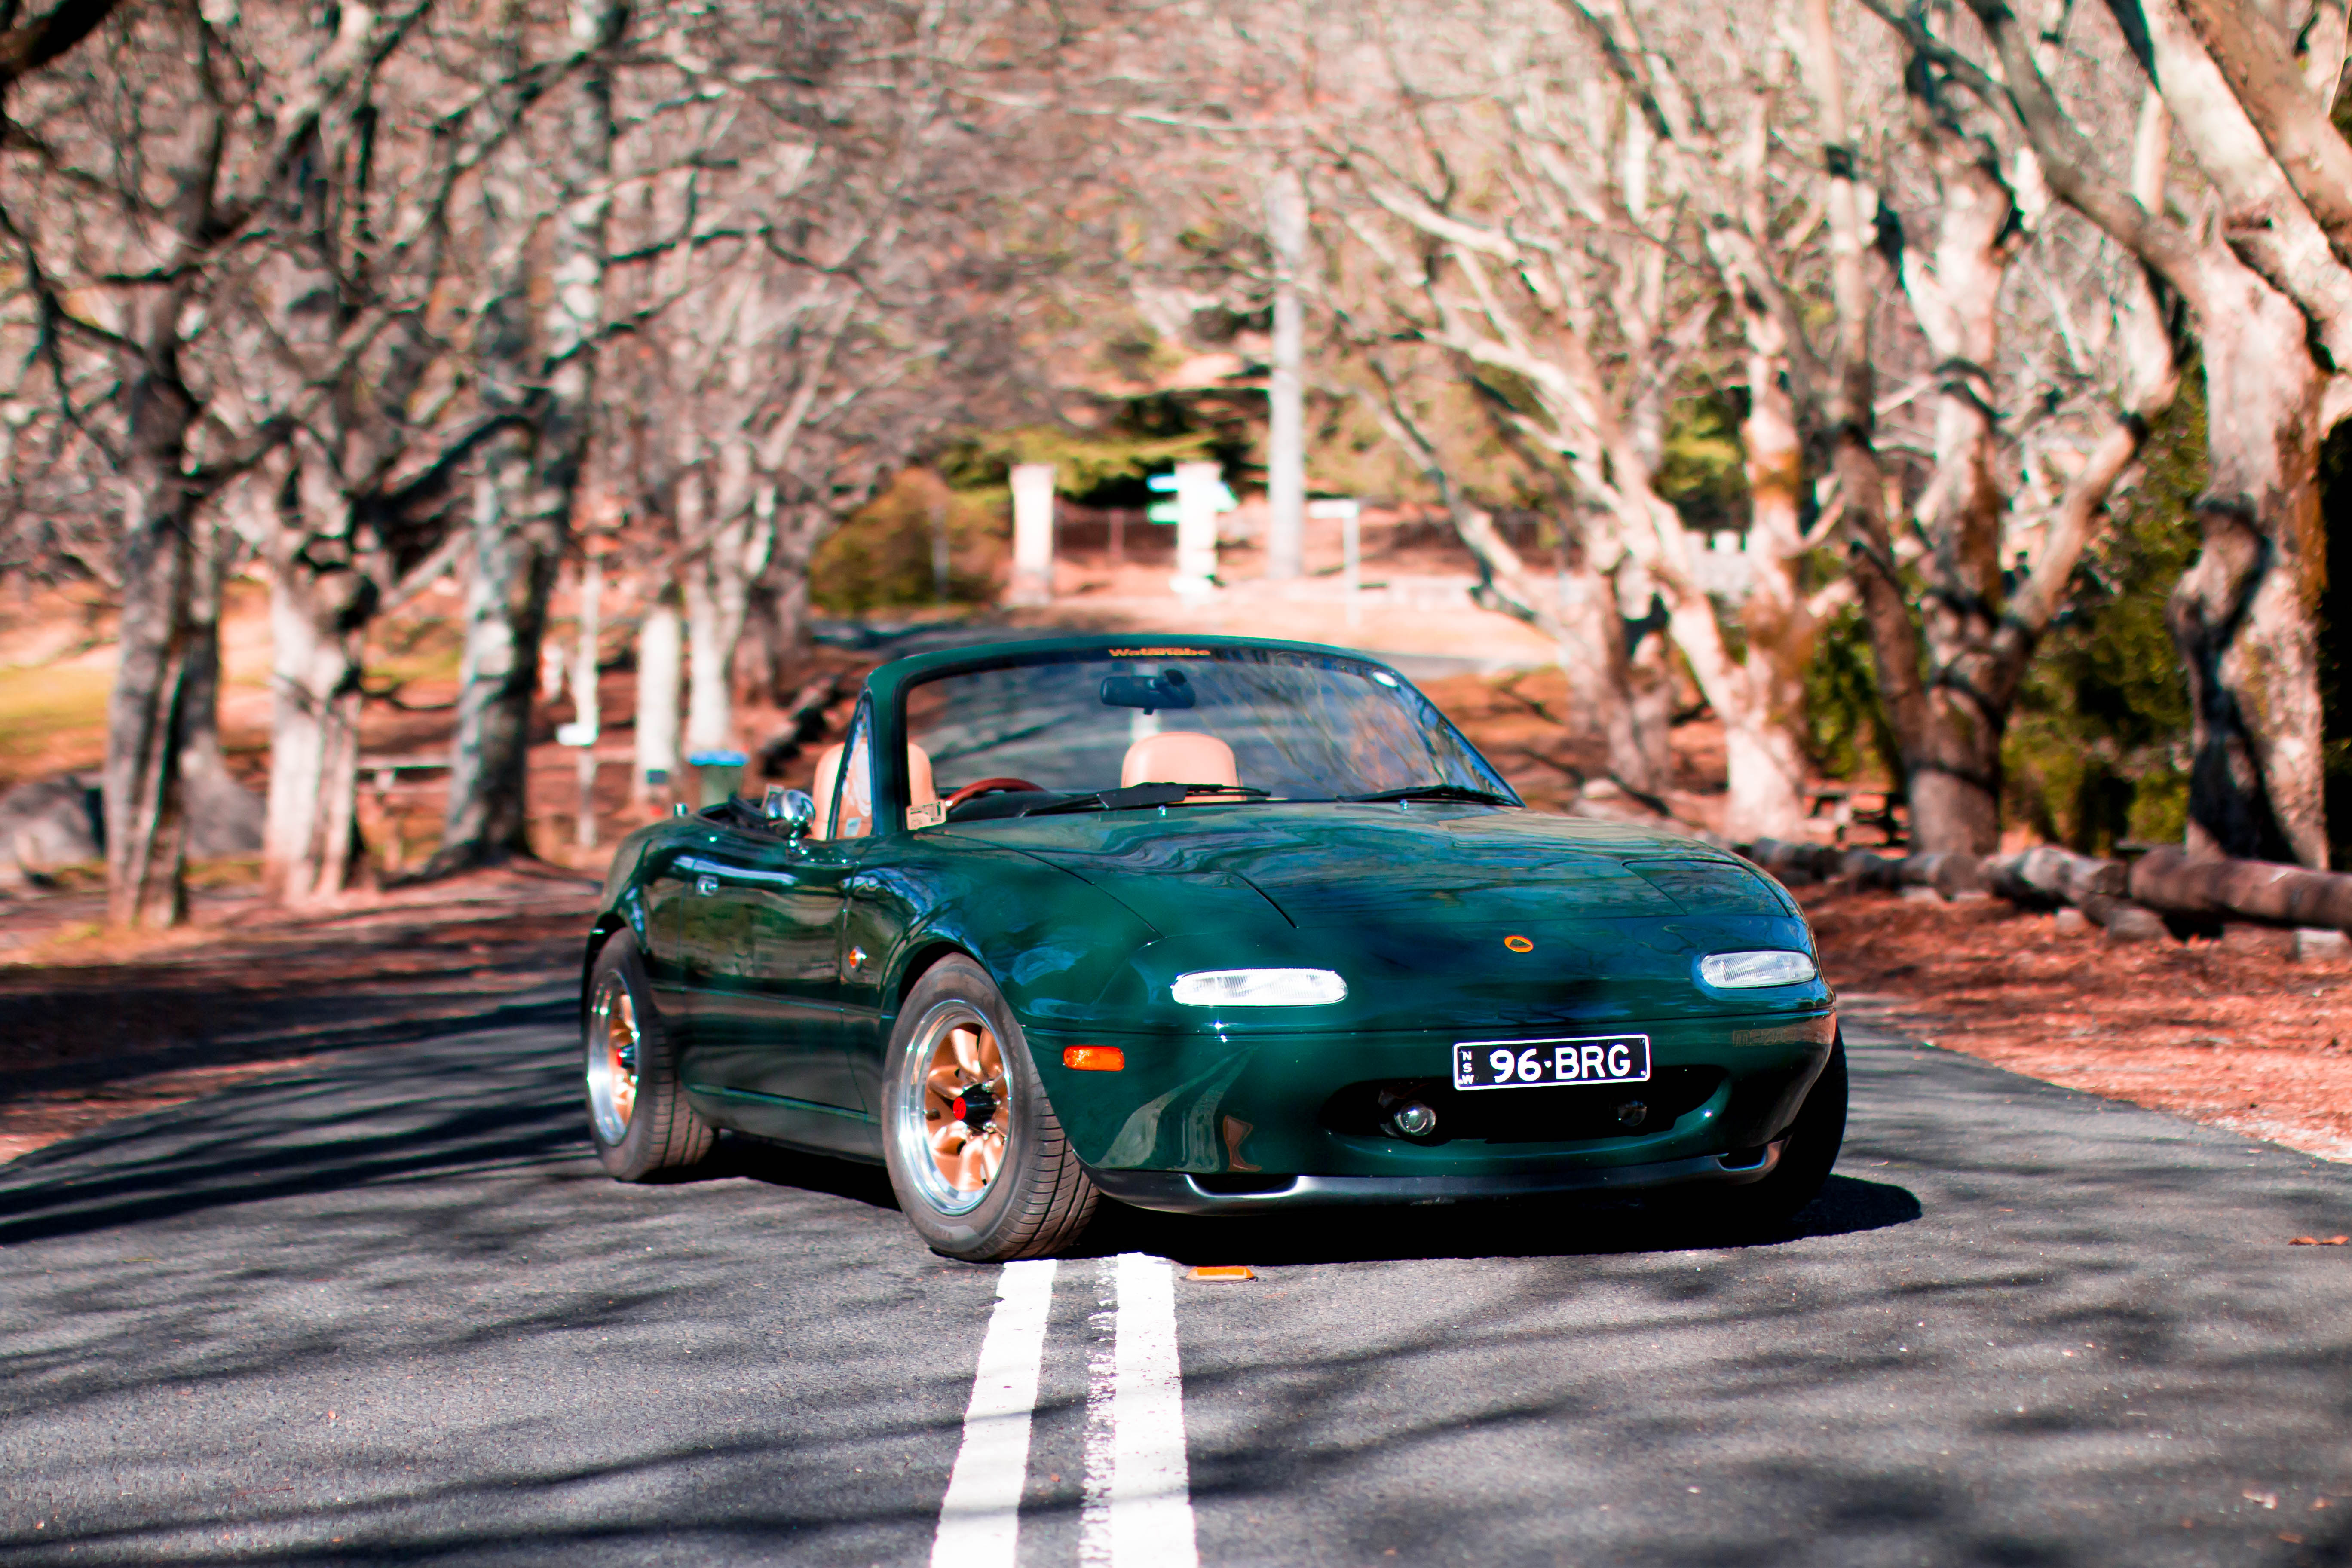
1996 BRG NA8C Build Thread

Chat to do with your MX5/Miata/Eunos Garage Ride(s).

Moderators: timk, Stu, zombie, Andrew, The American, Lokiel, -alex, miata, StanTheMan, greenMachine, ManiacLachy, Daffy

BRG.NA8
Fast Driver
Posts: 196
Joined: Sat Dec 12, 2015 10:32 pm
Vehicle: NA8

Re: 1996 BRG NA8C Build Thread

Postby BRG.NA8 » Tue May 30, 2017 2:33 am

Went for a little drive today since it's been a while that I've had the car out and about due to all the rain we've had over the past month (constant rain/sh*t weather for the full month of March and the last 2 weeks of February).

Felt good to just get the car out and drive :)

Image

Image

BRG.NA8
Fast Driver
Posts: 196
Joined: Sat Dec 12, 2015 10:32 pm
Vehicle: NA8

Re: 1996 BRG NA8C Build Thread

Postby BRG.NA8 » Tue May 30, 2017 2:34 am

Late night drives...

Image

BRG.NA8
Fast Driver
Posts: 196
Joined: Sat Dec 12, 2015 10:32 pm
Vehicle: NA8

Re: 1996 BRG NA8C Build Thread

Postby BRG.NA8 » Tue May 30, 2017 2:34 am

Before.

Image

Comparison.

Image

After.

Image

BRG.NA8
Fast Driver
Posts: 196
Joined: Sat Dec 12, 2015 10:32 pm
Vehicle: NA8

Re: 1996 BRG NA8C Build Thread

Postby BRG.NA8 » Tue May 30, 2017 2:35 am

28/05/2017

Minor Service + Engine Detox + Coolant Hose Replacements
Winter is coming...as is the new season of Game of Thrones. But I digress. Autumn will be officially over in a few days and we've been having some gorgeous weather lately, so why not do some DIY before it gets too cold for your hands to do any sort of work on the car?

Last time I serviced the car was about seven months ago and although it had only done about 4,500kms since October last year, I decided to do a minor service by changing out the oil and oil filter as well install my Samco silicone coolant hoses. Many thanks to Sari who gave me a hand with everything and let me use all of his awesome Snap-On tools. Before I did all this though, I decided to do an engine flush and clean so that it could get rid of any sludge and gunk that the internals may have housed for the past twenty one years. I used some Subaru upper engine cleaner, which contains a foaming agent similar to seafoam that cleans carbon deposits from the induction system and combustion chamber of the engine and I also used LiquiMoly Engine Detox, which is an oil additive that is meant to remove deposits and residues from all internal engine components including the piston rings whereby solid particles and liquid contaminants are isolated and allowed to freely drain with the old engine oil.

The upper engine cleaner was the first on the list. Spray half the can into the intake manifold of the car and let it sit for about five minutes or so before turning the car back on. I turned the engine on and sprayed the rest of the can into the manifold while the car was running. Gave it a few revs so that the car wouldn't stall and let it idle and smoke out before going for a short drive to clear out any of the remaining foam in the chamber until the exhaust stopped billowing the white smoke everywhere. It worked quite well I think. Apparently it's meant to give a smoother idle, better acceleration and better fuel economy. Time will tell if this is true or not.

Next was the LiquiMoly Engine Detox. This is added to the existing engine oil prior to the oil change. Mine was barely 5,000kms old but have seen oil which was 500kms old with this added and it came out nice and black. Instructions were simple enough again. Pour the whole content of the can in the oil filler hole, turn the car on and let it idle for 20 minutes. Then, drain the oil and replace the oil filter. The oil being drained was pretty black with the additive seemingly doing it's job.

I was also going to do a radiator flush but as the coolant was draining from the radiator, it didn't seem like it needed it. The radiator cap was still very clean and no evidence of any grime or sludge on it or the radiator so I decided to leave it for now and do it if and when I actually need to in future.

I needed to change my radiator hoses as well. When I first got the car back in late 2015, I decided to do a full major service and as a part of that, change all the old crusty rubber hoses to silicone. I should have went with my gut and bought some Samco silicone hoses but I decided to get a silicone hose kit by Carbon Miata. Big mistake. I always try and live by the mantra "do it once, do it right" and this usually means buying parts which may be considered expensive at the time of purchase but will save money later as what you bought would be a quality part and would very rarely fail and you wouldn't have to keep spending money on the same part by replacing it had you purchased an inferior or non quality part. The Carbon Miata hoses were basically Samco silicone hose copies and as such, they probably weren't produced with the same strict quality controls that I know the Samco ones are adhered to. This lack of QC showed because after running these hoses for just over a year (fourteen months to be exact), the coolant was already eating into the hoses and was failing. When I noticed this (which was about five months ago) I decided to just get some genuine Samco hoses and was ready to replace it all. The Carbon Miata silicone hose kit changes the three large coolant hoses, four smaller coolant auxiliary hoses and the two heater hoses. The three large hoses I changed to genuine Samco silicone hoses and I managed to change two of the four smaller auxiliary coolant hoses to OEM Mazda hoses. These were the throttle body to thermostat housing hose and the thermostat bypass hose. The other two hoses which is located on the intake side (i.e the back of engine to oil cooler hose and oil cooler to throttle body hose) are still the Carbon Miata items but I couldn't access them without taking off the intake manifold so I left it for now. I have the OEM Mazda hose replacement for these two ready to go but it will have to wait for another day.

As part of the kit, the Carbon Miata silicone hoses also came with silicone heater hoses (which again, were failing). Like the auxiliary hoses, I decided to revert back to genuine OEM Mazda rubber heater hoses with brand new grommets. The grommets were not changed last time as I didn't have them with me and the ones on the car looked fine, i.e no cracks. This time around though I had new grommets so I decided to change them out. Once I started prying the old ones out, the rubber grommets basically disintegrated as they were quite brittle. I was so glad to be changing them to fresh new OEM parts.
Overall, it all went well and the car feels good as ever to drive. It needs a wash as it hasn't had one in about a month so there is a thin layer of dust on the paint. Plan to wash it some time this week before I take it out for a long overdue drive...

Subaru upper engine cleaner to clean out the carbon deposits from the induction system and combustion chamber.

Image

LiquiMoly Engine Detox. Oil additive meant to remove deposits and residues from all internal engine components including the piston rings whereby solid particles and liquid contaminants are isolated and allowed to freely drain with the old engine oil.

Image

4,500km old oil + engine detox solution. Result? Very black.

Image

HKS Hybrid oil filter. Replaced this with a genuine OEM Mazda filter. Might go back to HKS in future but honestly, for a road car you won't notice the difference between this and OEM.

Image

LiquiMoly Air Flow sensor cleaner. Did a bit of a clean on the MAF whilst the airbox was out.

Image

Carbon Miata silicone hose. You can see that the hose started to fail as the coolant was eating into the hose. Who knows how much longer it would have stood up until it split or leaked?

Image

Another angle. Should have gone with Samco from the beginning...

Image

Glad to be rid of this.

Image

Everything off, ready for some OEM Mazda and Samco goodies.

Image

Genuine Samco silicone hoses VS Carbon Miata knock off copies.

Image

OEM Mazda coolant auxiliary hoses.

Image

OEM Mazda heater hoses with grommets.

Image

In the bin you go!

Image

Old heater hose grommet VS new heater hose grommet.

Image

BRG.NA8
Fast Driver
Posts: 196
Joined: Sat Dec 12, 2015 10:32 pm
Vehicle: NA8

Re: 1996 BRG NA8C Build Thread

Postby BRG.NA8 » Mon Jun 26, 2017 4:03 pm

12/06/2017

Refreshing rear plastic windshield
I'll be looking to upgrade my soft top to a Robbins fabric soft top in Tan and a glass rear window but without the demisters (personal preference) in the near future but until then, my current plastic rear windshield has seen better days and was yellowing. Driving with the top up and trying to see who's behind you via the rear view mirror became next to impossible because the windshield was so hazy from the yellowing of the plastic that I couldn't make out much.

I bought a can of VuPlex plastic cleaner and polish for about $15.00 and decided to refresh my plastic windshield until I purchase the tan soft top to replace my current one. First you will need to clean the windshield to get rid of any dirt and then once it's a nice clean surface, you just spray the VuPlex, work it in with a microfibre cloth and wipe away. Results speak for themselves really. Cheap and easy.

Before. Notice the yellowing and hazing of the plastic.

Image

Another angle of the yellowing and hazing.

Image

VuPlex plastic cleaner and polish.

Image

Clean the windshield first with some glass cleaner or soapy water and rag to lift all the dirt. Then apply the VuPlex. Spray liberally across the plastic. You will need to do this on the inside as well.

Image

After. Clear plastic and no more yellow.

Image

Another angle. No more yellow.

Image

I can finally see what's behind me now when I have the top up.

Image

BRG.NA8
Fast Driver
Posts: 196
Joined: Sat Dec 12, 2015 10:32 pm
Vehicle: NA8

Re: 1996 BRG NA8C Build Thread

Postby BRG.NA8 » Mon Jun 26, 2017 4:04 pm

24/06/2017

Reconditioned Power Window Tracks & Bushings
Almost every MX-5 will suffer from the "slow window travel" syndrome at some stage of its life. This is mainly due to the window tracks getting clogged with old gunk being accumulated from the atmosphere overtime and the roller bushings either not functioning as they should due to the excess buildup of gunk or quite simply they have been broken or disintegrated completely.

My MX-5 was showing signs of slow windows and I knew it was time that I took the doorcards off and have a closer inspection. I purchased a set of delrin door bushings because I knew that they were going to need replacing. I also got a tube of Shin-Etsu silicone grease, which is a genuine Honda part. The Shin-Etsu grease is a special type of grease that Honda supplied for people who bought the S2000 as it was mainly used for the convertible top seals and window seals. The grease keeps the seals supple and soft and it's been used by others in the MX-5 community on the window tracks with great success. The install was pretty straight forward and taking everything off wasn't too hard as there were a lot of how-to guides and tutorials both on the internet and YouTube.

When I did take it off though, the roller bushings weren't in too bad a condition compared to others I have seen on the internet. My driver side bushing was chipped a little bit but the passenger side was fine. The real problem was the window track. There was so much build up of crap in there that it took me over an hour just to thoroughly clean everything. After some time scraping off the gunk, the window tracks were clean and I applied a generous amount of Shin-Etsu grease on the tracks so that everything was well lubricated. Installed everything back and we have perfectly functioning power windows once again.

Take off the three bolts which hold the armrest against the doorcard.

Image

Pop off the door card (there should be nine clips). Once you take it off, this is what you're presented with.

Image

Both doorcards off.

Image

Take off the three 8mm bolts holding the door handle.

Image

Take these two 10mm bolts off next, which are the window stoppers.

Image

Take off these three 10mm screws holding the window to the regulator.

Image

Take off the remaining bolts and gently pull out the regulator with the track facing towards you.

Image

Close up of the regulator. You can see some buildup of gunk at the top.

Image

Both top rail tracks out of the door. Lots of residue which is slowing the bushing down and causing resistance. This means the motor in the regulator has added stress, more than usual to just get the window up. If this continues, it can lead to bigger problems.

Image

Love this stuff. Ready to clean the window tracks.

Image

Spray with the degreaser and let it sit for approximately 10 minutes.

Image

Degreaser doing it's job.

Image

Cleaning out the crap from the window tracks.

Image

Nice clean tracks.

Image

What's left from the original window bushing. The fact that it's still one piece and intact was surprising as I've seen others which have completely disintegrated.

Image

Another closeup of the problem bushing.

Image

Driver side bushing had a little bit chipped off, but overall it was still intact.

Image

T30 torx screwdriver needed to replace the bushing.

Image

Comparison of old bushing VS brand new delrin bushing.

Image

New VS old.

Image

...continued

New bushing installed.

Image

You can see the bottom part of the window has approximately 21 years worth of dirt and dust accumulated. I couldn't re-install the window without giving it a clean.

Image

Cleaned these up too. These are the mounts which attach to the regulator. Soaked them in hot water and soap and cleaned them up.

Image

Nice and clean, ready to go.

Image

Cleaned the regulator tracks as well.

Image

Applying the Shin-Etsu grease to the window tracks. Be generous with the grease.

Image

This eventually ended up being too much for these two tracks but I used the excess and greased up the passenger side track on the regulator.

Image

Apply a little bit of the grease on the A-pillar rubber channel.

Image

Gave the door a clean with hot soapy water to get rid of any dirt and dust before applying the plastic shield.

Image

Plastic shield back on. Just need to put the doorcards back on and we're done.

Image

Video of the faster power windows in action.


BRG.NA8
Fast Driver
Posts: 196
Joined: Sat Dec 12, 2015 10:32 pm
Vehicle: NA8

Re: 1996 BRG NA8C Build Thread

Postby BRG.NA8 » Mon Jun 26, 2017 4:06 pm

25/07/2017

Sunday morning drive through some B-roads, top down, gloves on, perfect clear blue skies, chasing an NSX...

Image

Choices : Drive the NA or drive the NA?

Image

BRG.NA8
Fast Driver
Posts: 196
Joined: Sat Dec 12, 2015 10:32 pm
Vehicle: NA8

Re: 1996 BRG NA8C Build Thread

Postby BRG.NA8 » Thu May 16, 2019 12:34 pm

02/07/2017

Crisp and sunny Sunday morning. Couple of photos taken by a friend of mine before going on a drive. I think the next free weekend I have, a full wash, clay, wax, polish and paint correction is in order...

Image

Image

Image

Image

Image

Image

Image

BRG.NA8
Fast Driver
Posts: 196
Joined: Sat Dec 12, 2015 10:32 pm
Vehicle: NA8

Re: 1996 BRG NA8C Build Thread

Postby BRG.NA8 » Thu May 16, 2019 12:35 pm

05/08/2017

Driving through Old Pacific Highway. I love coming here on the weekends and tackling corner after corner on the blacktop. It gives me an escape and it's where you can just drive for the sheer love of driving. Not only that, you always see cool bikes and amazing cars on this road. This particular day there was a silver 240Z following me; a car which I intend to purchase as a new project hopefully sooner rather than later. It was a lot of fun going through the twisties with the 240Z right behind me.

Gorgeous blue skies, suns out, no clouds, top down, gloves on, music off...and just drive...

Many thanks to Q Stop Photography for these photos!
https://www.facebook.com/qstopphotography/

Image

Image

BRG.NA8
Fast Driver
Posts: 196
Joined: Sat Dec 12, 2015 10:32 pm
Vehicle: NA8

Re: 1996 BRG NA8C Build Thread

Postby BRG.NA8 » Thu May 16, 2019 12:35 pm

10/08/2016

Went on a drive with Dan in his supercharged NA6CE MX-5 to Lithgow via Bells Line of Road. Sydney's been having some amazing weather and I have been taking full advantage of this where and when I can!

Bells Line is a nice bit of road to drive but I never really had a destination. You can take this road and travel all the way to Bathurst and to Mount Panorama and the race track if you really wanted to but thats a good 2.5 hours. SO whenever I'd drive on Bells Line I'd normally make it to just before Mt Wilson and then turn around and go back. But this time, Dan's friend opened up a cafe in Lithgow so it was nice to drive the length of the road all the way there and then drive all the way back again. Top down, of course!

Image

Image

Image

Pit stop on Bells Line of Road.

Image

Stopped by at Mt Wilson before heading back.

Image

This place looks better in Autumn as all the leaves are still on the trees and are bright red, but it still had a charm about it!

Image

BRG.NA8
Fast Driver
Posts: 196
Joined: Sat Dec 12, 2015 10:32 pm
Vehicle: NA8

Re: 1996 BRG NA8C Build Thread

Postby BRG.NA8 » Thu May 16, 2019 12:35 pm

03/09/2017

Fujitsubo Legalis R catback. Can't wait to install this and to finally have a nice exhaust note on WOT!

Image

Image

Image

Image

Image

SARD sports high flow catalytic converter. This will be mated to the catback.

Image

BRG.NA8
Fast Driver
Posts: 196
Joined: Sat Dec 12, 2015 10:32 pm
Vehicle: NA8

Re: 1996 BRG NA8C Build Thread

Postby BRG.NA8 » Thu May 16, 2019 12:36 pm

03/09/2017

My engine bay has gone through a few changes since I've owned the MX-5. It started off from being a complete stock standard looking engine bay as it was a 100% factory original car, but as I've added things like intake pipes, strut bars etc over the years, the overall look changed with every mod.

Decided to get the intake pipe powder coated in the same textured black as my rocker cover and intake manifold. Initially I left the pipe polished because I thought it would go well with the strut brace and tie it all in but in hindsight I should have done it back then. It looks so much better.

Factory looking engine bay.

Image

Polished intake pipe.

Image

Engine bay as it currently stands.

Image

BRG.NA8
Fast Driver
Posts: 196
Joined: Sat Dec 12, 2015 10:32 pm
Vehicle: NA8

Re: 1996 BRG NA8C Build Thread

Postby BRG.NA8 » Thu May 16, 2019 12:36 pm

09/09/2017

Fujitsubo Legalis-R Catback Exhaust + SARD Sports High Flow Catalytic Converter
Decided to install the catback and the high flow cat today. To be honest, I wasn't expecting it to be such a pain in the ass to get the old system off but it was. Upon further inspection, it seems like that the previous owner had put exhaust tape around the muffler tip and the exhaust pipe itself had a lot of rust. It was definitely time to upgrade. I tried to take photos along the way but I didn't take as many this time around.

Car jacked up, ready to take off the stock exhaust.

Image

Rusted out pipes.

Image

Exhaust finally out!

Image

Close-up of the muffler. You can see someone had wrapped the tip in exhaust tape.

Image

Stock cat. This thing absolutely refused to come off the exhaust. I was able to get it off from the manifold but it was being one stubborn pain in the ass.

Image

OEM exhaust manifold. (Picture came out blurry)

Image

SARD sports high flow catalytic converter ready to go!

Image

In order for the OEM exhaust to come out, I needed to take off the rear bumper. This gave me a chance to give everything a thorough cleaning. I had previously given a good clean behind the rear garnish and realised how dirty it was.

Image

After a good scrub it came out real nice!

Image

Image

There was a lot of caked up dirt accumulated over the years behind these black flaps. Happy to say that it's now all clean.

Image

Image

New exhaust on!

Image

Image

Image

Image

Image

Video clip of OEM vs Fujitsubo catback exhaust.


Overall, I'm extremely happy with the exhaust. When it is idling, it sounds pretty much exactly like the OEM exhaust, i.e quiet and non intrusive. When it is at wide open throttle, the sound from the exhaust is there but it's not overly or obnoxiously loud. At normal speeds it does not drone and is very comfortable.

I would recommend this exhaust if you're wanting a catback which mimics the factory exhaust in terms of sound and livability. If you're after noise, this isn't the exhaust for you as I can imagine a lot of people saying that this is too quiet for an aftermarket exhaust. For me however, it was exactly what I was looking for and couldn't be happier. I will record another video soon.
Last edited by BRG.NA8 on Thu May 16, 2019 12:40 pm, edited 1 time in total.

BRG.NA8
Fast Driver
Posts: 196
Joined: Sat Dec 12, 2015 10:32 pm
Vehicle: NA8

Re: 1996 BRG NA8C Build Thread

Postby BRG.NA8 » Thu May 16, 2019 12:37 pm

16/09/2017

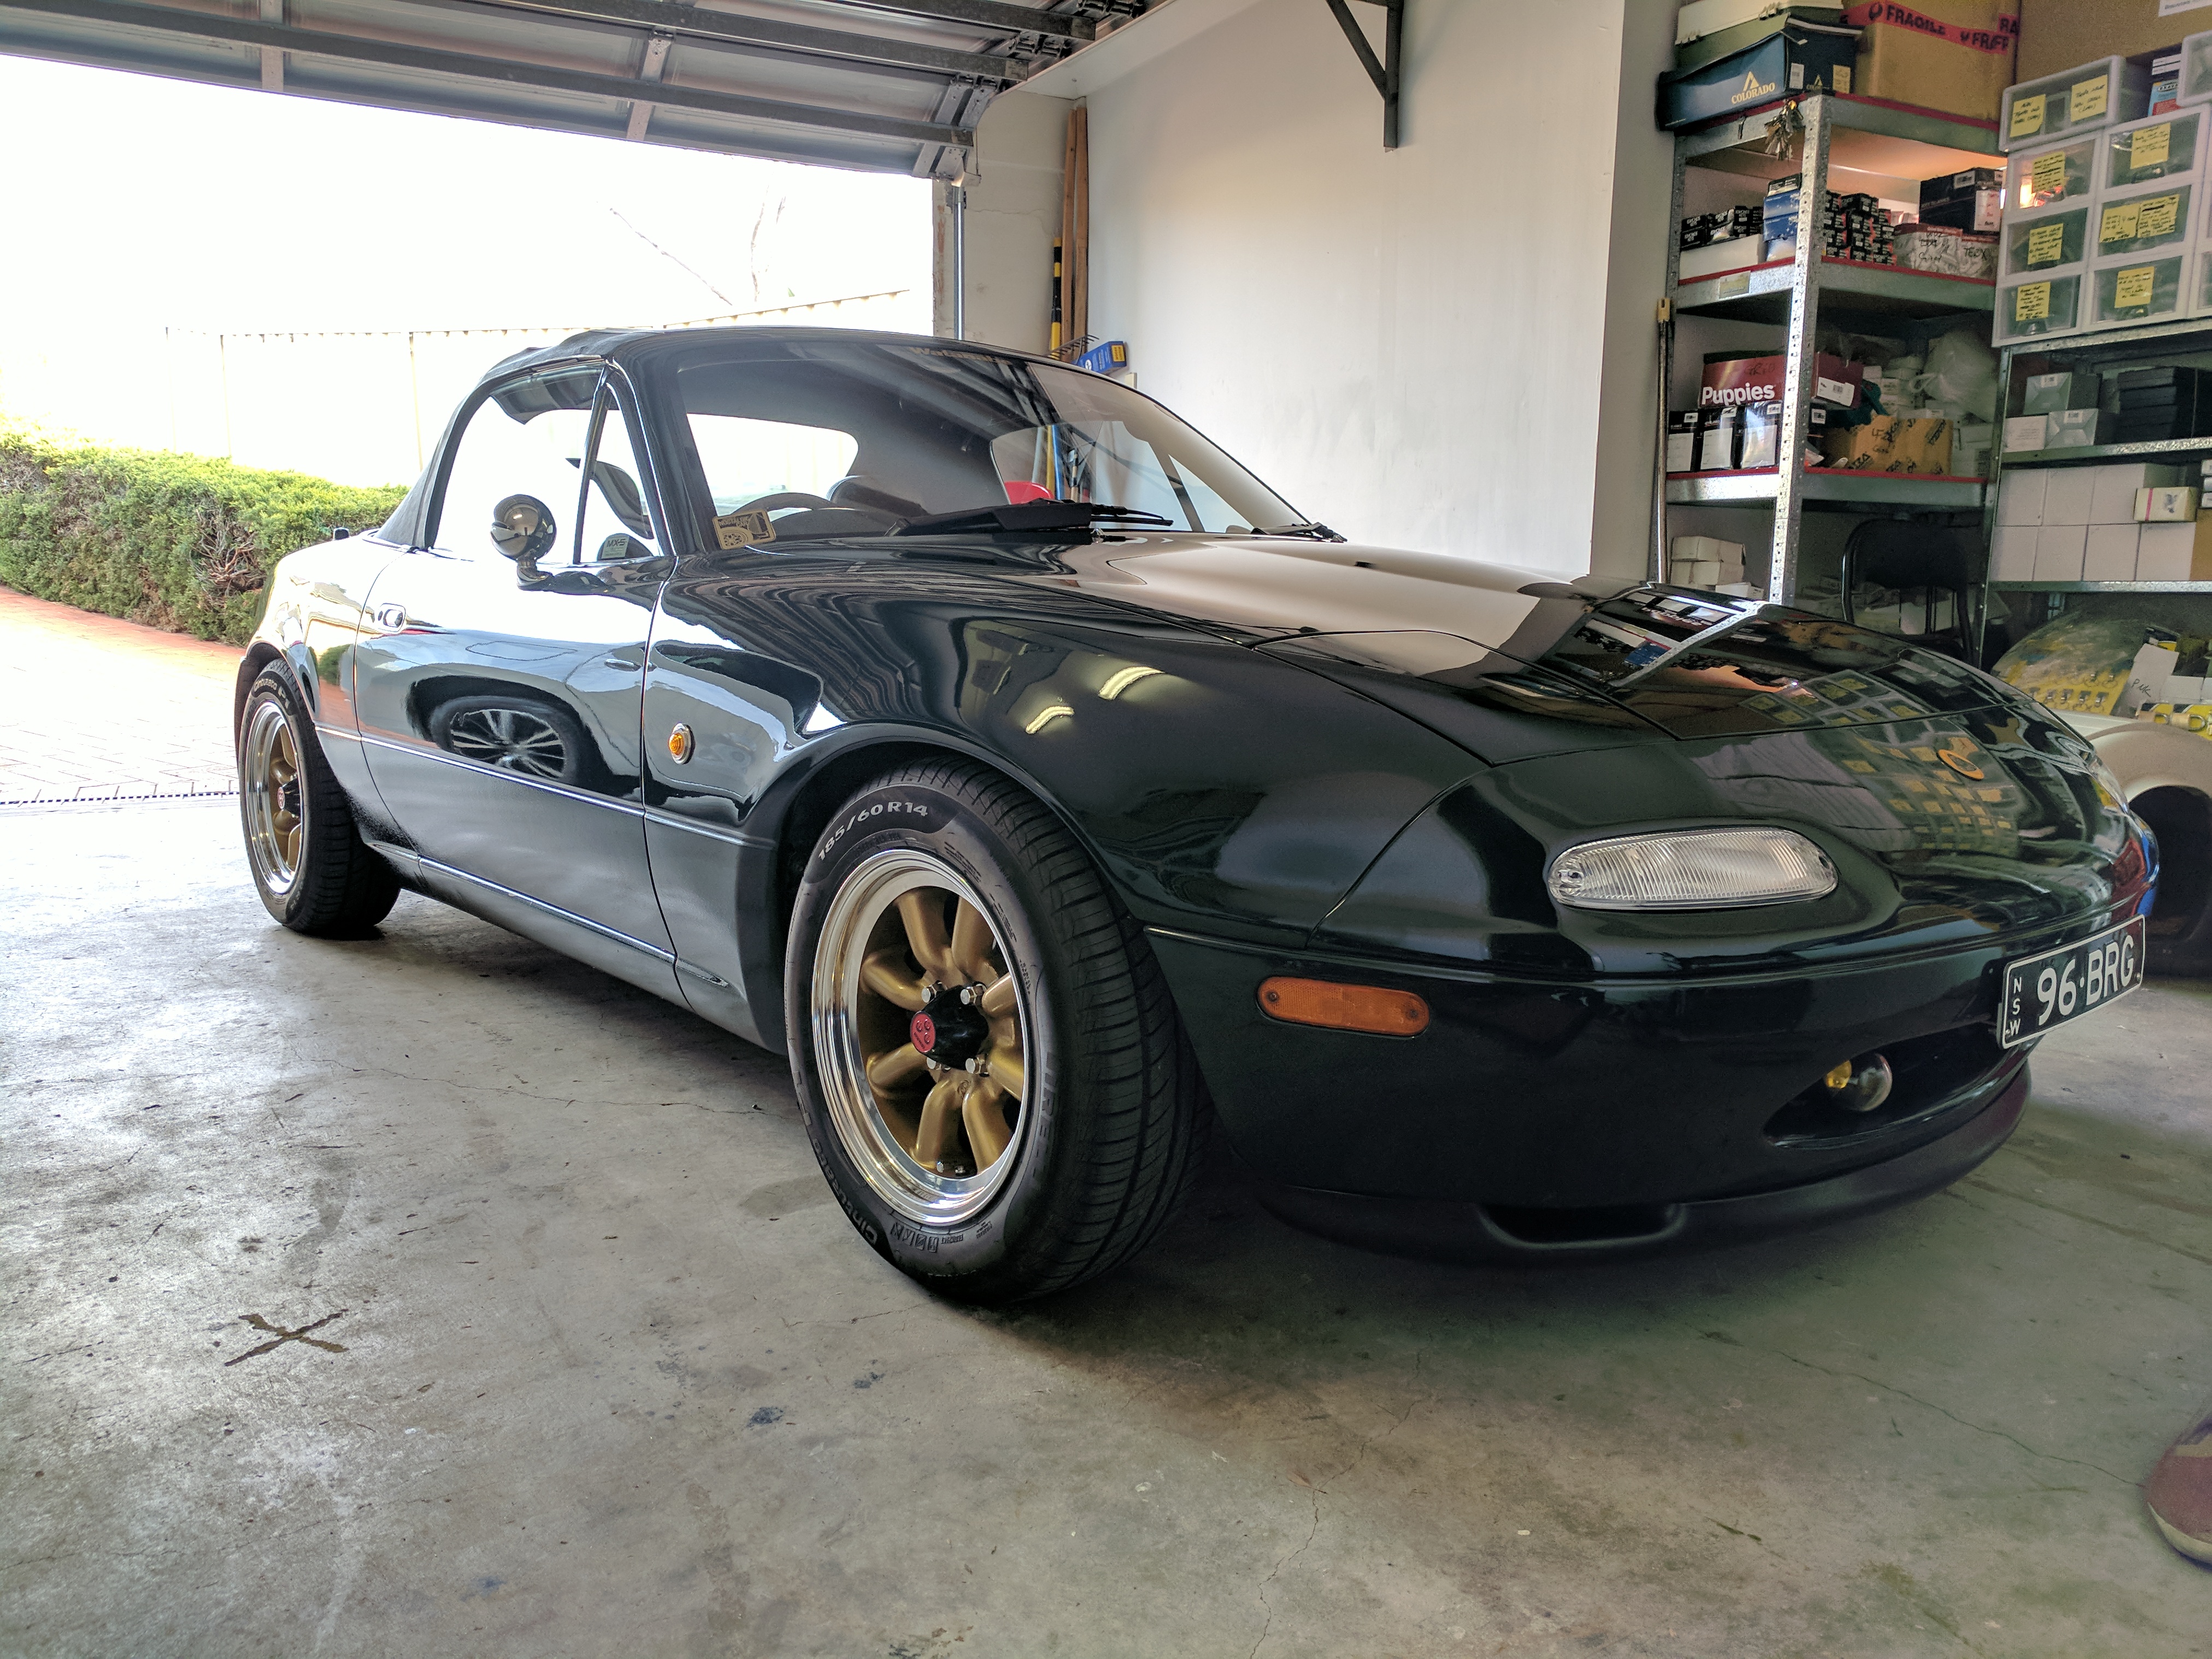
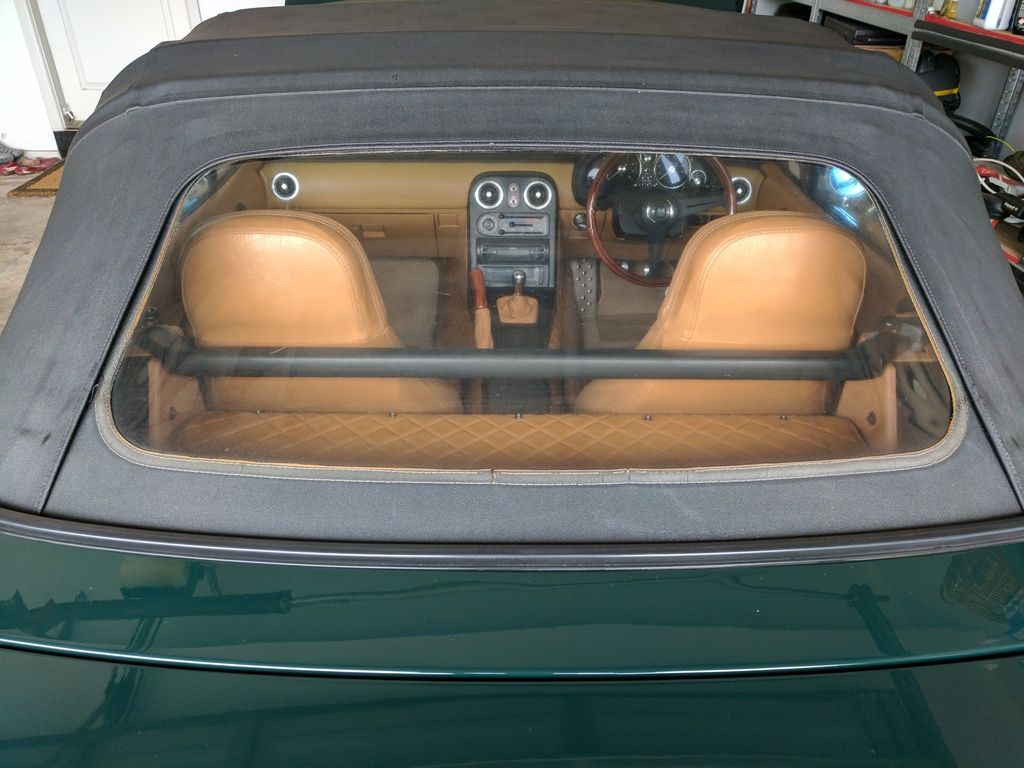
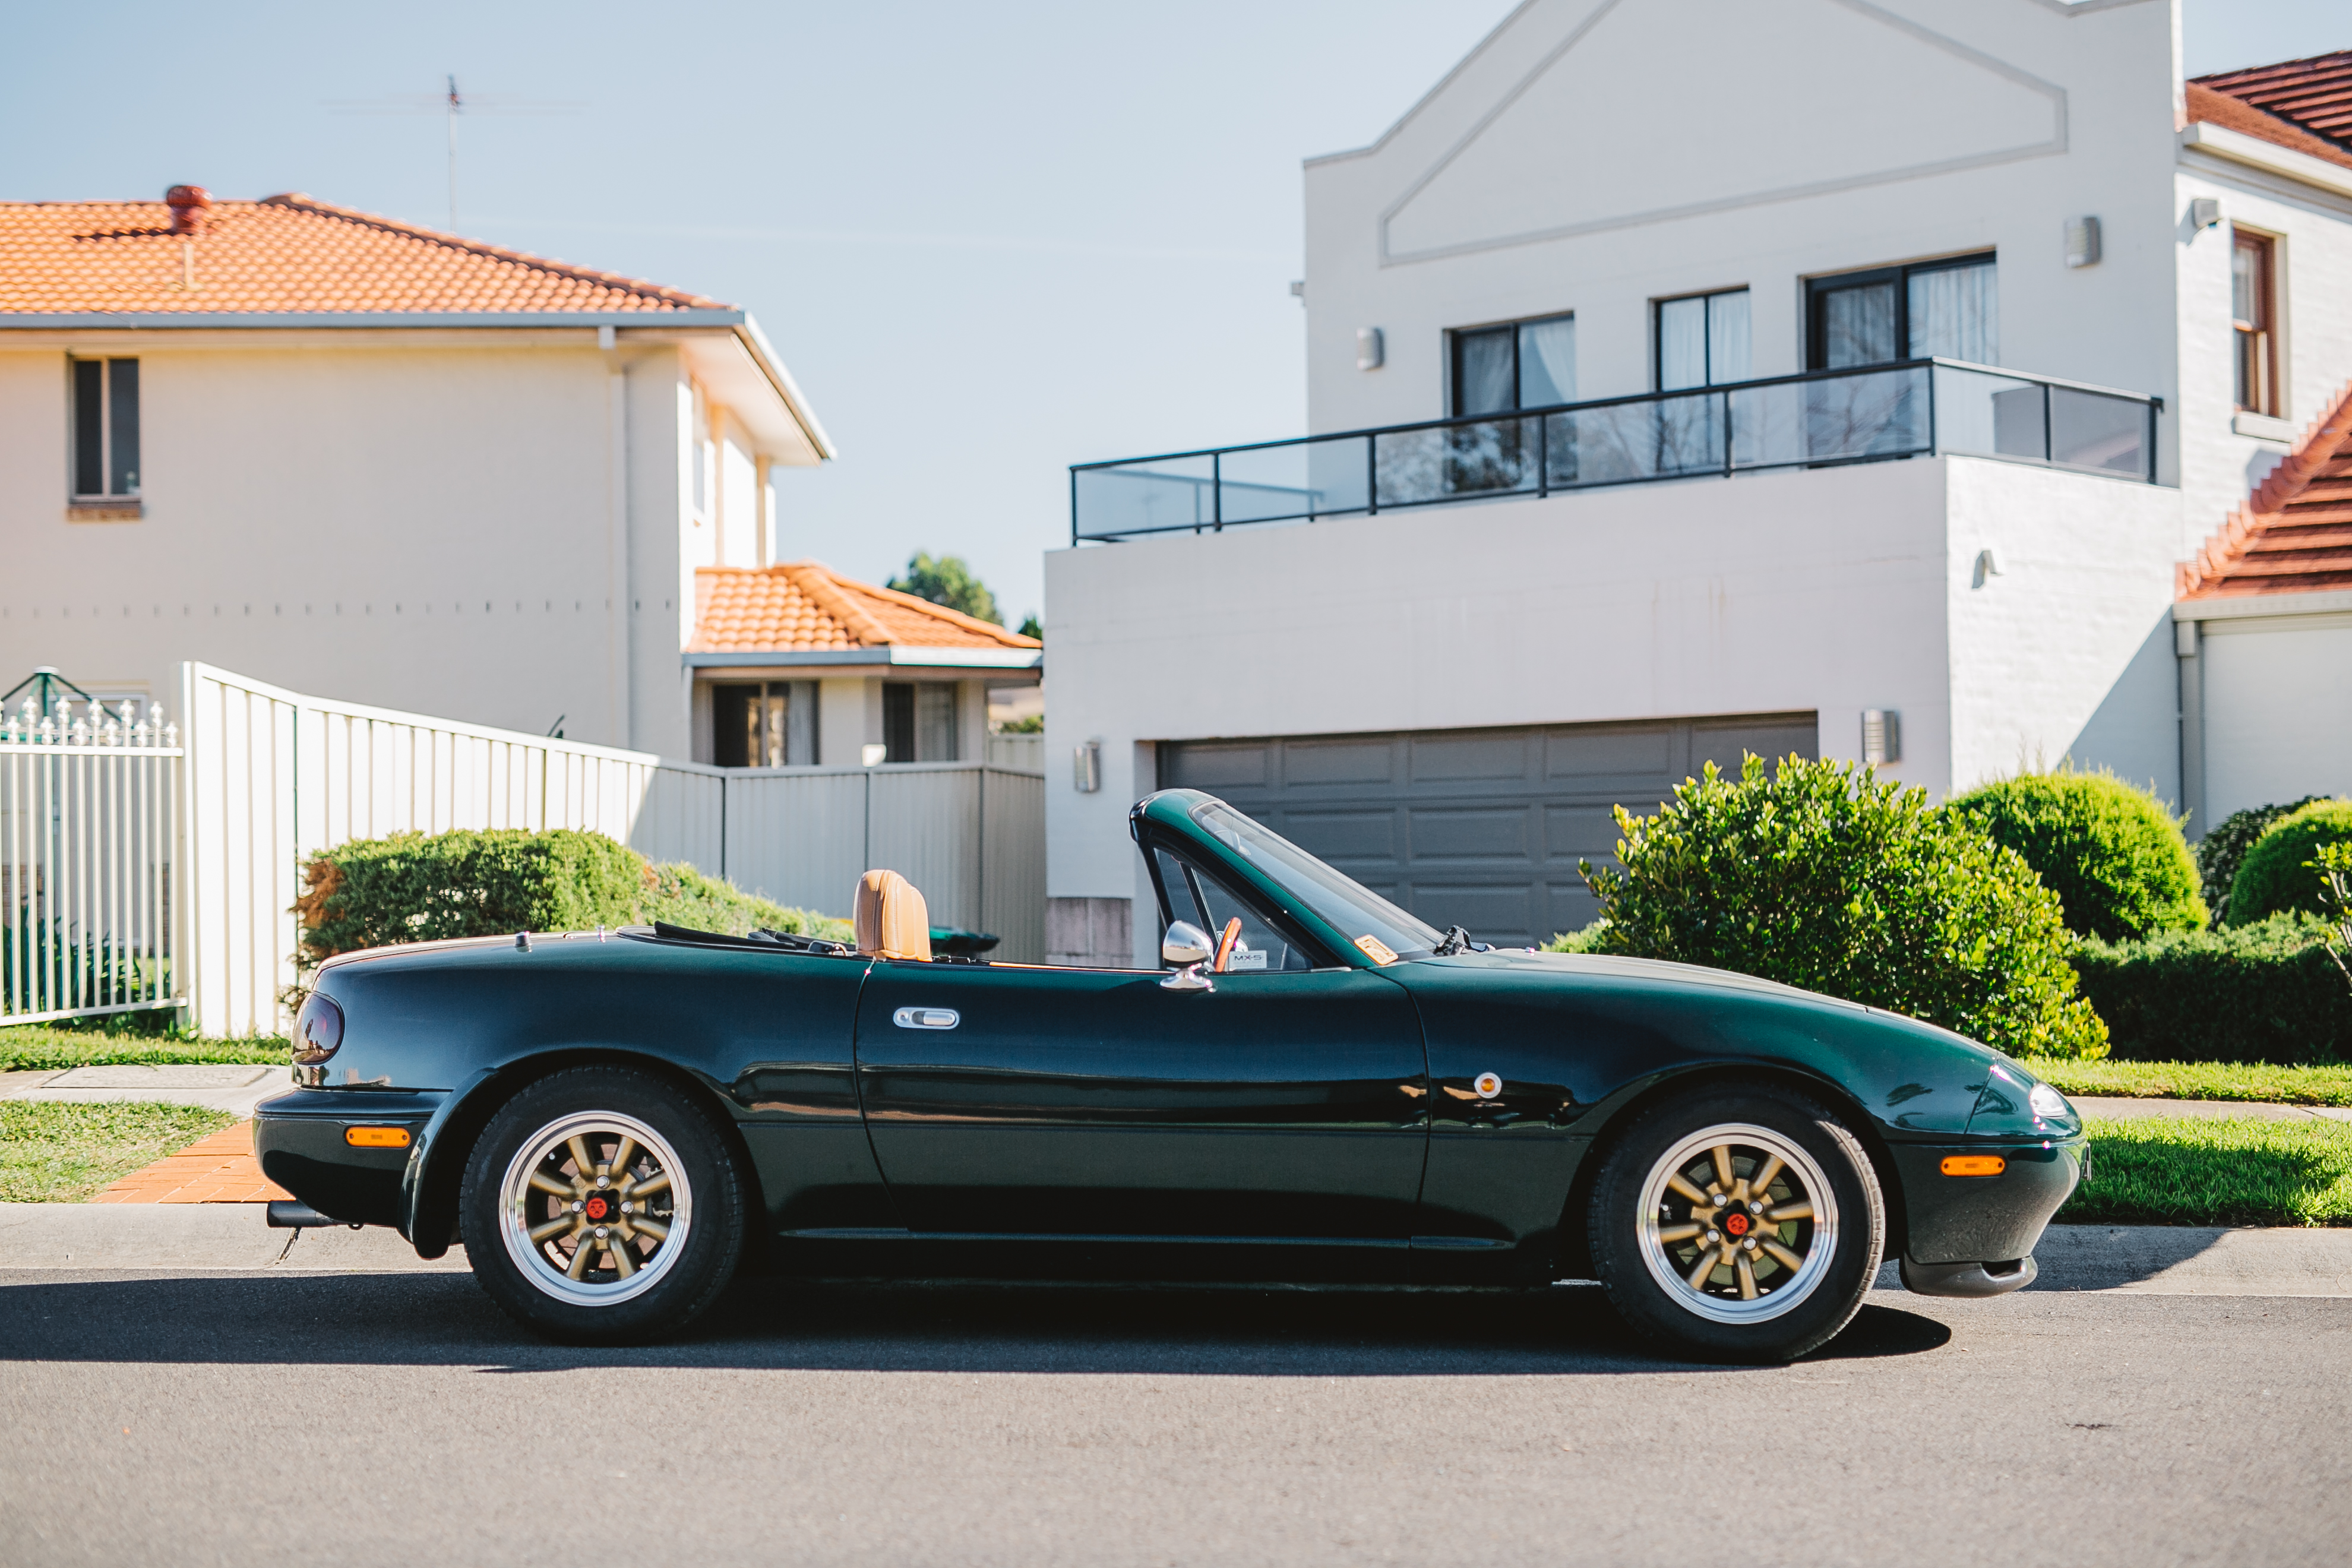
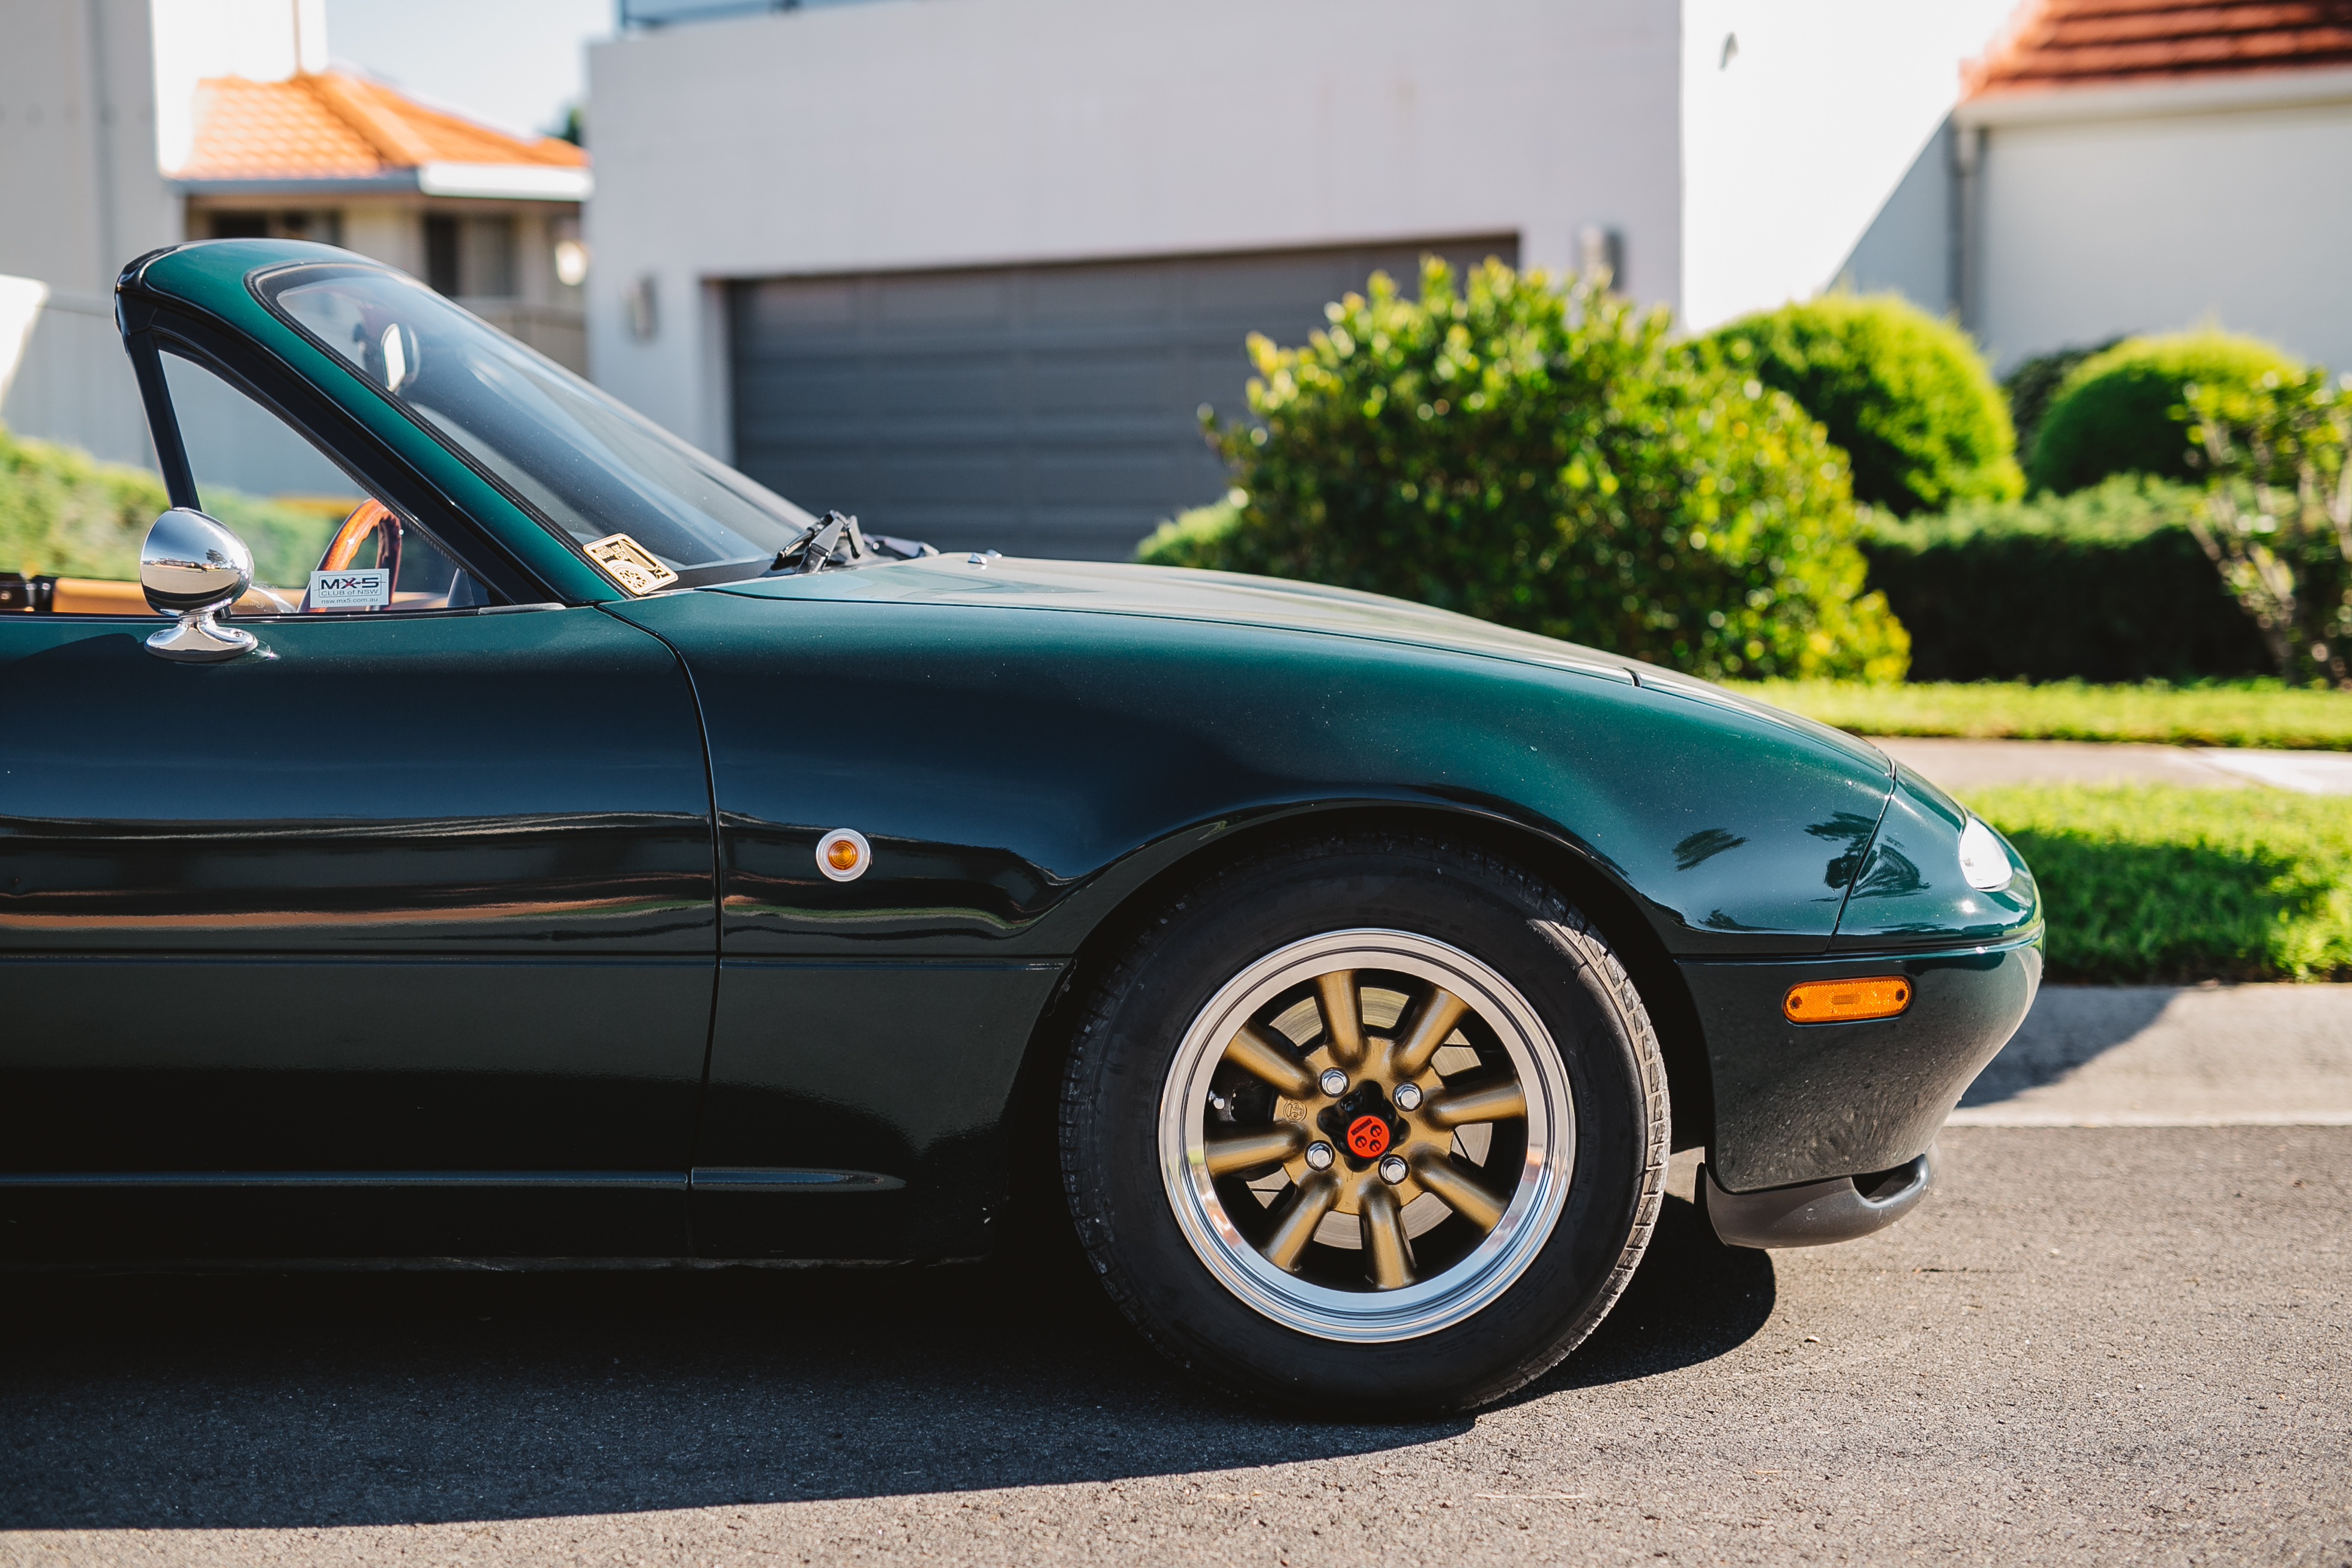
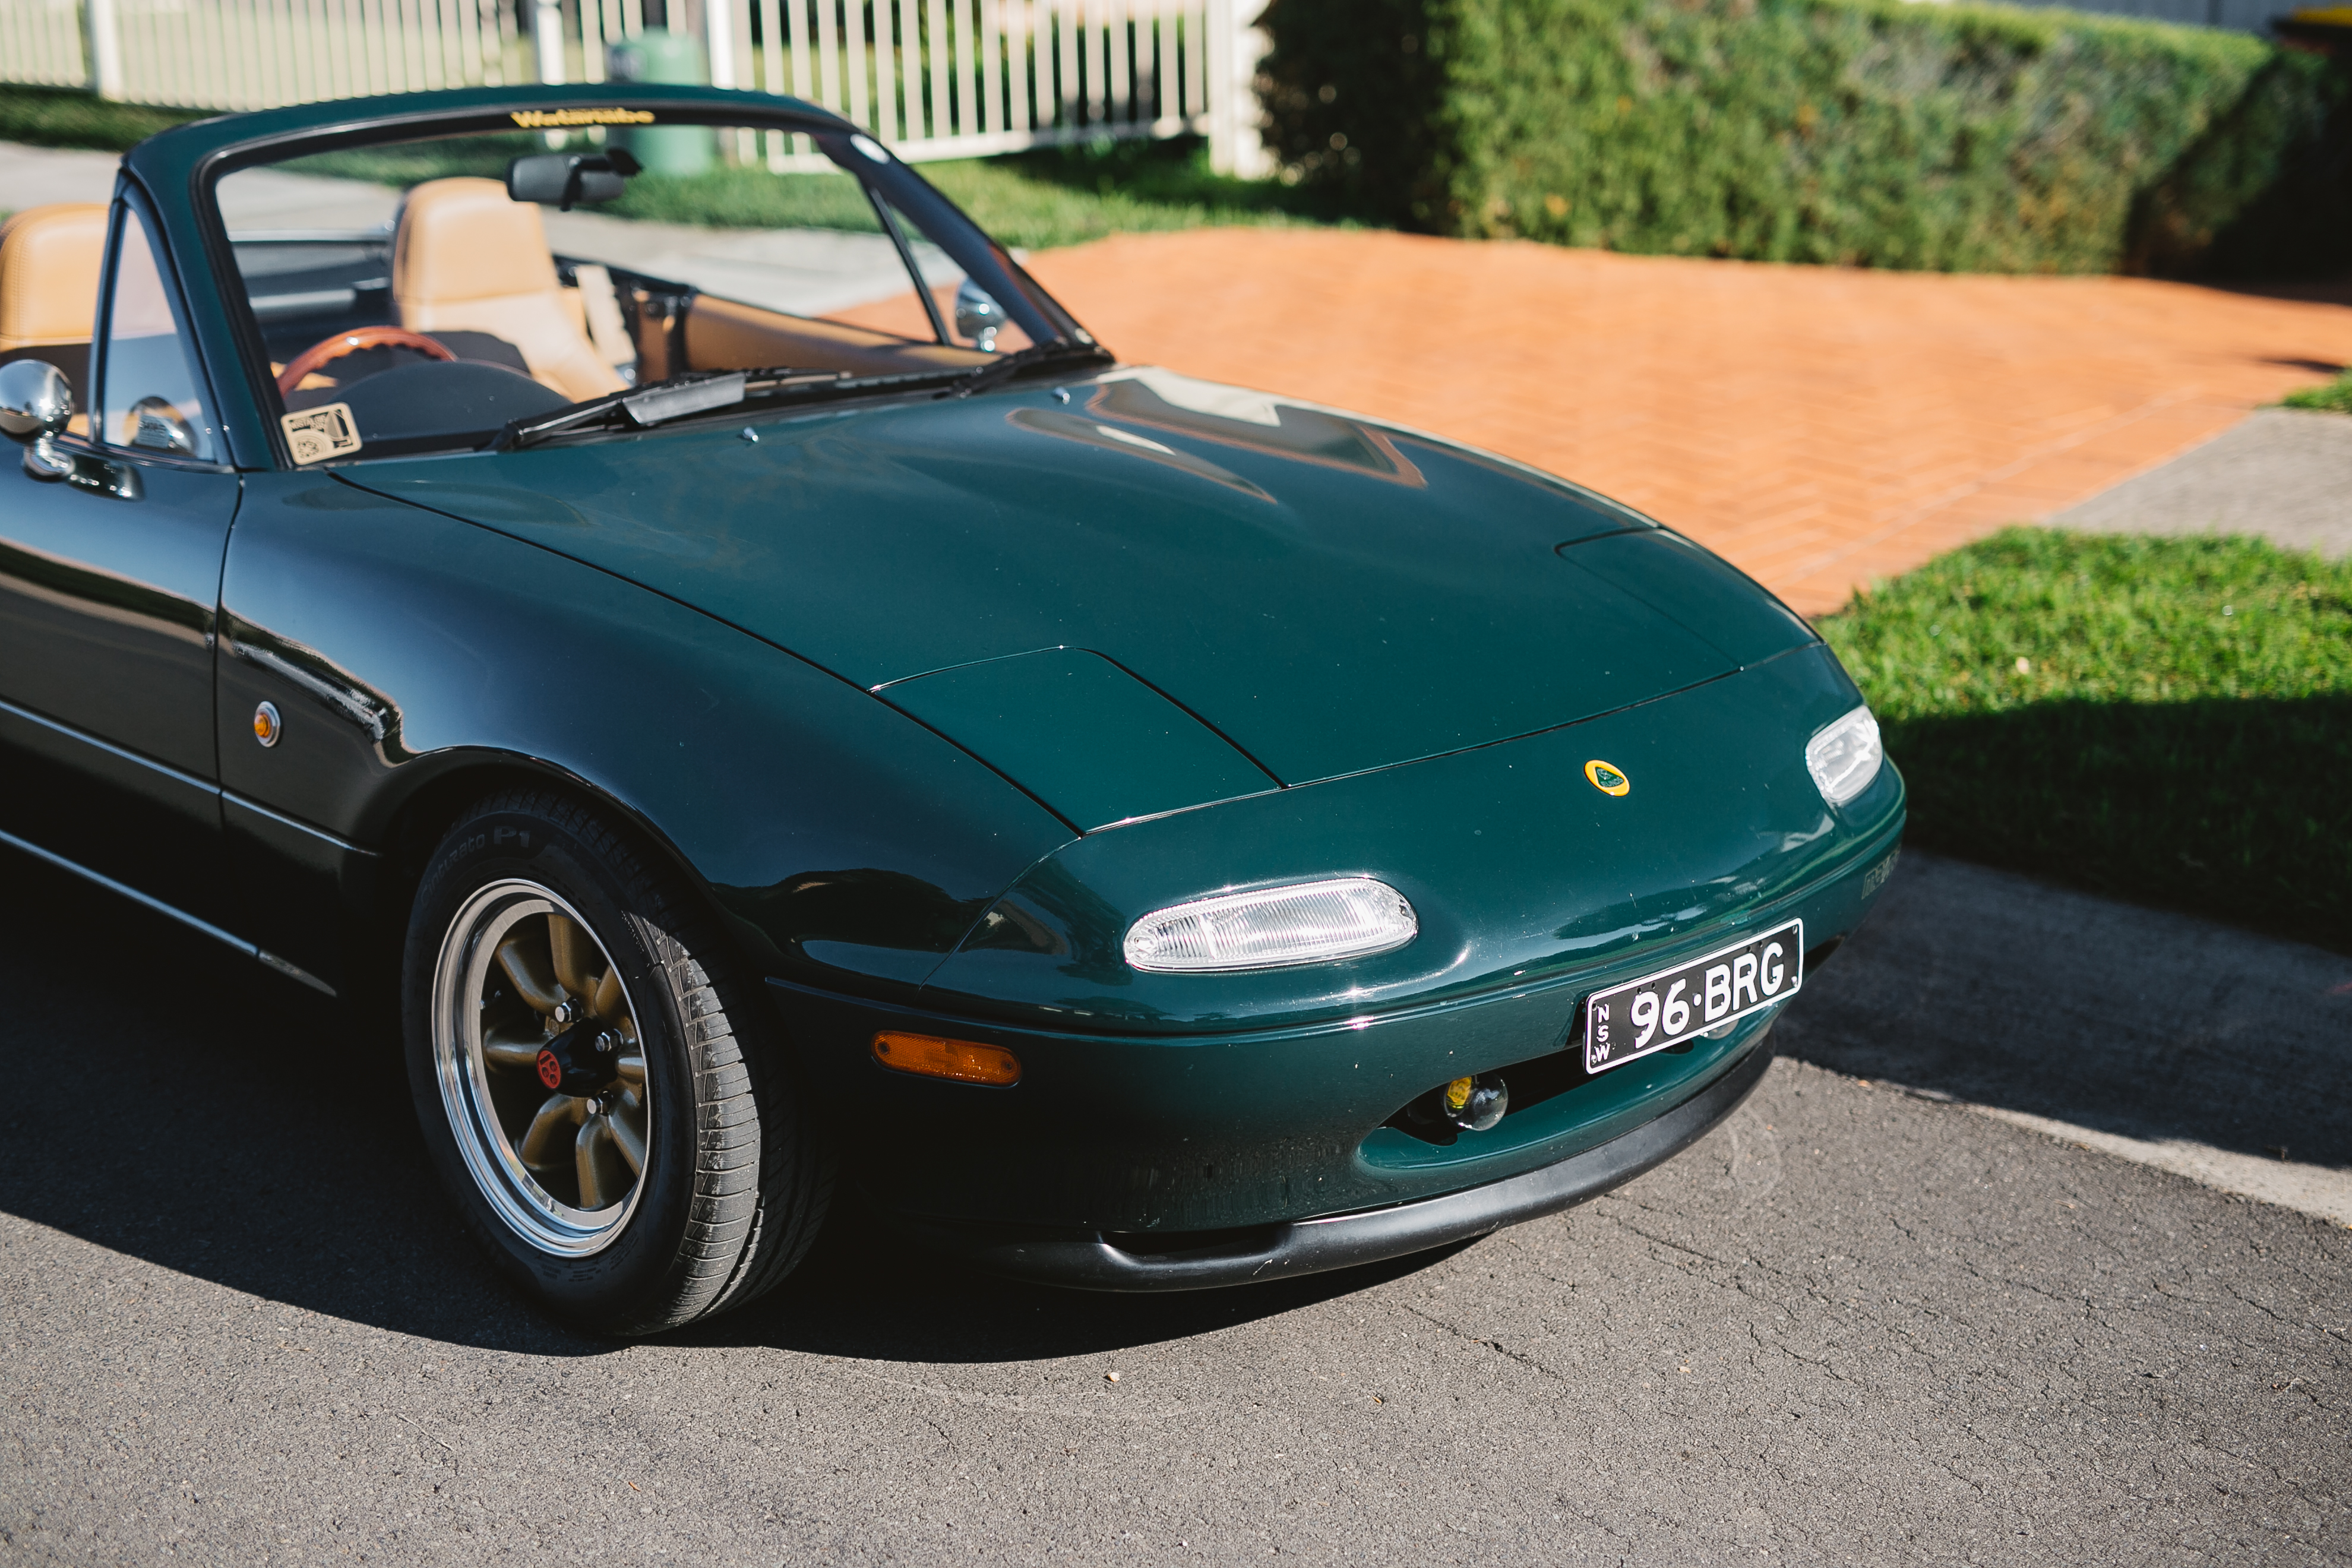
As much as I like to tinker with and modify my car, I also like to make sure that my car is looking presentable too. I personally find that there's something therapeutic about cleaning and washing my car. I generally consider myself to be a clean person and I try to keep my cars the same way by giving them a wash at least once a month, vacuuming the interior, getting rid of any dirt, dust and grime and protecting/prolonging the paintwork.However, ever since I purchased the car back in 2015, it has never had a full detail. It has been washed, sure...but it was never given the full treatment. As a result, fine scratches and spider webbing had appeared on the paintwork which you can't tell from afar but can definitely tell when up close. It's these scratches and webbing which gives the paint a dull appearance. It was time to restore the paintwork and give it the detail that it needs.

I'm by no means a professional car detailer but I know enough to know what to do to help bring back the shine and depth to the paintwork, to remove the scratches as well as how to maintain the paintwork going forward. The steps I used were :

1) Rinse car down to remove as much dirt as possible before hand wash. Using a snowfoam lance would help but I decided to just rinse it down with water.

2) Use two bucket method to hand wash car with super soft lambs wool wash mitts and pH neutral shampoo.

3) After wash, cleanse the paintwork with a claybar to remove any surface contamination. This will lift and remove all the fine dirt on the paint and will result in a smooth glass-like finish.

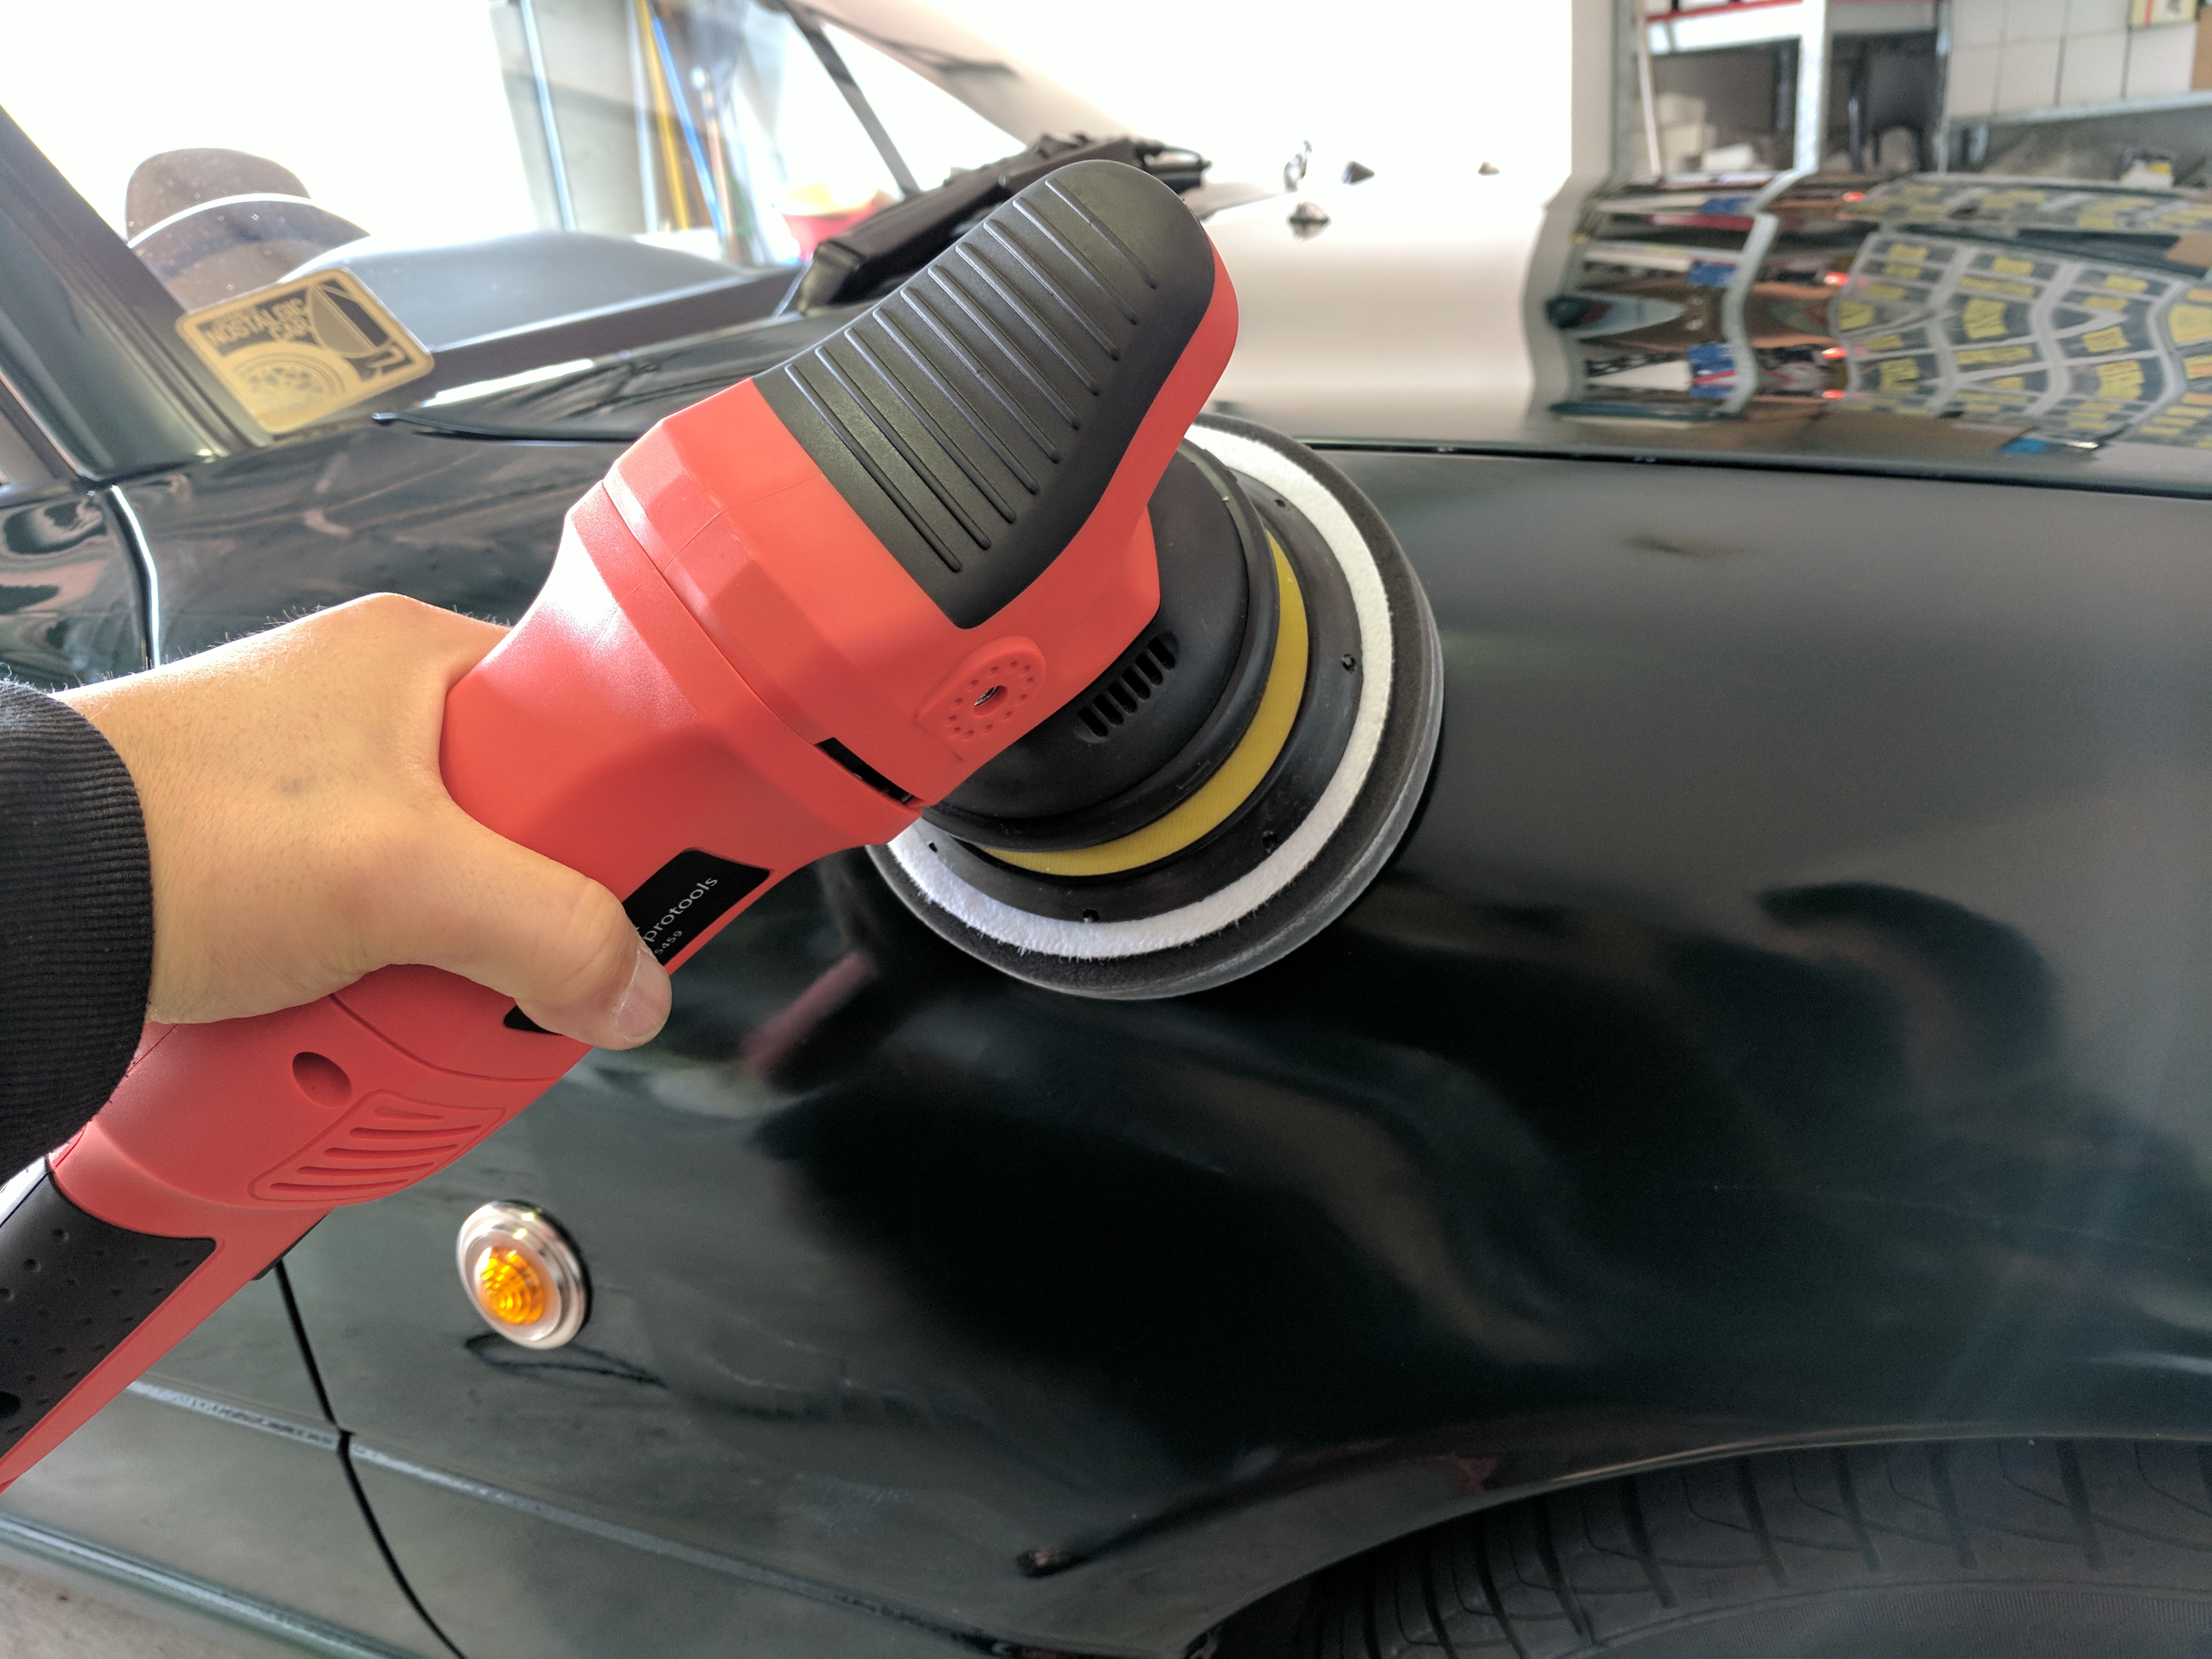
4) Restore dull, faded or heavily swirled paint with a heavy cut polish, cutting pad and random orbital buffer. This was the boot lid for me.

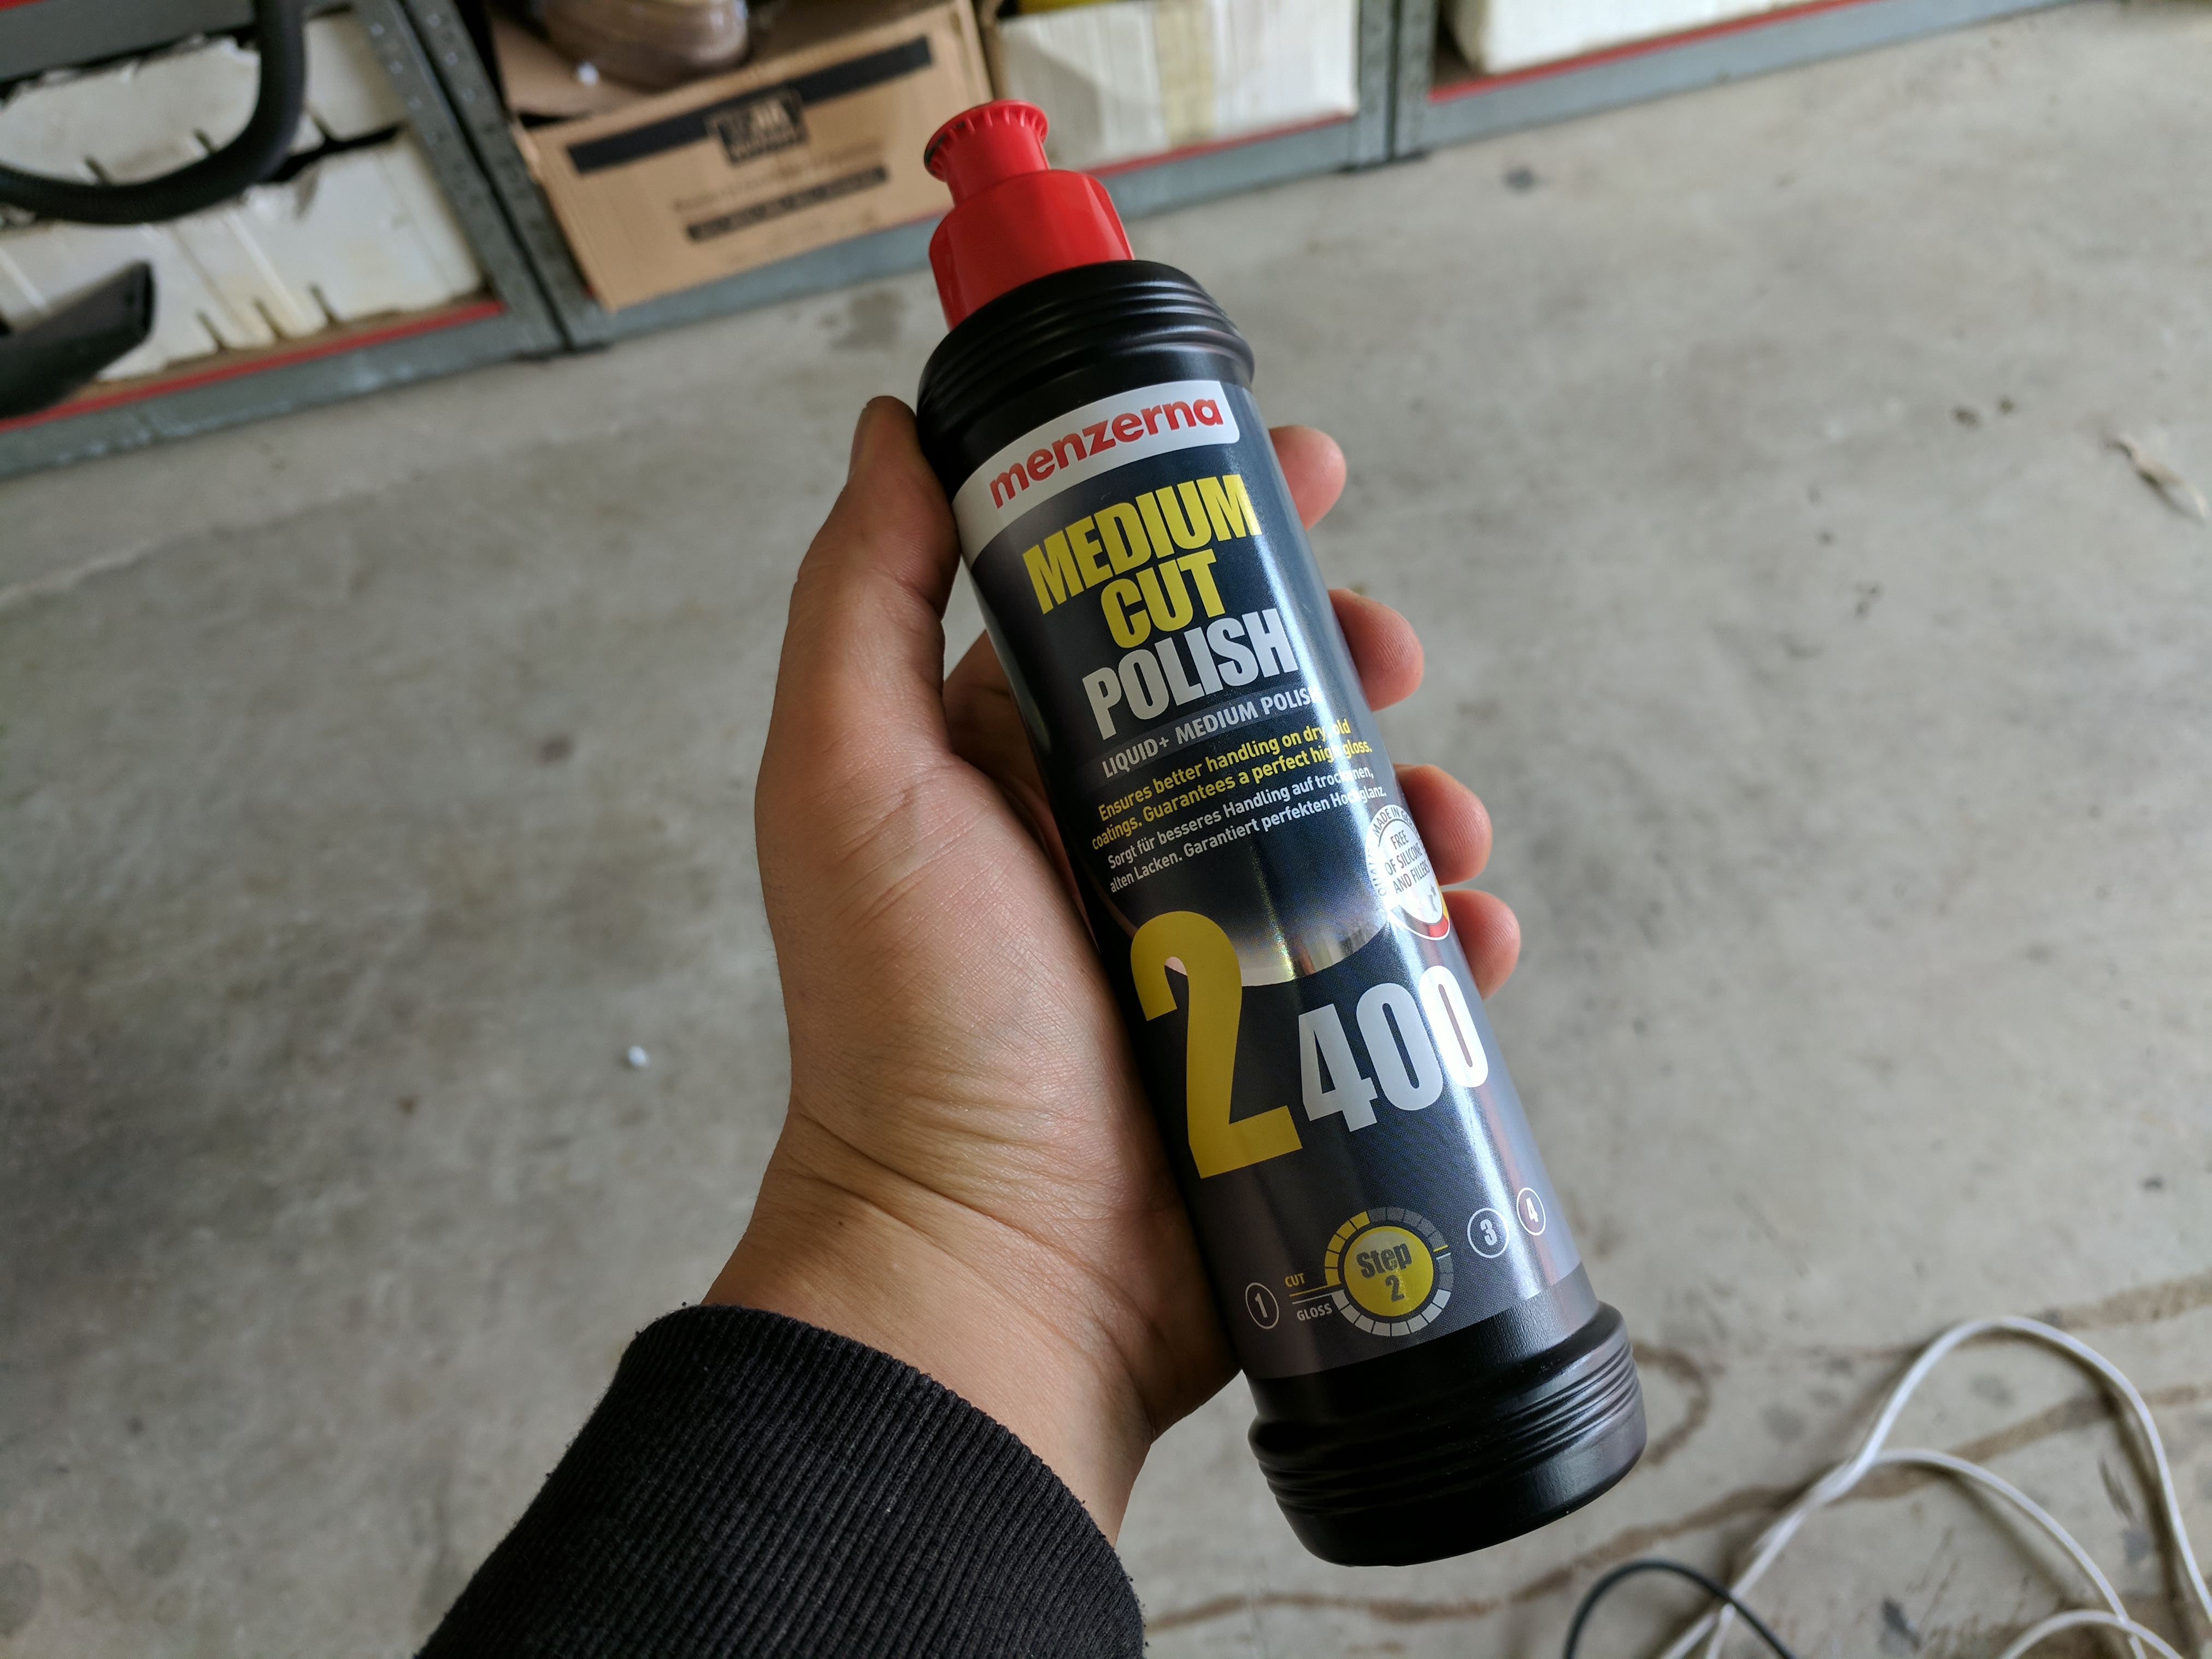
5) Remove moderate swirls and oxidation with a medium cut polish, polishing pad and random orbital buffer. I used this for the rest of the car.

6) Enhance gloss and depth with finishing polish. finishing pad and random orbital buffer. This gives the paintwork that extra shine and a deeper gloss.

The next steps would have been to use a high grade carnauba wax like Swissvax and a paint sealant such as Gyeon MOHS+ but I didn't have either one of these products so I only got as far as polishing and I just finished it off with a quick detailer but I have to say, the paintwork really did come up amazing after all this. The wax and sealant would have topped it off.

Remember to always make sure the car is cool and preferably undercover/in shade before starting any washing or detailing. Never let a product dry on the car unless it states that it must on the label.
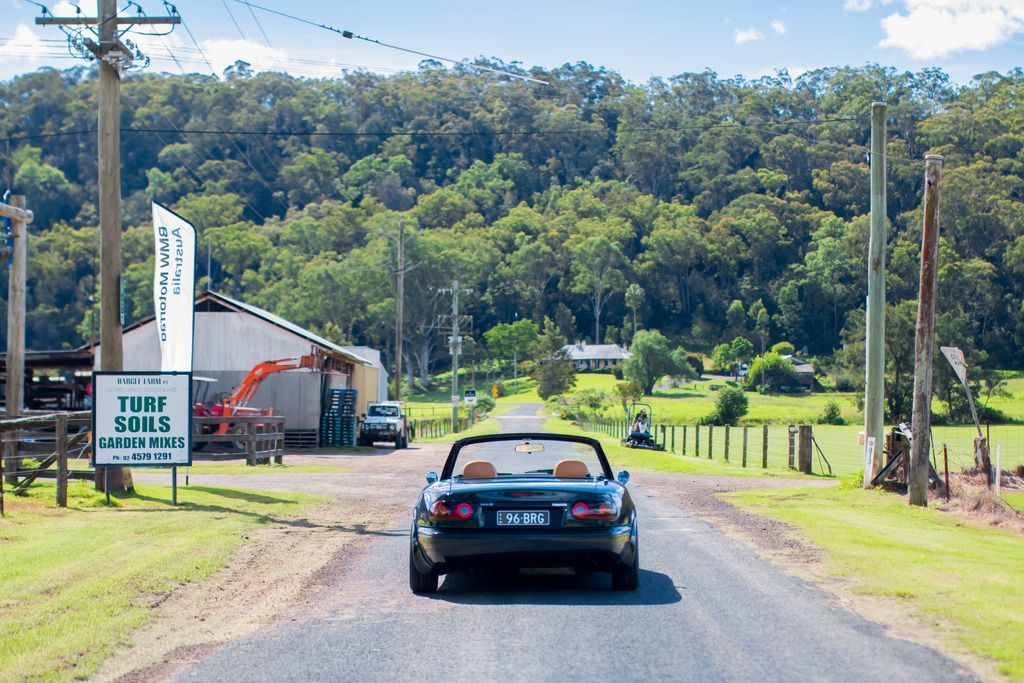
I'll let the pictures do the talking.

Rinse down the car with water to remove any loose dirt before hand wash.

Image

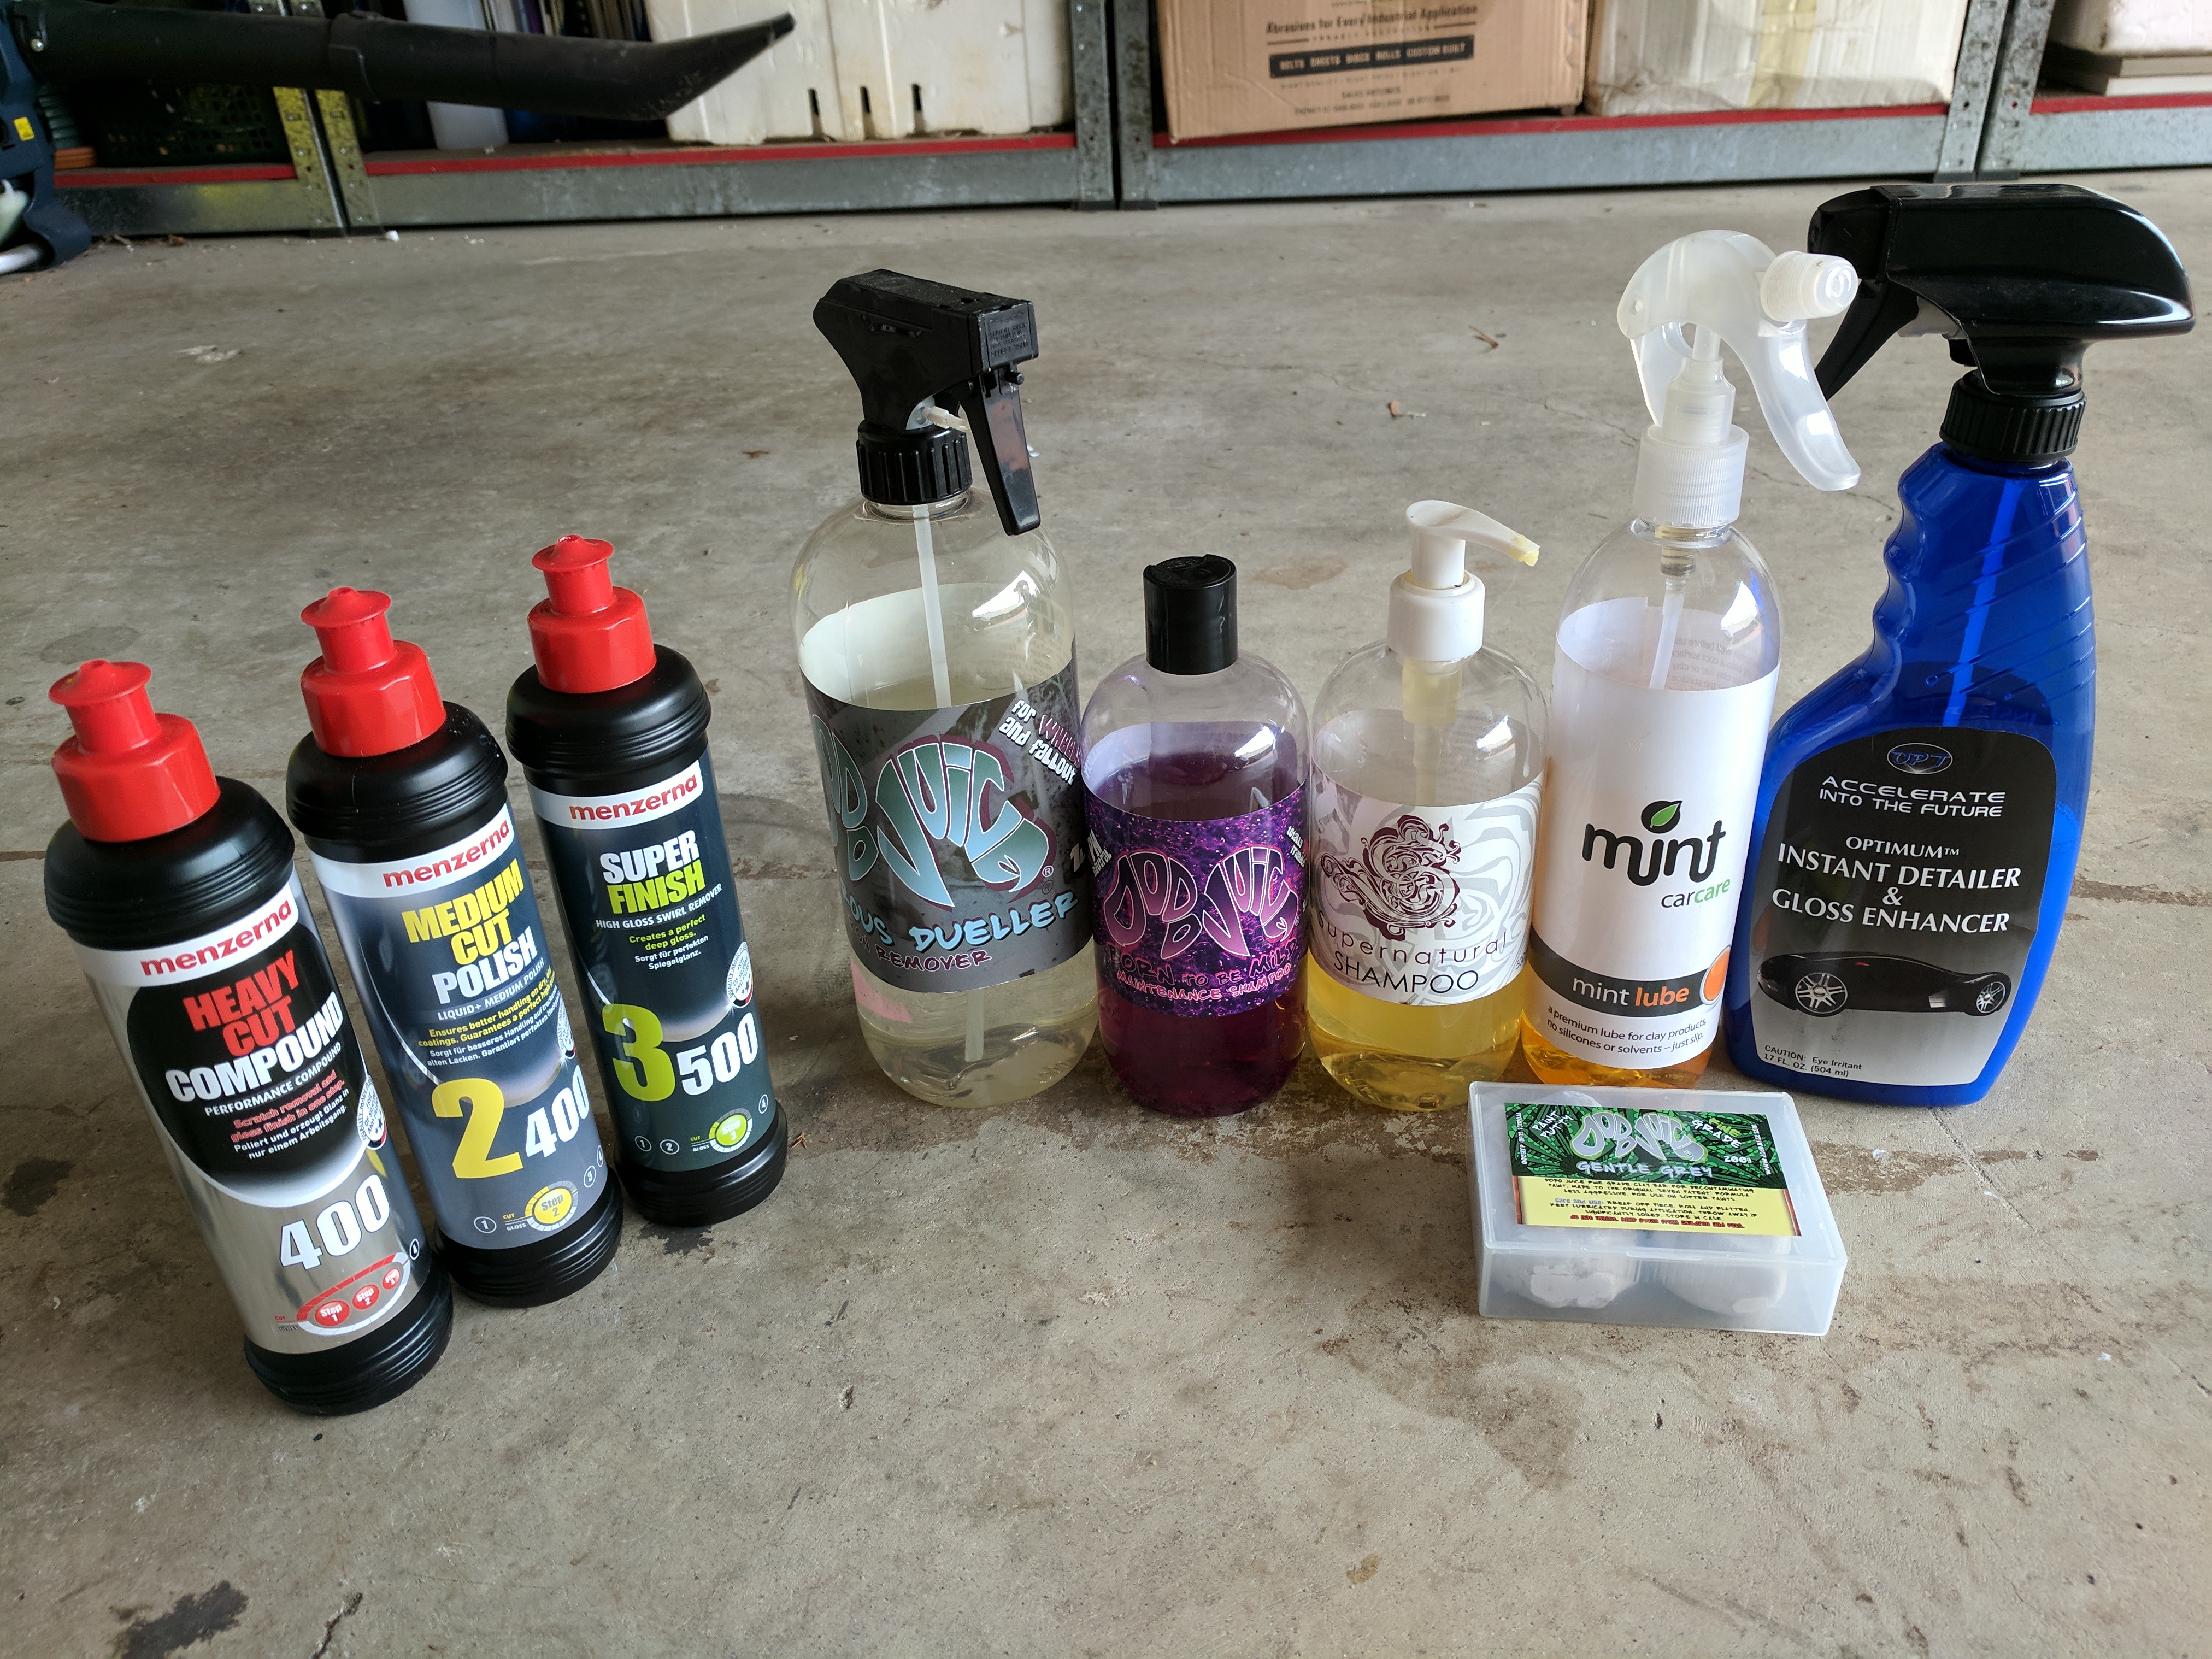
Products I used. From left to right :
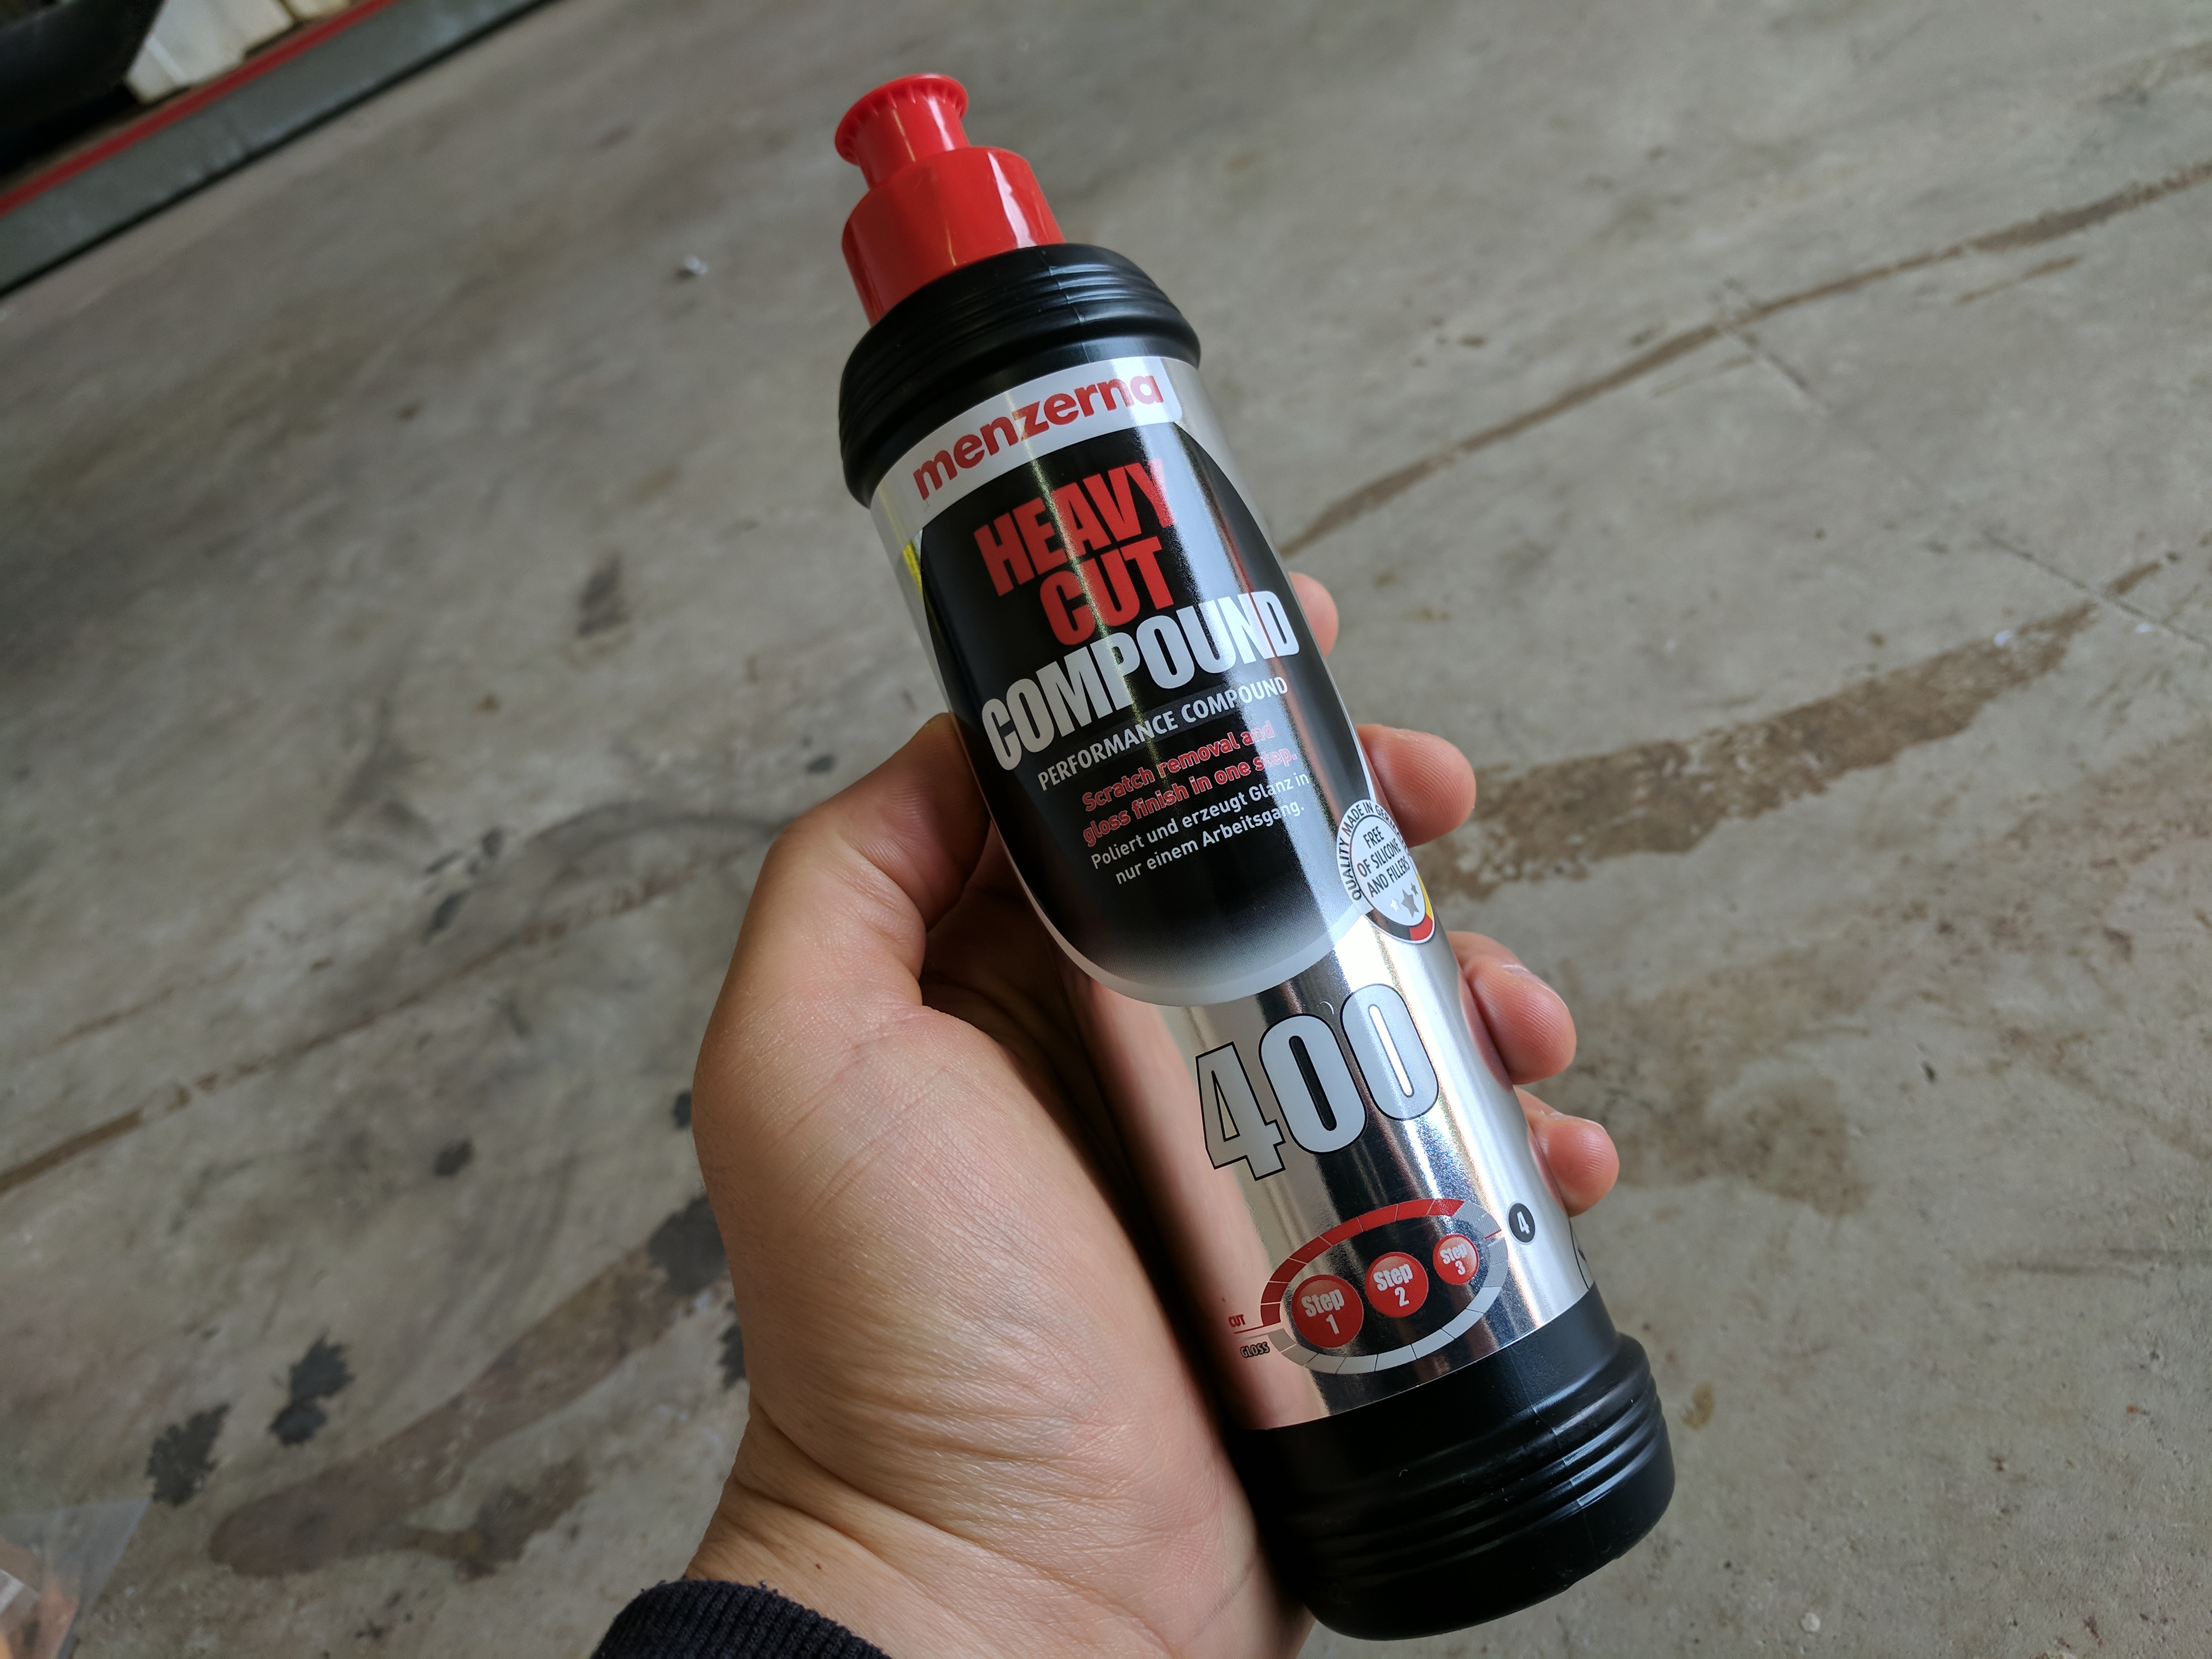
* Menzerna HC400 Heavy Cut Compound
* Menzerna PF2400 Medium Cut Polish
* Menzerna SF3500 Super Finish Polish
* Dodo Juice Ferrous Dueller Iron Remover
* Dodo Juice Born To Be Mild Maintenance Shampoo
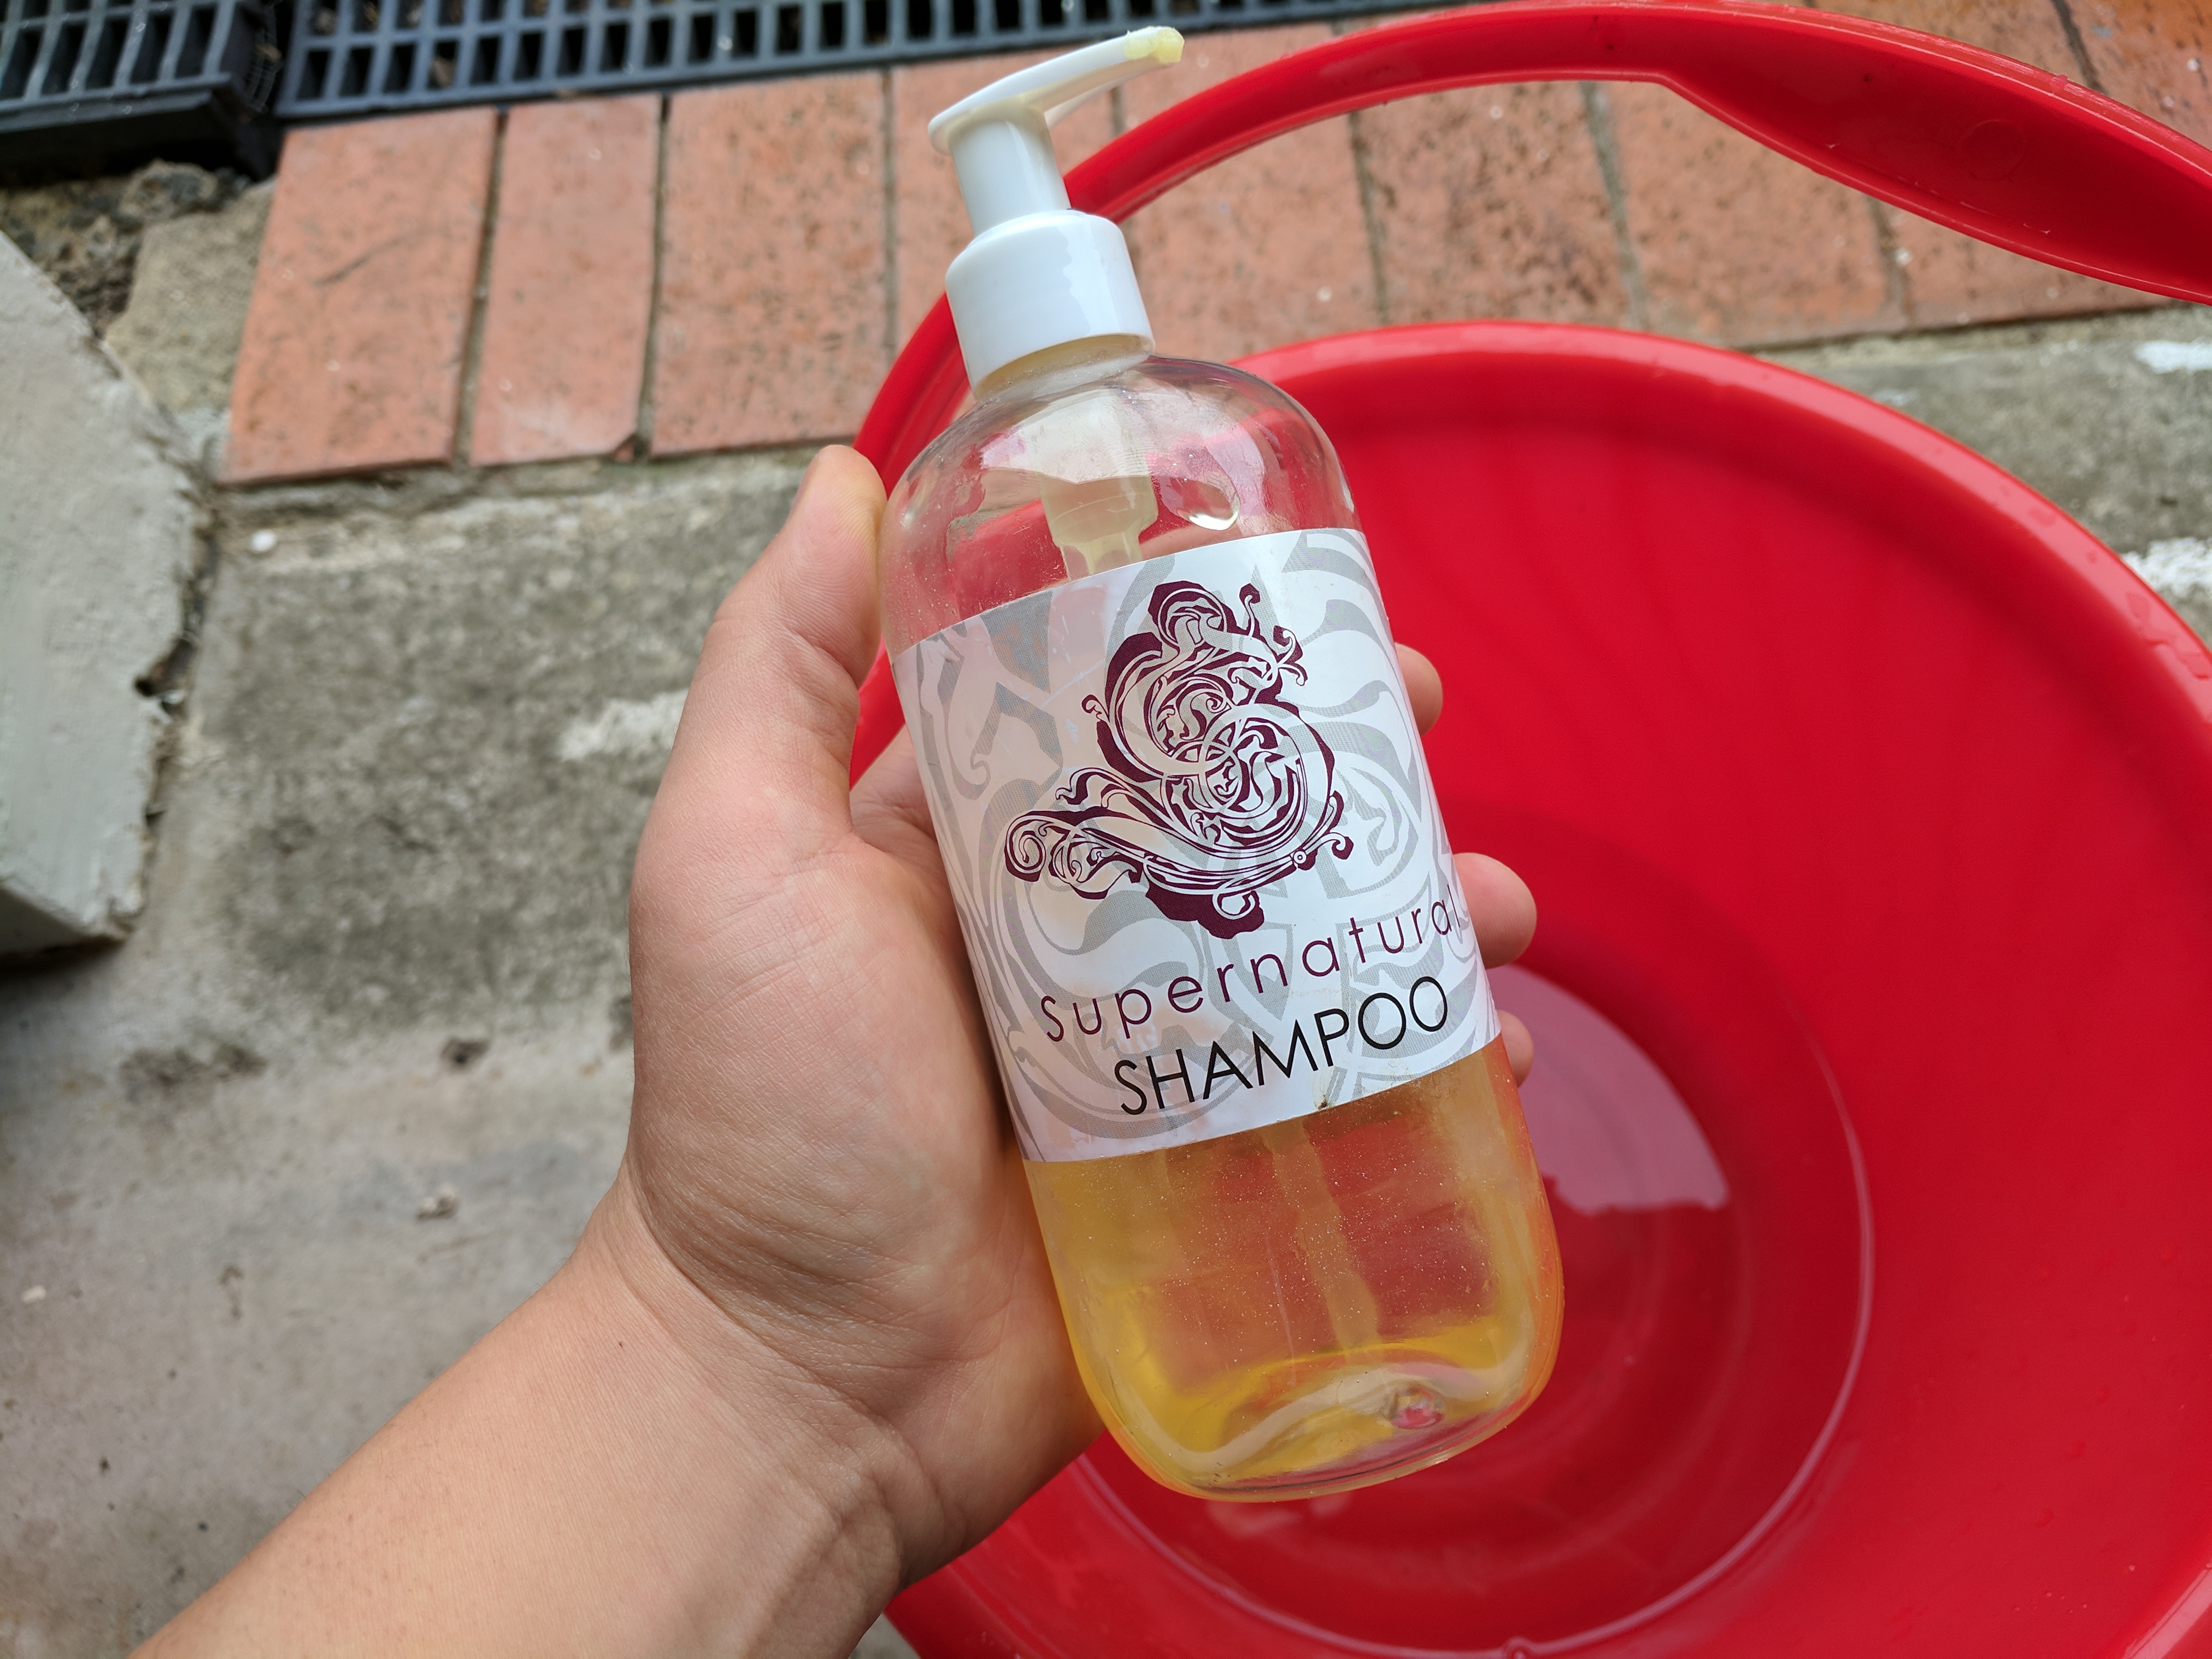
* Dodo Juice Supernatural Shampoo
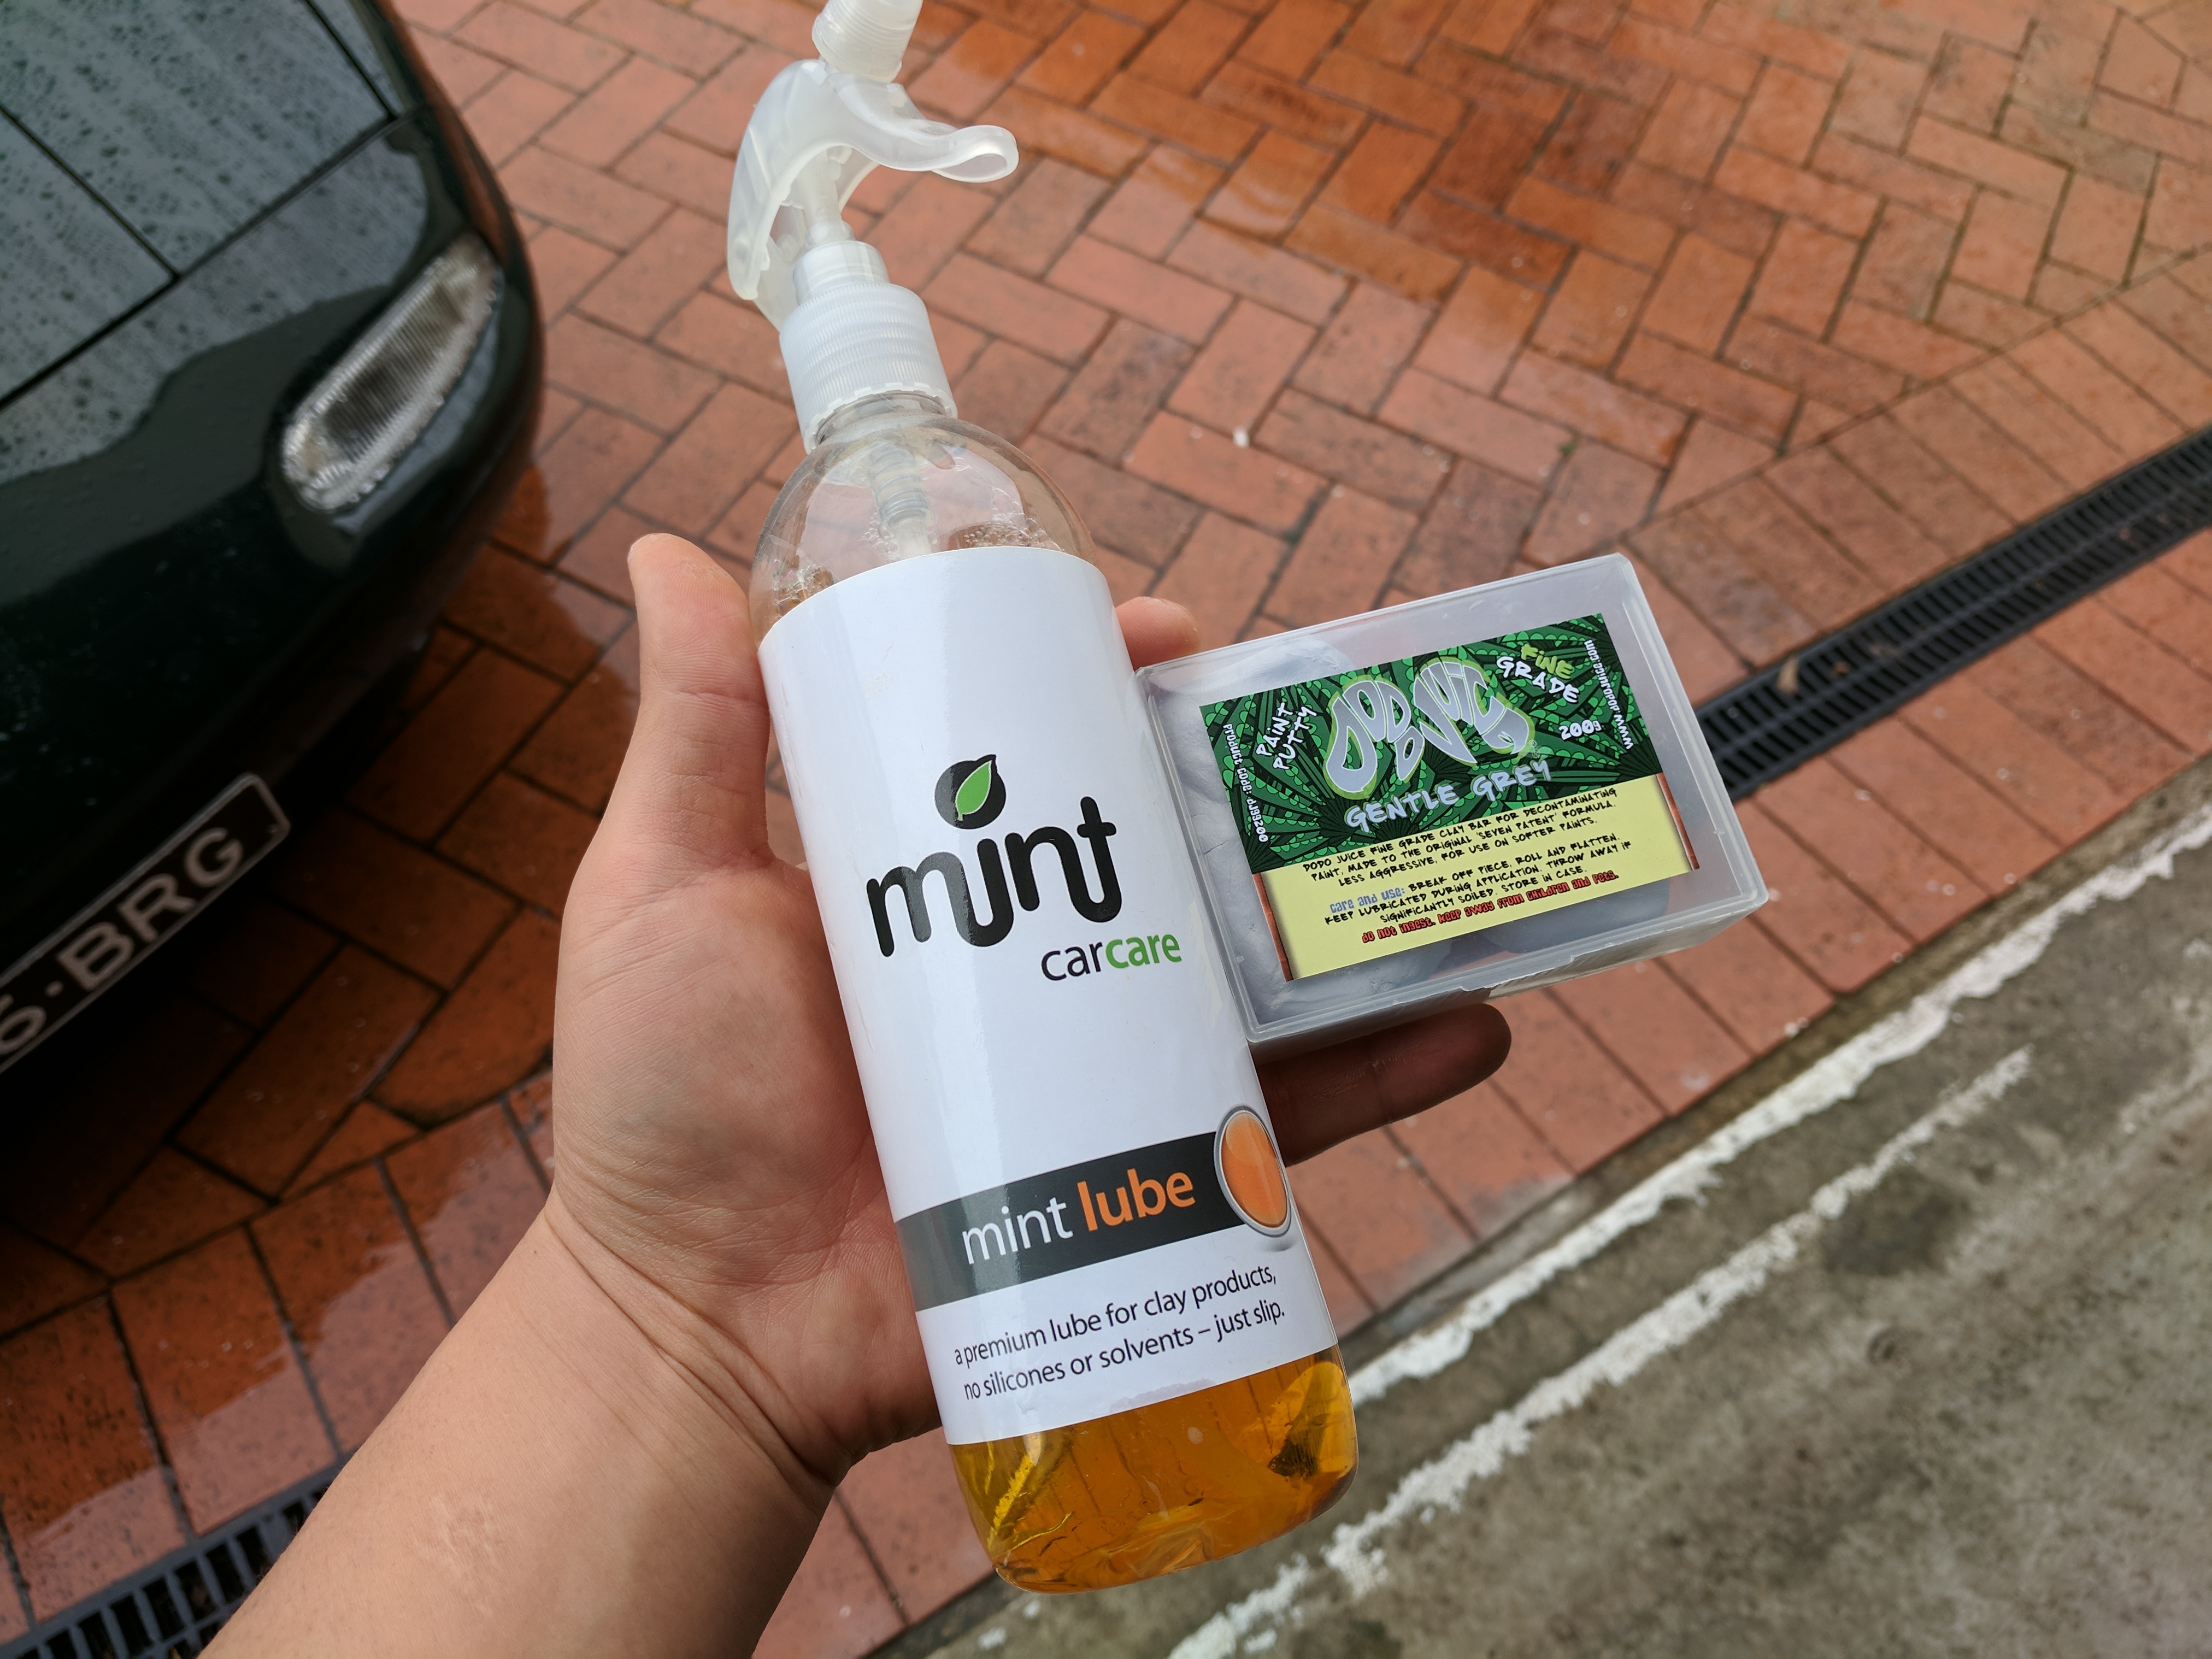
* Dodo Juice Gentle Grey Clay Bar
* Mint Clay Bar Lube
* Optimum Instant Detailer + Gloss Enhancer

Image

Since I would be doing a full detail, I decided to use the Dodo Juice Supernational Shampoo. pH neutral and a highly concentrated shampoo. One pump for every 3 litres of water.

Image

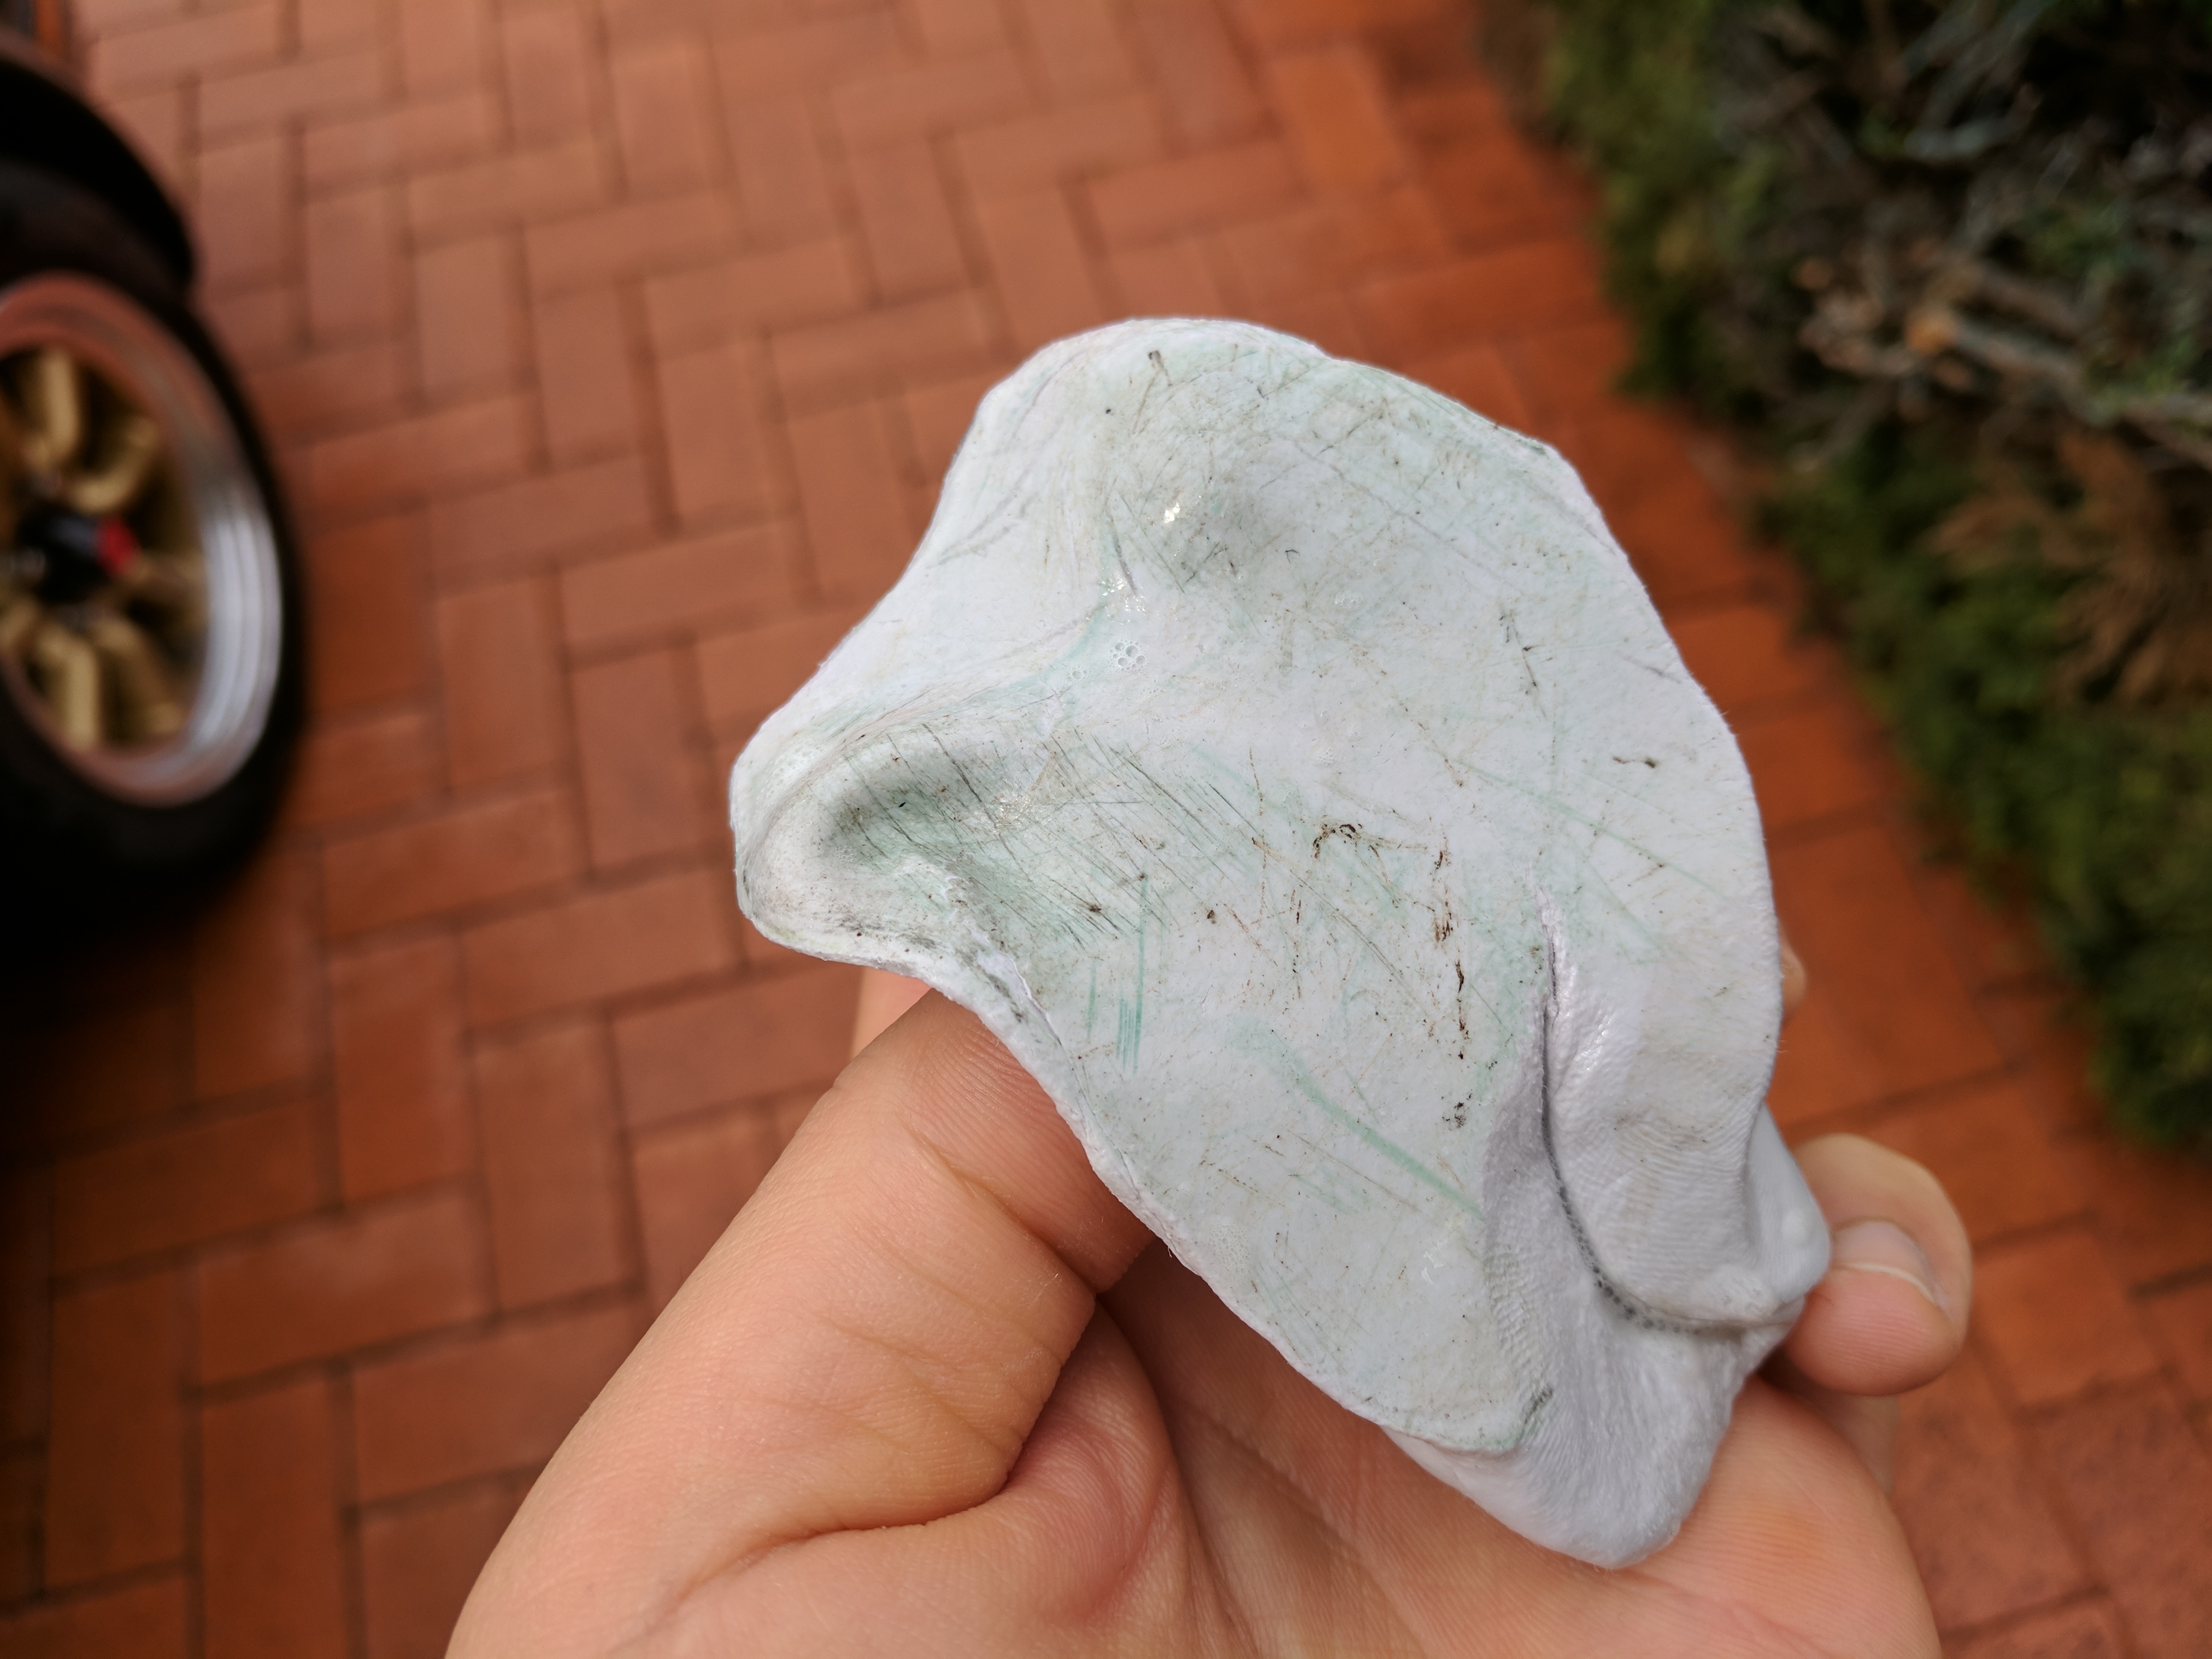
After the wash, I used the Dodo Juice Gentle Grey clay bar and the Mint clay bar lube to clay the car.

Image

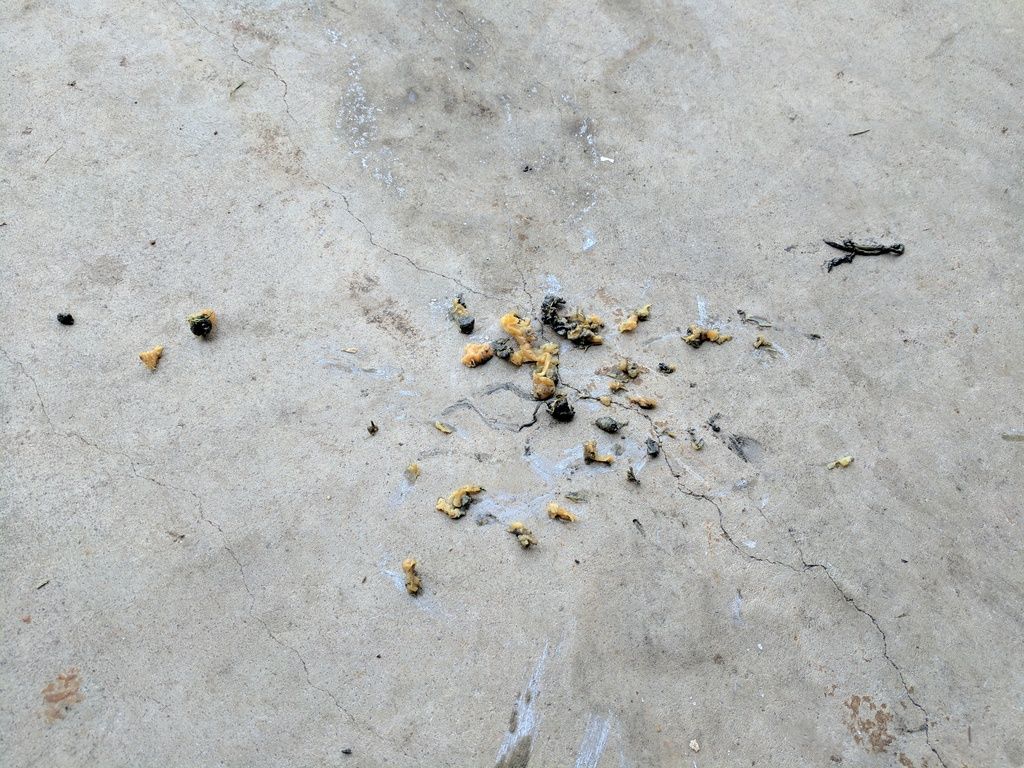
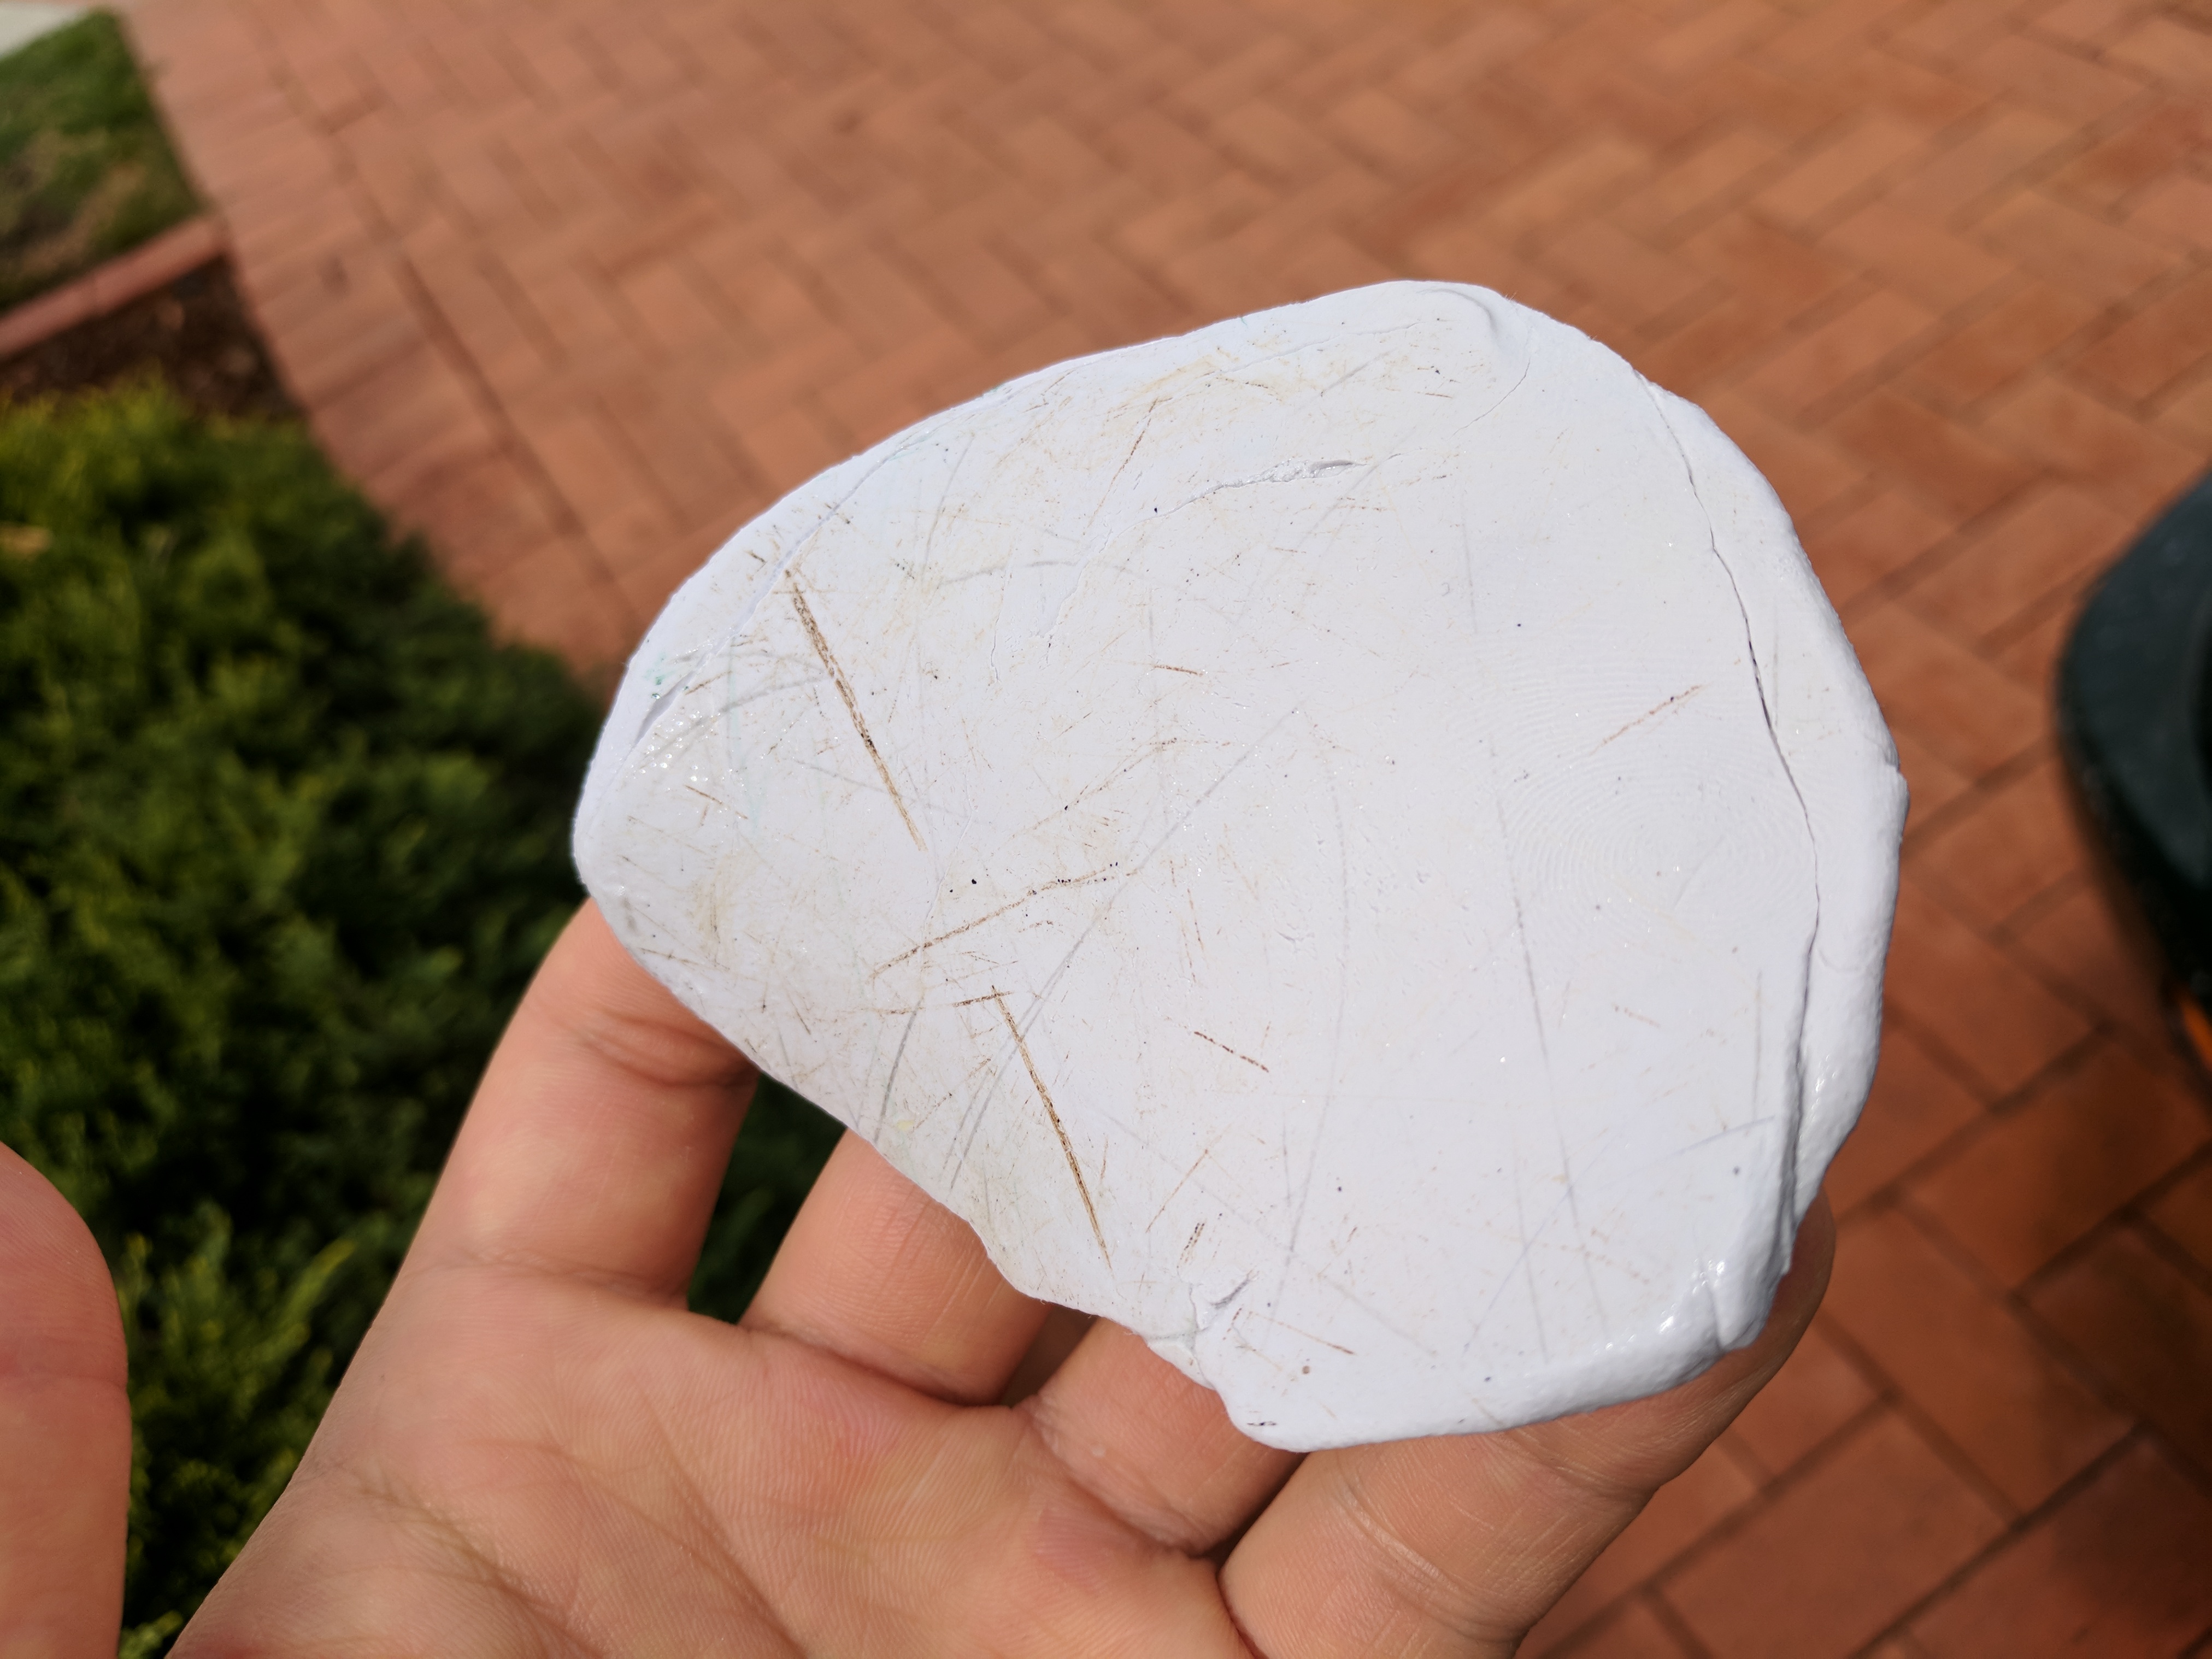
This is the result after one quarter panel. Remember to fold the clay bar to reveal a fresh surface of clay before moving on to a different panel.

Image

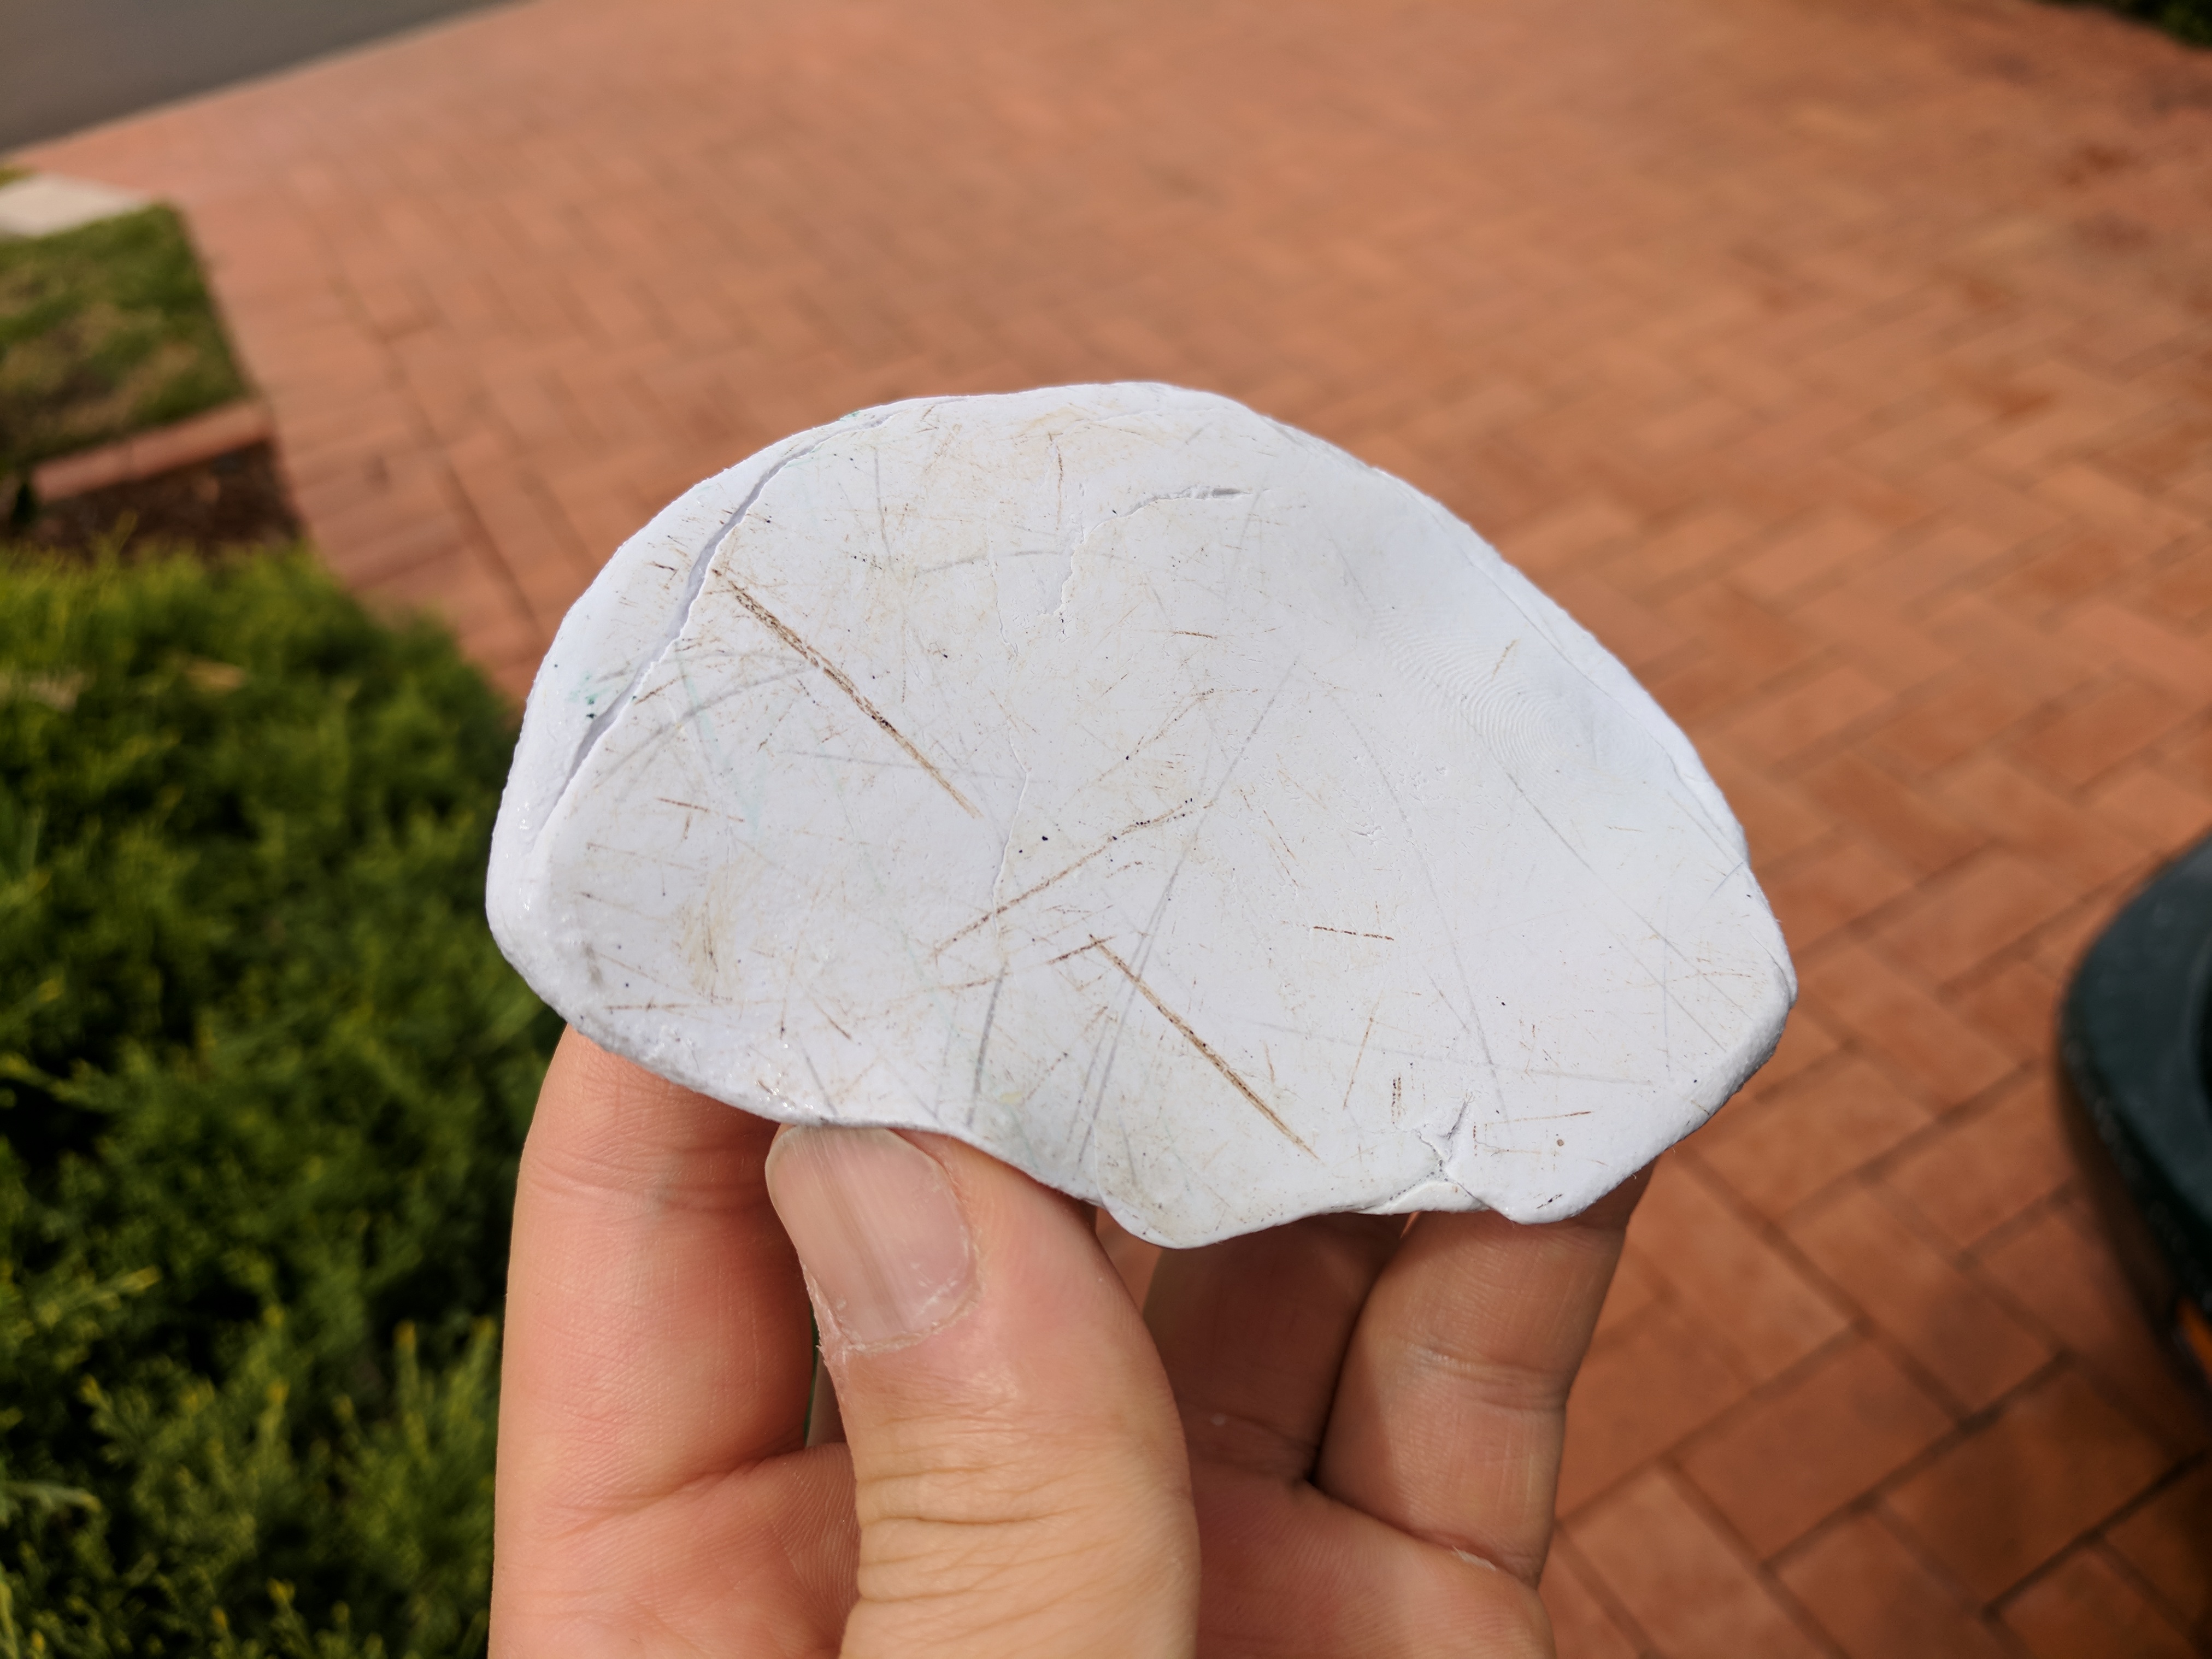
This was the boot and rear of the car. Pretty hectic.

Image

This was the door and rear panels.

Image

This was the bonnet.

Image

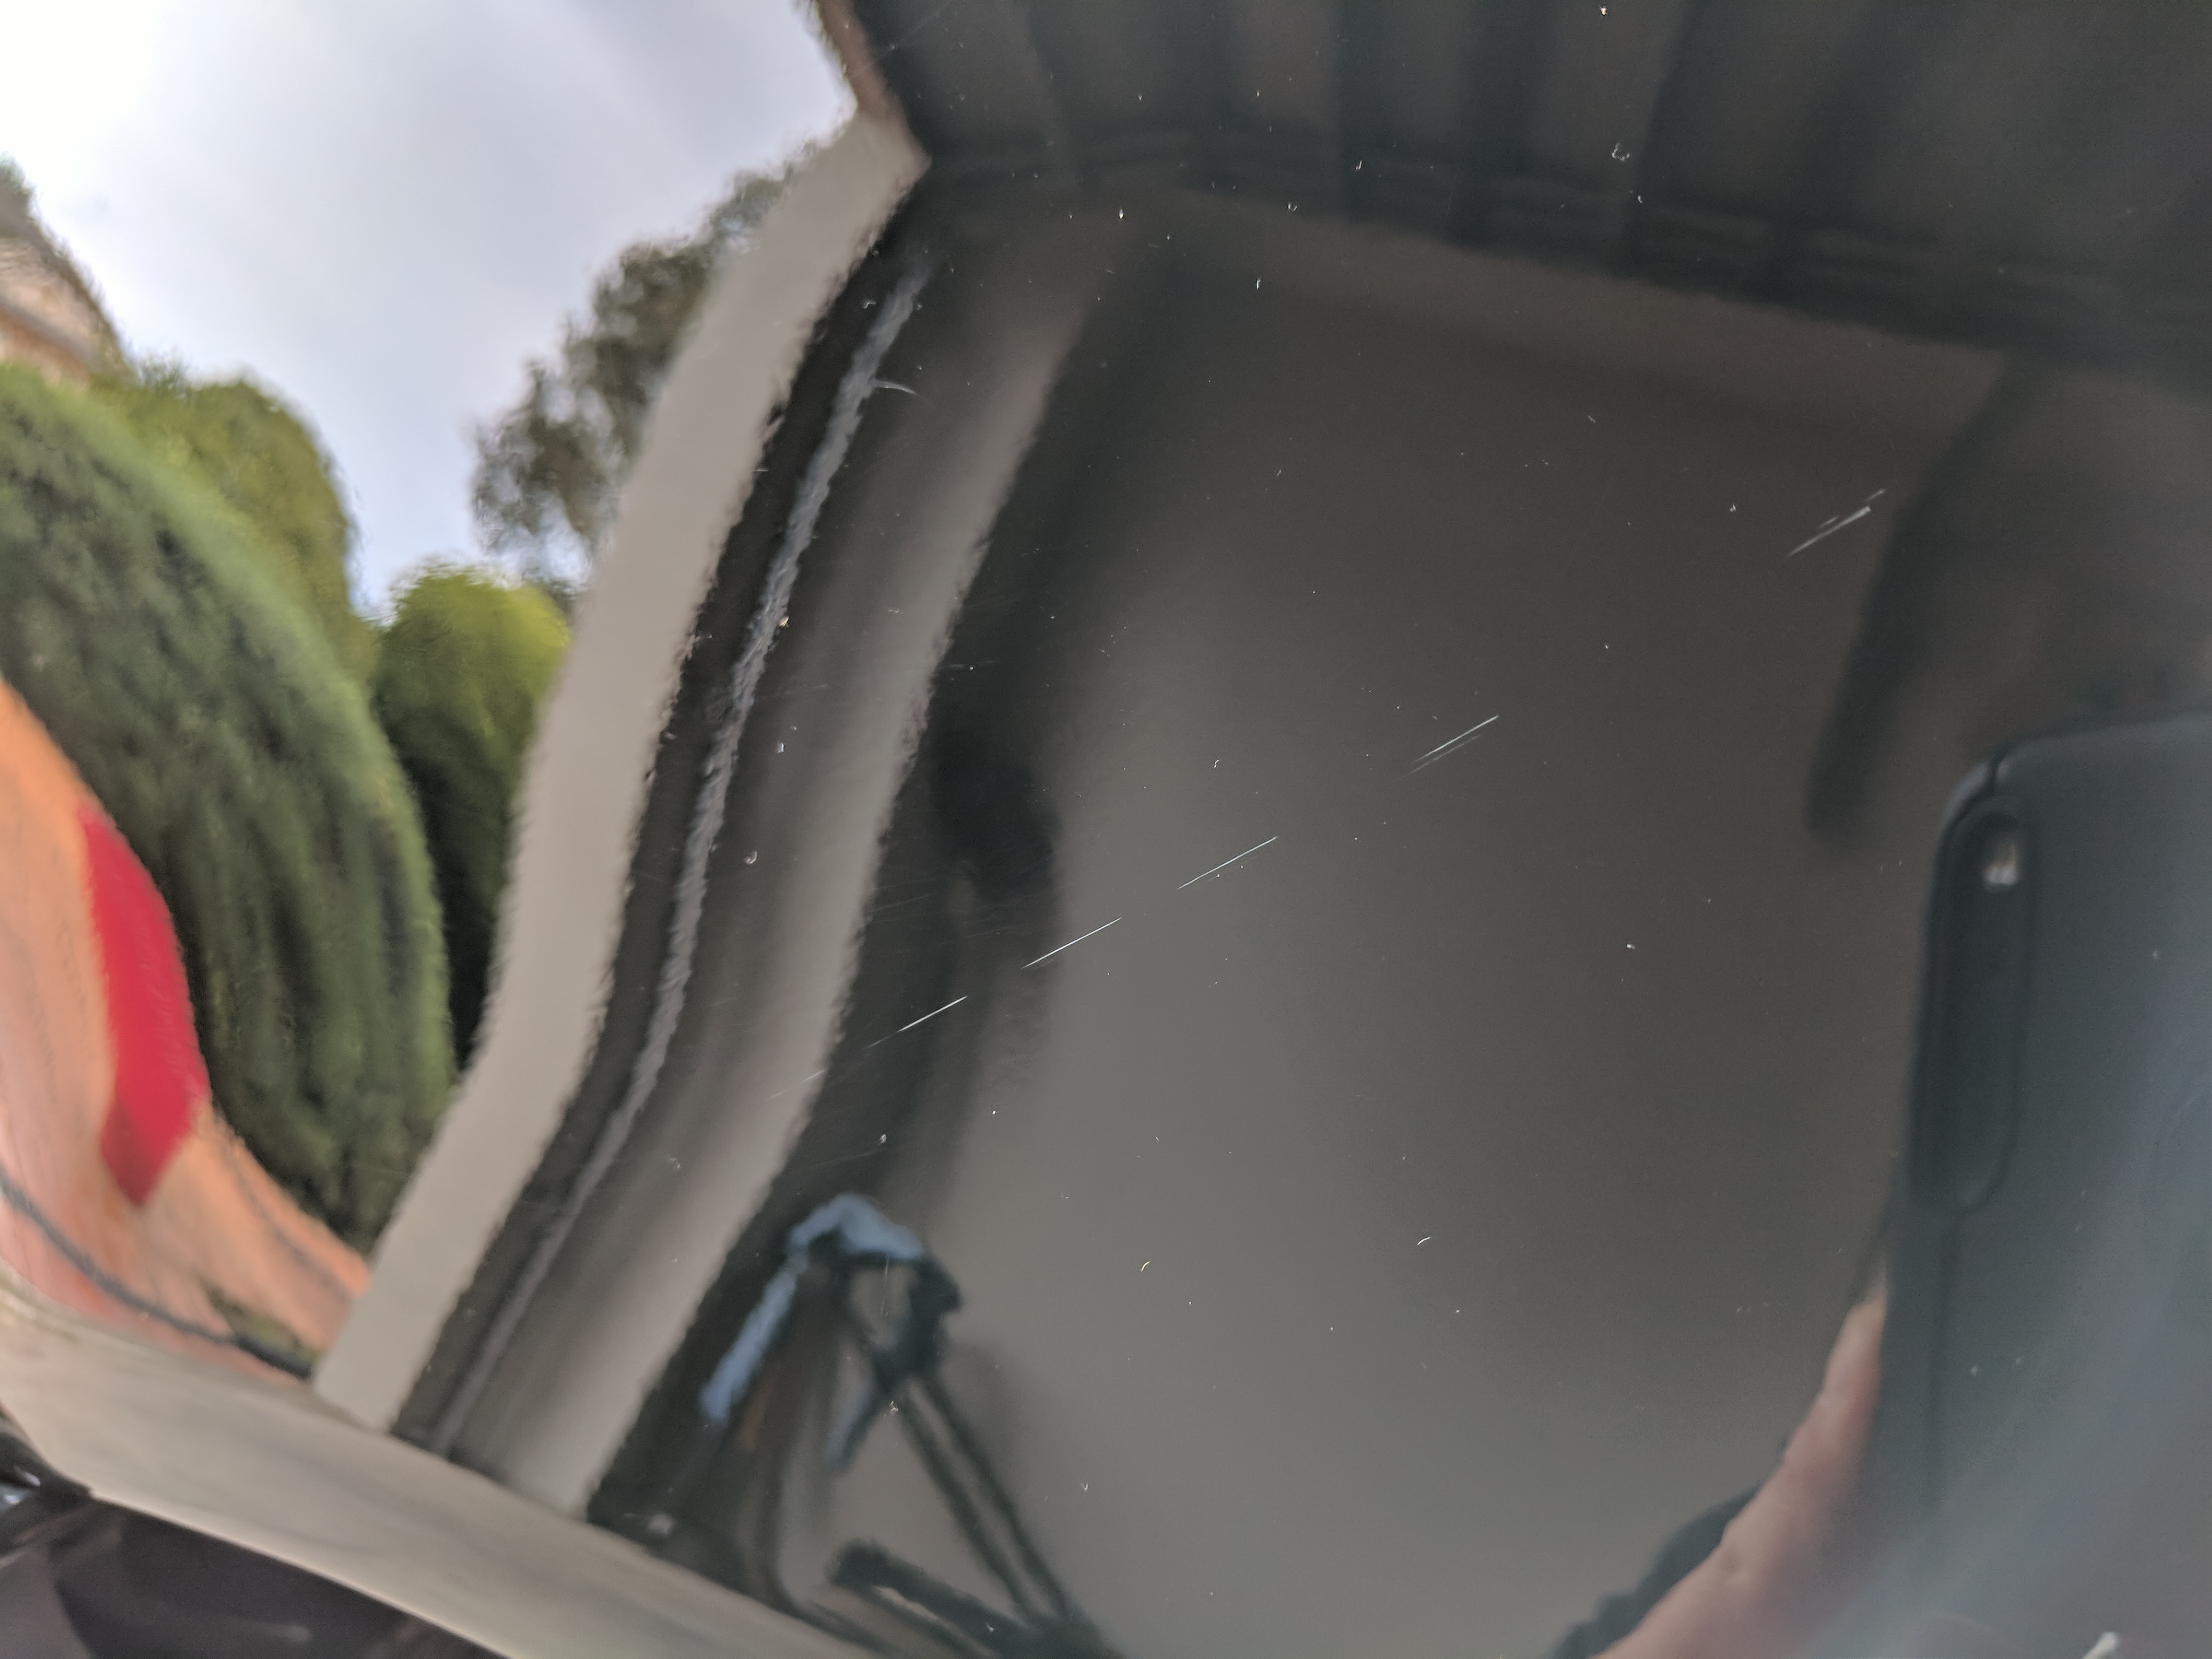
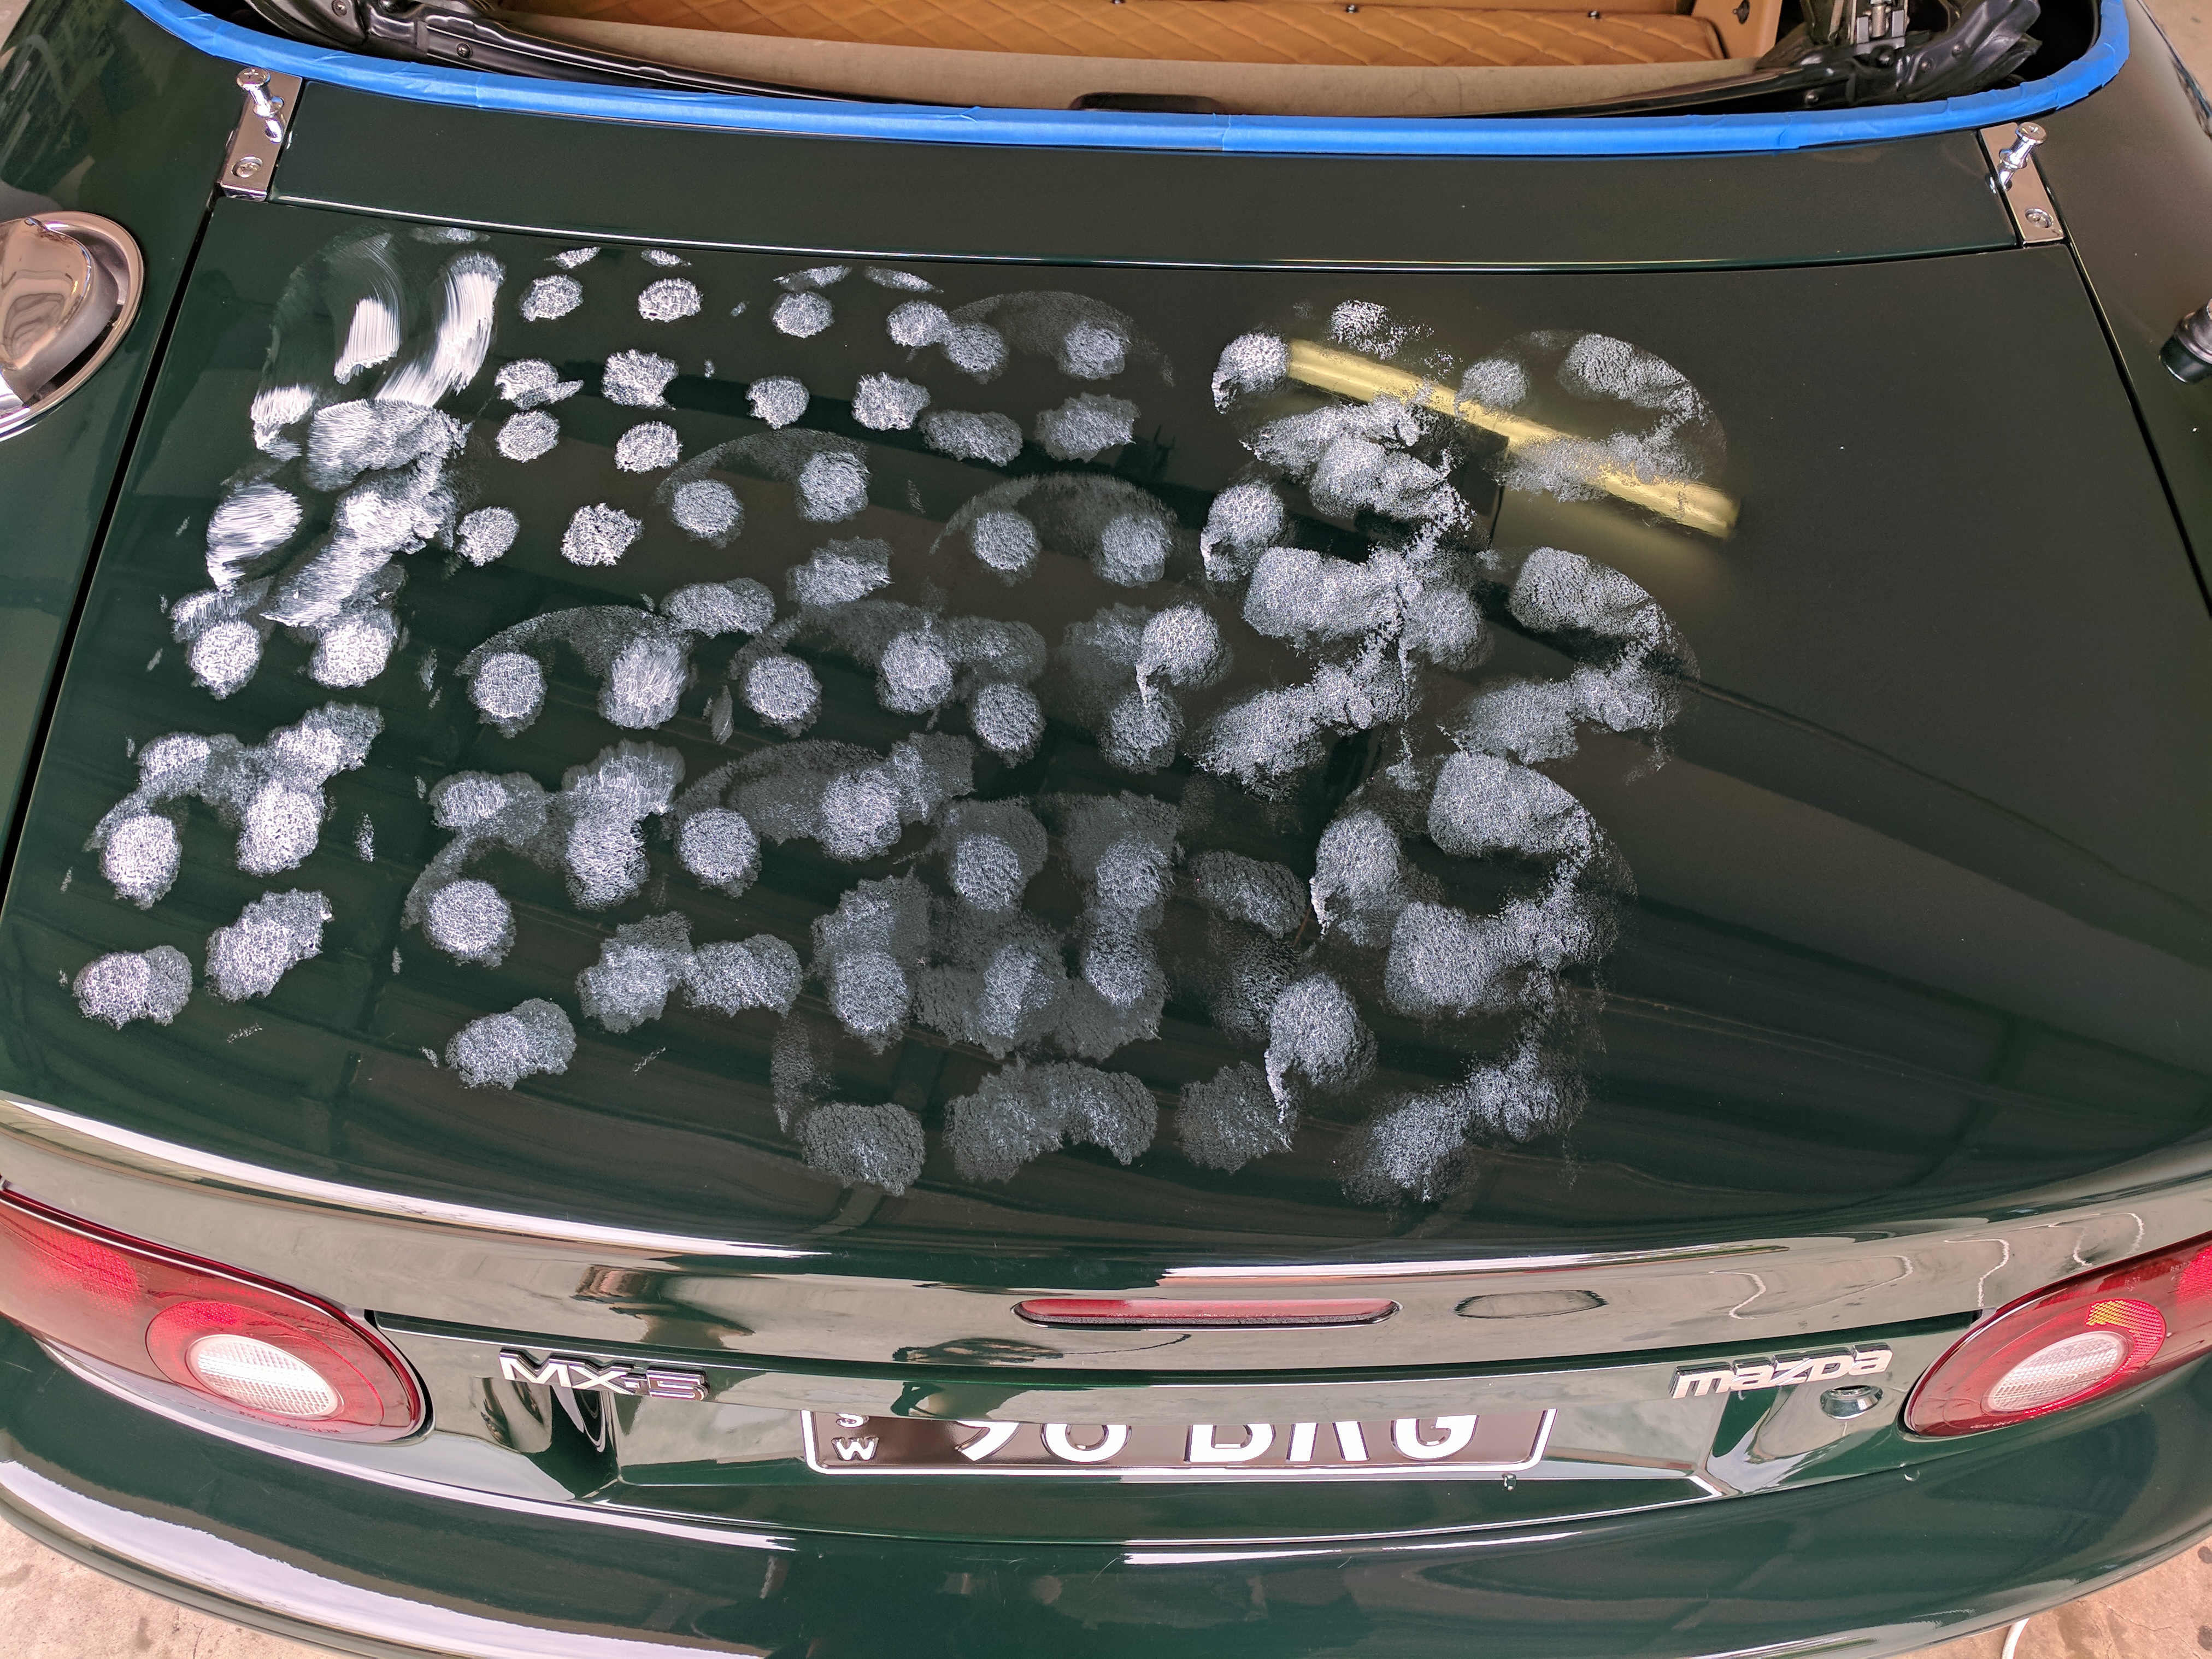
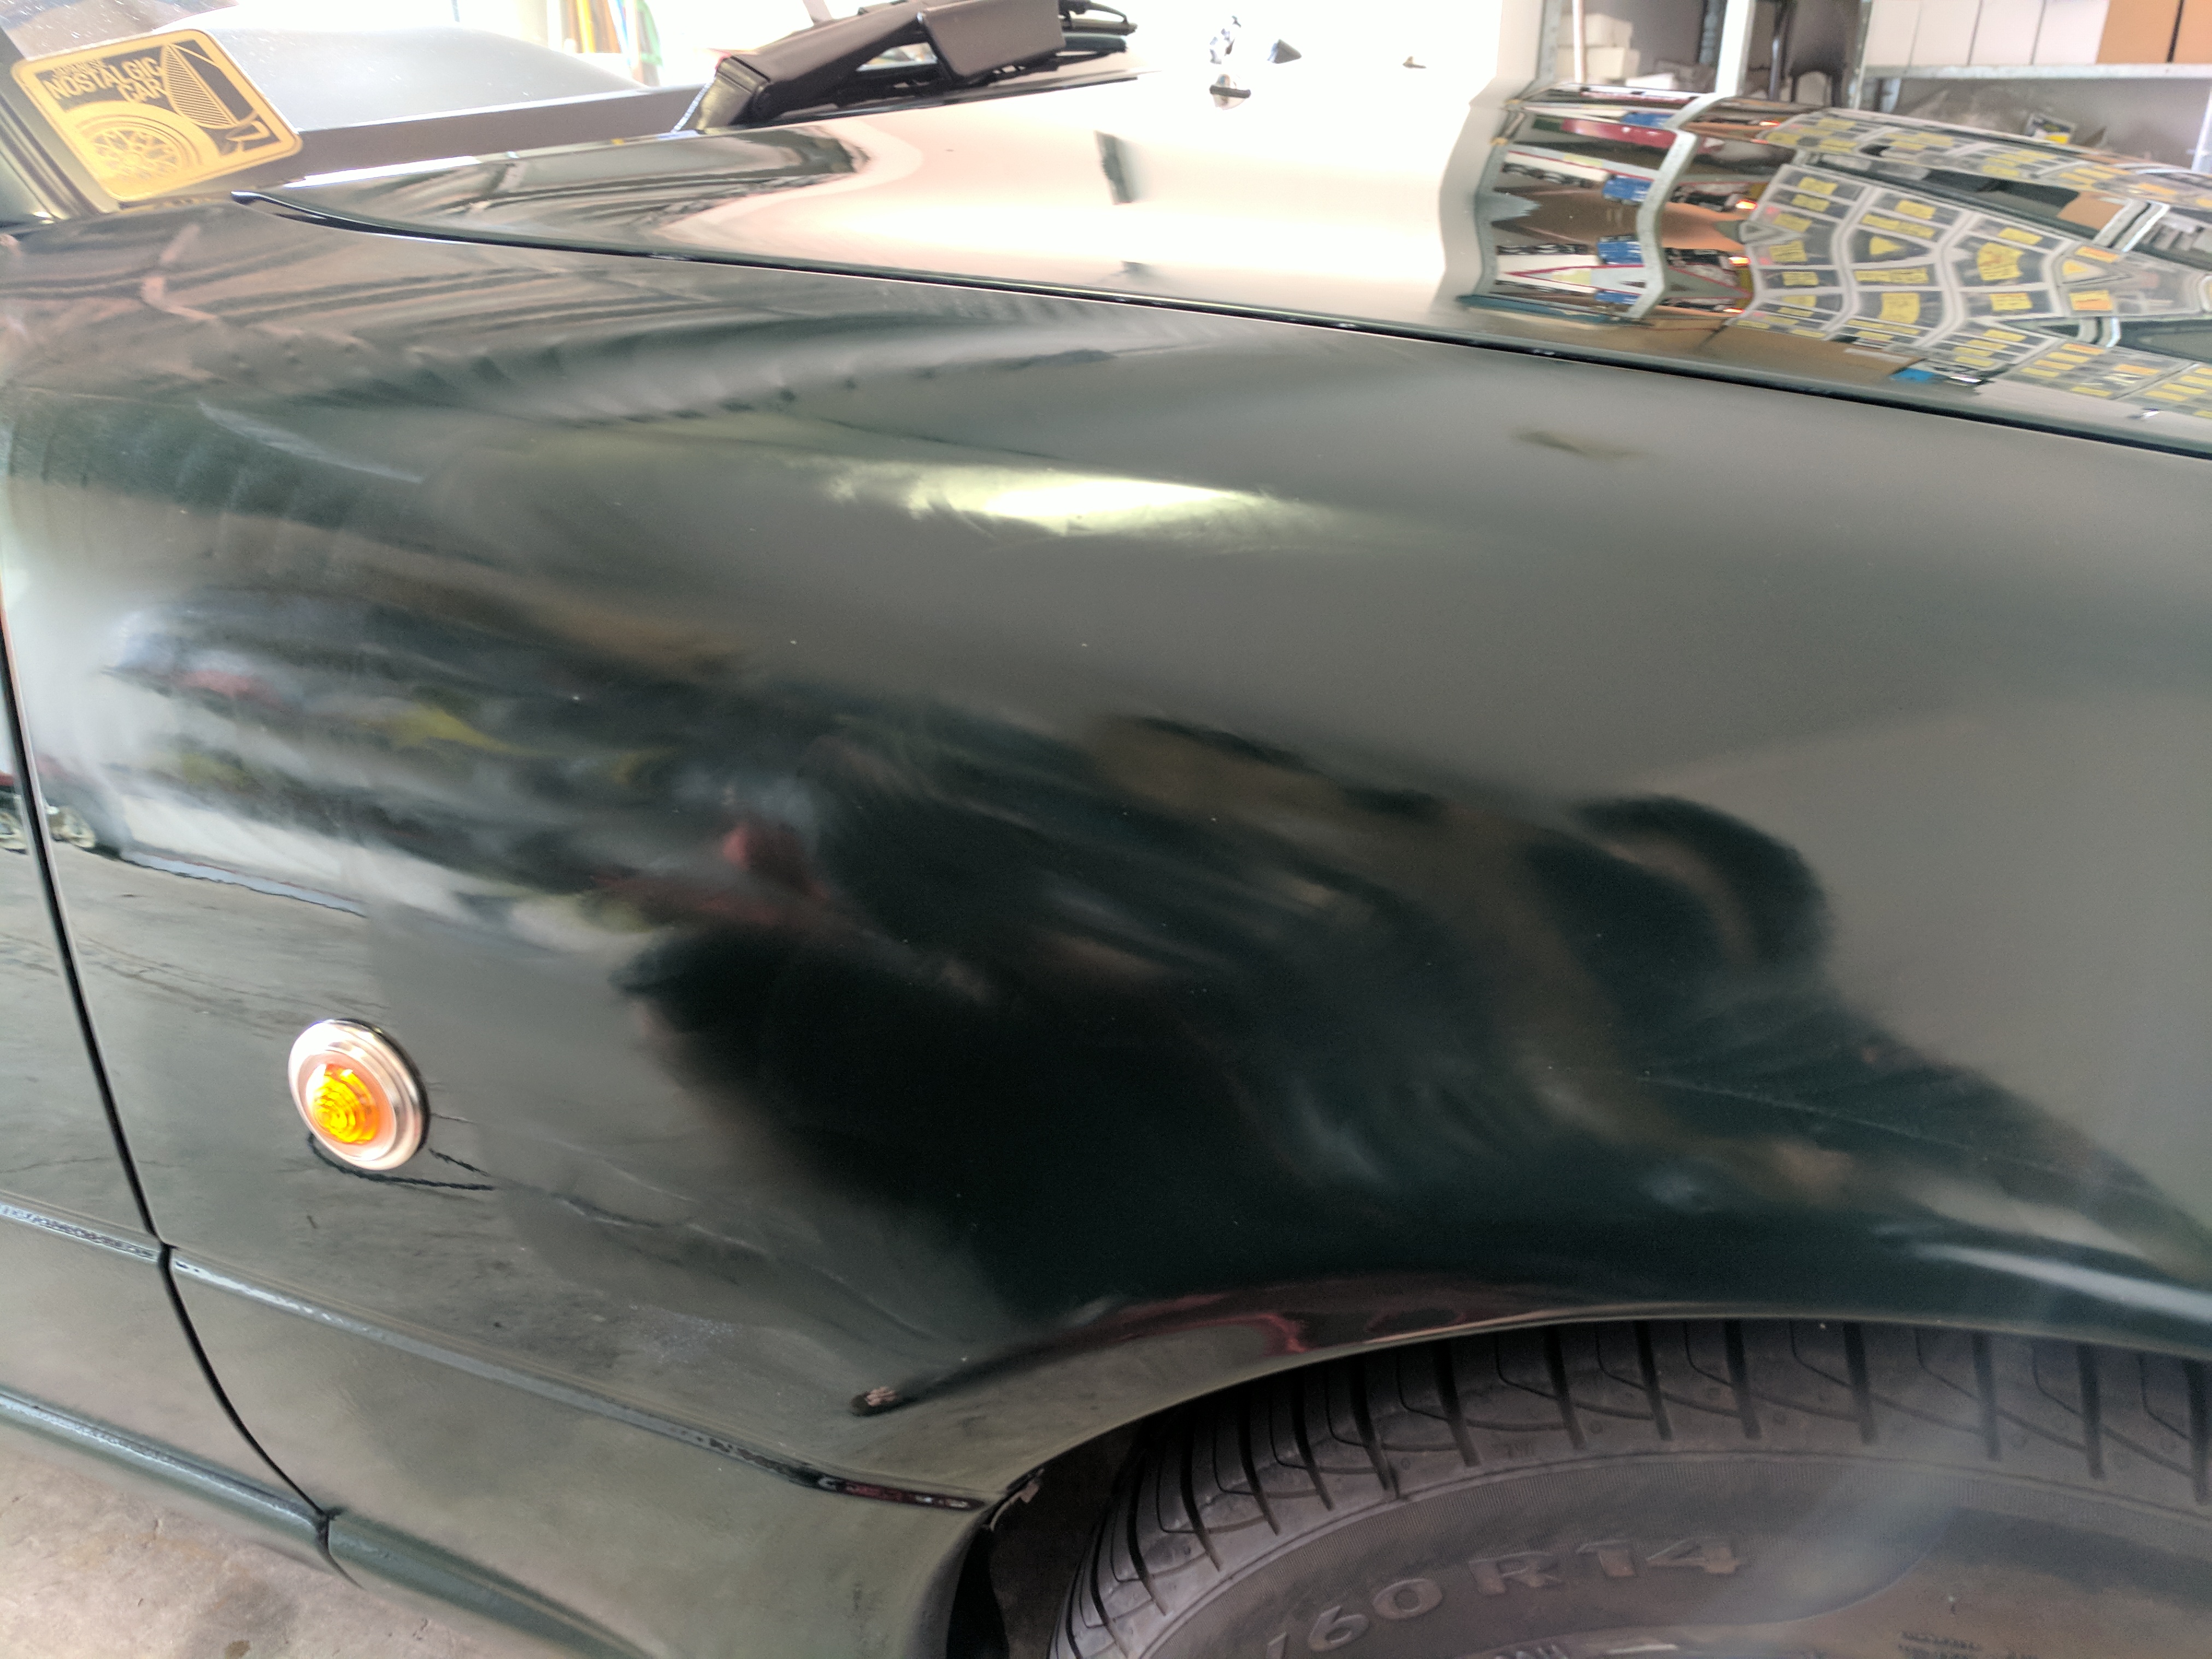
After a wash and clay, you can now see that there are some scratches and marks on the paint. This would be rectified with polish.

Image

More scratches and marks needing attention.

Image

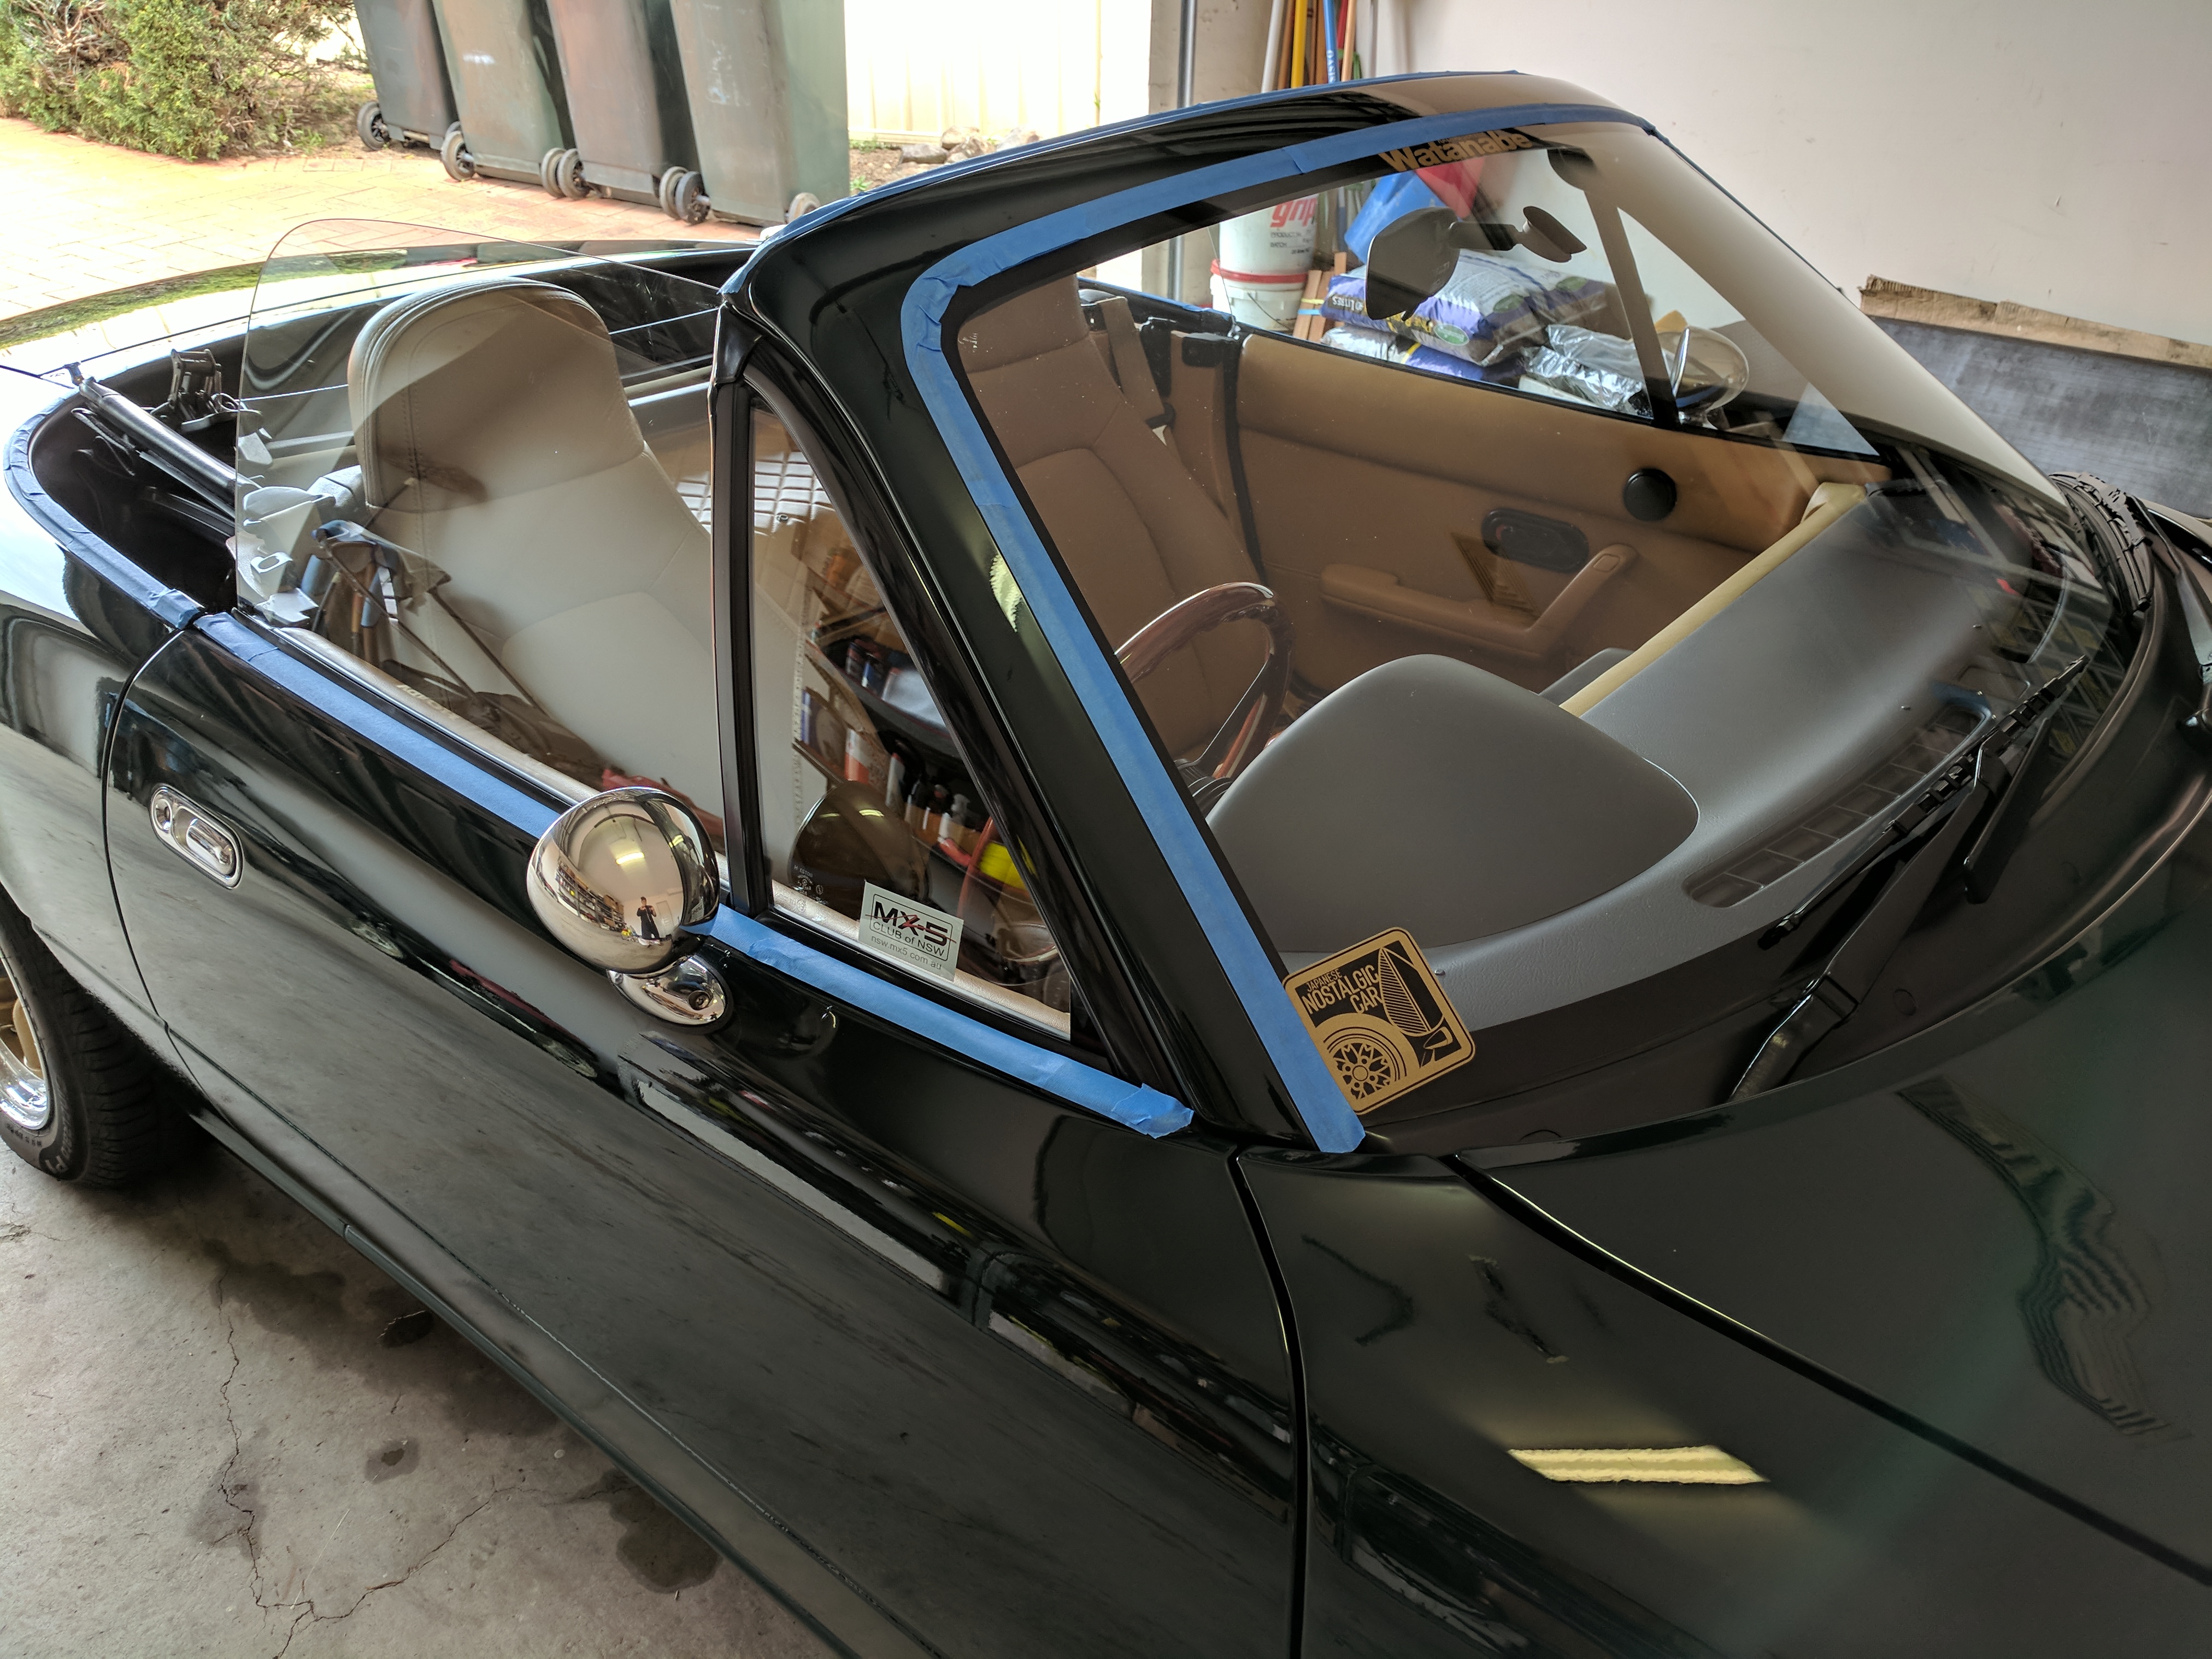
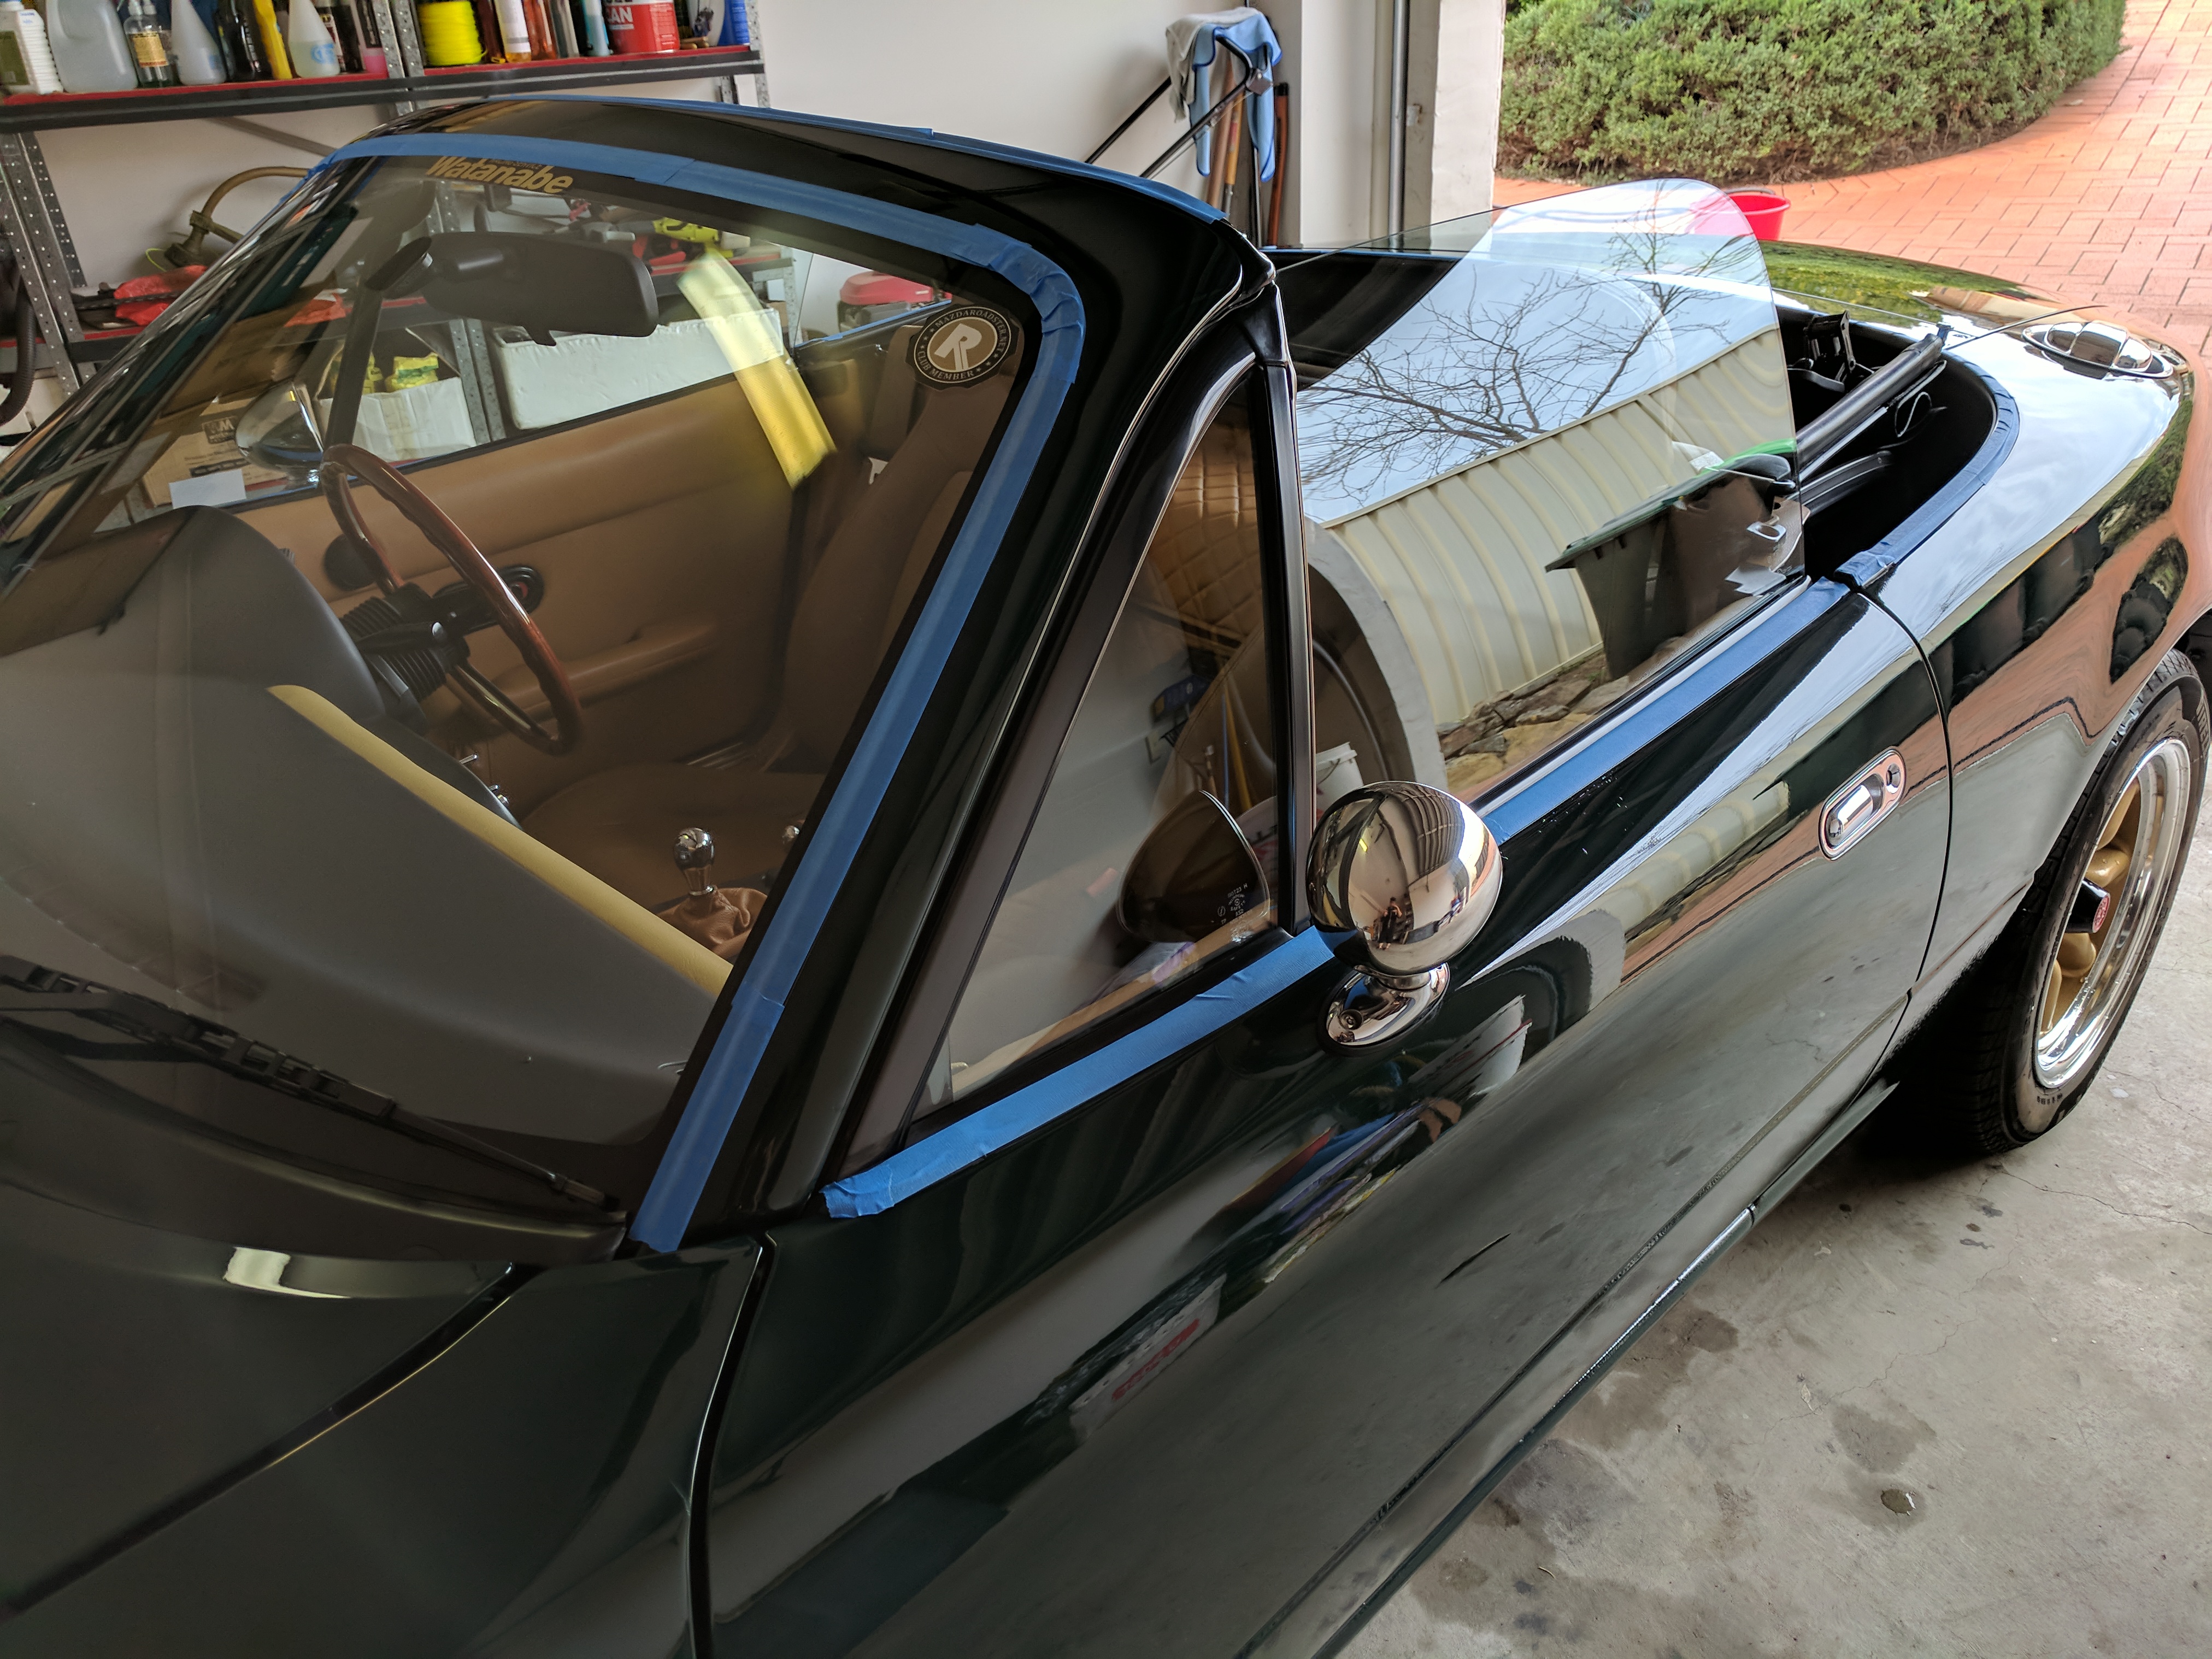
Mask up the rubbers and black plastic trim on the car to prevent it from leaving stains from the polish. If they're not masked up, these can leave a white chalky residue from the polish.

Image

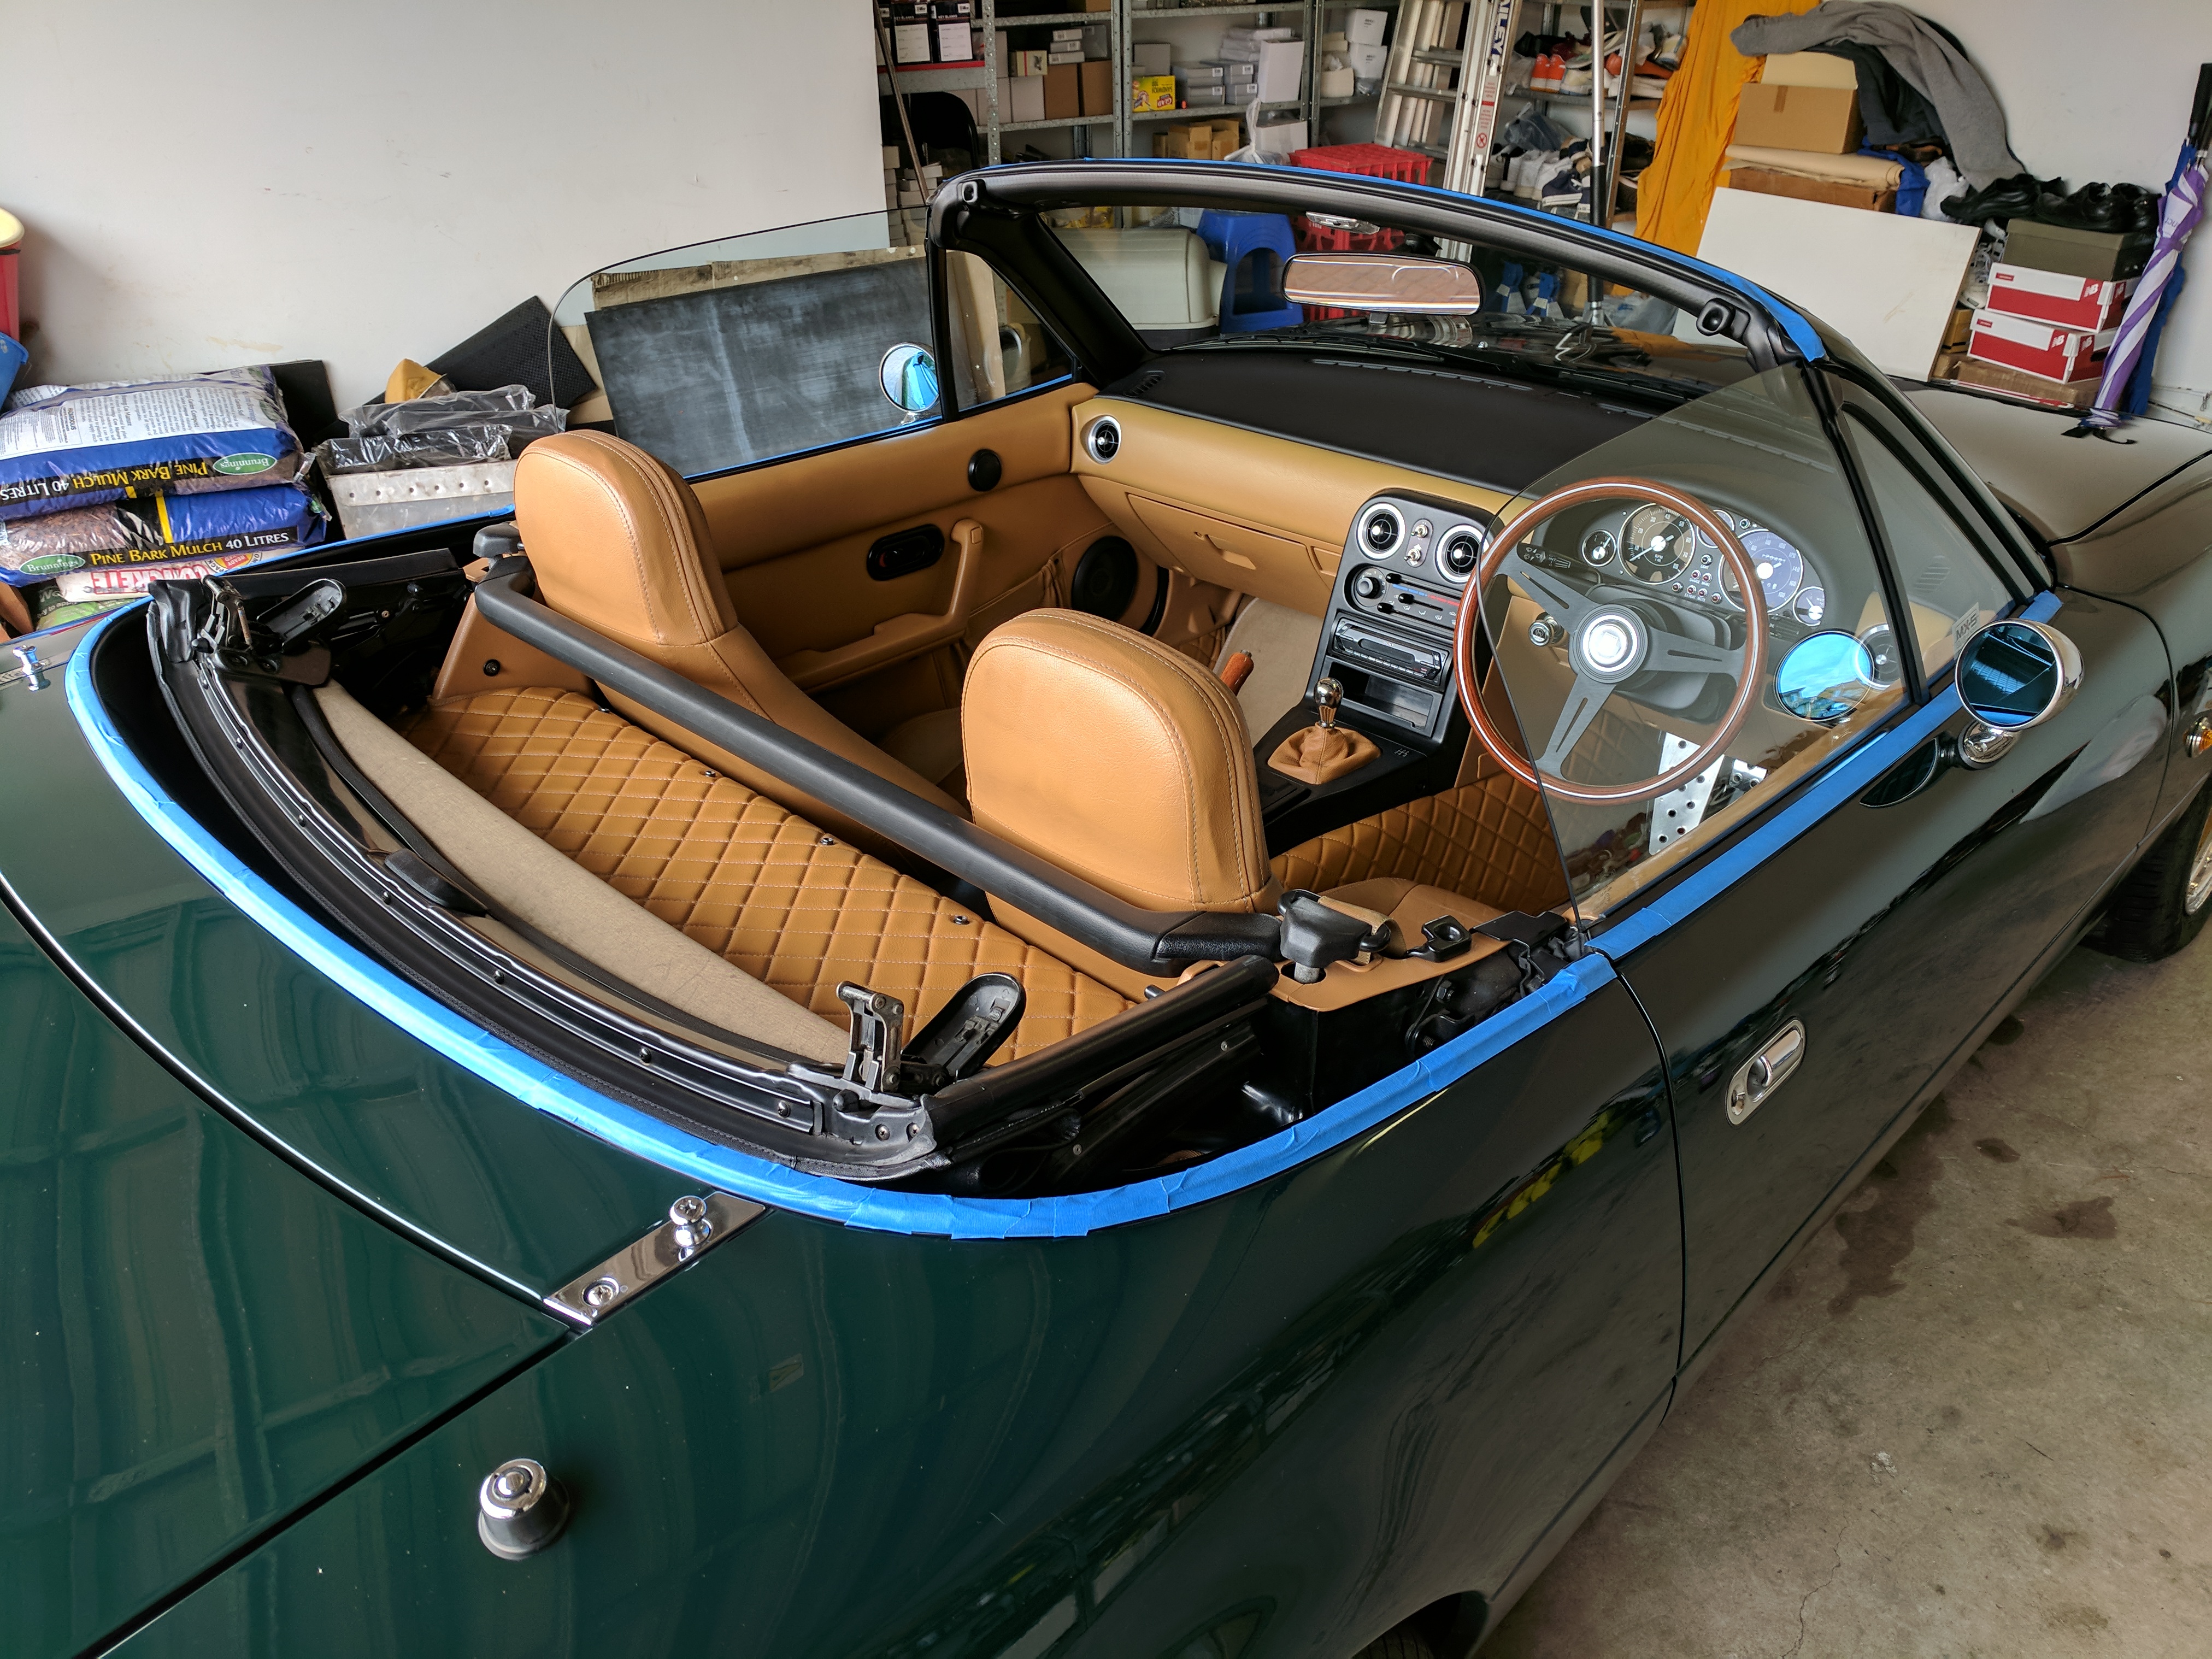
Prepping the car for polish by masking up all the rubbers and black plastics.

Image

Image

My bootlid was particularly bad with all the fine swirls and scratches and spider webbing, so I used Menzerna HC400 heavy cut compound to remove them.

Image

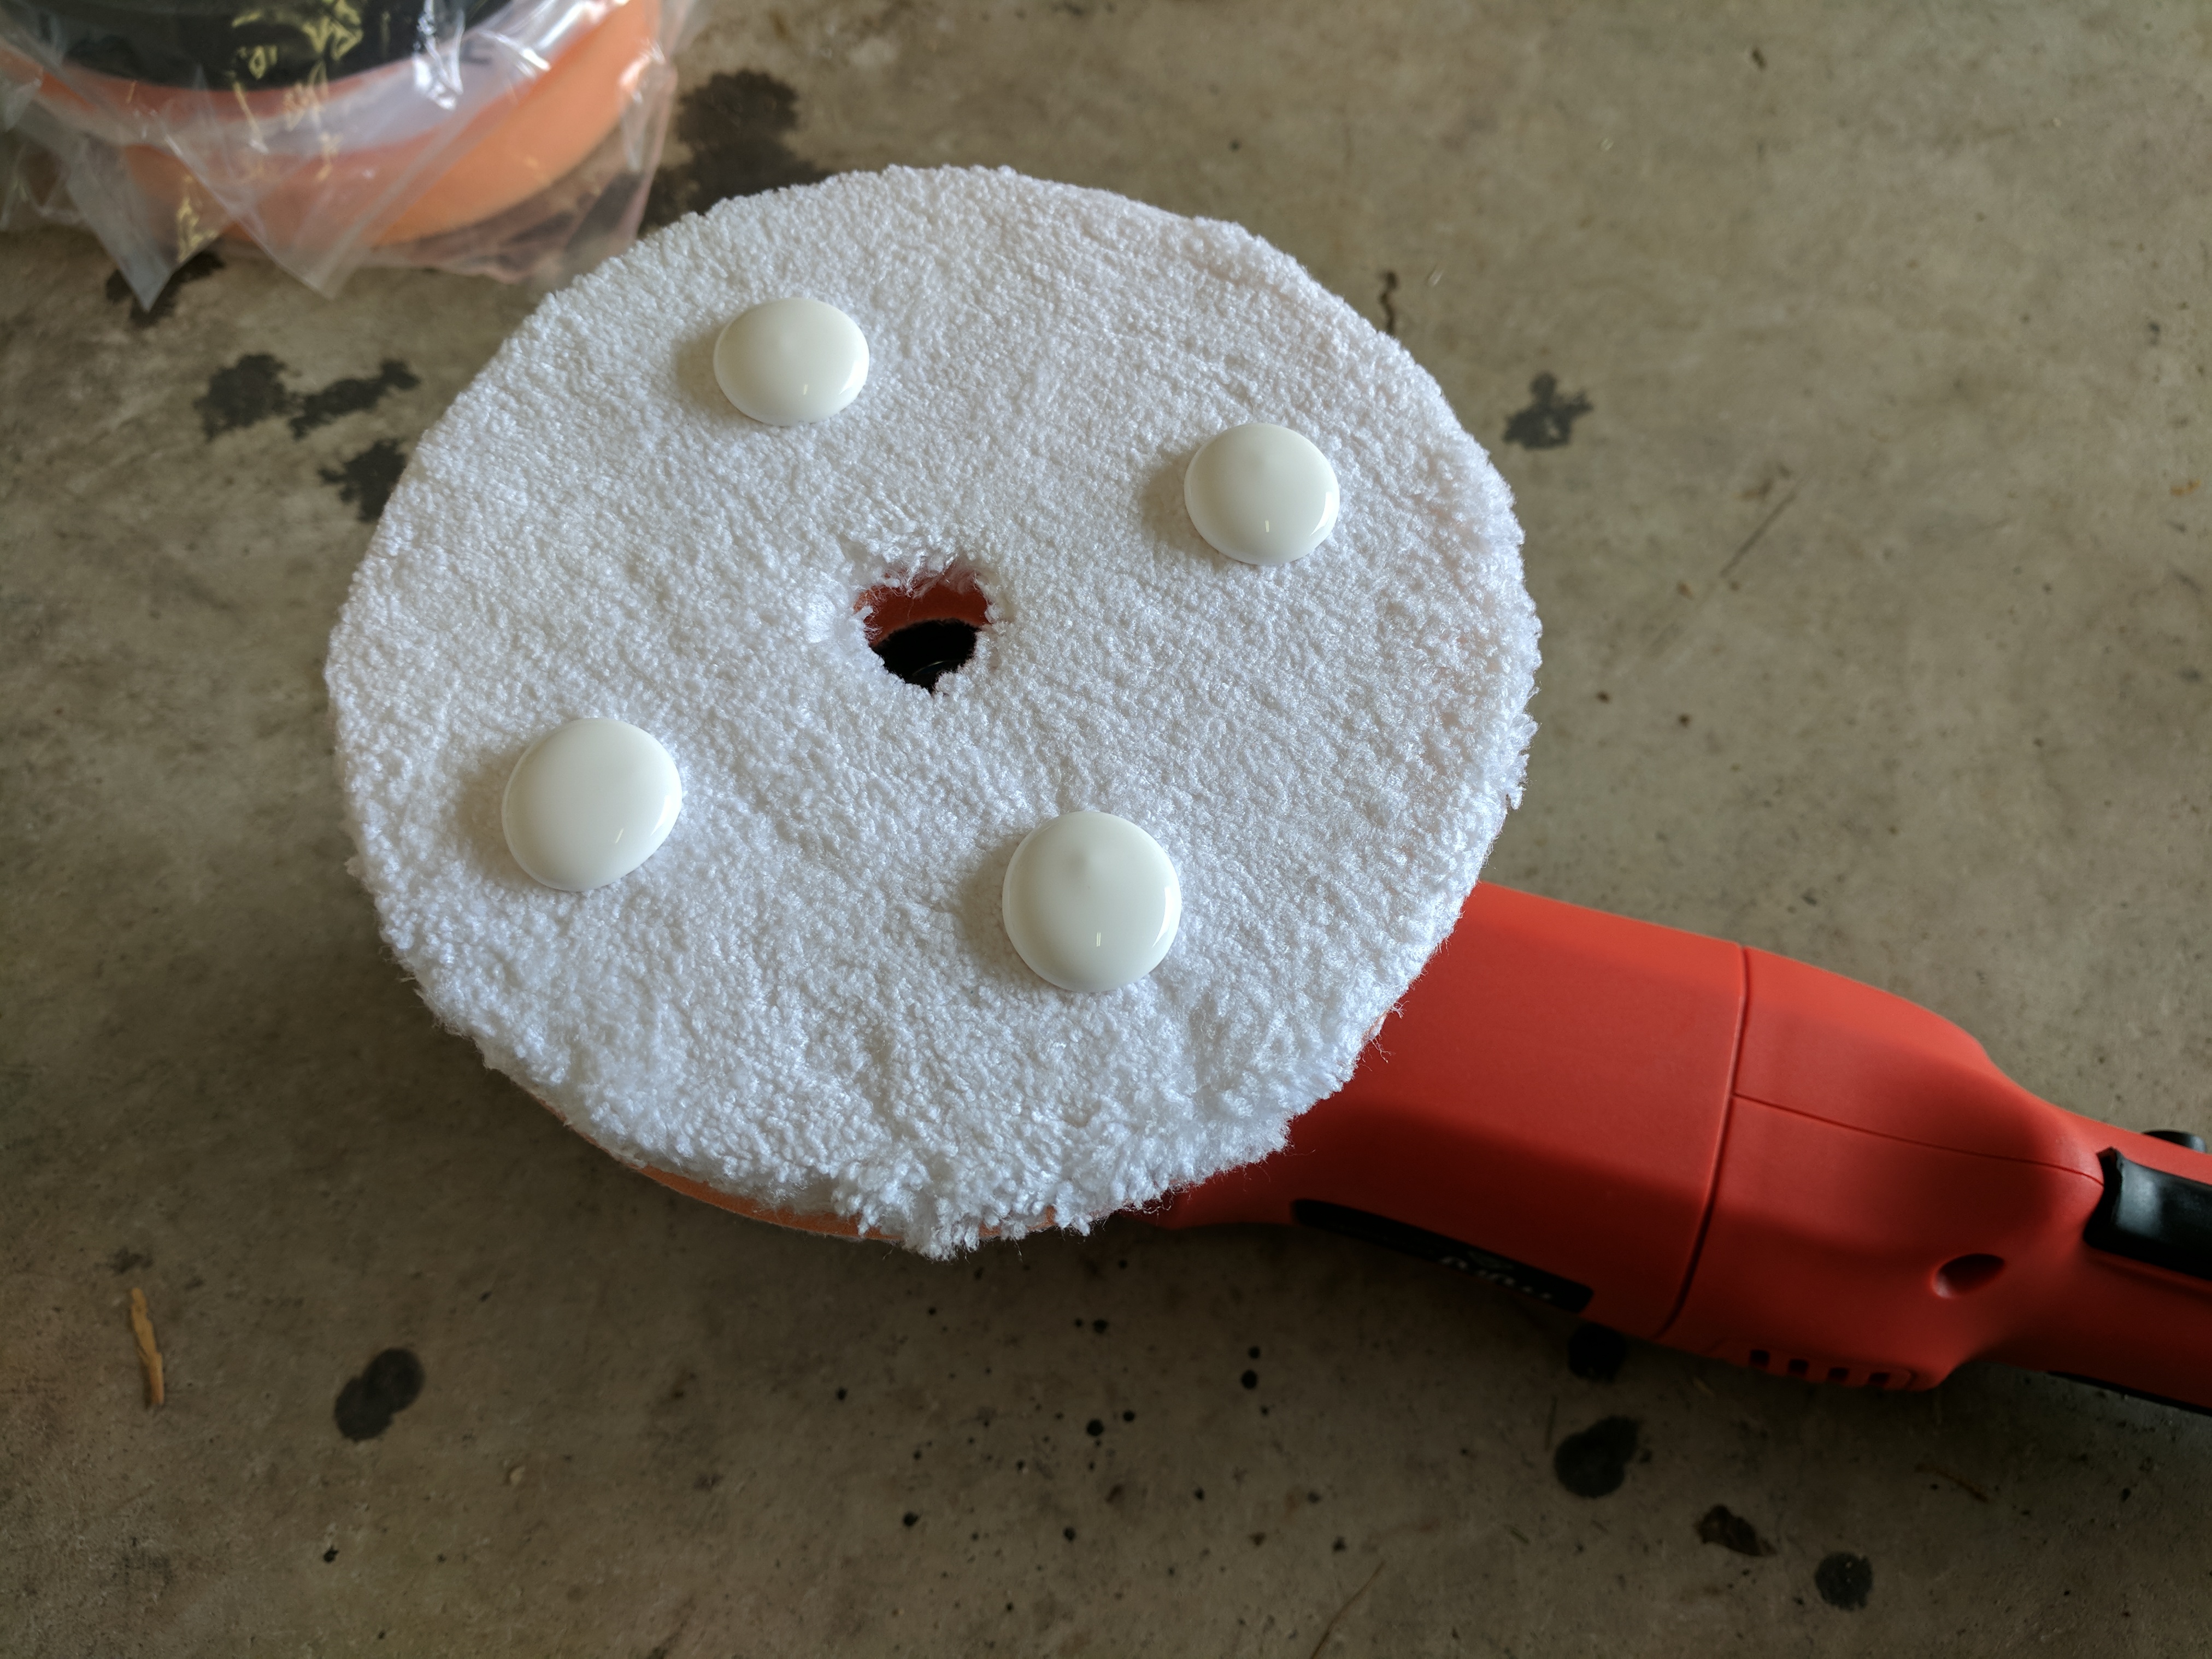
Use a correction buffing pad and put four 5c sized dabs on the pad. This was probably a little bit too much for my application. You can use less than the amount shown here and achieve the same result.

Image

Spread the polish by first dabbing it onto the car with the buffer

Image

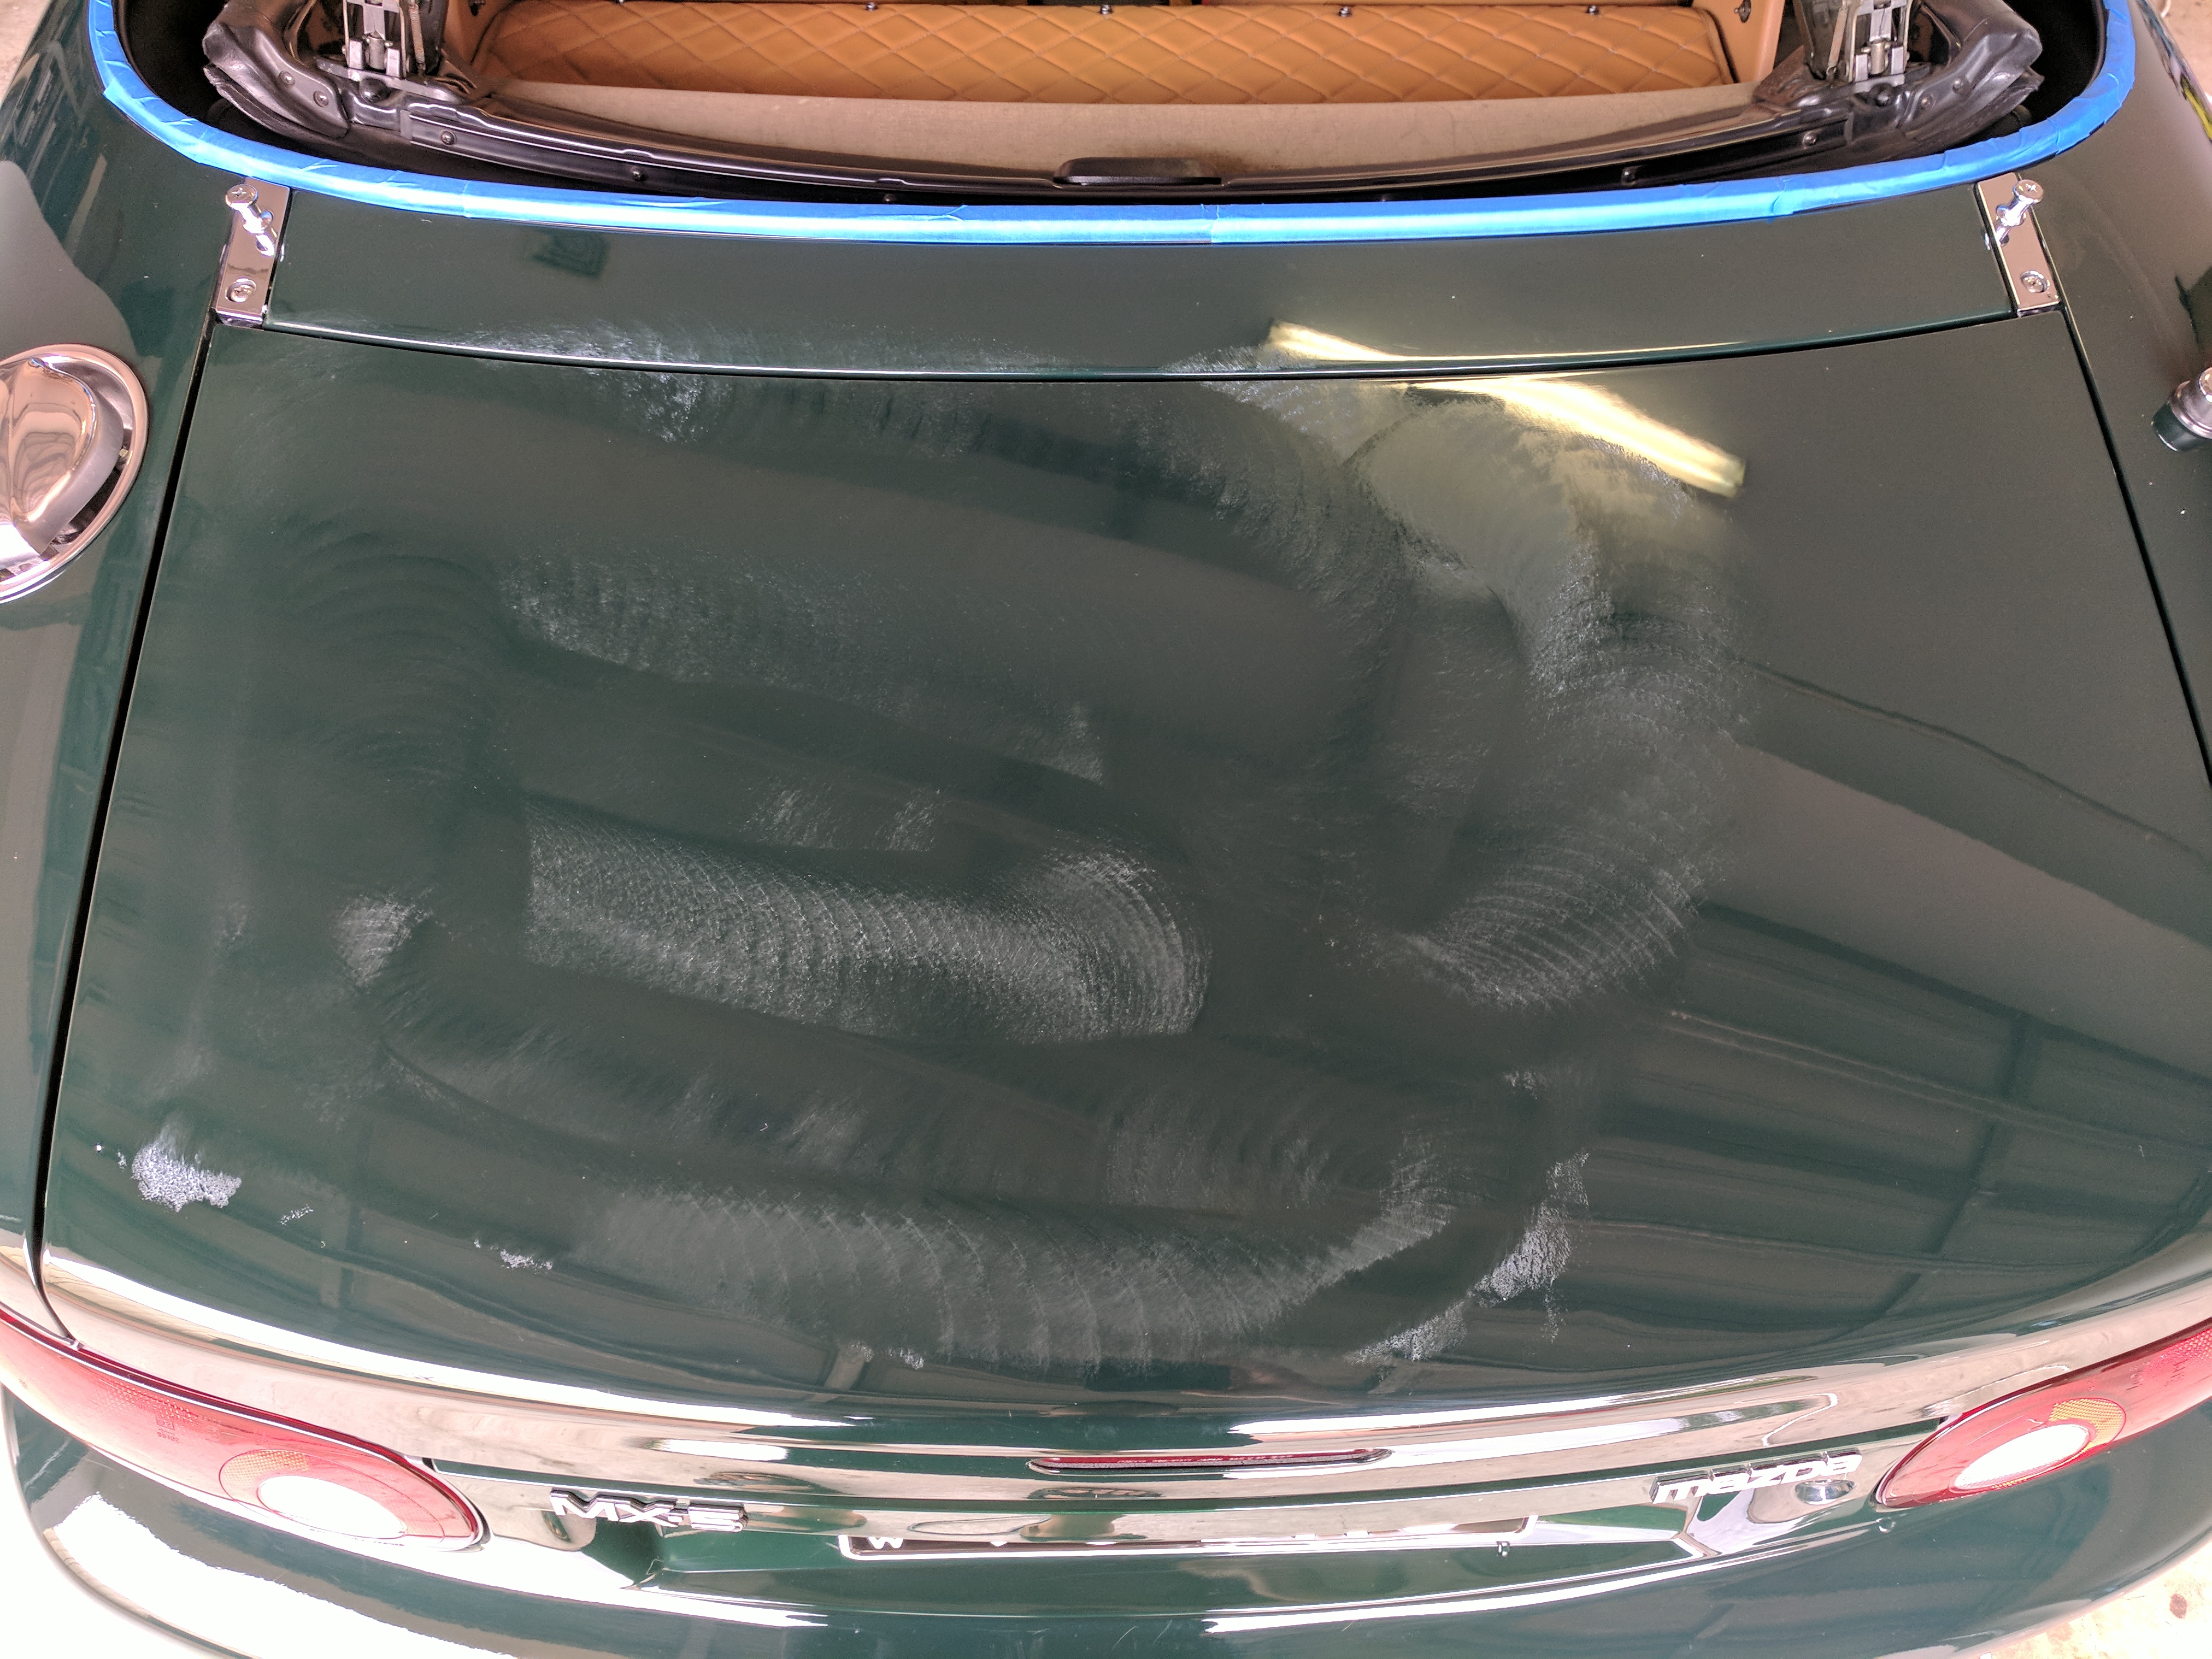
Start with the lowest speed of the buffer and distribute the polish to the area. Go slow and make a few passes with the buffer before gradually increasing the speed until most of the polish has disappeared. Then wipe off the remainder of the polish off with a microfibre cloth.

Image

The rest of the car wasn't as bad as my bootlid, so the whole car was then treated with Menzerna PF2400 medium cut polish.

Image

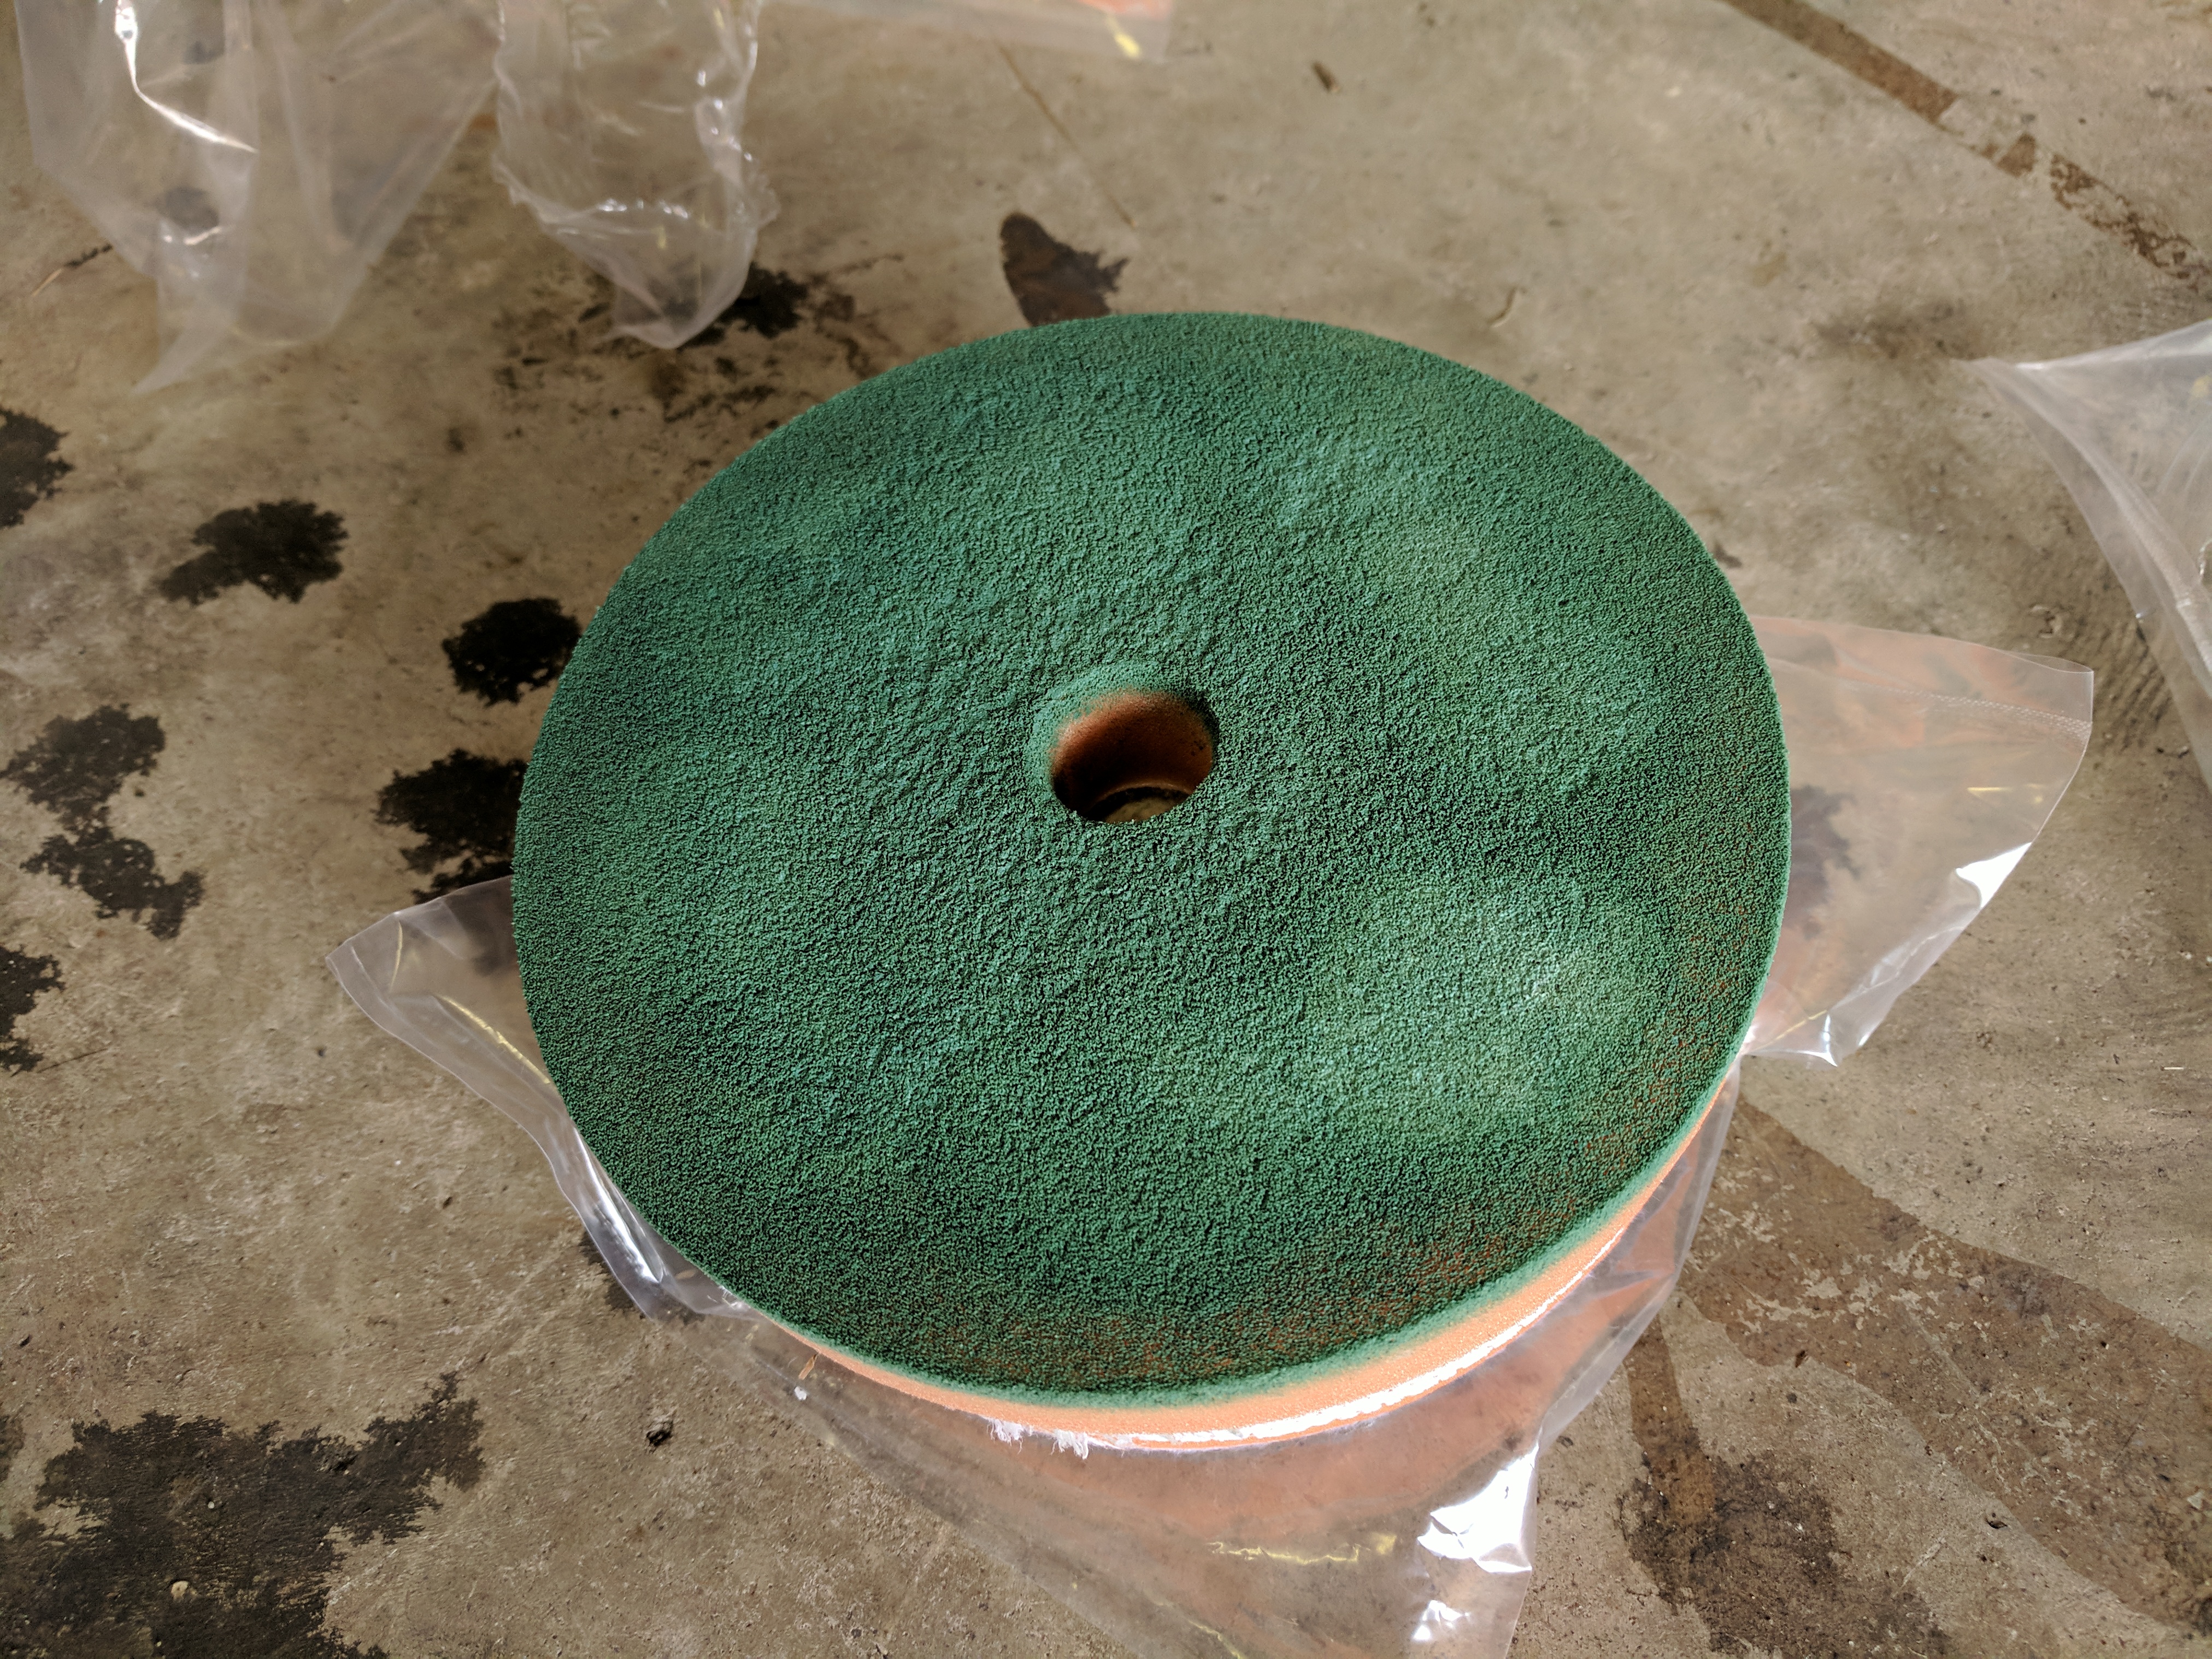
Same as before. Using a medium cut foam pad, you only need a small amount on the pad. Distribute the polish by dabbing it on to the car with the buffer before turning it on.

Image

The MX-5's never came with a clearcoat so unless your car has had a respray and a clearcoat was sprayed on, your pad will turn into the colour your car is when polishing. Keep this in mind and remember not to go too crazy with the buffer, otherwise you might fade the paint.

Image

After a full once over with the medium cut polish, you can truly see the results and it's already looking 100x better. To enhance that gloss even further and to give the paint an extra layer of depth, I finished it off with Menzerna SF3500 super finish polish. Again, same principle. Use a finishing pad and the amount of polish shown should be enough for one door/panel.

Image

Dab and distribute the polish on the area you'd like to work on.

Image

Lowest speed first, then gradually build up the speed and work the polish in.

Image

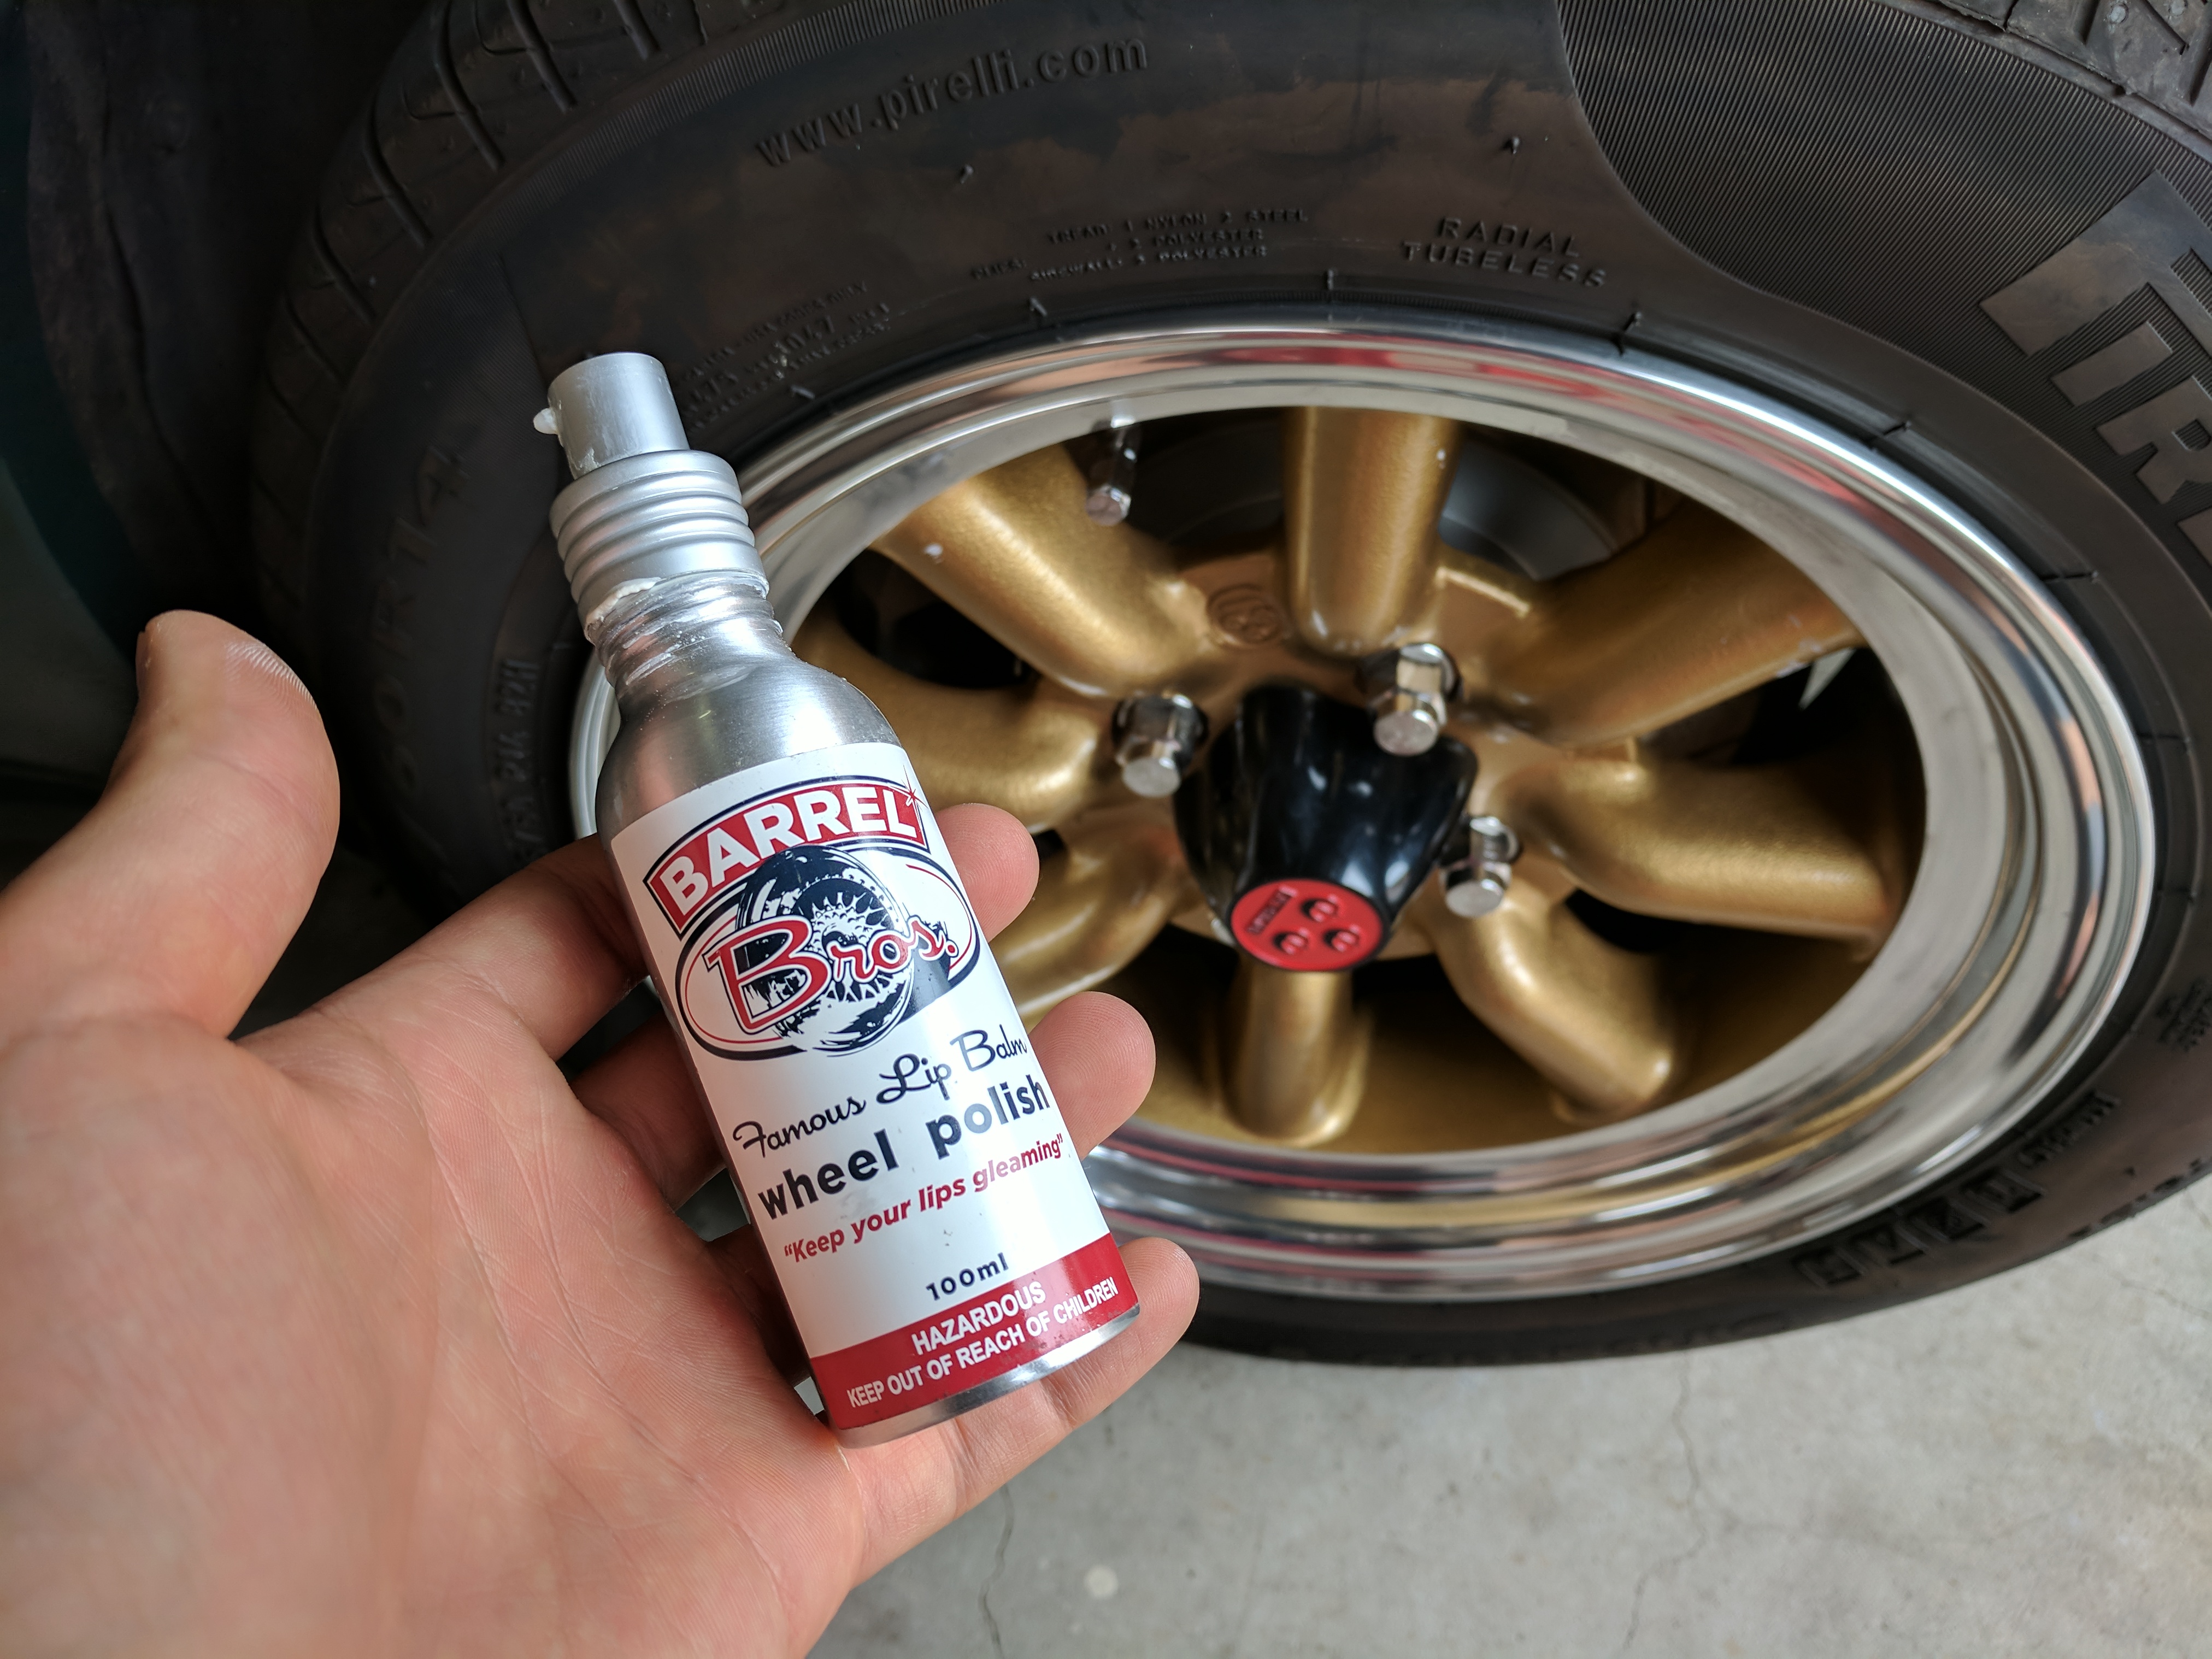
I also took the time to polish the lips on my wheels with this wheel polish I received from Barrel Bros when I had my wheels refurbished by them.

Image

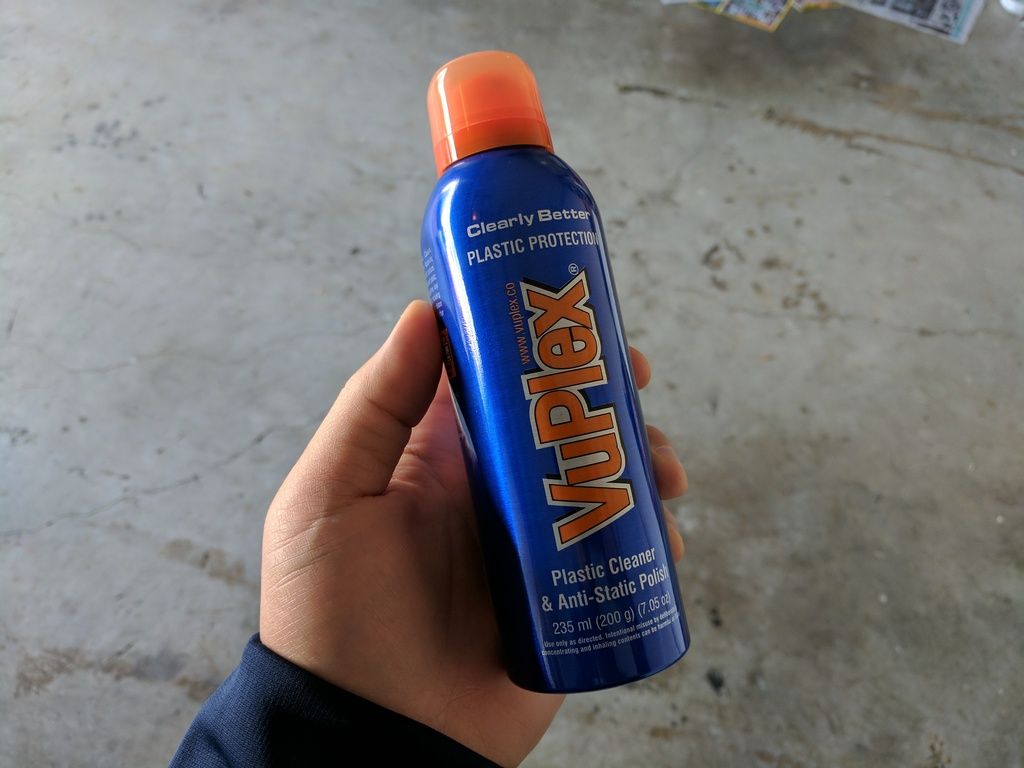
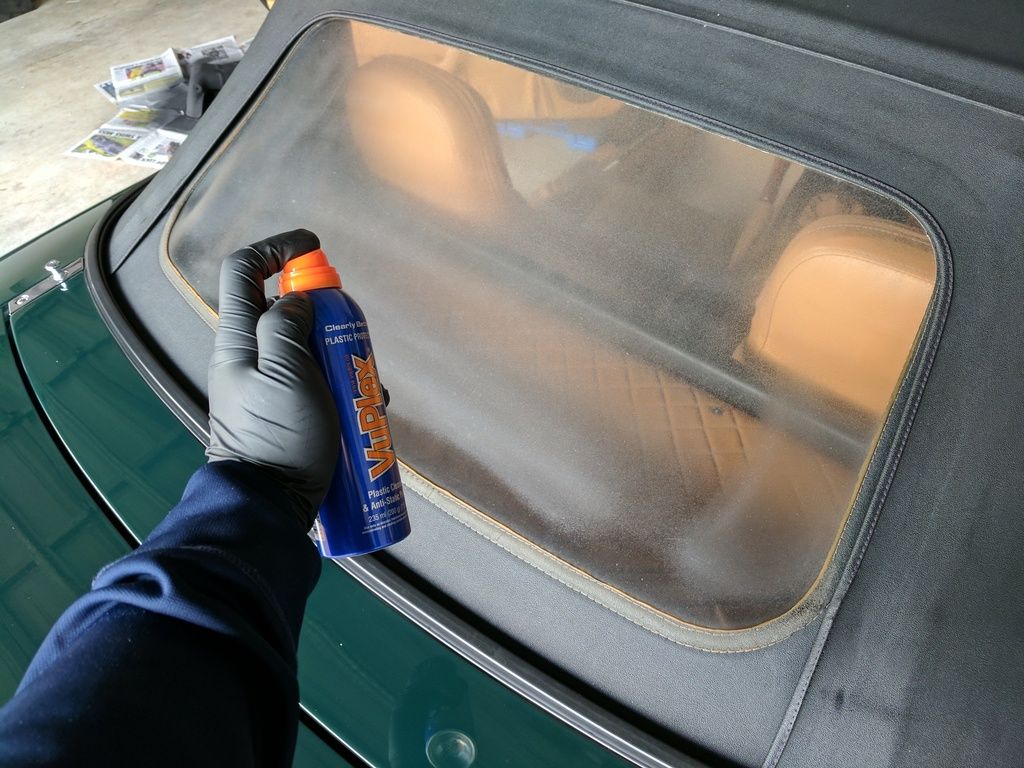
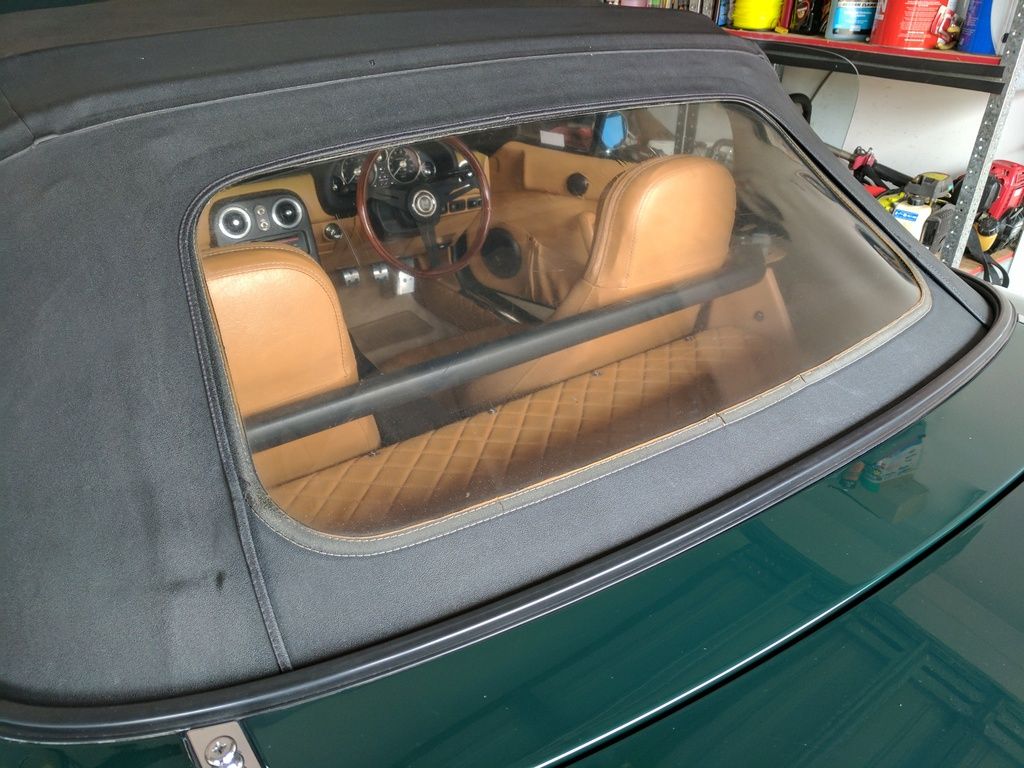
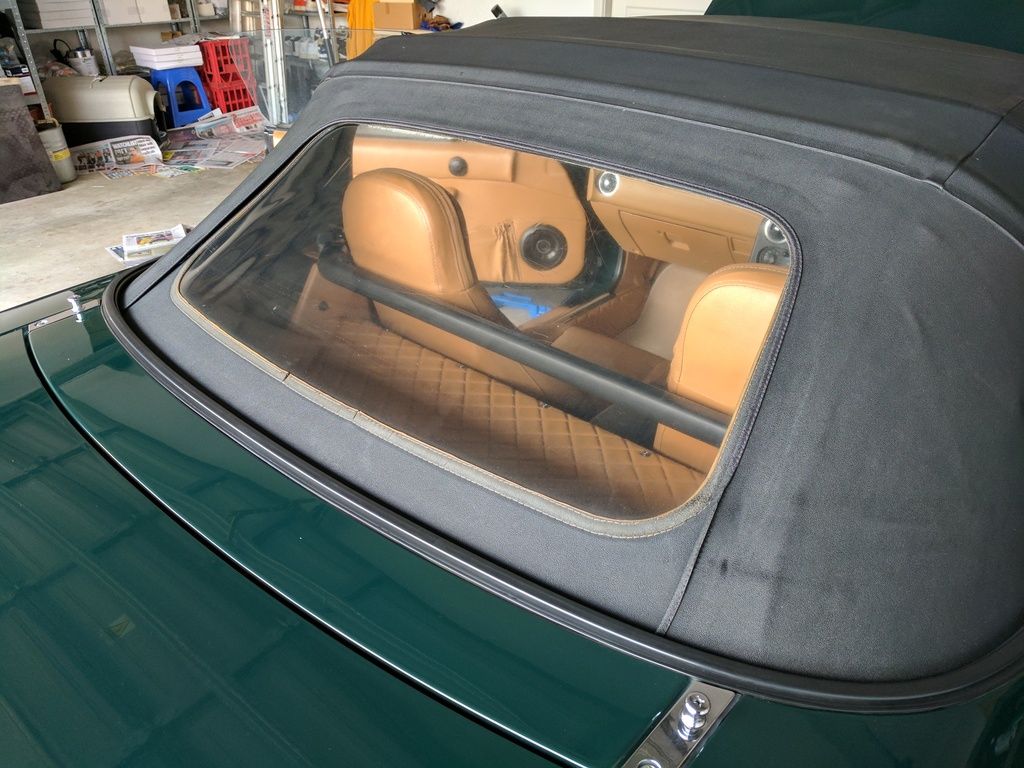
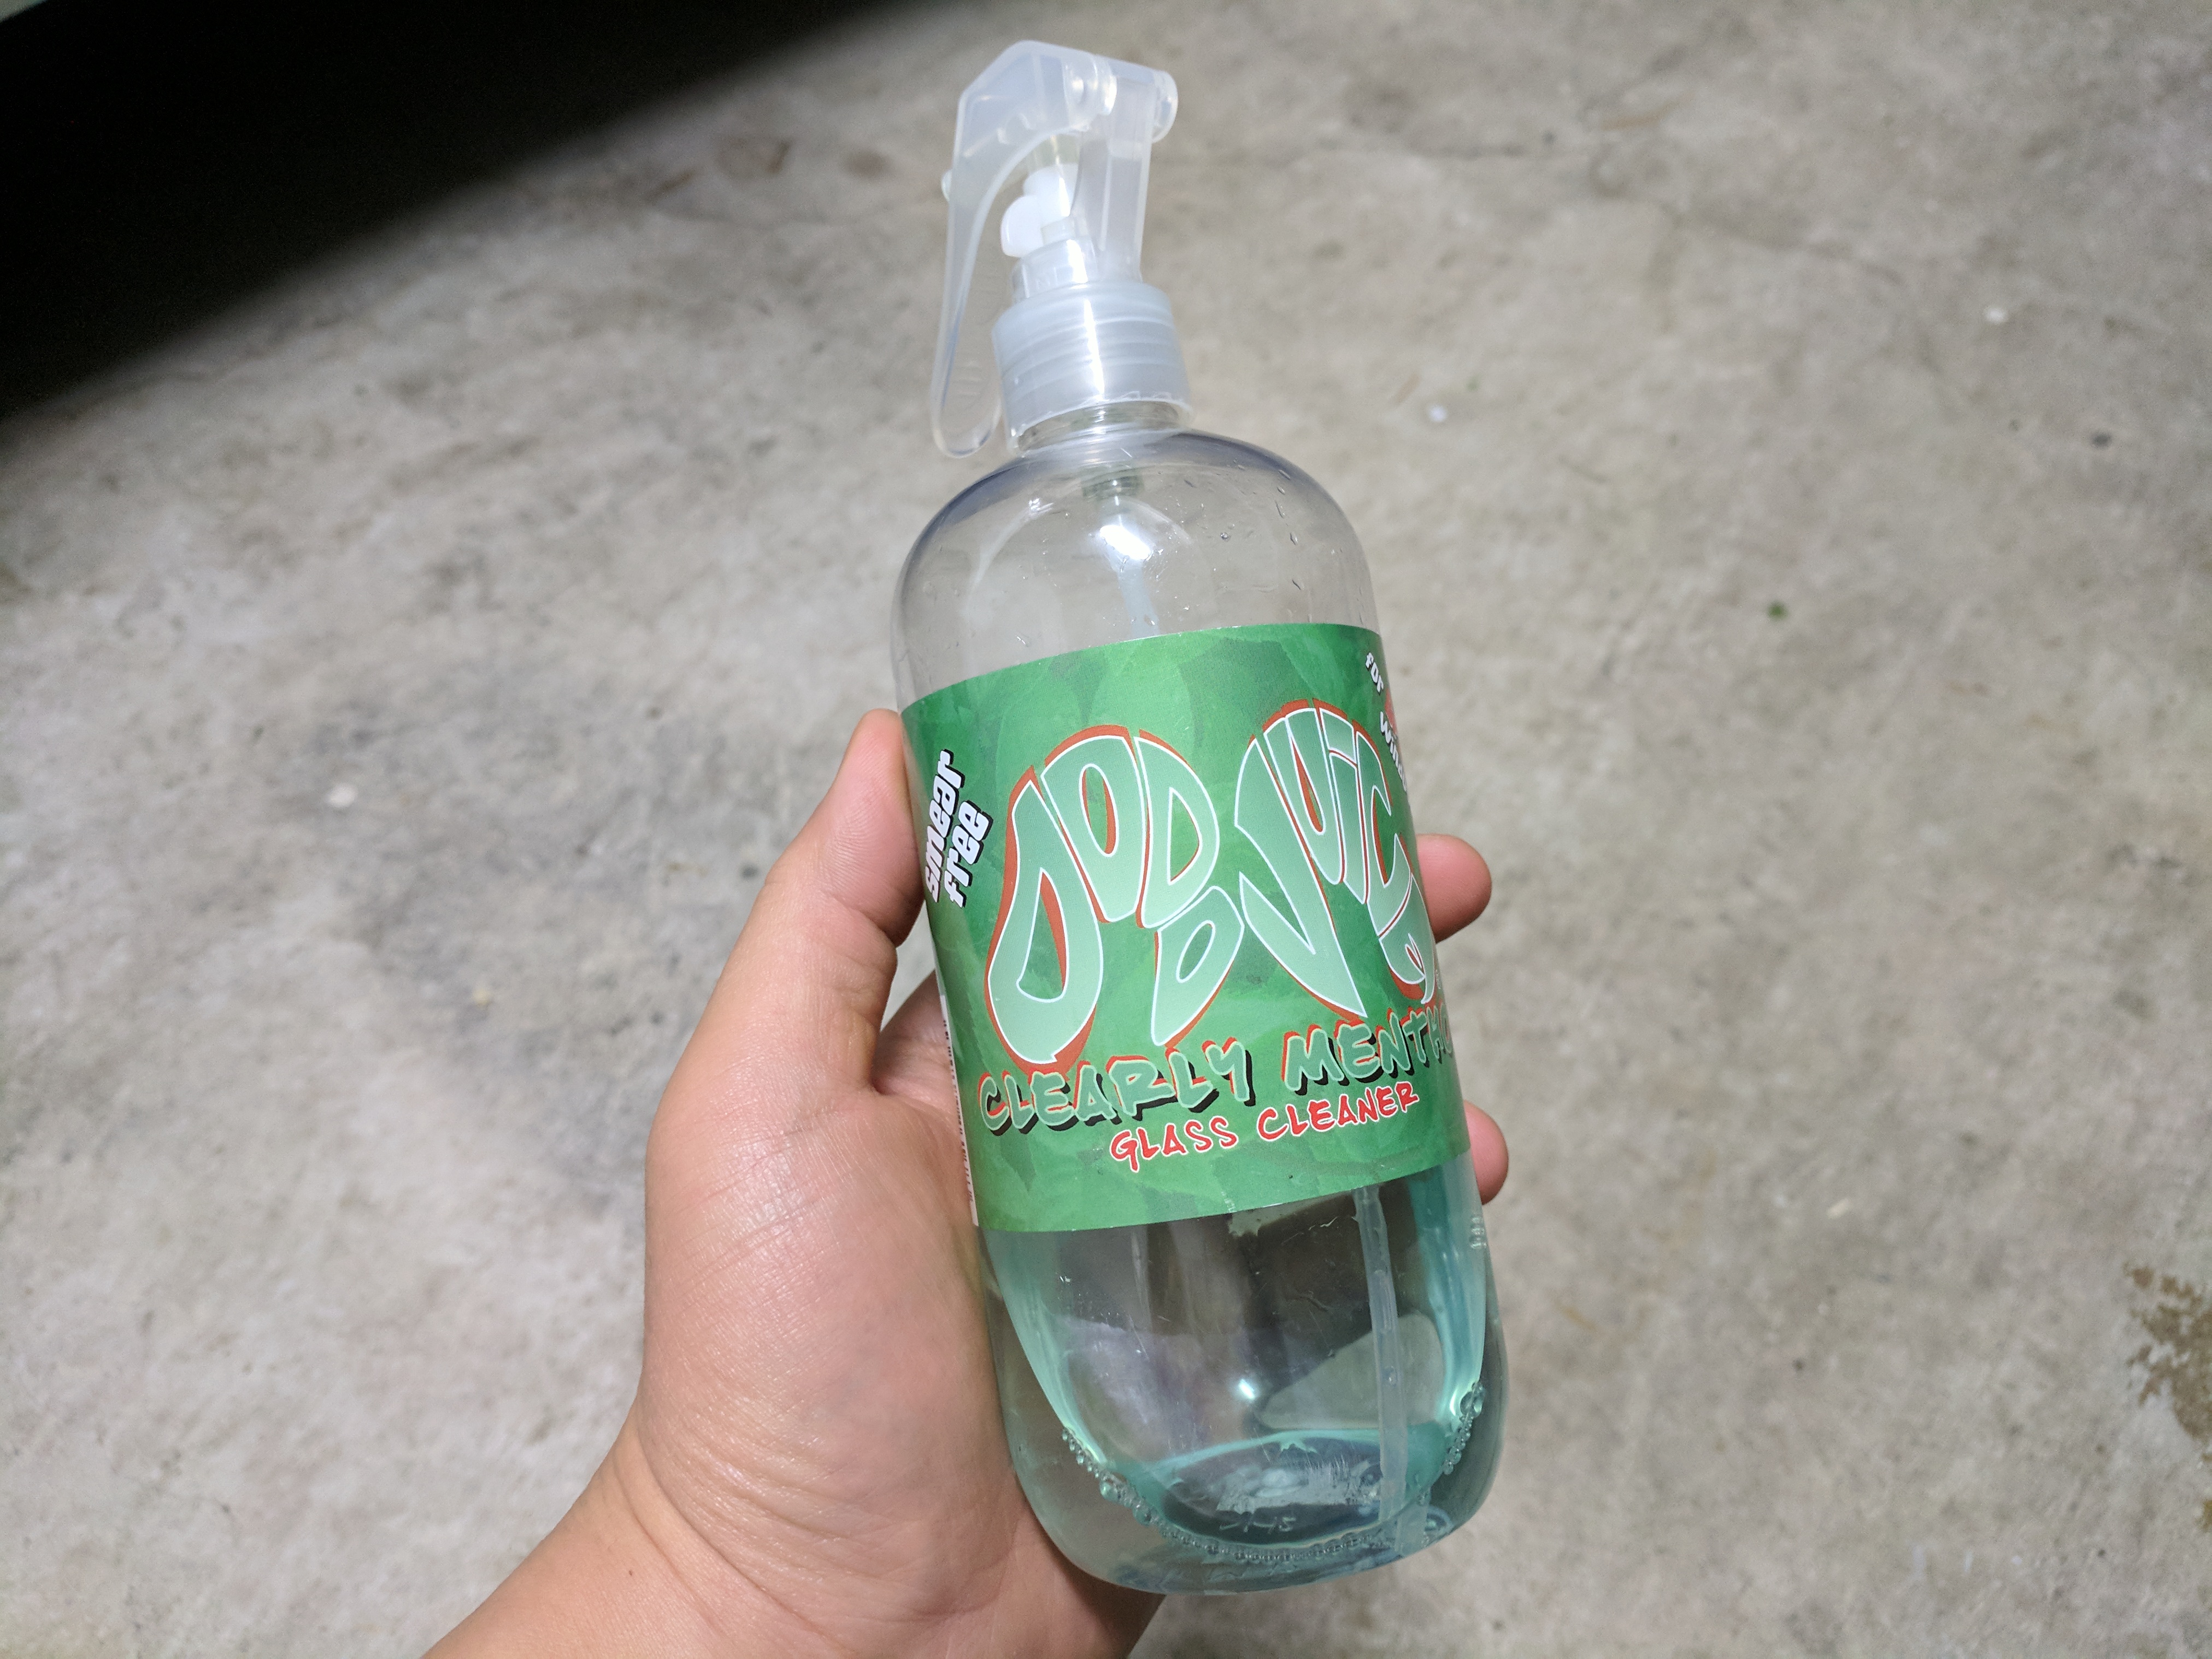
I gave my windows and windshield a clean too with Dodo Juice Clearly Menthol glass cleaner and a streak-free glass cleaning cloth.

Image

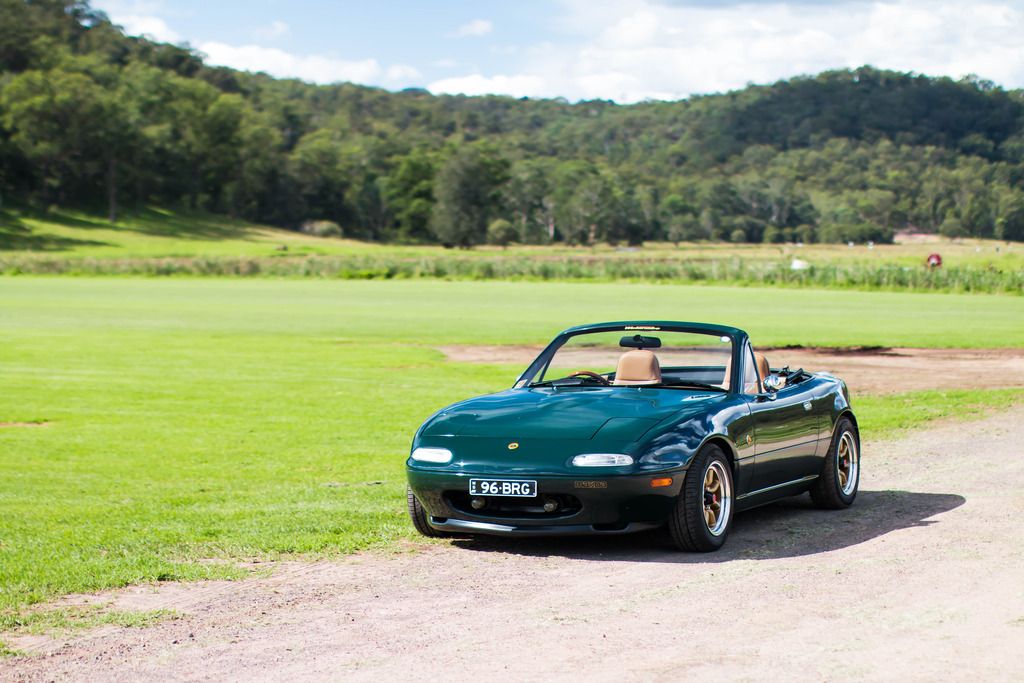
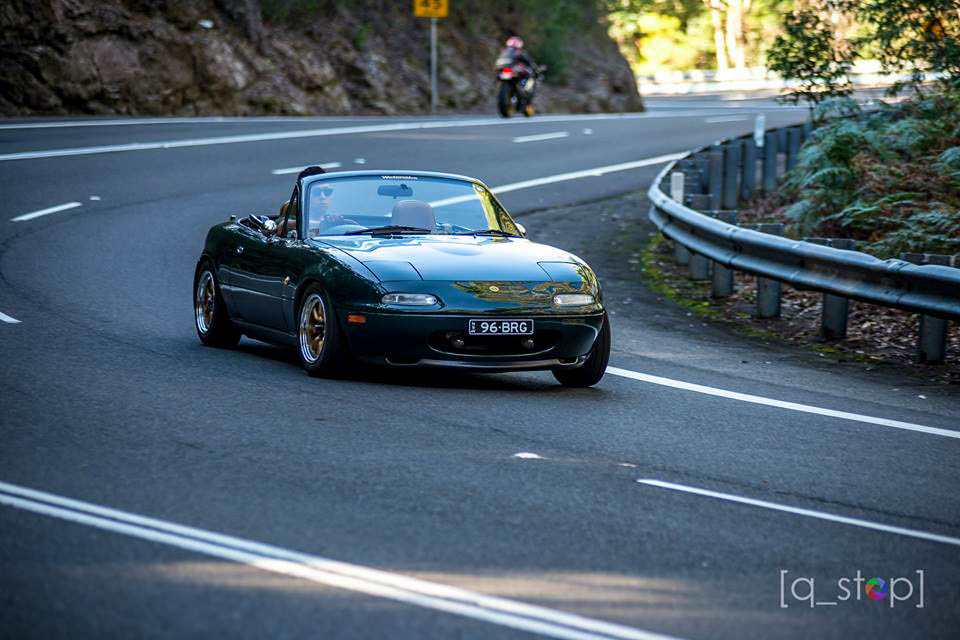
It's really hard to tell but the photos do not do it justice. I didn't have good lighting to highlight just how well the car came up. After all that work, the car is definitely looking a million times better and the BRG paintwork is so much deeper now. Very pleased with the result. I'll take some better pictures soon.

Image

BRG.NA8
Fast Driver
Posts: 196
Joined: Sat Dec 12, 2015 10:32 pm
Vehicle: NA8

Re: 1996 BRG NA8C Build Thread

Postby BRG.NA8 » Thu May 16, 2019 12:37 pm

17/09/2017

The MX-5 Club of NSW held their annual "President's Picnic" event day, which is an event with probably the largest gathering of MX-5's in the calendar year. It's a chance for MX-5 owners to get together, showcase and display their cars, catch up with old mates, meet new people and talk all things MX-5.

As a member you have the opportunity to win an award if you decide to enter your car. You can enter it in the Concours d’Elegance category, which is where prizes are awarded for those in the best or most original condition, the Show 'N Shine category where prizes are awarded for the best NA, NB, NC and ND on show taking into account originality and/or external modifications and trim, and then there's the Best Modified & Performance category for NA, NB, NC and ND which look at the nature and quality of mechanical, interior and exterior modifications taken into account. You also have the Best in Show, Peoples Choice and Best Ladies Car on Show awards.

The event was held at the historic Ebenezer Church grounds which is the oldest church in Australia, established in 1809 and to this day, they still conduct weekly services. Some 130 MX-5's turned up today and roughly 190 attendees. With blue skies, no clouds and the sun beaming down and ambient temperature of around 22 degrees celsius, it was an absolutely fantastic day to hold such an event.

I wasn't expecting to receive anything as I was happy to just chat and talk to the owners of some really cool MX-5's which were on display but I managed to receive the People's Choice award! Unexpected and stoked! I had a lot of people approach me and ask me various things about my car and I met and talked to some great people which is what I think these events are all about. I had a DSLR for photos but I forgot to charge the battery last night (rookie mistake). Excuse my potato quality photos which were taken from my phone and thanks to Breno for the drone shots. Thanks to the MX-5 Club of NSW and all the volunteers for making this a successful event.

96-BRG being displayed in a sea of awesome MX-5's. The black NA belonging to my mate with some sweet BBS RS's and big plans for the engine in the not too distant future.

Image

Fantastic day for a car show.

Image

Image

Image

Image

A Fiat 124 Abarth also decided to join the party.

Image

The Concours d'elegance contestants.

Image

Red NA and red ND.

Image

Perfect weather for the event.

Image

Drone shots.

Image

Image

Managed to win the "People's Choice" award!

Image


Return to “MX5 Garage Chat”

Who is online

Users browsing this forum: No registered users and 2 guests