This annual US$399 extortion has rendered millions of images and forum threads useless, "gone dark" is my favourite term I've heard for this, since few personal users, including myself, are willing to pay this massive extortion annual fee.
As a personal user, I'm happy to pay a small annual fee for my image hosting but US$399 is WAY too much.
Due to the frustration with actually using PhotoBucket, their site had become infuriating to actually use because of the volume of pop-up advertising and constant lock-ups in browsers, I wouldn't have actually continued to use it anyway!
To save my Garage thread from "going dark", I've extracted all the posts, translated the PhotoBucket images to their new host site, and re-created it here, along with links to the original posts. Much of this has been automated with Python scripts "scraping" the thread for the posts and doing the translations but by far the biggest effort was creating a file that mapped the PhotoBucket images to their new host location (about 1,000 images).
I've had my 2004 Titanium SE since March 2009 so it's about time I got around to creating an MX5 Garage Chat entry since I often check out what other guys are doing to their cars in there and should contribute something in return. I've been making constant modifications to my car ever since I bought it so will update this in chronological order when I get the time.
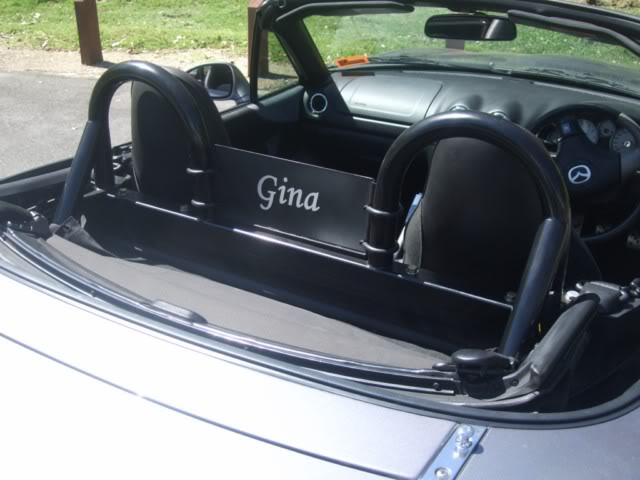
Since the MX-5 is a classic styled roadster and the NB has "hips" and cleavage (the middle front two air vents always remind me of that), I decided to name her after a timeless beauty with classic curves. I'm madly in lust with Salma Hayek but "Salma" just doesn't sound like a good name for a car so I've decided to call her "Gina", after the Italian actress Gina Lollobrigida from the 50's and 60's. For those who don't know who Gina Lollobrigida is, here is my inspiration:

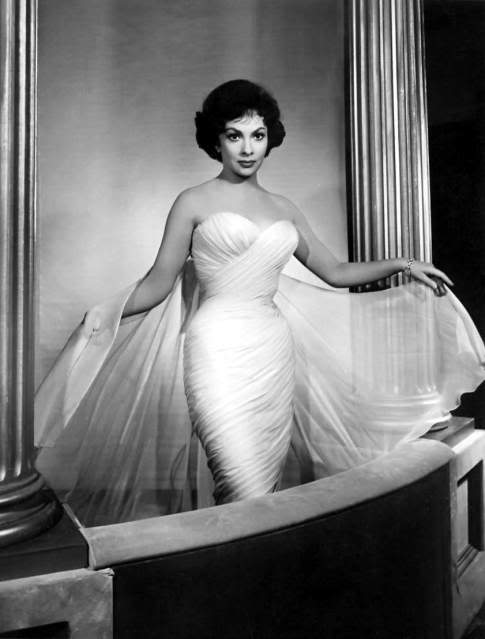
Those my friends are truly "dangerous curves".
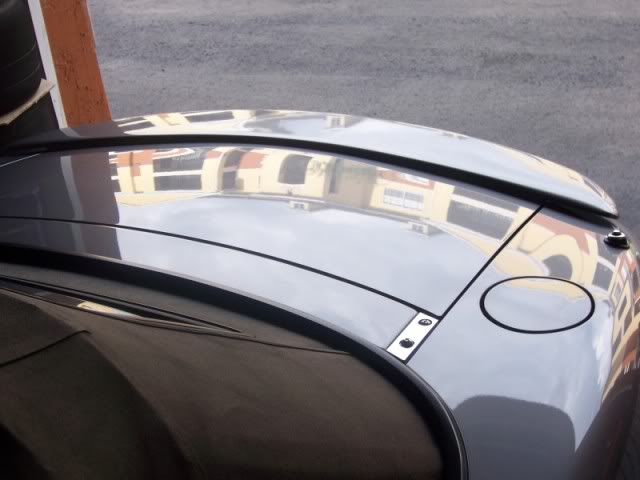
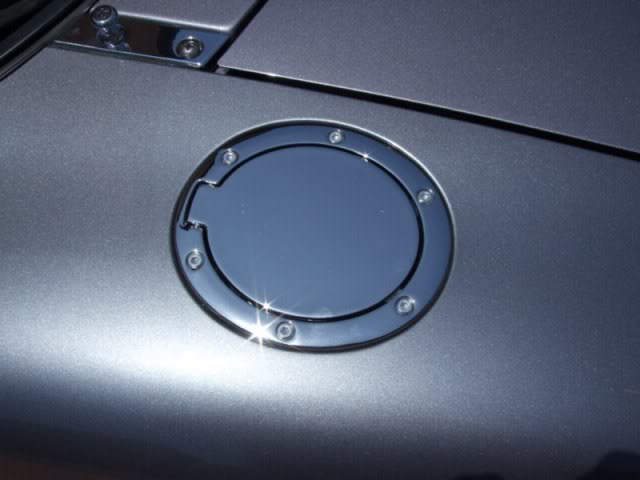
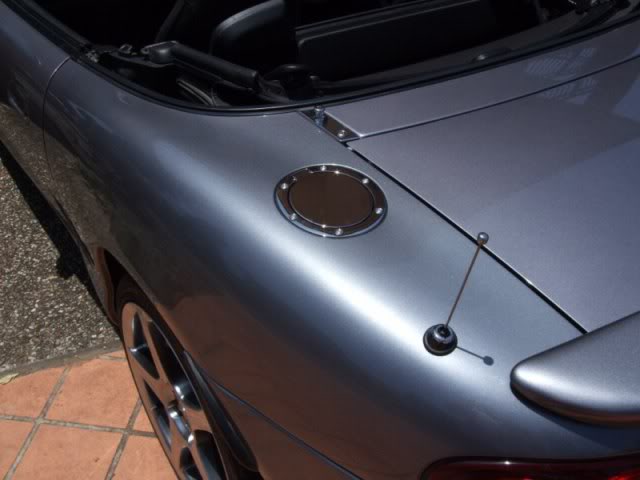
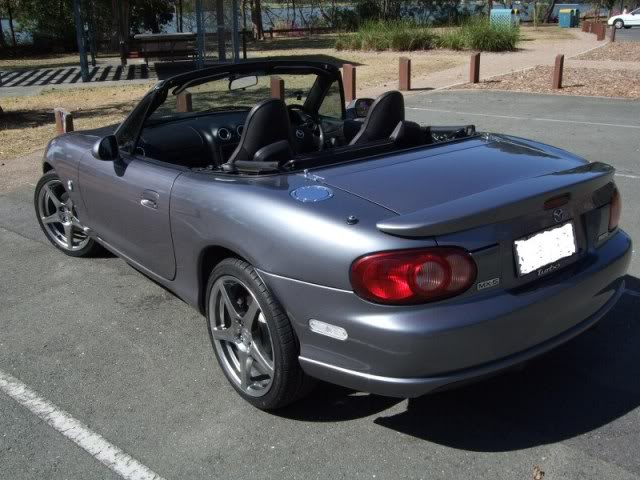
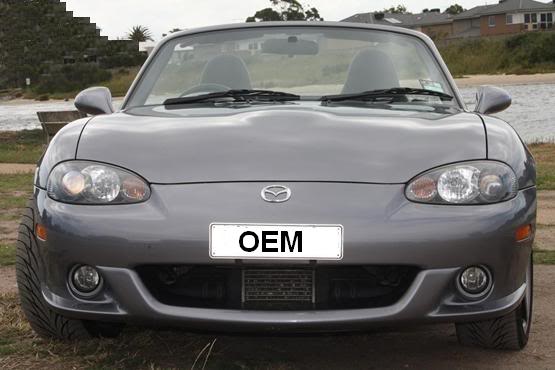
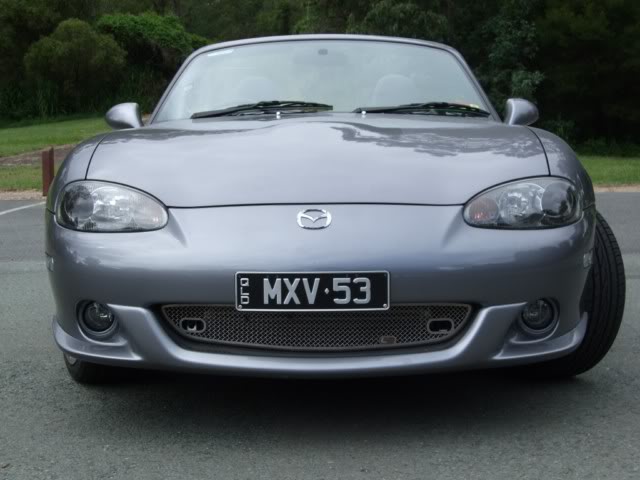
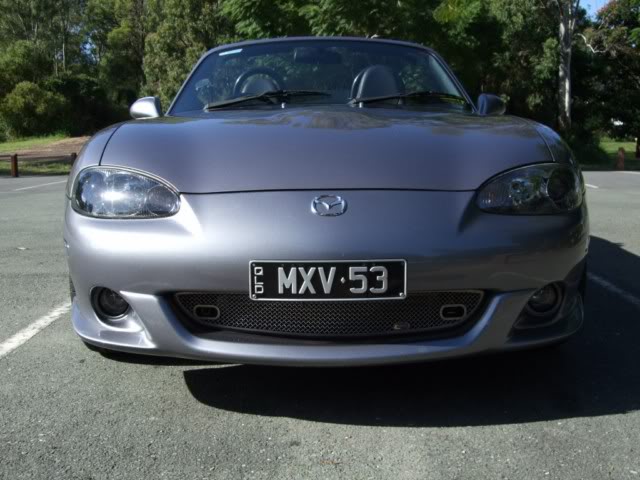
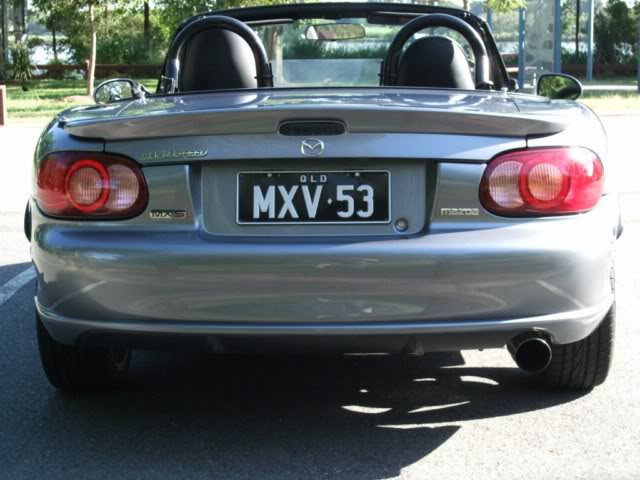
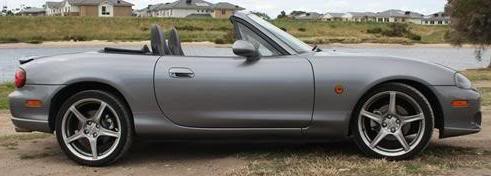
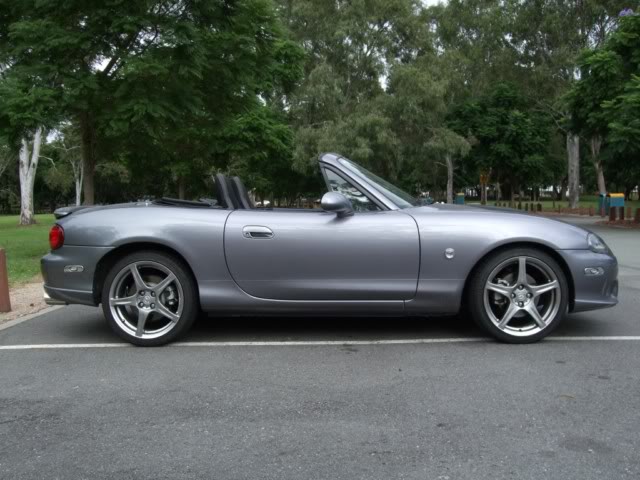
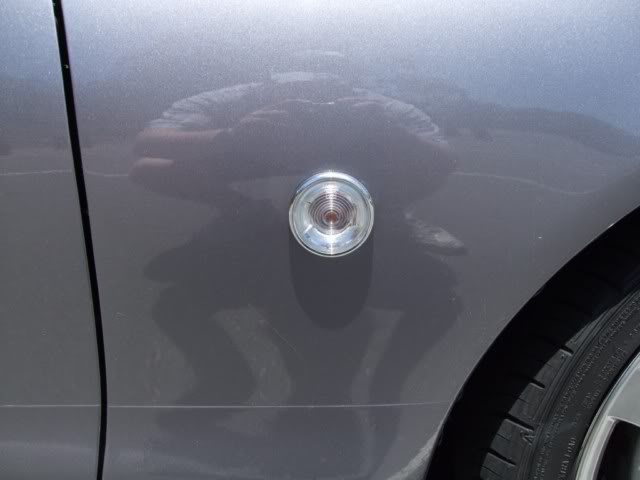
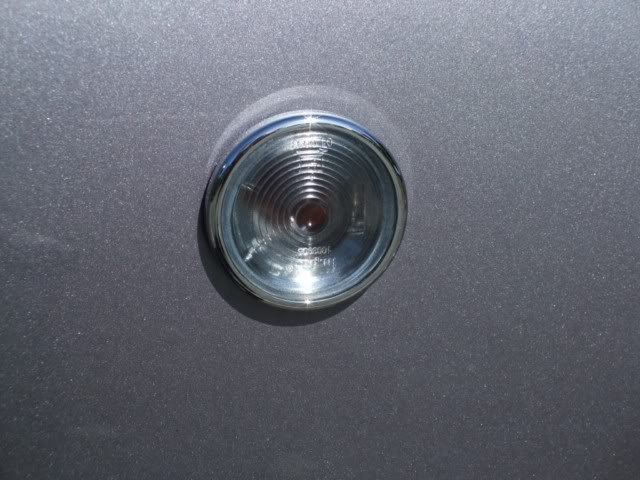
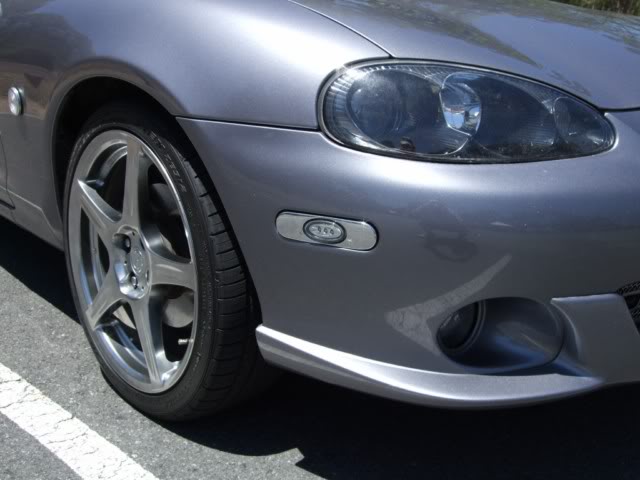
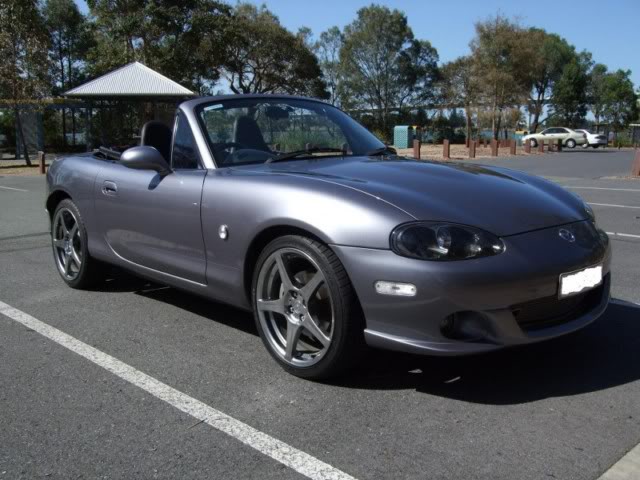
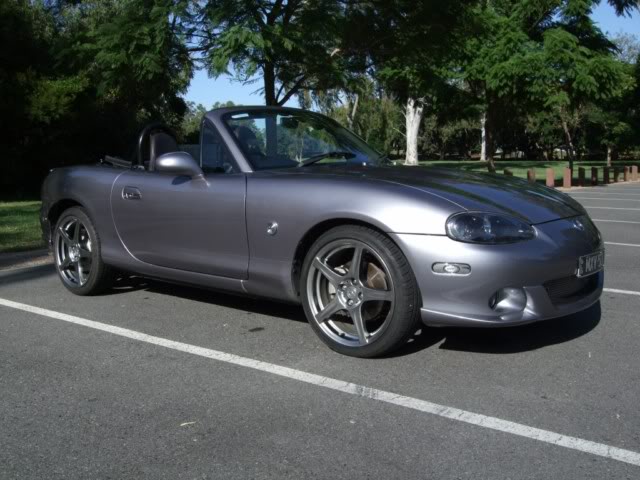
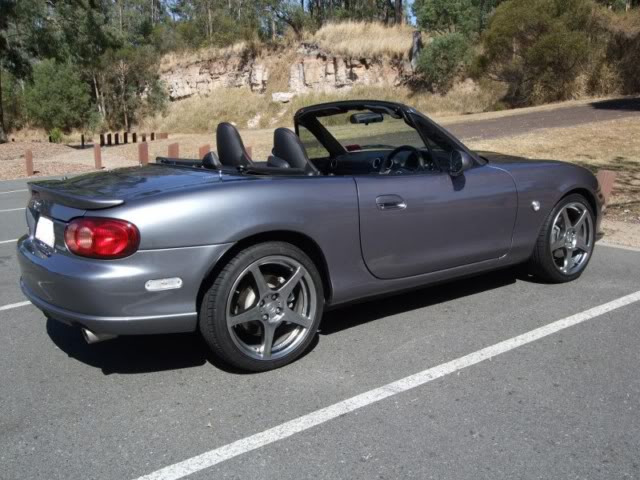
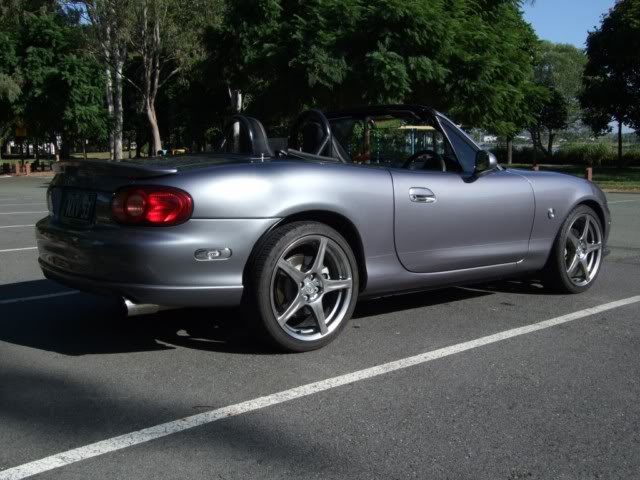
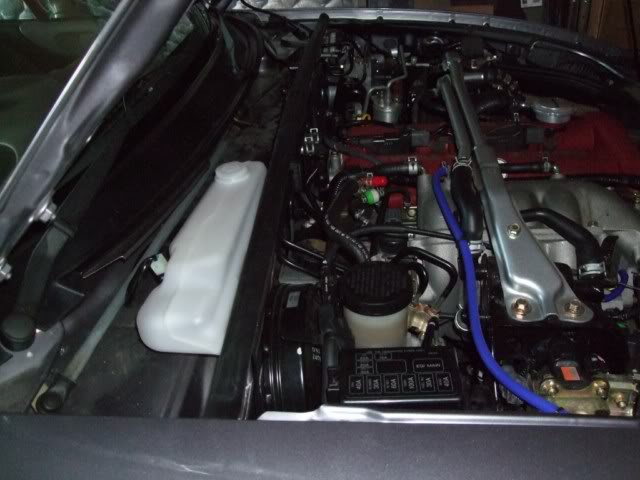
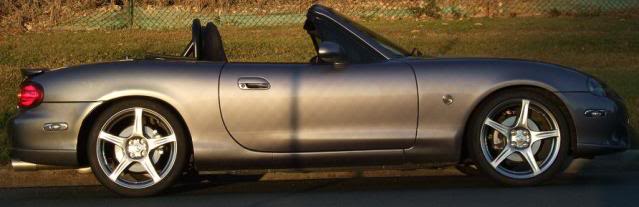
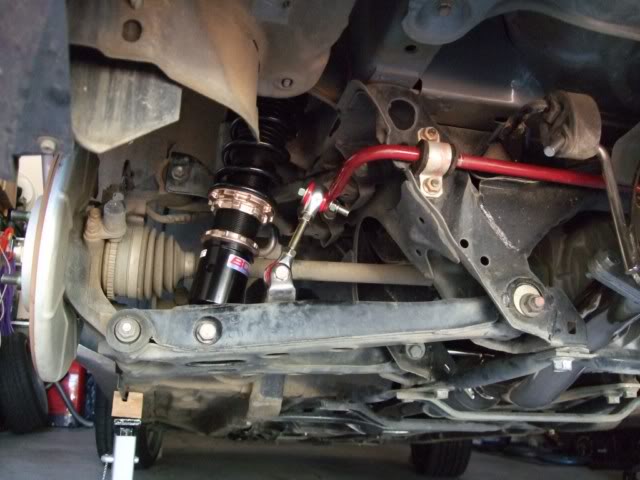
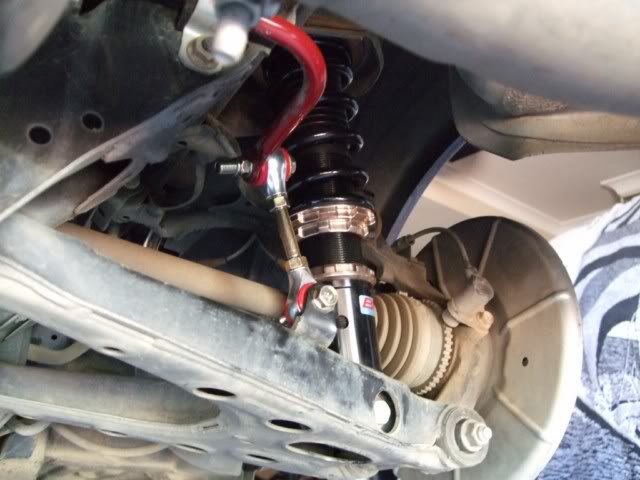
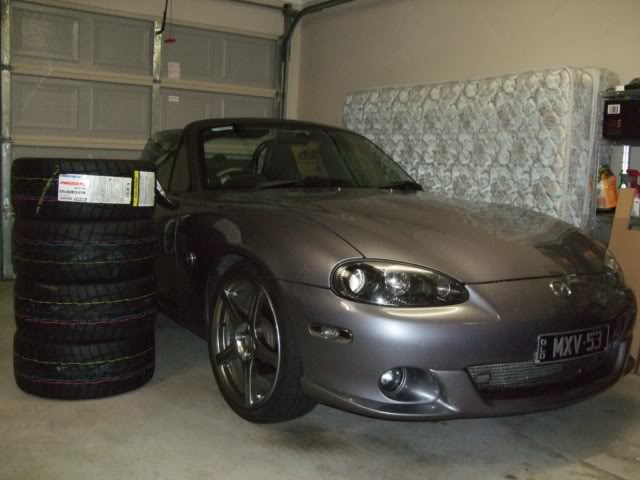
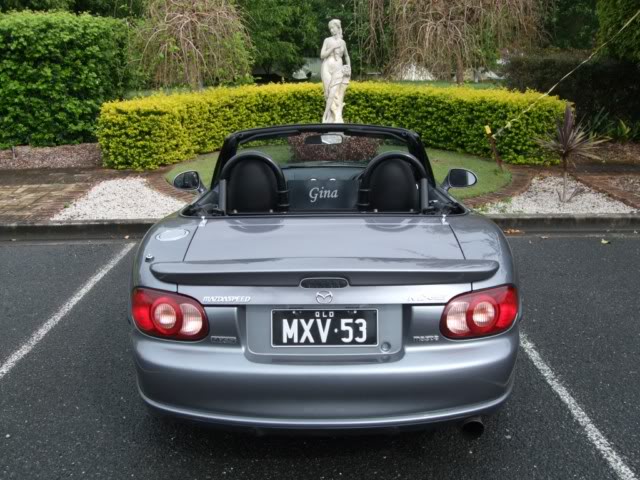
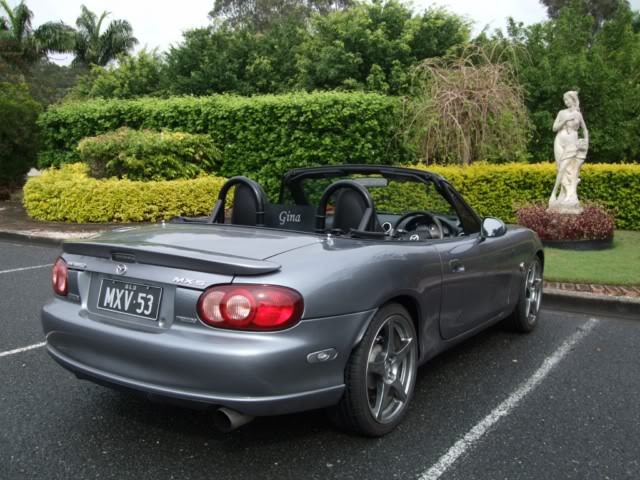
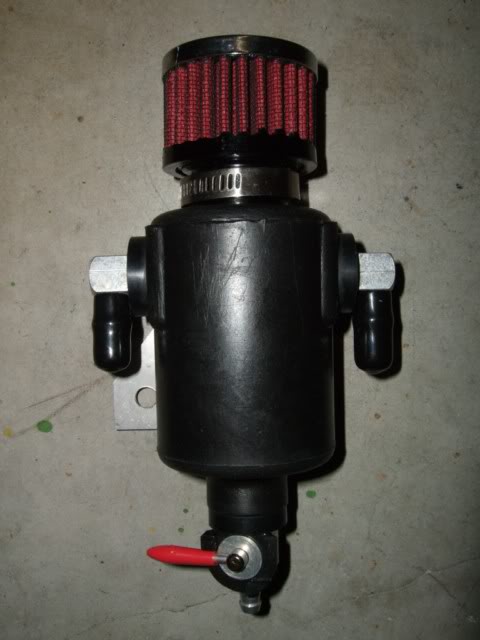
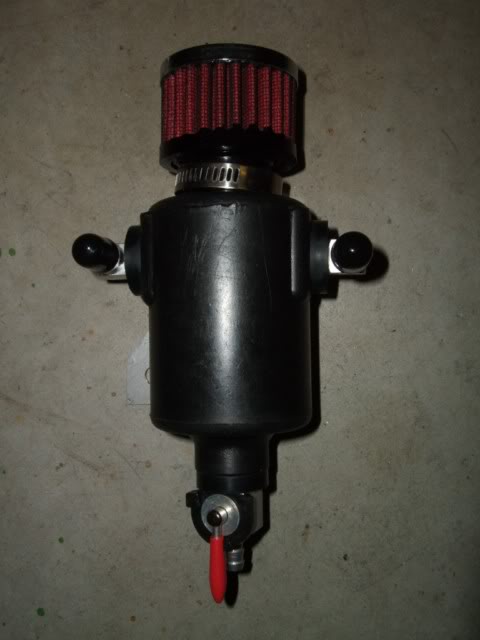
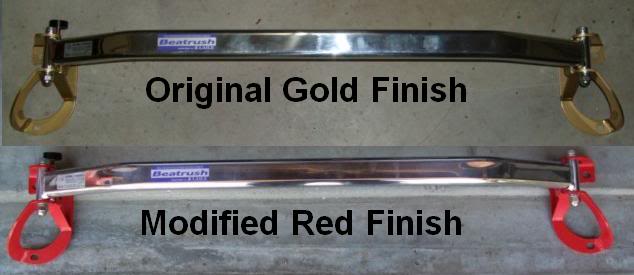
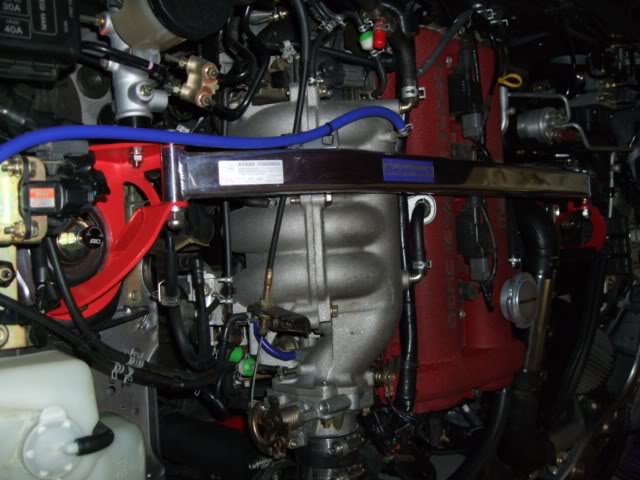
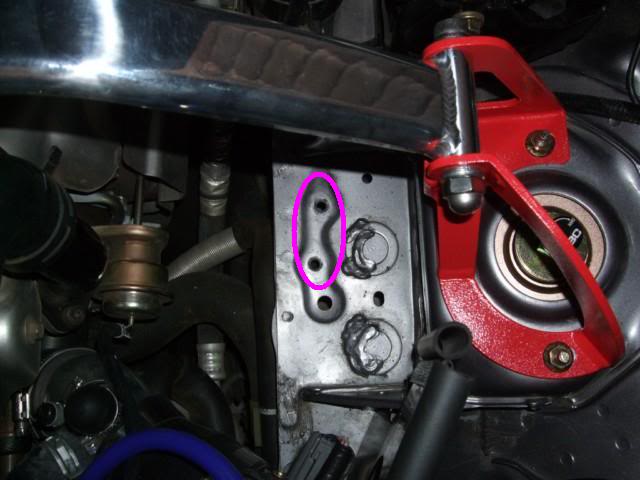
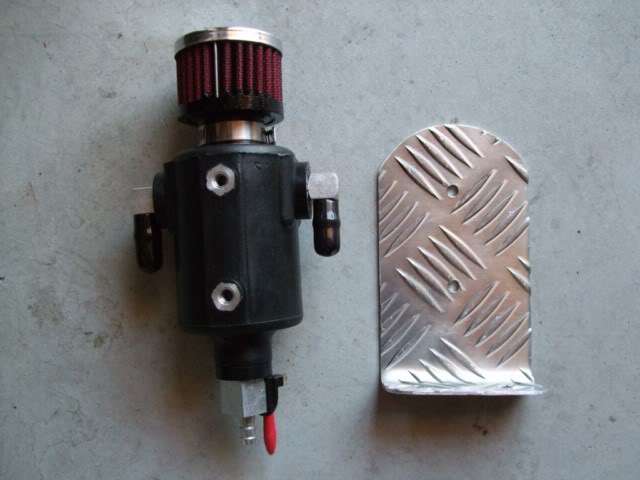
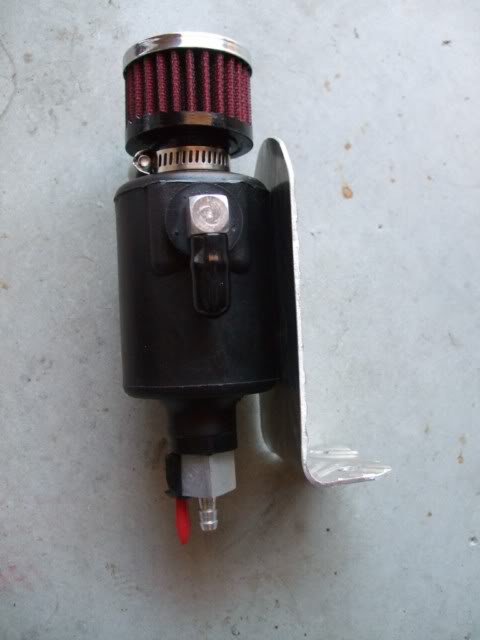
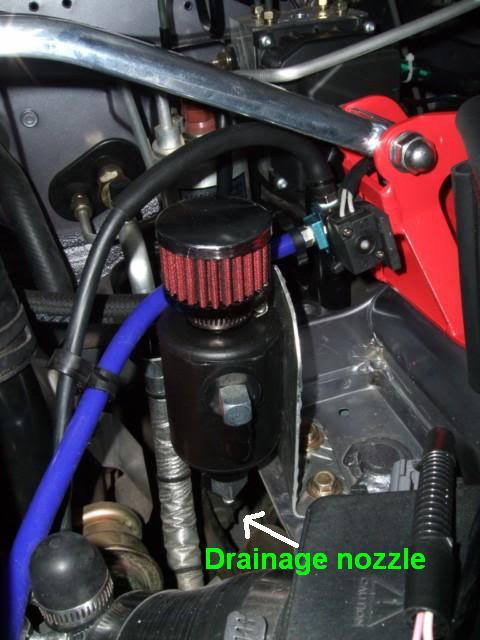
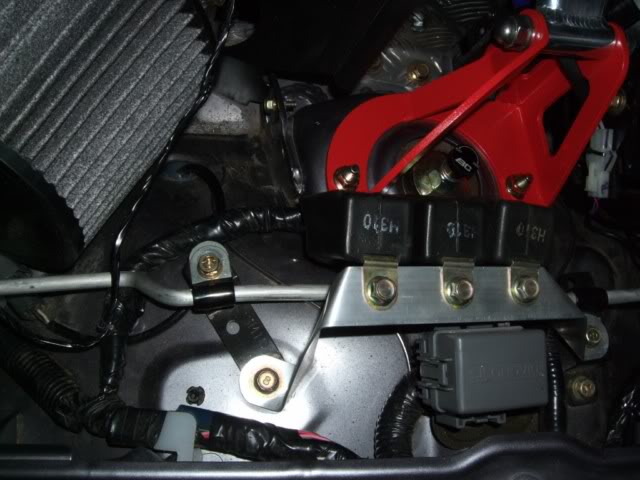
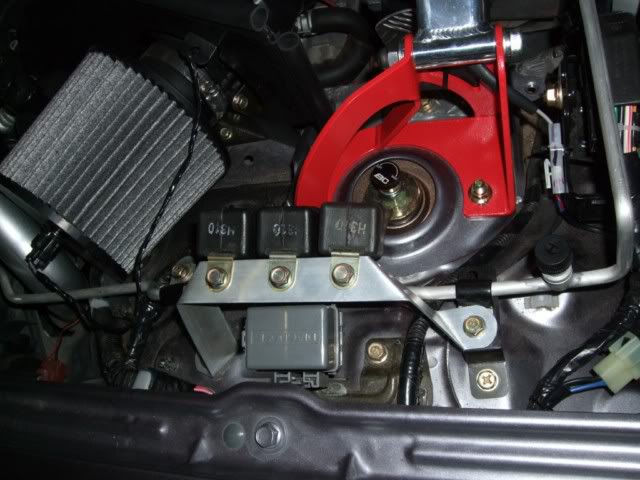
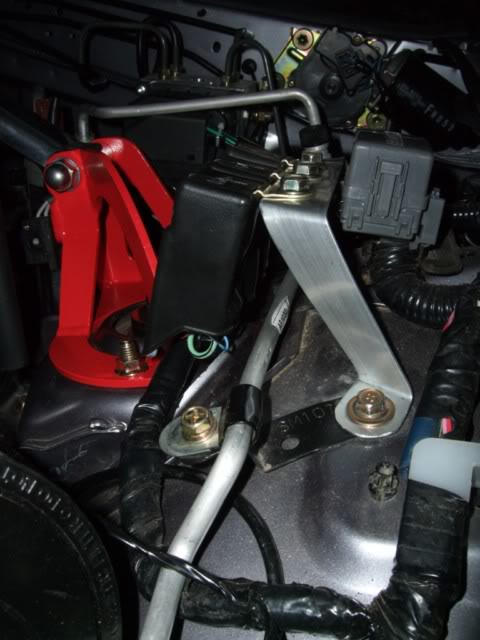
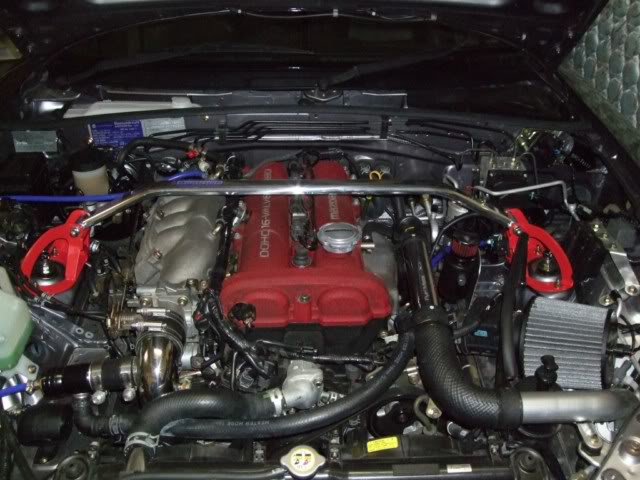
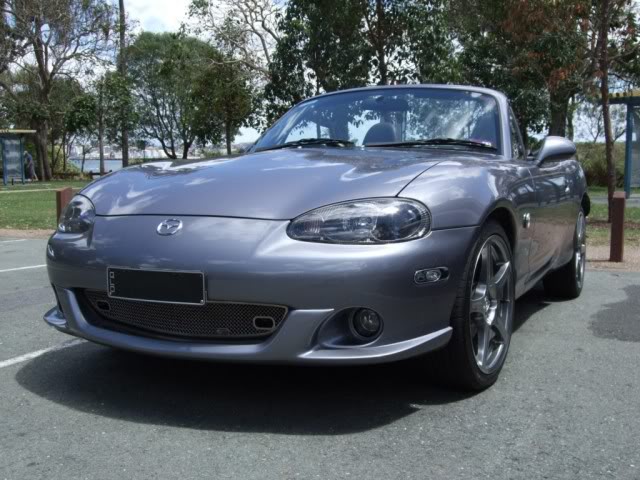
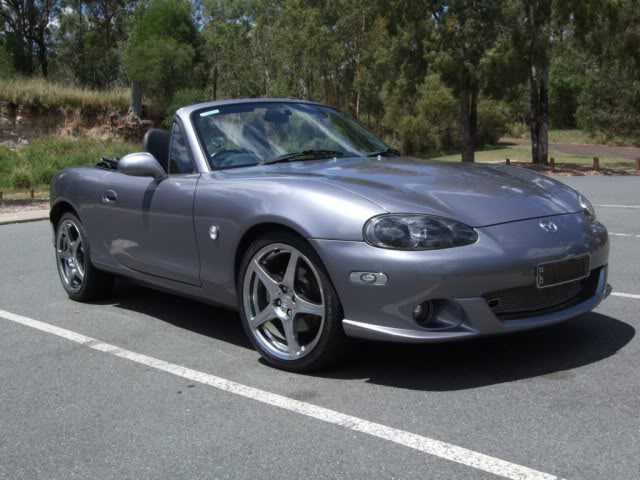
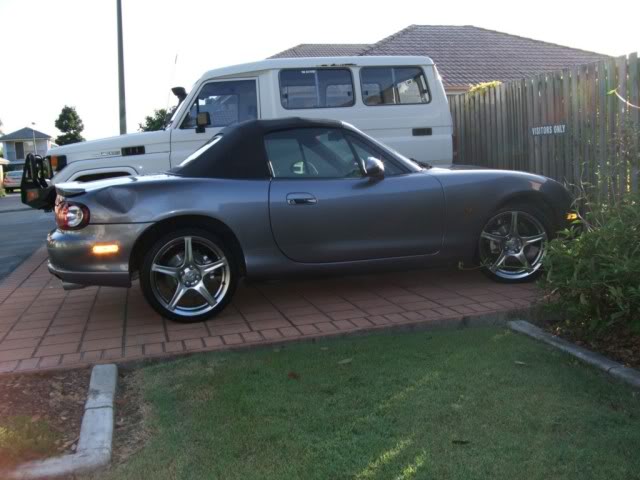
Here's my "Gina" in her current form:


My trusty 1982 Mitsubishi JA Starion that I'd owned and loved for over 20 years had started to develop serious cancer (aka "rust") after moving to Queensland so it was finally time to purchase a new car. I'd put this off many times before because whatever I purchased after the Starion had to be MUCH better to justify the cost of upgrading. My Starion had a larger turbo and an intercooler, it had awesome handling and acceleration and was a fantastic GT. I could drive from Melbourne to Adelaide in 8 hours and have no back problems whatsoever thanks to those fantastic 7-way adjustable seats.
The next car had to be timeless since I planned to keep it at least 10 years. This ruled out cars such as the Nissan 350/370Z, GTR, Suburau WRX, Lancer EVO and Audi TT which really don't look "right" to me now so definitely won't in 10 years time either. The MX-5 is based on the look of a Lotus Elan which is over 20 years old - it looked great then, looks great now and will continue to look good in future (IMHO).
I'd always liked the look of the NA and NB MX-5s (hate the NC though, it looks too bloated and the interior doesn't appeal to me at all) and knew that they handled fantastically but lacked power. After owning a turbocharged car already I knew that any factory-turboed car could easily be improved by aftermarket mods so the SE or SP were the obvious choices.
In the 3 months I spent looking for a car, SPs were almost impossible to find so the SE was pretty much my only option. I finally found one in Victoria with 26,000km on the odometer that looked pretty good and already had the FM downpipe installed on it (which I forgot about since I'd been looking at so many SEs). I bought a one-way ticket to Melbourne to check out Gina. The owner picked me up at the airport, I drove Gina a bit and decided that it was the best I'd seen so far so paid for it then and there and drove it back to Brisbane over a 3 day period. I took the direct route up the "way too straight" Newell Highway, stopping at the Parkes telescope and Dubbo Zoo along the way.
The trip was pretty uneventful until I got into the Darling Downs where I finally hit some serious "twisty bits", leaving Commodores and Falcons in my wake. I knew that the MX-5 handled well but those "twisty-bits" really impressed me once I realised that I was being far too conservative in my initial handling of them. After my Starion, Gina really did need more grunt though.
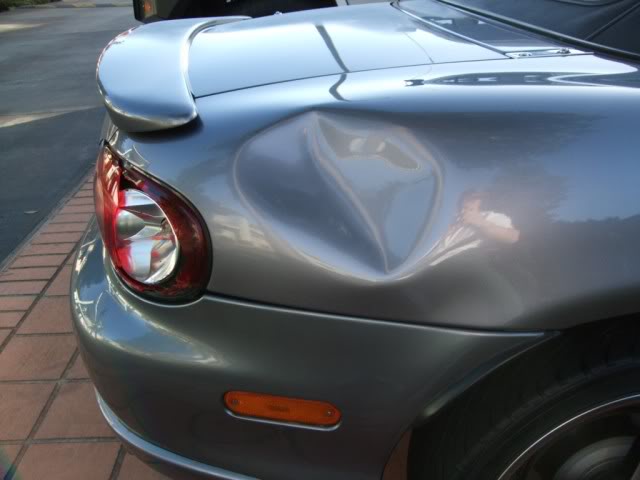
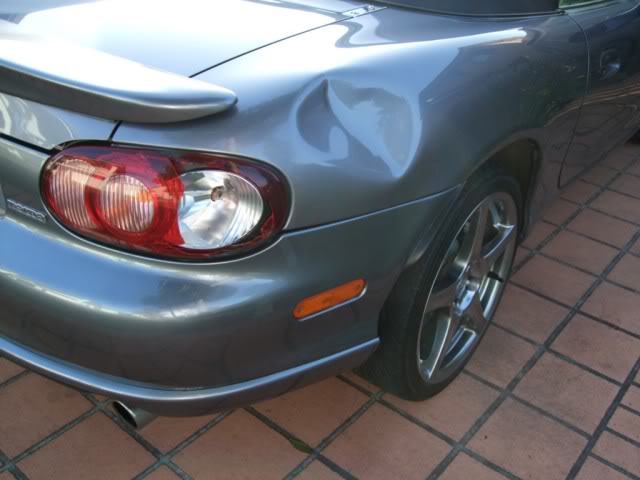
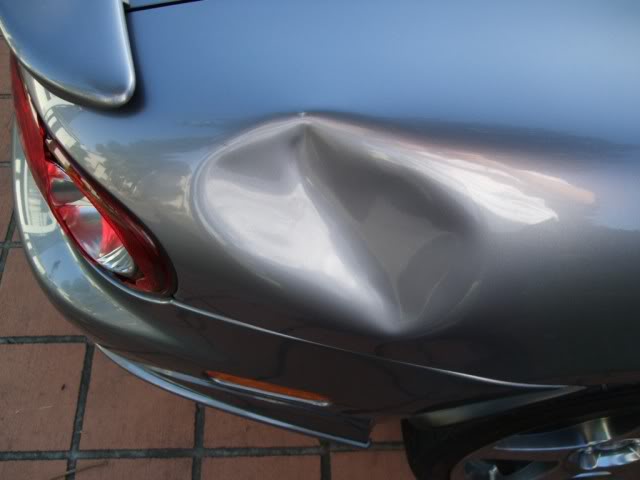
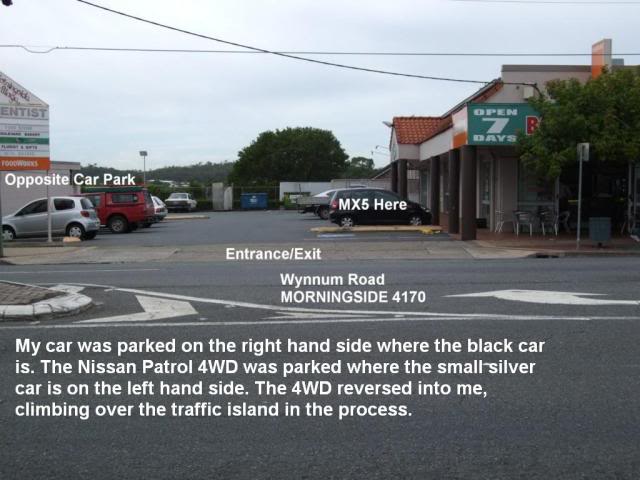
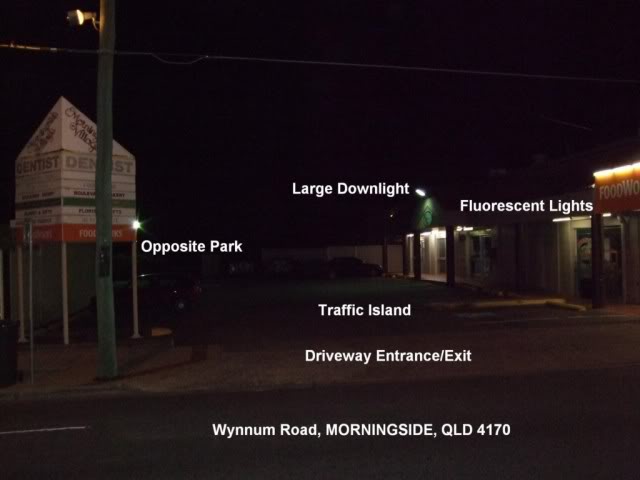
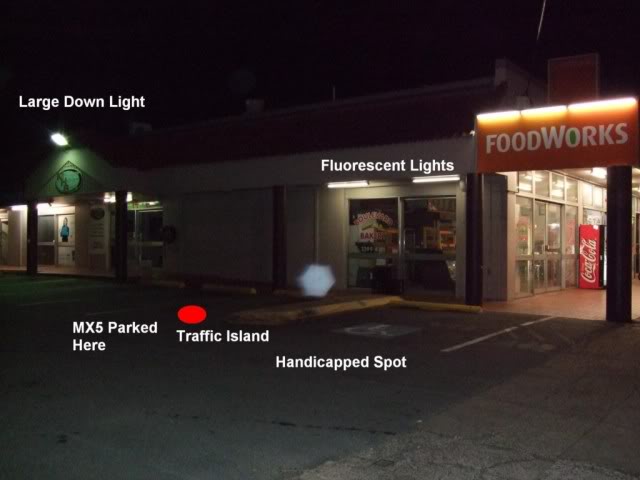
When I arrived in Brisbane after travelling 1,800kms without incident, Gina really needed a wash so I took her to Dolphin Car Wash for a wash and detailing. Gina was looking fine so I had to show her off and took my housemate for a spin. It was getting too late to cook dinner so we decided to grab a bite to eat at a local Indian restaurant. I didn't want to park on the street or in the restaurant's "dodgy" car park so parked across the road in a large, well-lit car park. I parked directly underneath 2 fluorescent lights and to the right of me was a traffic island so figured I was pretty safe. Unfortunately when we returned to Gina, this is what we saw:
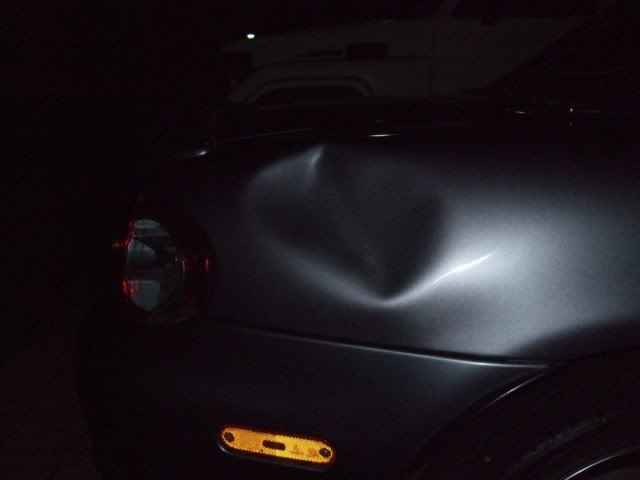

Here's the damage by day:
I yelled more than a few expletives, assuming it was a couple of vandals who'd hit it with baseball bat.
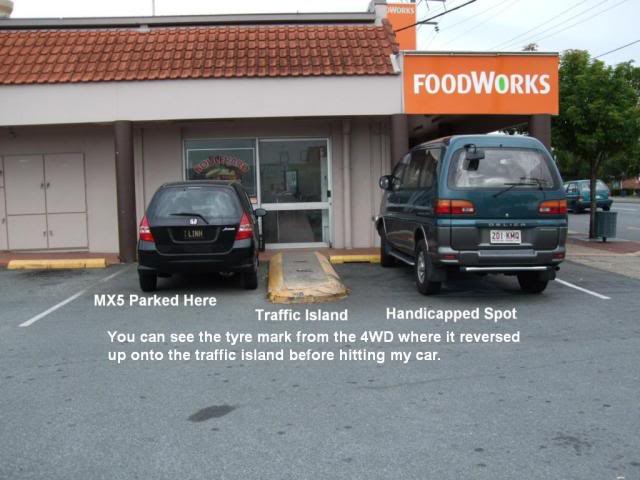
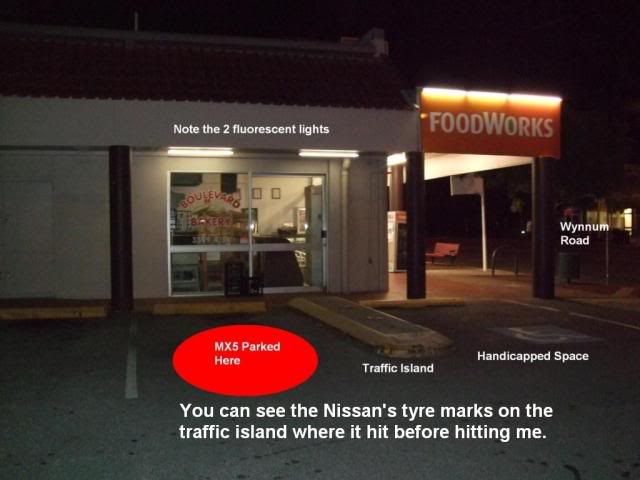
On the drive home, Chris spotted something that had slipped under the bonnet. I stopped Gina and found that it was a note left by the offender. Apparently he and his wife had stopped in at Foodworks and on the way out he'd reversed into me in his Nissan 4WD - I suspect his wife was actually driving based on the width of the car park and that it looked like they had clearly dr ven up the traffic island before hitting Gina (see the pictures below, you can see the tyre marks on the traffic island).
I couldn't believe that I'd dr ven Gina 1,800kms over 3 days without a scratch, only for it to be reversed into within 4 hours of being in Brisbane while parked in a large, well-lit car park.
Here's the car park by day - you can see how wide it is.
Here's the car park by night, when the accident occurred:
Unfortunately I didn't have a cover note for Gina and assumed it would be covered by my existing insurance. This was a BIG mistake. My "ex-insurer" (I won't name names but it sounds a bit like "Are-Ay-See-Cue") stated that because I had no cover note, the vehicle was not listed on my policy and was not registered to me that they would provide no assistance, even though it wasn't my fault at all. This was a major problem because to register Gina I needed to get a QLD roadworthy certificate and I couldn't get one with the broken tail light or insurance. The afore-mentioned insurer also wouldn't agree to insure Gina because she had existing damage. Luckily Sun-Corp agreed to 3rd-party insurance for Gina provided that I get it fixed within 10 working days so I signed up and promptly told the afore-mentioned insurance company that I wasn't inclined to deal with them ever again.
Several of the crash repairers I contacted said that because I was not at fault I shouldn't have involved my insurance at all and gone directly through the offender's insurance. The offender readily admitted to being at fault (much kudos to him) and we dealt with it using his insurance, AAMI.
All went smoothly on the repairs and QLD registration after that and I was very impressed with AAMI, Gina was back to her good-looking best.
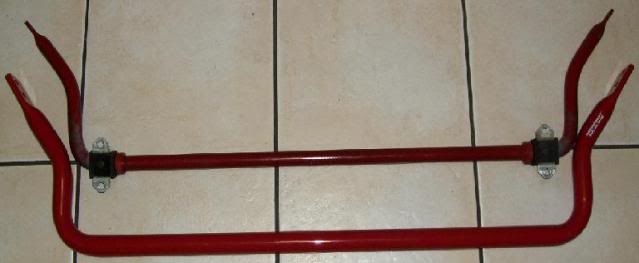
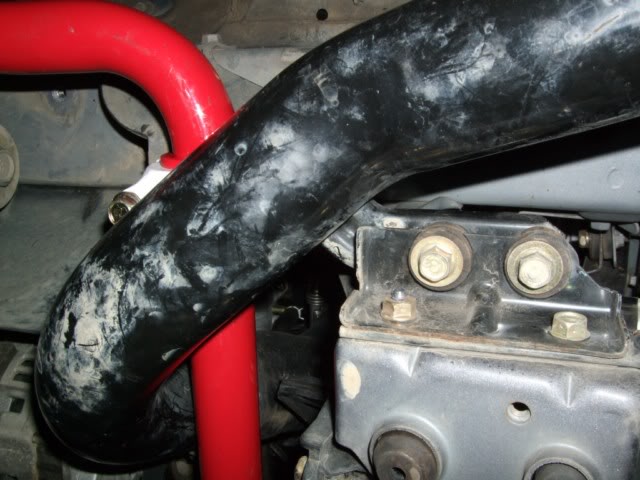
So does this count as my first mod?
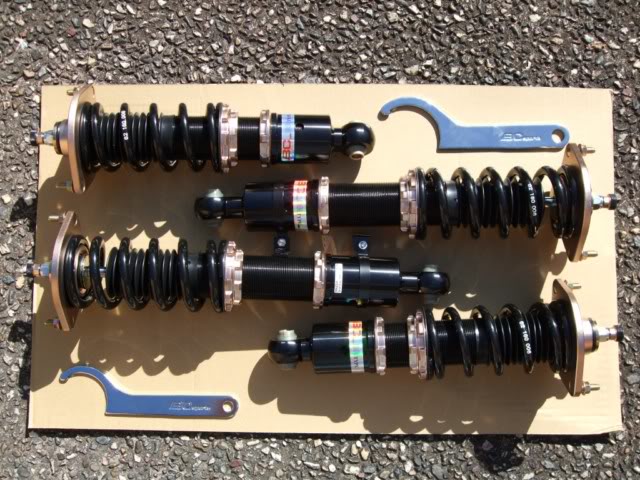
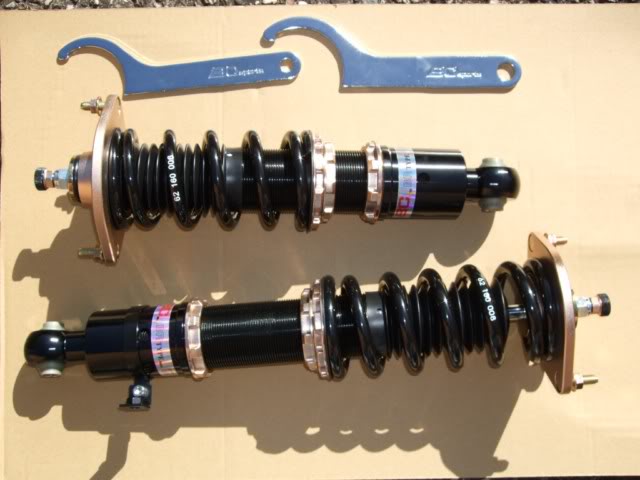
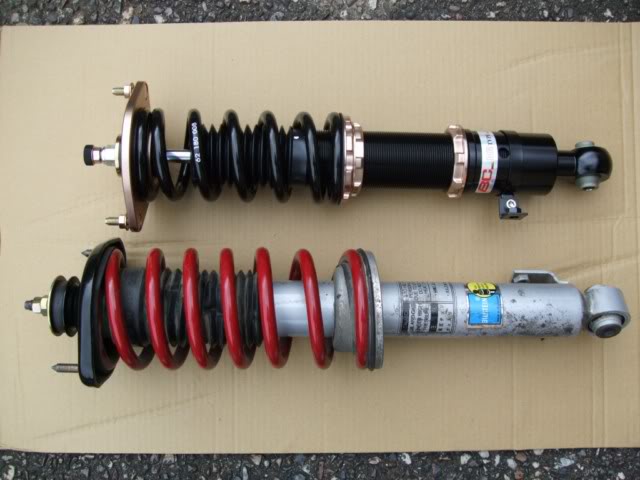
More updates to come.