Brief history:My car is a low KM 2007 NC with an electric hardtop. I had no problems with my motor before doing the conversion. I actually bought the car with the intention of doing the conversion. I previously had a 1999 NB8a with a TD04 turbo kit I pieced together that made around 150rwkw. I sold that and bought a 2008 Nissan 350z Track edition and put on all the bolt on mods available. It would have been close to 200rwkw and was very fast. But alas, it was no MX5 and I missed how fun my NB was.
My biggest issue with the NB was the computer and in my time of owning it I went through both a PNP MS2 as well as a PNP Adaptronic. I was tempted to get an SE and even spent a few weeks looking and researching before I decided I didn’t want to daily drive another NB with an aftermarket ECU.
As such, I bought an NC just when the ND was released and got a good deal.
My mods before the swap:
- MCA Coilovers – Purple Comfort
- RoadsterSport MAX POWER MX5 COMPLETE EXHAUST COMBO
- EcuTek RaceRom
- RX8 Yellow dot sway bars
- Custom intake
So nothing crazy and about 7k worth of mods in AUS.
For the build I bought:
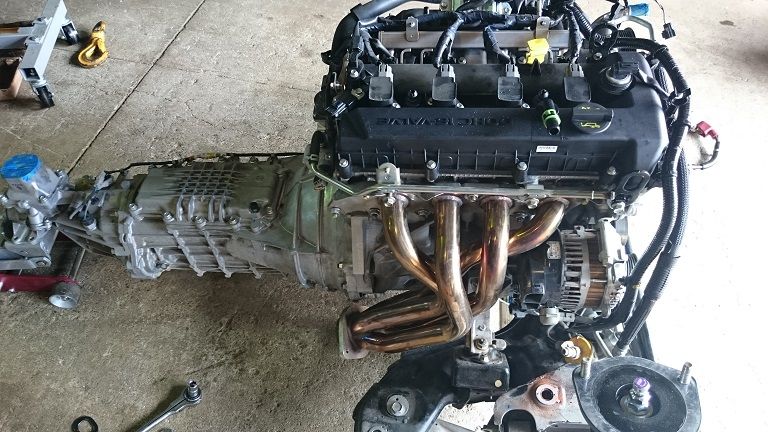
- 2.5l from a 2011 SP25 with 40k on the clock
- Goodwin Racing EXEDY Happy Meal Combo - Complete Flywheel and Clutch Kit
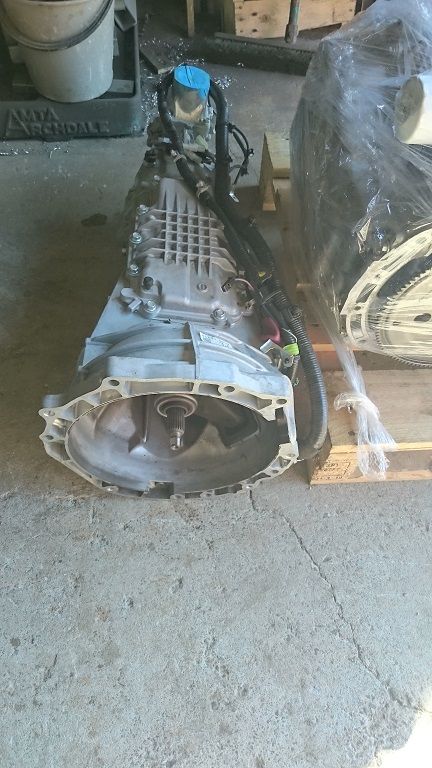
- Goodwin Racing MX-5 Engine Drop Brackets
- Good-Win Racing MX-5 Competition Motor Mounts
- Plus other parts Adrian has already mentioned
About another 3k worth of parts. As such I’m into the car about 25-27k at this time.
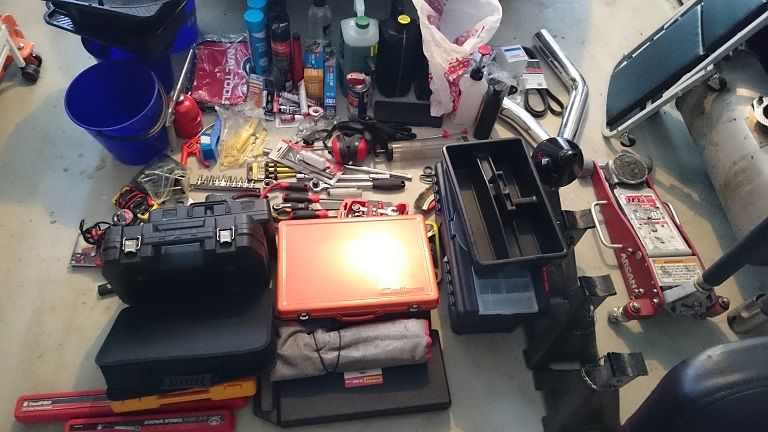
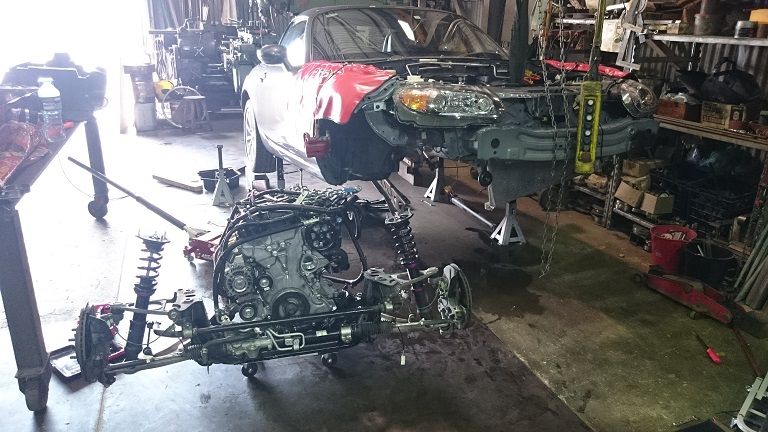
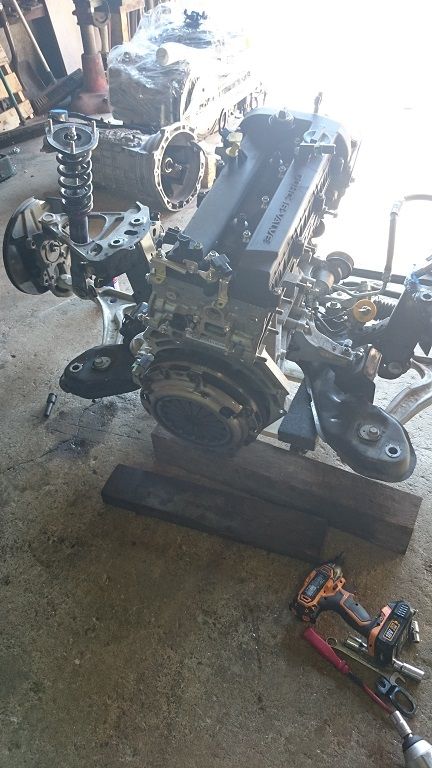
The swap:I decided to do the swap at my Dad’s engineering workshop as he has an overhead crane. On reflection this was not needed and decent chain block would have done just fine. My dad hasn’t worked on cars in 30 years so I brought all of the tools I could fit. Yes, I got it all in the NC plus luggage!
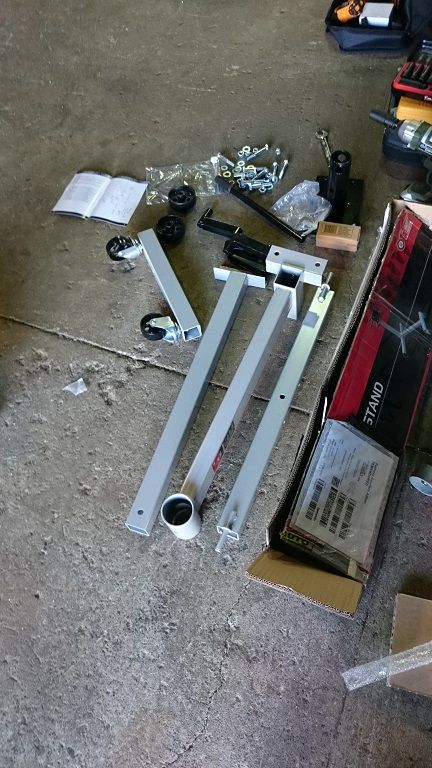
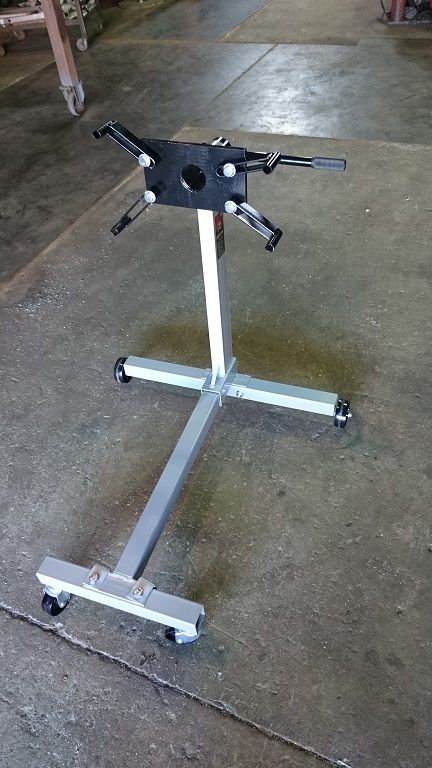
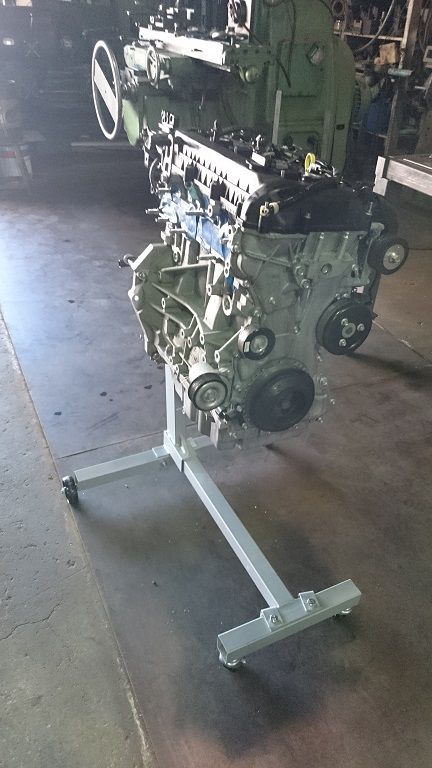
First Job was to assemble the engine stand. I got it on special from Supercheap for around $100. It was cheap and nasty but worked really well.
After raiding the bolt bucket I managed to mount the 2.5l motor I’d had stored at my Dad workshop for 4 months.

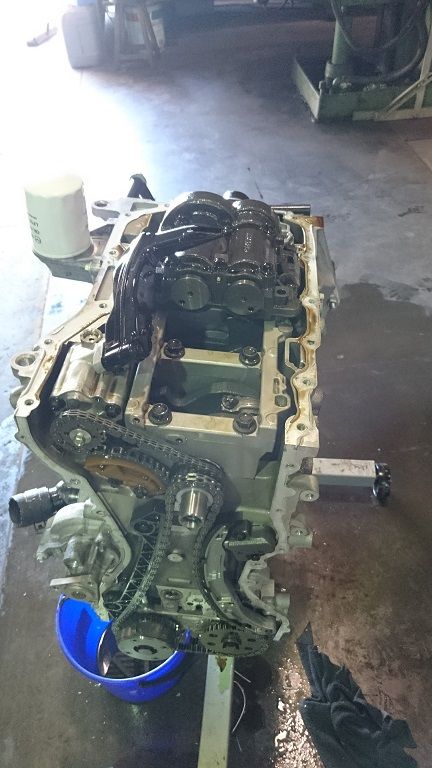
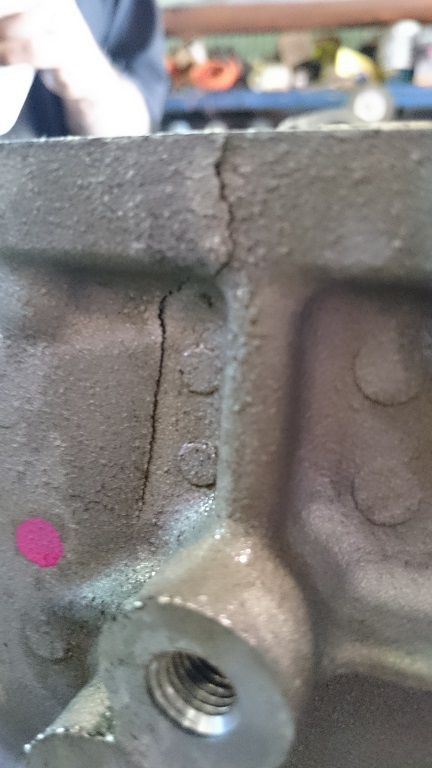
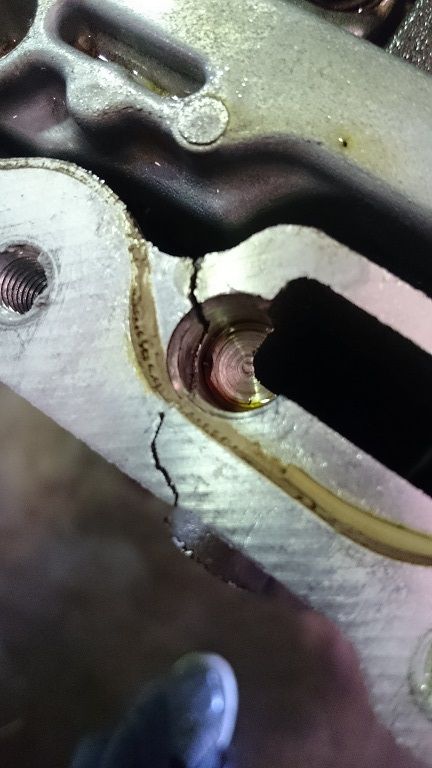
Only to discover that the block was accident damaged. The motor was out of a car with front end damage and the engine mount must have taken a big hit. Funny enough the wrecker had compression tested it and given it the ok!
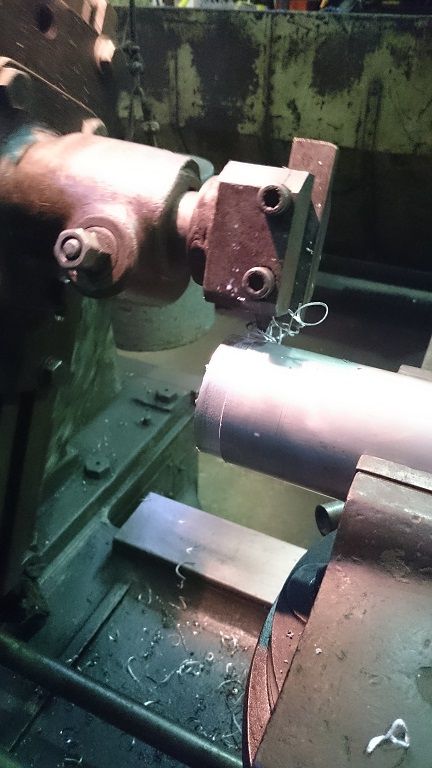
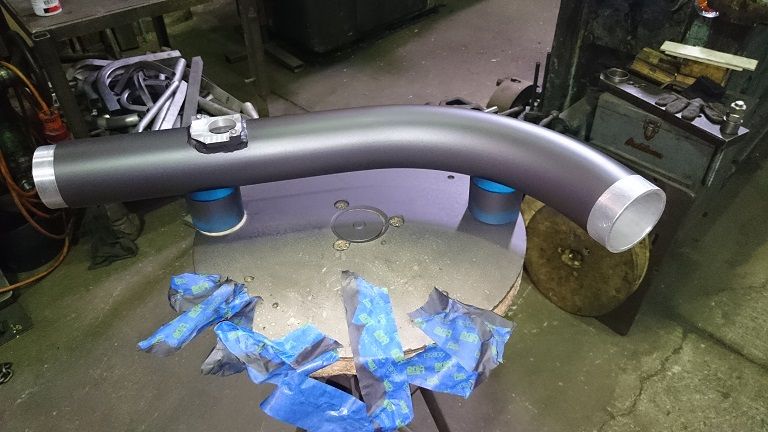
So while I had my legal eagle brain on and was dealing with the warranty issue I decided to make a new intake with a 77mm inside diameter. I was originally going to make it out of some aluminium pipe I had ordered off eBay but my dad said it was rubbish and offered to make me one out of thick wall aluminium using his mandrel bending machine he’s been developing. After getting the exact angle on the bender he centred and machined it on the borer to reduce the outside diameter to fit with the OEM intake pipe.
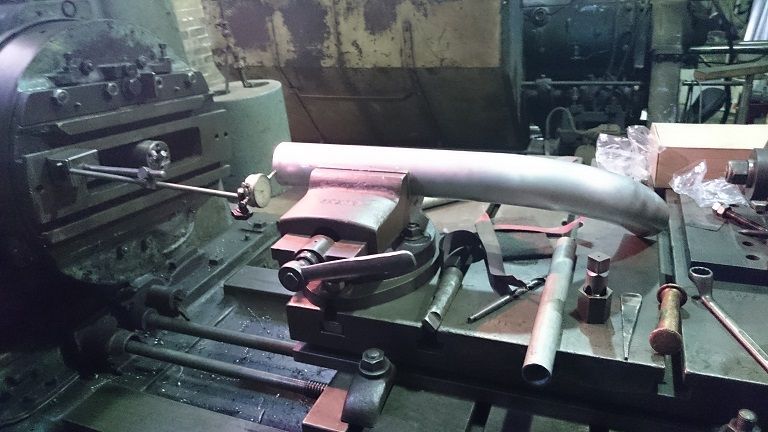
We then test fitted it one last time….
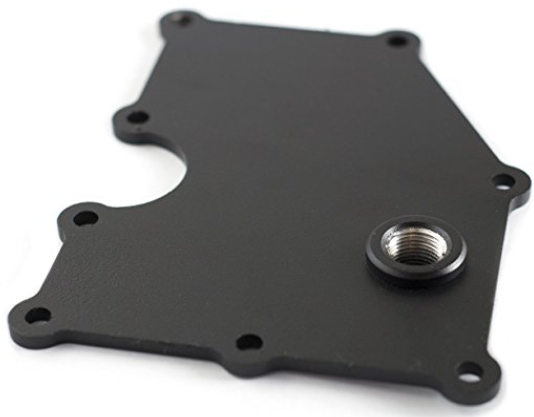
Welded on a block for the AFM…
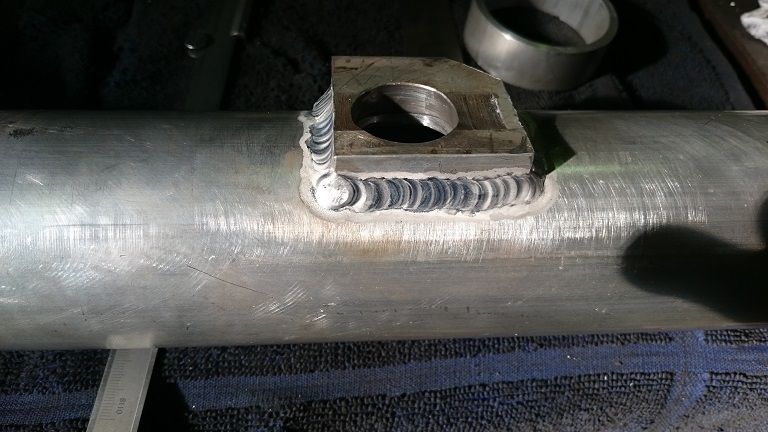
Dad machined and tapped the AFM flange on the mill and I gave it a coat of paint.
Yay the new motor arrived with only slightly more KM’s on it.

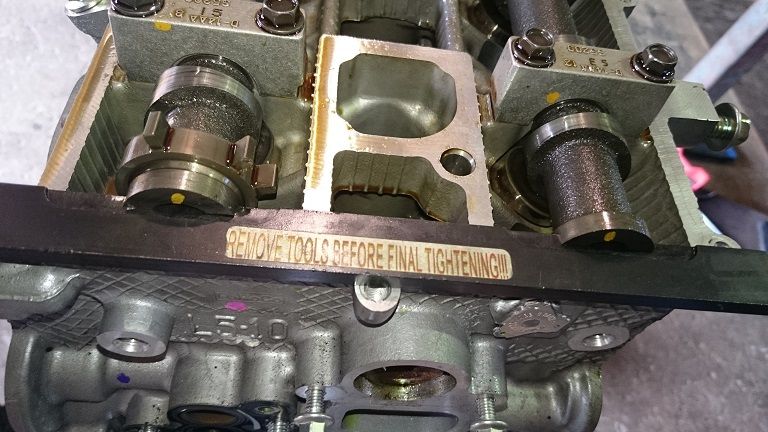
Thanks to my experience curve I had perfected the art of removing the intake manifold and keeping it all together.
It was time to pull out the perfectly good 2l engine. Please do not waste your time like I did. Just remove the power steering pump. It is not possible to get the AC compressor out of the way with the PS pump still installed even if you remove everything else but the PS pump (ask me how I know). You can see where I tied it up out of the way. When removing the radiator please take lots of pictures as it’s complicated and you will thank yourself when putting it all back together. Plastic bags and labels are your friend. 30 seconds of labelling could save you three hours of trail and error. Ok lecture done.
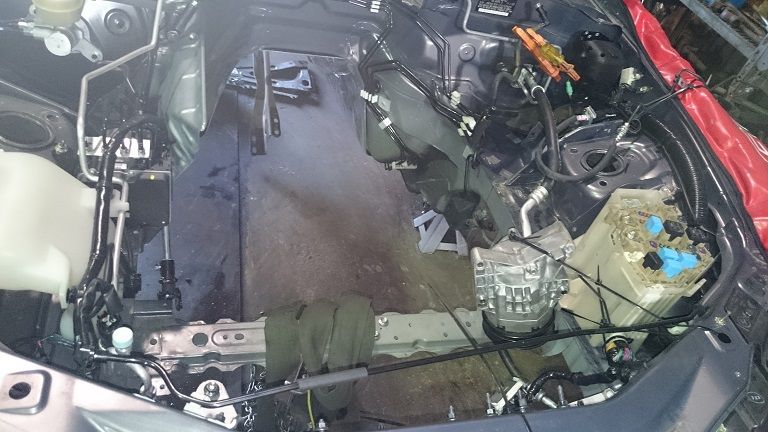
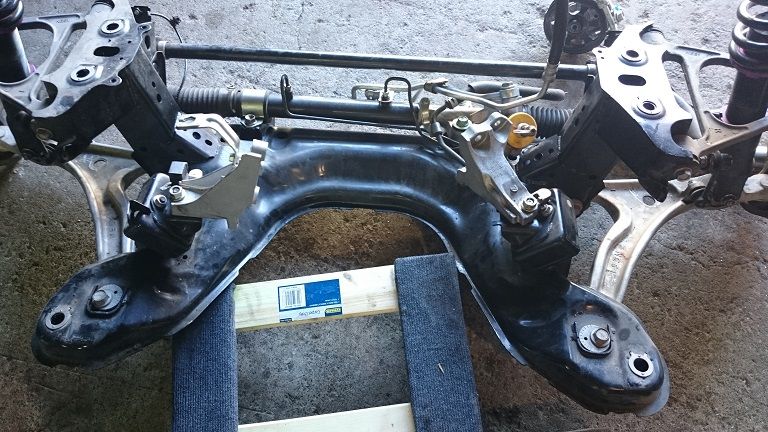
Yay subframe out. I had a little trouble with the steering column and actually bent it (easy fix but time consuming). So make sure it’s clear before lowering the subframe.
You can see the OEM engine mounts in the picture. These are replaced by the Goodwin Racing parts already listed.
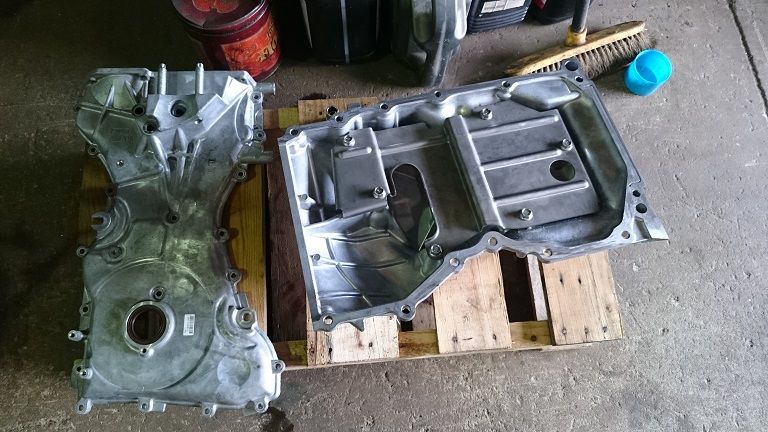
Taking the sump, tappet and timing chain cover off the 2l for transfer to the 2.5l.
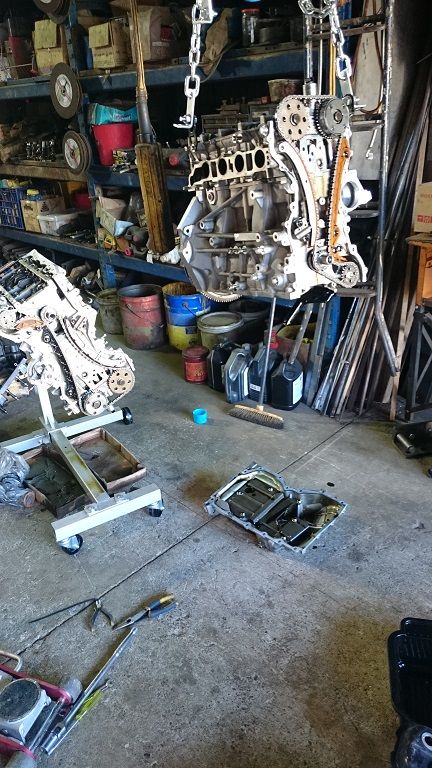
Can you tell them apart? The 2l is in front and the 2.5l is behind.
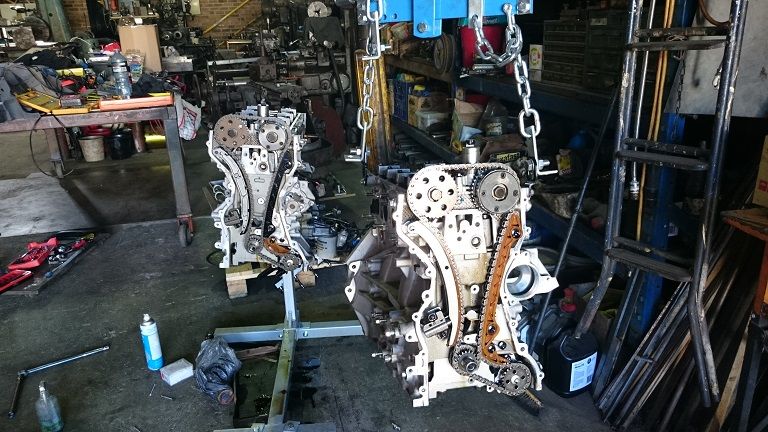
2l parts cleaned and ready to go on the 2.5l.
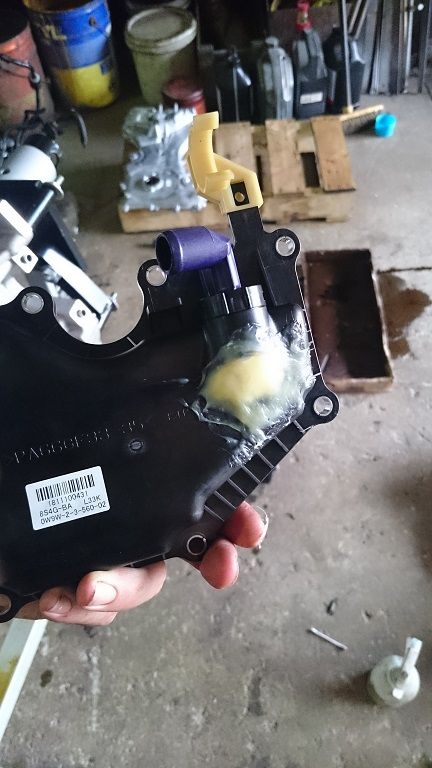
I read some conflicted information on this part. You do need to modify the PCV breather. I triple checked. Maybe if you forced the intake manifold down you may get away with it but I figured I’d “do it properly and only have to do it once”.
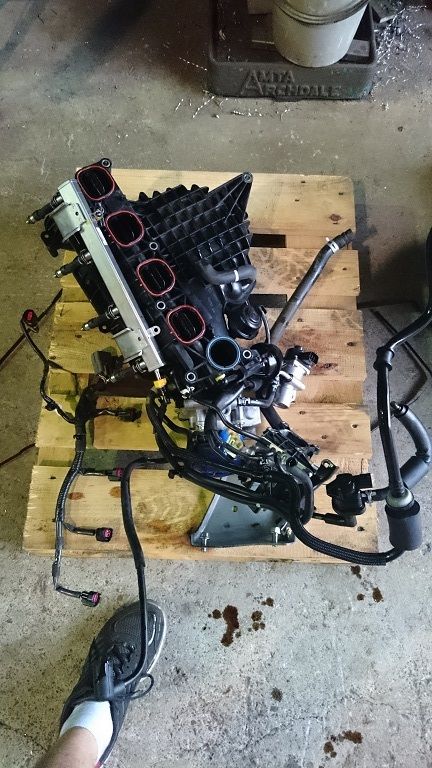
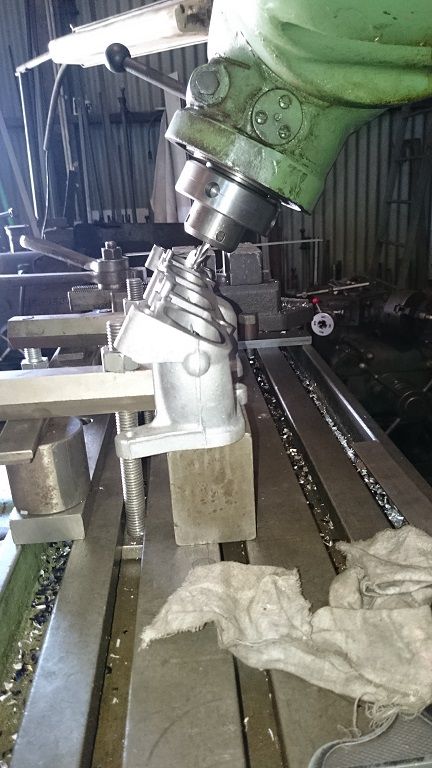
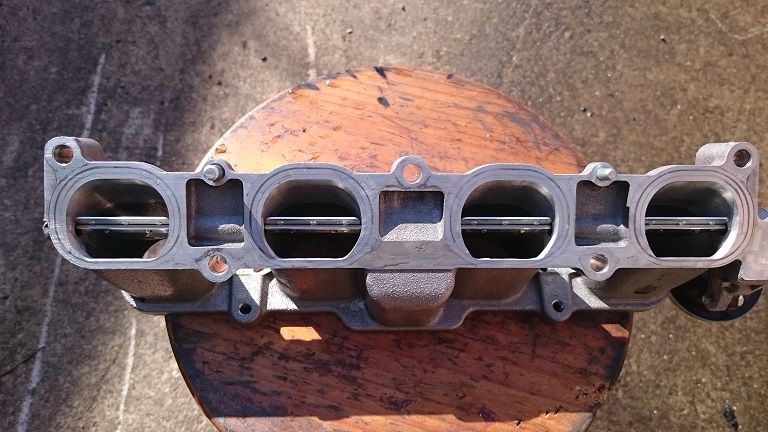
Milling out the intake manifold. I could have welded up the top and machined it perfectly to match the 2.5l intake ports, but that’s a few days work. There just isn’t the material there to port match without breaking through the top. I got it 80% there with 20% of the effort. I finished it off with a dremel and only have a slight step.
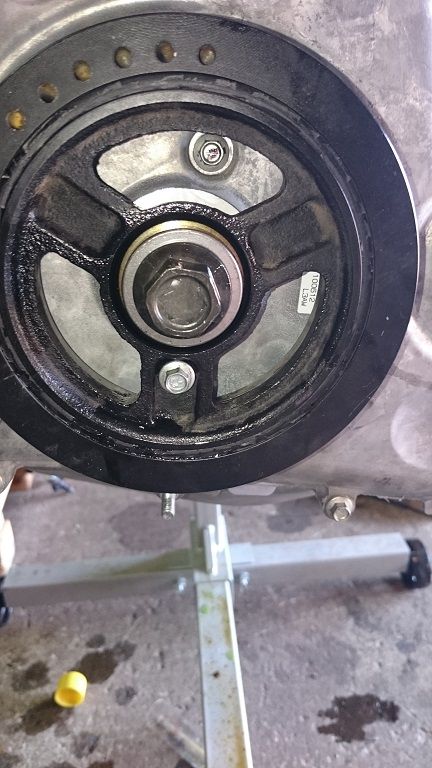
Mazda parts. I still can’t believe there is no key holding the crank and crank pulley together! That diamond washer is amazing! Forgive my ignorance people.
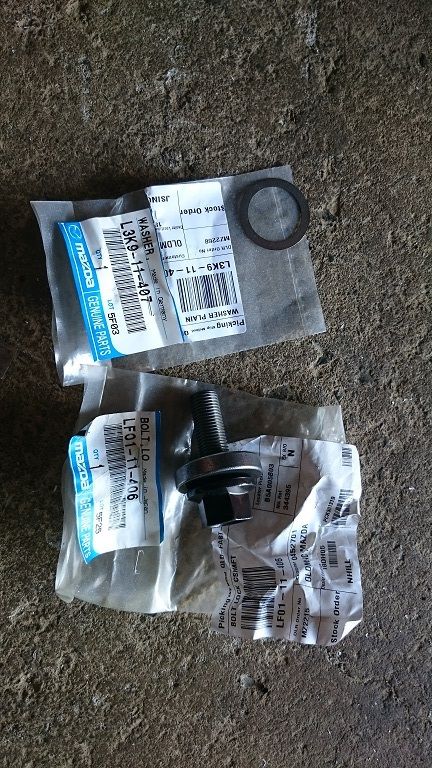
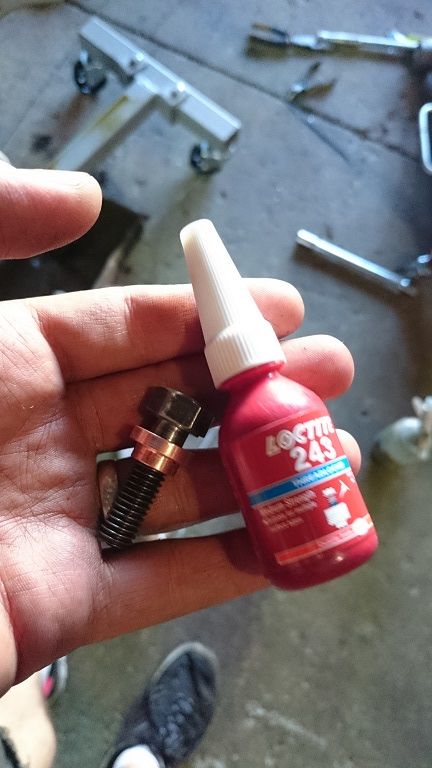
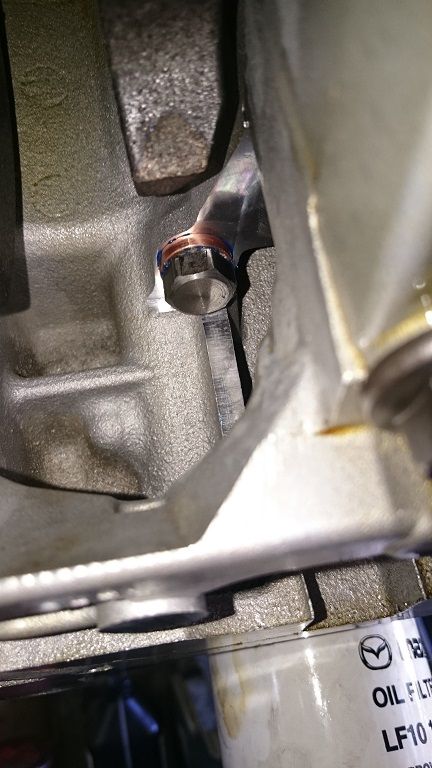
Tapped the oil glary. Dad machined me a copper washer to ensure it sealed perfectly. I also put some Loctite on there much to his dismay (he hates Loctite for some reason).
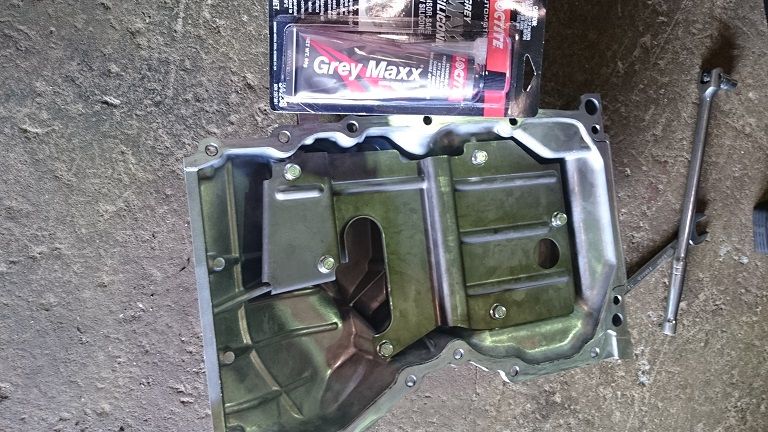
I put the sump back on with the 2l oil intake using the factory manuals suggested gasket pattern.
I spent an hour making sure I understood exactly how to time the engine having never done a timing chain before. You can see here how the pin stops cylinder 1 at Dead Top Centre (note: Yes I checked it with the old screwdriver down the Cylinder 1 sparkplug hole trick just to make sure).

Still in amazement that the crank spins independently of the cams until you put in the diamond friction washer.
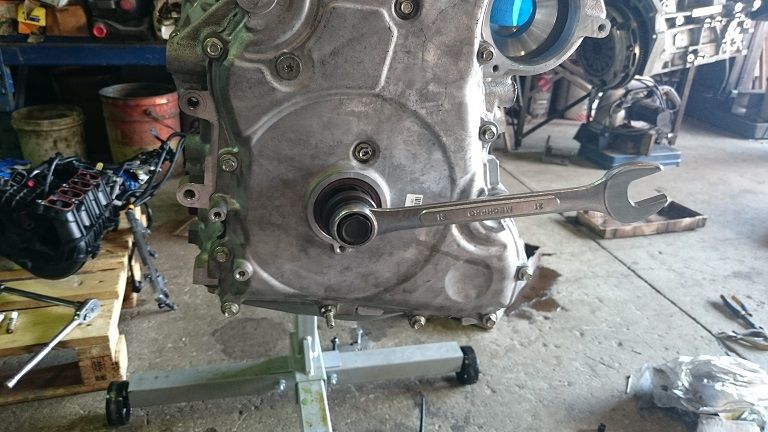
Timed and rotated to ensure the crank timing bolt still went in after two revolutions. Then it was time to torque the crank bolt.
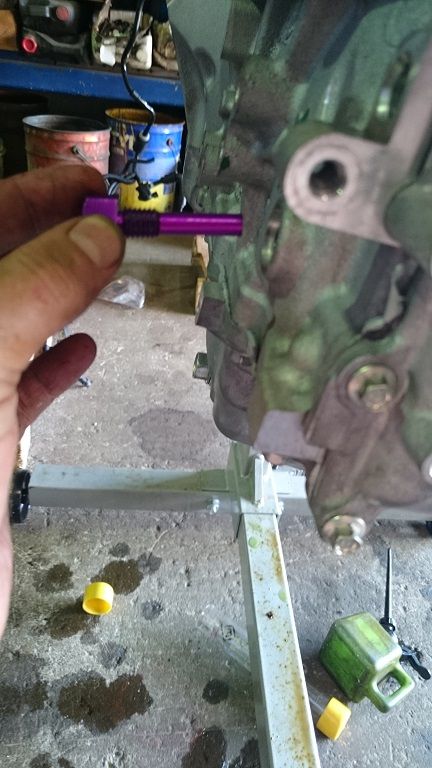
Flywheel lock. Made life easier!

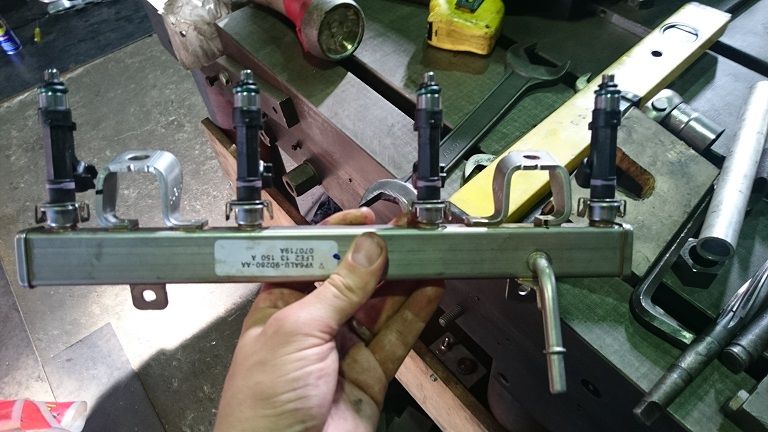
The 2.5l injectors in the 2l fuel rail.
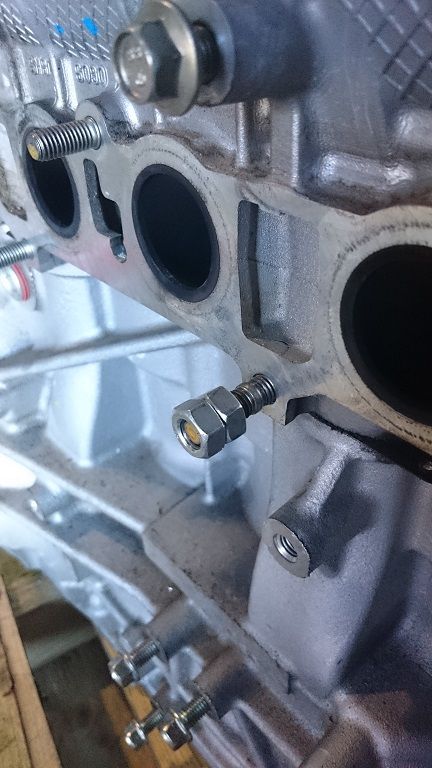
Swapping over the 2l exhaust studs to the 2.5l block. Bleeding knuckles much?
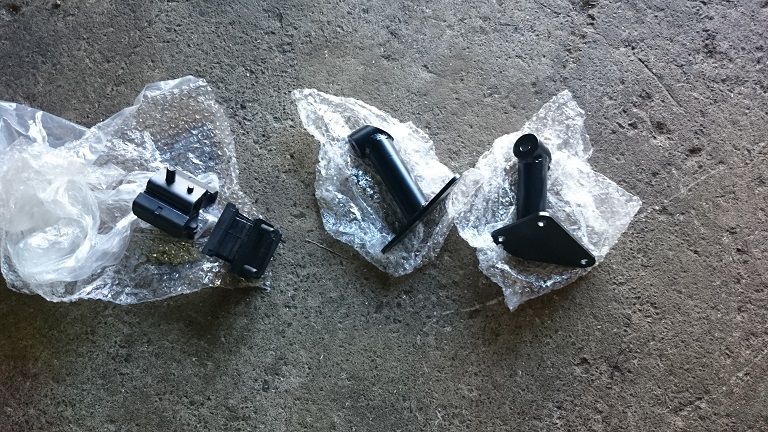
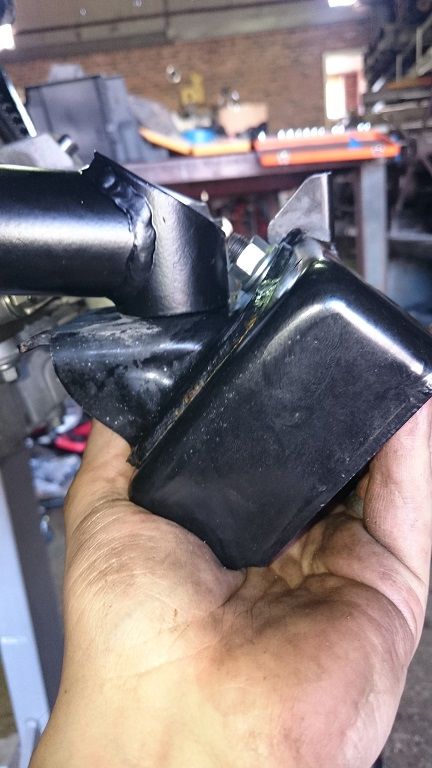
The controversial Goodwin Racing Lowered Mounts as well as the 40% harder uprated rubber.
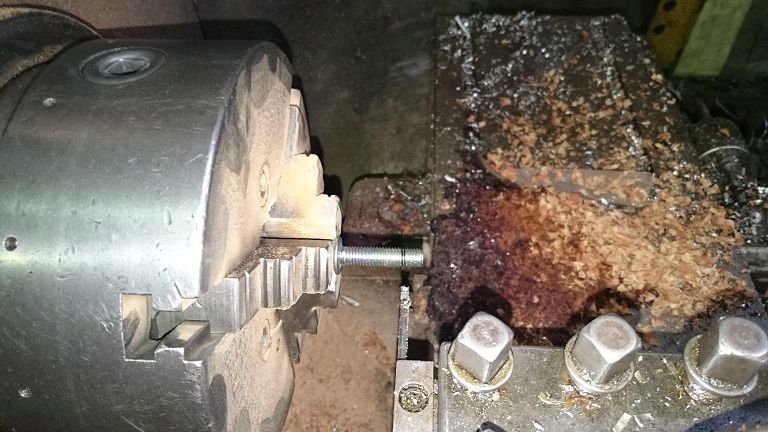
You are required to remove about 10mm off the engine mount bolts. Note: don’t try and be clever and use a lathe as you will snap parting off bits (and apparently they are really expensive – sorry dad). Just use a hacksaw.
You can see them mounted up.
Please note the gap you will need to make a spacer to fill. Obviously the spacer goes on top of the bracket and under the nut. Not below the mount on top of the mount!
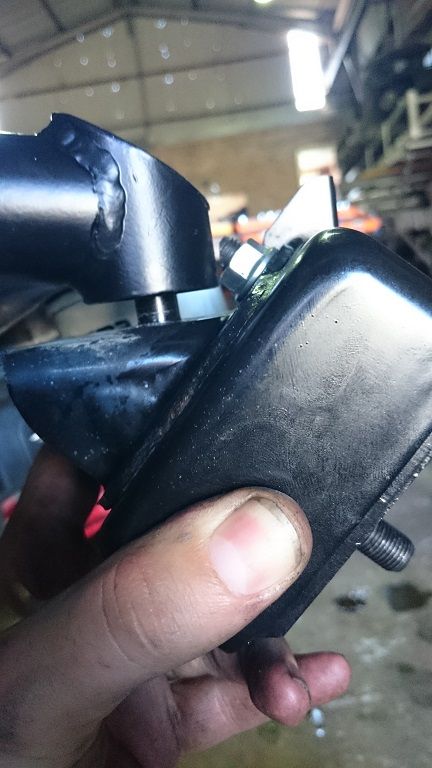
You can also see where I had to cut a little off the top of the mount to make sure it cleared the bracket.
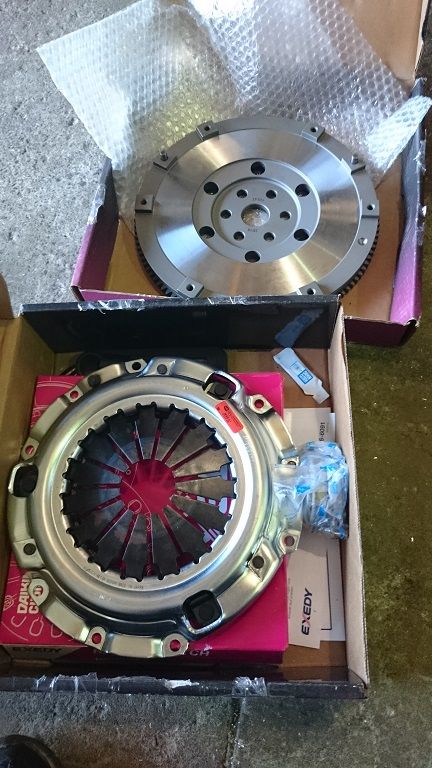
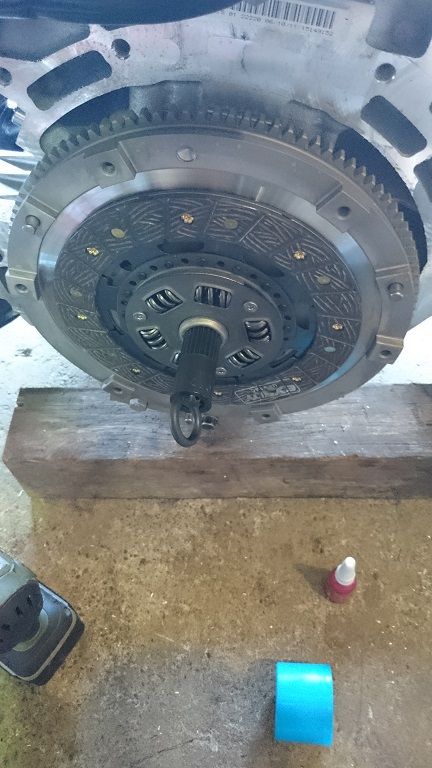
Happy meal clutch combo.
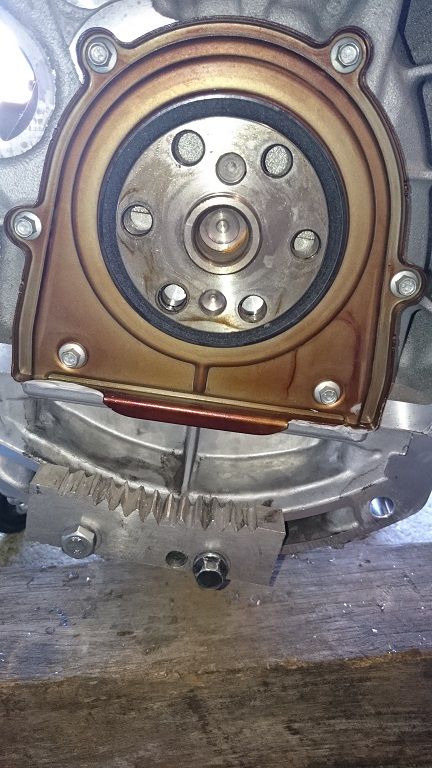
Seal looked like new so no replacement as they are $120. Time will tell if that was a mistake.
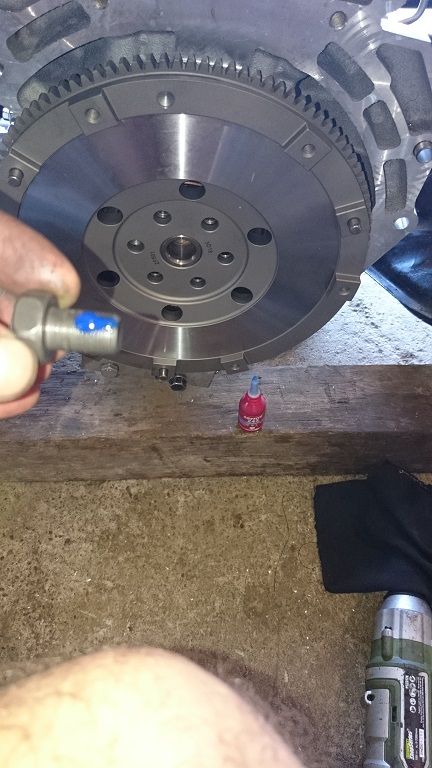
Loctite to the flywheel bolts.
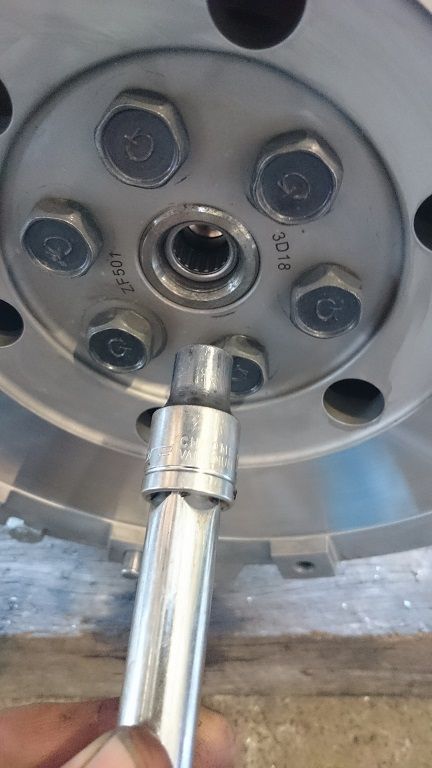
Set the pilot bearing.
Align the clutch and then add the pressure plate. Make sure you clean the all the surfaces that touch the clutch material and don’t use too much grease.
Put the subframe back in. Check out how it aligns with the transmission tunnel. Loosen the bolts that attach the gearbox to the ladder frame as well as the top engine mount bolts. Use a jack under the gearbox to position the gearbox in the transmission tunnel. Then torque everything up when you are happy with the alignment. There is heaps of adjustment so take your time and get it right while you still have the interior out of the way.
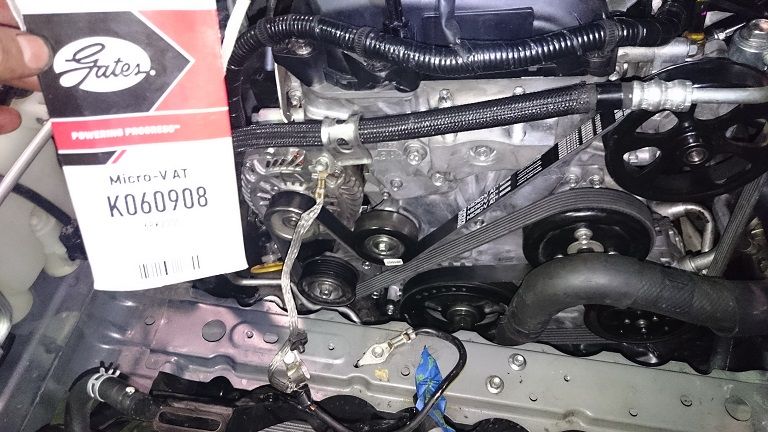
Use this belt. It was really expensive instore so buy it online if you can. Repco tried to charge me $108 but I showed them one on Amazon for $20 US. We settled on $60 AUS.
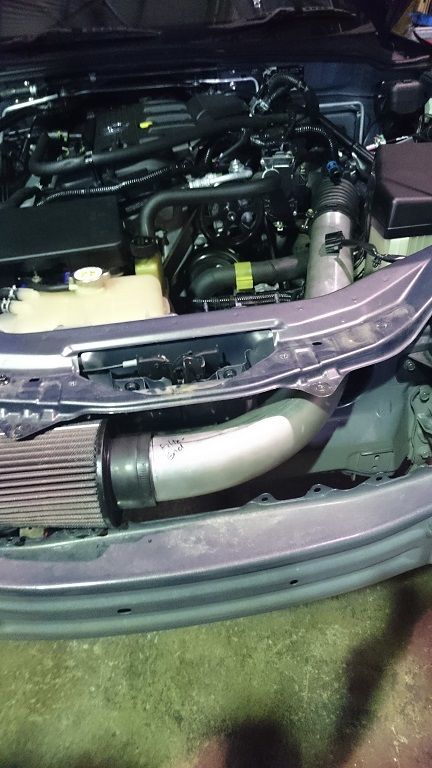
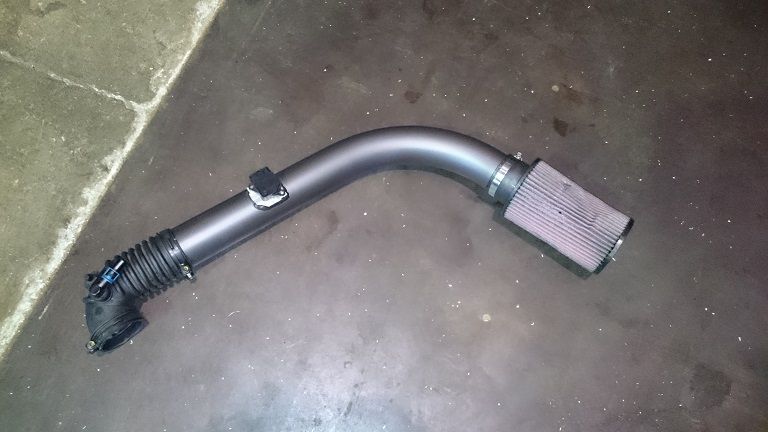
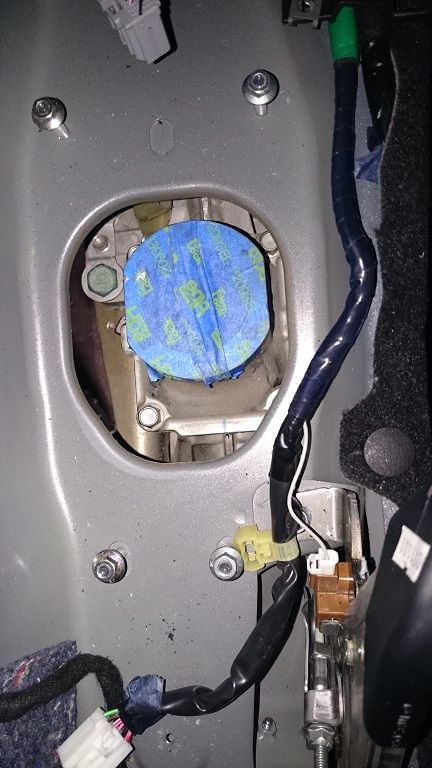
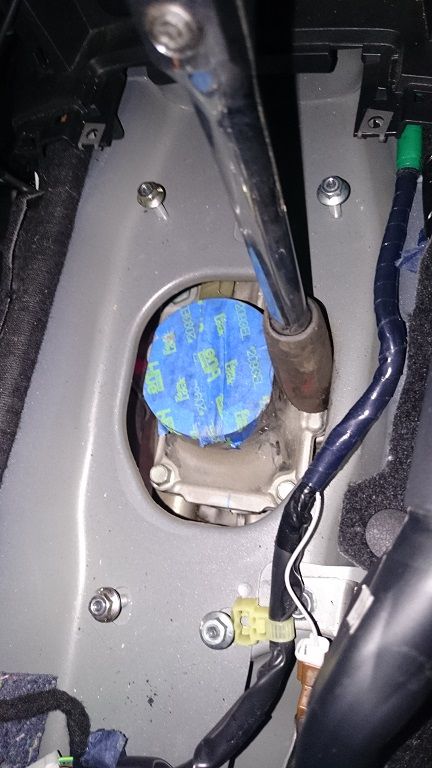
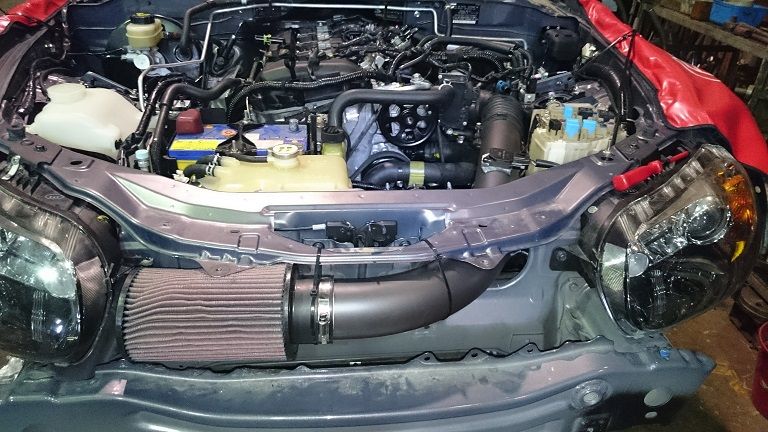
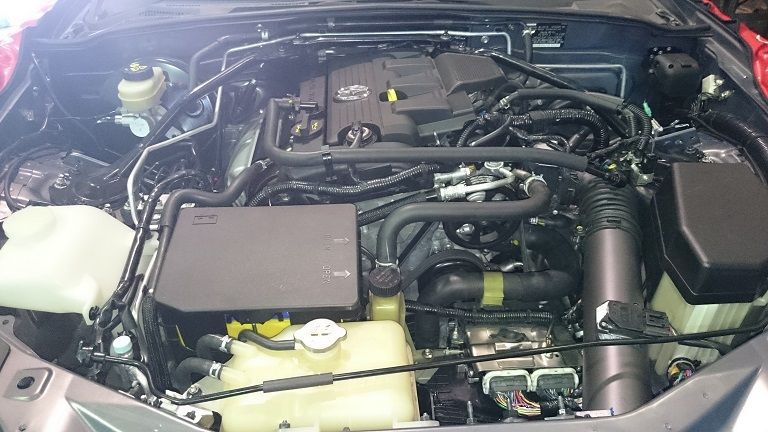
She is all in and looking pretty. Excuse the temporary cable ties on the intake.
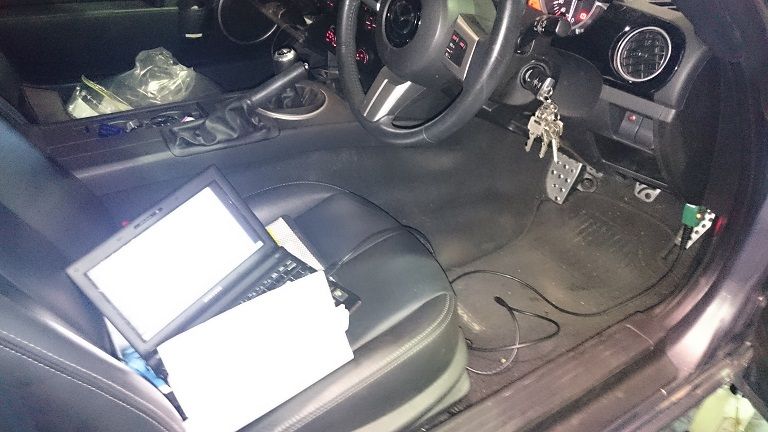
Update your EcuTek software. Please excuse the ancient laptop… I use it because you know I’d break my new one if I brought it near the workshop. I’ve had 3 other laptops since this once and it keeps going!
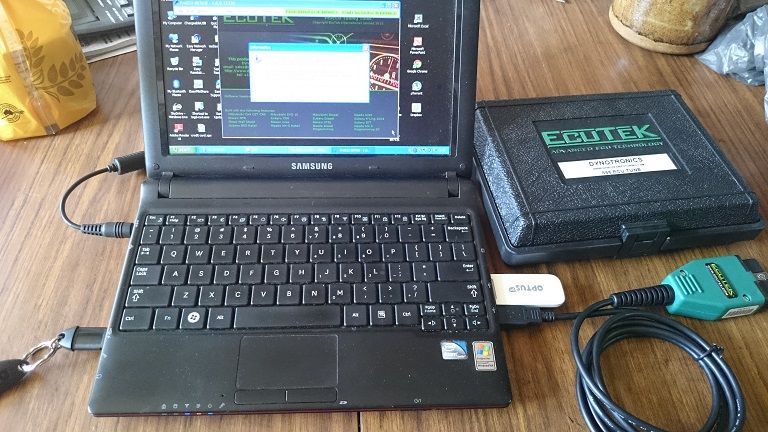
Upload your 2.5l Tune. I use Dynotronics like Adrian. They do good work but sometimes take a while to get back to me. Adrian had a completely good experience with them so maybe I’m just annoying or am doing something wrong.
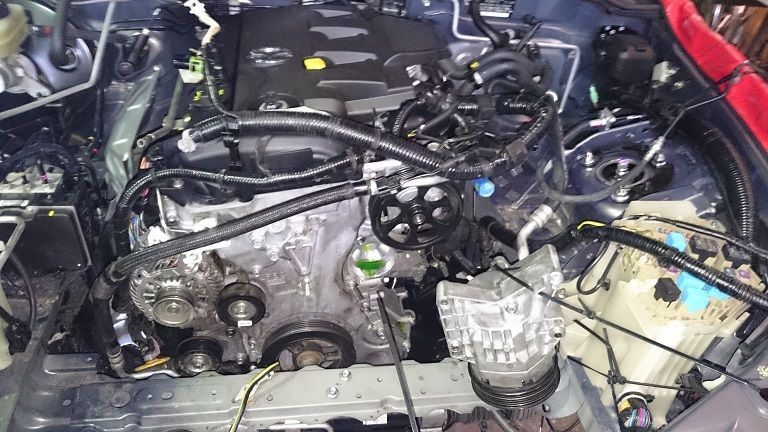
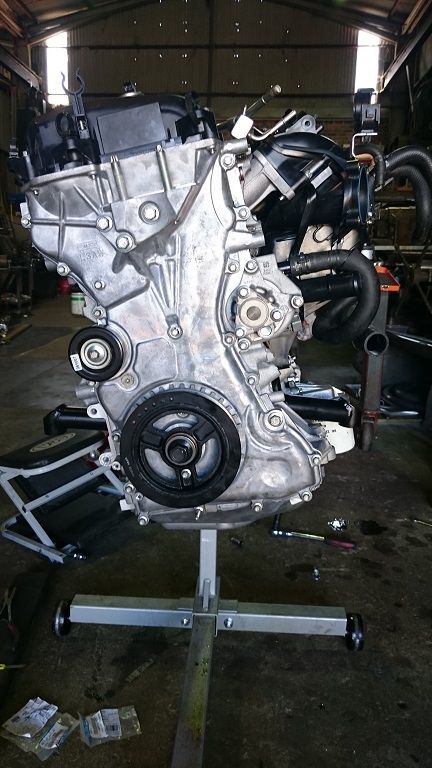
Here she is. All converted and stuff.
My only issues has been with the clutch. But I think I’ve worked that out now. The motor is a huge improvement and a load of fun. I can’t wait to have the 2.5l fully tuned and optimised.
I will let you guys know how she is once I have her tuned and will likely even put her on a dyno.


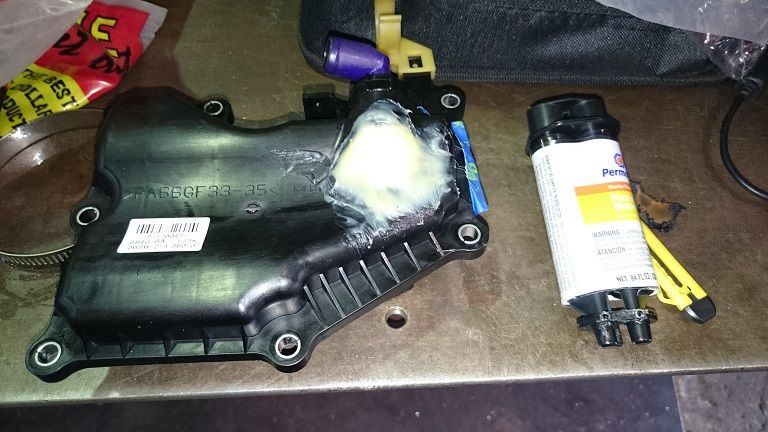
 update cover by Adrian Van Haeren, on Flickr
 update cover 1 by Adrian Van Haeren, on Flickr
 update cover 2 by Adrian Van Haeren, on Flickr